


|
KiCad 8.0KiCad
|
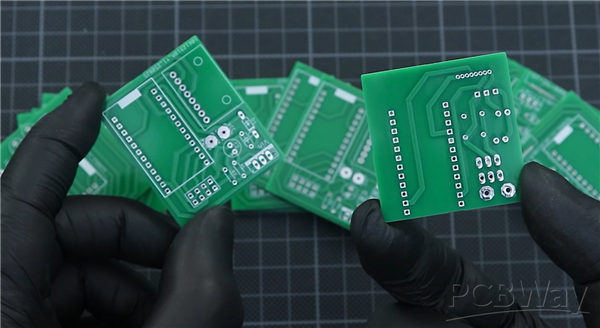
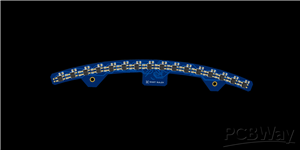
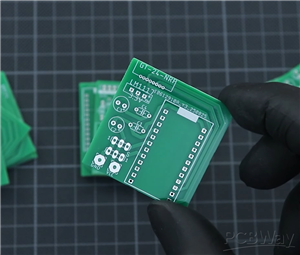
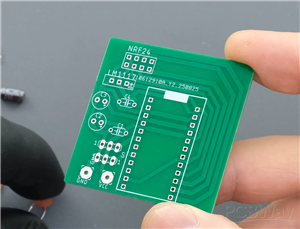
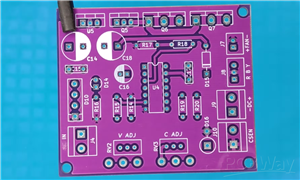
FPV Head Tracking System – Transmitter PCB
The Transmitter PCB is the sensing and data-sending side of the FPV head tracking system, designed to accurately capture head movement and wirelessly transmit it to the receiver with low latency and high reliability. This board focuses on clean sensor integration, stable RF performance, and consistent power delivery, which are critical for smooth and immersive FPV camera control.
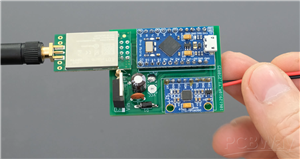
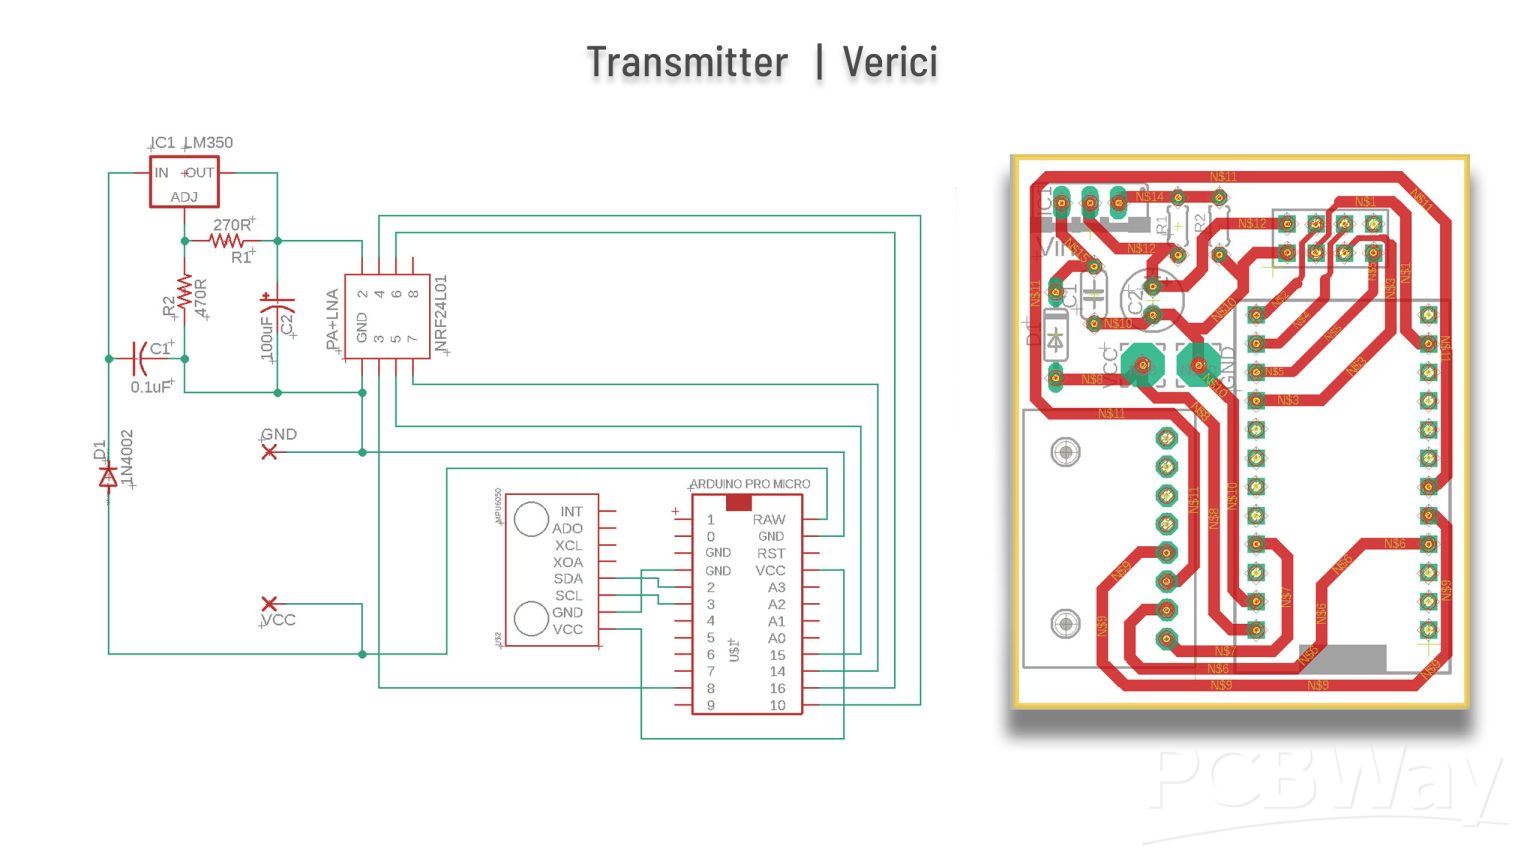
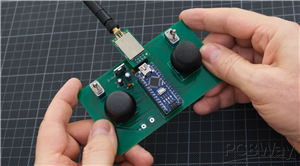
At the core of the transmitter is an Arduino Pro Micro, responsible for reading motion data from the MPU6050 IMU. The MPU6050 provides real-time gyroscope and accelerometer data, allowing the system to track head orientation precisely. This data is processed on the microcontroller and converted into control information that represents pan and tilt movement.
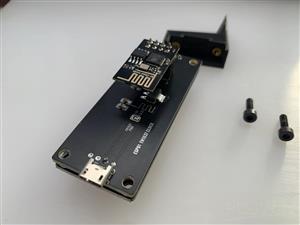
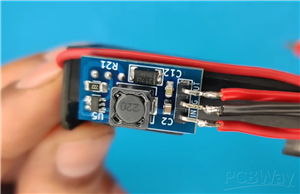
For wireless communication, the transmitter uses an NRF24 RF module, chosen for its low latency and long-range capability. To support high-power NRF24 variants such as the E01-2G4M27D, the PCB includes a dedicated LM350-based voltage regulation stage. This ensures the RF module receives a stable supply voltage, which is essential for maintaining range, signal strength, and link stability during operation.
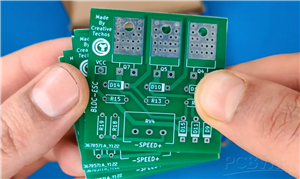
The PCB layout is optimized to keep sensor lines short and clean while separating RF and power sections to minimize noise. Proper decoupling and filtering are used throughout the design to ensure reliable sensor readings and uninterrupted data transmission. The result is a transmitter that remains stable even during rapid head movements.
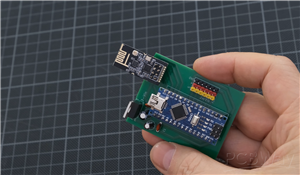
This transmitter PCB is intended to be mounted on the head-tracking mechanism or headset. As the user moves their head, the MPU6050 detects orientation changes, the microcontroller processes the data, and the NRF24 module sends it instantly to the receiver, enabling real-time servo movement on the FPV model.
Overall, the TX PCB forms the intelligence and sensing backbone of the FPV head tracking system. Combined with the large or small receiver PCB, it delivers a responsive, long-range, and competition-ready solution for FPV pilots who want precise and immersive camera control.
Credit & Acknowledgement
Complete Design & Engineering Credit: RC Maker Lab (This project is shared for educational and community reference purposes)
// FPV HEAD TRACKING TRANSMITTER CODE  |  VERİCİ KODU
// BY KendinYap

#include <Wire.h>
#include "MPU6050_6Axis_MotionApps20.h"
#include <SPI.h>
#include <nRF24L01.h>
#include <RF24.h>
#include <Servo.h>

/* --- NRF24L01 Setup --- */
RF24 radio(8, 10);
const byte address[6] = "00001";

struct Data_Package {
  byte pitch;
  byte yaw;
  bool calibrationDone;
};
Data_Package data;

/* --- MPU6050 Setup --- */
MPU6050 mpu;
#define INTERRUPT_PIN 2
bool dmpReady = false;
uint8_t mpuIntStatus;
uint16_t packetSize;
uint8_t fifoBuffer[64];
Quaternion q;
VectorFloat gravity;
float ypr[3];
volatile bool mpuInterrupt = false;

/* --- Servo Setup --- */
Servo pitchServo;
Servo yawServo;
#define PITCH_SERVO_PIN 3
#define YAW_SERVO_PIN 4

void dmpDataReady() {
  mpuInterrupt = true;
}

void resetData() {
  data.pitch = 127;
  data.yaw = 127;
  data.calibrationDone = false;
}

void setup() {
  Serial.begin(115200);
  Wire.begin();
  Wire.setClock(400000);

  Serial.println(F("Initializing MPU6050..."));
  mpu.initialize();
  pinMode(INTERRUPT_PIN, INPUT);

  if (!mpu.testConnection()) {
    Serial.println(F("MPU6050 connection failed"));
    while (true);
  }

  Serial.println(F("MPU6050 connection successful"));
  uint8_t devStatus = mpu.dmpInitialize();

  if (devStatus == 0) {
    Serial.println(F("Calibrating MPU6050..."));
    mpu.CalibrateAccel(6);
    mpu.CalibrateGyro(6);
    mpu.setDMPEnabled(true);
    attachInterrupt(digitalPinToInterrupt(INTERRUPT_PIN), dmpDataReady, RISING);
    dmpReady = true;
    packetSize = mpu.dmpGetFIFOPacketSize();

    data.calibrationDone = true;
    for (int i = 0; i < 5; i++) {
      if (radio.write(&data, sizeof(Data_Package))) {
        Serial.println(F("Calibration done signal sent!"));
        break;
      }
      delay(200);
    }
    delay(1000);
    data.calibrationDone = false;

    pitchServo.attach(PITCH_SERVO_PIN);
    yawServo.attach(YAW_SERVO_PIN);
    pitchServo.write(90 + 60);
    delay(500);
    yawServo.write(90 + 60);
    delay(500);
    pitchServo.write(90);
    delay(500);
    yawServo.write(90);
  } else {
    Serial.print(F("DMP Initialization failed (code "));
    Serial.print(devStatus);
    Serial.println(F(")"));
  }

  radio.begin();
  radio.openWritingPipe(address);
  radio.setChannel(120);
  radio.setAutoAck(false);
  radio.setDataRate(RF24_250KBPS);
  radio.setPALevel(RF24_PA_MAX);
  radio.stopListening();
  resetData();
}

void loop() {
  if (!dmpReady) return;

  if (mpuInterrupt || mpu.getFIFOCount() >= packetSize) {
    mpuInterrupt = false;
    mpuIntStatus = mpu.getIntStatus();

    if ((mpuIntStatus & 0x10) || mpu.getFIFOCount() == 1024) {
      mpu.resetFIFO();
      Serial.println("FIFO overflow!");
      return;
    }

    if (mpu.dmpGetCurrentFIFOPacket(fifoBuffer)) {
      mpu.dmpGetQuaternion(&q, fifoBuffer);
      mpu.dmpGetGravity(&gravity, &q);
      mpu.dmpGetYawPitchRoll(ypr, &q, &gravity);

      data.yaw = constrain(map(ypr[0] * 180 / M_PI, 90, -90, 0, 255), 0, 255);
      data.pitch = constrain(map(ypr[2] * 180 / M_PI, 90, -90, 0, 255), 0, 255);

      Serial.print("Yaw: ");
      Serial.print(data.yaw);
      Serial.print(" Pitch: ");
      Serial.println(data.pitch);

      for (int i = 0; i < 3; i++) {
        if (radio.write(&data, sizeof(Data_Package))) {
          Serial.println("Data sent successfully");
          break;
        }
        delay(100);
      }
    }
  }
}
FPV Head Tracking System – Transmitter PCB
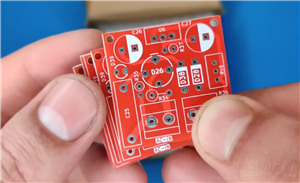
Project images are for reference only. Actual production is based on the manufacturing files on the project page.
Please review the designer's notes (e.g., PCB thickness) and select the appropriate options.
PCBWay is not responsible
for issues caused by unsuitable parameter selections.
For more important ordering information, please refer to
Read More


Raspberry Pi 5 7 Inch Touch Screen IPS 1024x600 HD LCD HDMI-compatible Display for RPI 4B 3B+ OPI 5 AIDA64 PC Secondary Screen(Without Speaker)
BUY NOW


- Comments(0)
- Likes(1)
More by Nirmal Maa
-
 VC-02 Module Based Home Automation
In this guide, I’ll take you through the process of building a project using a custom-designed PCB, ...
VC-02 Module Based Home Automation
In this guide, I’ll take you through the process of building a project using a custom-designed PCB, ...
-
 PCBWay 12th Anniversary Badge Design
To celebrate the 12th Anniversary of PCBWay, I designed a special interactive electronic badge that ...
PCBWay 12th Anniversary Badge Design
To celebrate the 12th Anniversary of PCBWay, I designed a special interactive electronic badge that ...
-
 16-Array Line Follower Robot Sensor PCB Design
This project presents a purpose-built 16-channel line follower sensor PCB engineered for precision r...
16-Array Line Follower Robot Sensor PCB Design
This project presents a purpose-built 16-channel line follower sensor PCB engineered for precision r...
-
 ESP01 + TM1637 NTP Clock (0.56″ 7-Segment Display)
This project is a minimalist Wi-Fi desk clock built around the ESP-01 / ESP-01S and a 0.56″ TM1637 7...
ESP01 + TM1637 NTP Clock (0.56″ 7-Segment Display)
This project is a minimalist Wi-Fi desk clock built around the ESP-01 / ESP-01S and a 0.56″ TM1637 7...
-
 Wireless Dual-Joystick NRF24 Controller PCB for Robotics & RC Applications
This project presents a compact and reliable dual-joystick wireless controller PCB, designed for rob...
Wireless Dual-Joystick NRF24 Controller PCB for Robotics & RC Applications
This project presents a compact and reliable dual-joystick wireless controller PCB, designed for rob...
-
 Channel RC Receiver PCB (NRF24 + Arduino Nano)
This receiver board is the compact, reliable counterpart to the 6-channel transmitter, designed to d...
Channel RC Receiver PCB (NRF24 + Arduino Nano)
This receiver board is the compact, reliable counterpart to the 6-channel transmitter, designed to d...
-
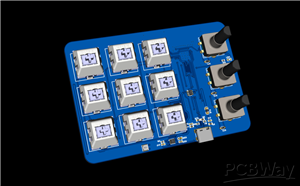 Compact 3×3 Streaming Macro Pad with RGB & Encoders
The TriPad Studio Controller is a professional-grade 3×3 macro pad designed specifically for streame...
Compact 3×3 Streaming Macro Pad with RGB & Encoders
The TriPad Studio Controller is a professional-grade 3×3 macro pad designed specifically for streame...
-
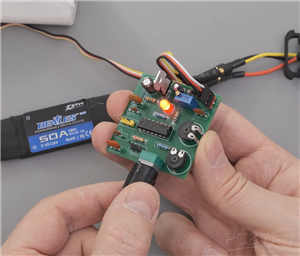 Servo & ESC Tester with End-Point Adjustment – (Dual Supply / High-Power)
The Servo & ESC Tester PCB (Dual Supply Version) is designed for applications involving high-tor...
Servo & ESC Tester with End-Point Adjustment – (Dual Supply / High-Power)
The Servo & ESC Tester PCB (Dual Supply Version) is designed for applications involving high-tor...
-
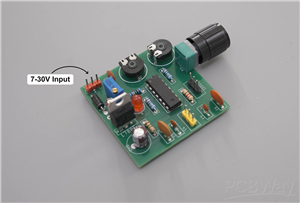 Servo & ESC Tester with End-Point Adjustment – Single Supply
This Servo & ESC Tester PCB (Single Supply Version) is designed as a compact and reliable tool f...
Servo & ESC Tester with End-Point Adjustment – Single Supply
This Servo & ESC Tester PCB (Single Supply Version) is designed as a compact and reliable tool f...
-
 FPV Head Tracking System – Transmitter PCB
The Transmitter PCB is the sensing and data-sending side of the FPV head tracking system, designed t...
FPV Head Tracking System – Transmitter PCB
The Transmitter PCB is the sensing and data-sending side of the FPV head tracking system, designed t...
-
 FPV Head Tracking System – Receiver PCB (Small Version)
The Small Receiver PCB is the compact counterpart of the FPV head tracking system receiver, designed...
FPV Head Tracking System – Receiver PCB (Small Version)
The Small Receiver PCB is the compact counterpart of the FPV head tracking system receiver, designed...
-
 FPV Head Tracking System – Receiver PCB (Large Version)
This Large Receiver PCB is a core part of a DIY FPV head tracking system, designed to receive head m...
FPV Head Tracking System – Receiver PCB (Large Version)
This Large Receiver PCB is a core part of a DIY FPV head tracking system, designed to receive head m...
-
 N20 Motor Breakout with DRV8212 4A Driver
This N20 Motor Breakout is a compact, motor-mounted driver board built around the DRV8212 H-bridge m...
N20 Motor Breakout with DRV8212 4A Driver
This N20 Motor Breakout is a compact, motor-mounted driver board built around the DRV8212 H-bridge m...
-
 Compact Motion Controller for Competitive Robotics
HMotion is a purpose-built controller PCB designed to simplify and strengthen robotics projects wher...
Compact Motion Controller for Competitive Robotics
HMotion is a purpose-built controller PCB designed to simplify and strengthen robotics projects wher...
-
 LM723 Solar Charge Controller with Voltage & Current Control
This project demonstrates a high-power solar charge controller built around the classic LM723 voltag...
LM723 Solar Charge Controller with Voltage & Current Control
This project demonstrates a high-power solar charge controller built around the classic LM723 voltag...
-
 Transformerless Adjustable AC-to-DC LED Driver (220V AC → 3V–110V DC)
This project explores a transformerless, auto-adjustable LED driver designed to convert 220V AC main...
Transformerless Adjustable AC-to-DC LED Driver (220V AC → 3V–110V DC)
This project explores a transformerless, auto-adjustable LED driver designed to convert 220V AC main...
-
 Adjustable 3.7V Step-Up Boost Converter (5V–30V)
This project presents a compact and efficient step-up boost converter designed to generate higher vo...
Adjustable 3.7V Step-Up Boost Converter (5V–30V)
This project presents a compact and efficient step-up boost converter designed to generate higher vo...
-
 60A Brushless BLDC Motor Controller (ESC)
This project showcases a DIY 60A Brushless DC (BLDC) Motor Controller (ESC) built using N-channel MO...
60A Brushless BLDC Motor Controller (ESC)
This project showcases a DIY 60A Brushless DC (BLDC) Motor Controller (ESC) built using N-channel MO...
-
Programmable Mist Maker - XIAO / QT PY Extension
1036 2 1 -
RadioHAT - Raspberry Pi radio development platform
840 0 2 -
-
-
-
-
ARPS-2 – Arduino-Compatible Robot Project Shield for Arduino UNO
3296 0 6 -
A Compact Charging Breakout Board For Waveshare ESP32-C3
3913 3 8 -
AI-driven LoRa & LLM-enabled Kiosk & Food Delivery System
4292 2 2


