


|
|
Arduino Nano R3 |
x 1 | |
|
|
Weak signal amplifier module |
x 1 | |
|
|
Lightning detector module from previous project |
x 1 |

|
Soldering Iron Kit |
|

|
arduino IDEArduino
|
DIY simple Arduino 24/7 Lightning monitoring system with graph and data logging
A lightning detector is a device or system designed to detect the presence of lightning discharges in the atmosphere. It's used to monitor and provide warnings about thunderstorms and lightning activity in a specific area. Lightning detectors work by detecting the electromagnetic radiation (radio waves) produced by lightning strikes.
Recently, in one of my videos, I described the creation of a simple lightning detector that uses a sound card from a PC, to record the events of the last ten minutes.
This time I will use the same device, but now I will add some components so that the atmosphere can be monitored 24 hours a day.
Now, let's describe the hardware part of the device:
The first board is actually the detector, and its construction and properties are described in the previous video, so we won't dwell on it now.

The other board consists of a weak signal amplifier module that has a gain of up to 10000 times and costs less than a dollar.

Of course, instead of this module we can make our own signal amplifier with operational amplifier IC. The other part is the Arduino Nano Microcontroller, which in this case has the function of an analog to digital converter, adjusting the signal to be compatible with the PC software. For this purpose, "nerdaqII" code is uploaded to Arduino. NERdaq is a data acquisition system developed at New England Research to support slinky-based seismometers in schools.

The daq is built around an arduino and streams 16-bit (oversampled) values to a usb port; the data are sampled at about 18.78 samples/second. Arduino code is provided for unrestricted use. To record the data, we used an application on PC called AmaSeis, from IRIS, the Incorporated Research Institutions for Seismology. These are free but relatively old apps and hard to find online, so you can download them directly from the links provided below.

This combination of Arduino with nerdaqII code, and Amaseis software is a great tool for 24/7 monitoring of almost any analog signal. In the following, briefly about the installation of the Arduino and the functions of the Amaseis application.
Installing the code on the arduino follows a standard procedure. In arduino IDE, in tools we select Arduino Nano and a corresponding com port. Then we go to open and locate the folder with the nerd software and select the nerd file. Now we press the upload button and when it's done, the part with the Arduino is done
Now we need to install the Amaseis software. We start it and go to settings - this station - and enter the name and latitude and longitude of the place
- Next, in the settings - COM port - we enter the COM port to which the Arduino is connected, in our case it is COM8
- Then, in setings - device - we select SETUPK1, then in SET Zero Level we enter 32768
- We need to set the filters, duration of one line of the graph and gain
- For this purpose, we go to settings and helicorder - horizontal time limit represents the duration of one line of the graph. if we leave 1 hour then the whole graph contains data for the last 24 hours.
- We adjust the gain value according to the amplitude of the signal, in my case 300
- Next we set the lowpass and highpass filter, and that's it for now, we restart the software and the logging starts
- During the operation of the software we can constantly change these settings. We can also zoom in and analyze a specific time period from the graph.
- In addition to the basic ones, there are many more useful functions that you can find by analyzing the menu.
- The data from the previous period are located in folders, and in one year the size of the files does not exceed one gigabyte.
And now let's see how the system works in real storm conditions:

First I will test the device with electric lighter to simulate the lightning strike. As we see on video, the close the lighter is, the greather the amplitude of detected signal on the graph.
As usual, the storm appeared during the period when I was testing the device for the first time and I wasn't quite ready to record, so I apologize for the poor quality of the recordings.

And finally, a short conclusion.
This is a really simple but very functional system, the total cost of which does not exceed a few dollars, but it is therefore a powerful tool for predicting and observing storms, and it has a very significant practical application, especially in this particular period of global warming. We can use this way of logging data in the future for other types of analog signals, especially if they appear impulsively with a very low frequency in a certain period.

DIY simple Arduino 24/7 Lightning monitoring system with graph and data logging


- Comments(0)
- Likes(0)
More by Mirko Pavleski
-
 Arduino 3D Printed self Balancing Cube
Self-balancing devices are electronic devices that use sensors and motors to keep themselves balanc...
Arduino 3D Printed self Balancing Cube
Self-balancing devices are electronic devices that use sensors and motors to keep themselves balanc...
-
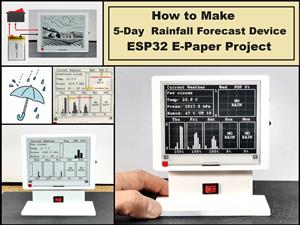 DIY 5-Day Rainfall Forecast Device - ESP32 E-Paper Project
In several of my previous projects I have presented ways to make weather stations, but this time I ...
DIY 5-Day Rainfall Forecast Device - ESP32 E-Paper Project
In several of my previous projects I have presented ways to make weather stations, but this time I ...
-
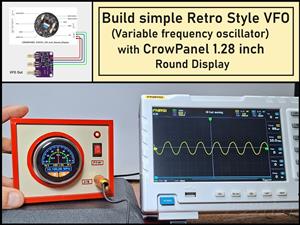 Build simple Retro Style VFO (Variable frequency oscillator) with Crowoanel 1.28 inch Round Display
Today I received a shipment with a Small round LCD display from Elecrow. The device is packed in tw...
Build simple Retro Style VFO (Variable frequency oscillator) with Crowoanel 1.28 inch Round Display
Today I received a shipment with a Small round LCD display from Elecrow. The device is packed in tw...
-
 Human vs Robot – Rock Paper Scissors with MyCobot 280 M5Stack
Today I received a package containing the few Elephant Robotics products. The shipment is well pack...
Human vs Robot – Rock Paper Scissors with MyCobot 280 M5Stack
Today I received a package containing the few Elephant Robotics products. The shipment is well pack...
-
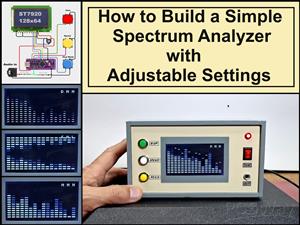 How to Build a Simple Audio Spectrum Analyzer with Adjustable Settings
An audio spectrum analyzer is an electronic device or software tool that measures and visually disp...
How to Build a Simple Audio Spectrum Analyzer with Adjustable Settings
An audio spectrum analyzer is an electronic device or software tool that measures and visually disp...
-
 How to Make a Digital Clock on a Vintage B&W TV using Arduino
These days I accidentally came across this small retro Black and White TV with a built-in Radio, so ...
How to Make a Digital Clock on a Vintage B&W TV using Arduino
These days I accidentally came across this small retro Black and White TV with a built-in Radio, so ...
-
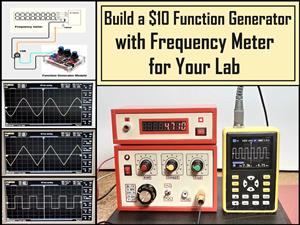 Build a $10 Function Generator with Frequency Meter for Your Lab
A function generator is a piece of electronic test equipment used to generate various types of elec...
Build a $10 Function Generator with Frequency Meter for Your Lab
A function generator is a piece of electronic test equipment used to generate various types of elec...
-
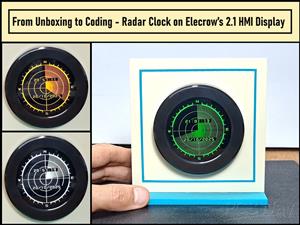 From Unboxing to Coding - Radar Clock on Elecrow’s 2.1 HMI Display
Today I received a shipment with a large round LCD display from Elecrow. The device is packed in two...
From Unboxing to Coding - Radar Clock on Elecrow’s 2.1 HMI Display
Today I received a shipment with a large round LCD display from Elecrow. The device is packed in two...
-
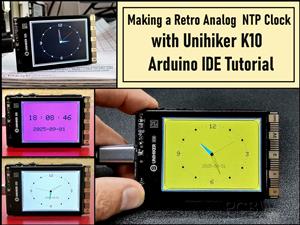 Making a Retro Analog NTP Clock with Unihiker K10 - Arduino IDE Tutorial
Some time ago I presented you a way to use standard Arduino libraries on the Unihiker k10 developme...
Making a Retro Analog NTP Clock with Unihiker K10 - Arduino IDE Tutorial
Some time ago I presented you a way to use standard Arduino libraries on the Unihiker k10 developme...
-
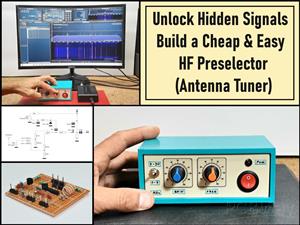 Build a Cheap & Easy HF Preselector - Antenna Tuner
HF antenna preselector is an electronic device connected between an HF radio antenna, and a radio r...
Build a Cheap & Easy HF Preselector - Antenna Tuner
HF antenna preselector is an electronic device connected between an HF radio antenna, and a radio r...
-
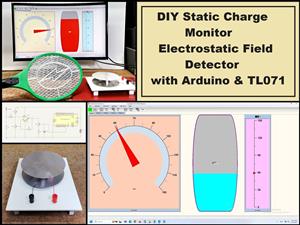 DIY Static Charge Monitor - Electrostatic Field Detector (Arduino & TL071)
A Static Charge Monitor also known as a Static Field Meter or Electrostatic Voltmeter is a device u...
DIY Static Charge Monitor - Electrostatic Field Detector (Arduino & TL071)
A Static Charge Monitor also known as a Static Field Meter or Electrostatic Voltmeter is a device u...
-
 XHDATA D-219 Radio Short Review with complete disassembly
Some time ago I received an offer from XHDATA to be one of the first test users of their new radio m...
XHDATA D-219 Radio Short Review with complete disassembly
Some time ago I received an offer from XHDATA to be one of the first test users of their new radio m...
-
 How to make Simplest ever Oscilloscope Clock
An oscilloscope clock is a unique and creative way to display the time using an oscilloscope, which...
How to make Simplest ever Oscilloscope Clock
An oscilloscope clock is a unique and creative way to display the time using an oscilloscope, which...
-
 DIY Digital Barograph with BME280 and ESP32 - 24 Hour Pressure Trends
A barograph is a self-recording barometer that continuously measures and records atmospheric pressu...
DIY Digital Barograph with BME280 and ESP32 - 24 Hour Pressure Trends
A barograph is a self-recording barometer that continuously measures and records atmospheric pressu...
-
 Build a Raspberry Pi Pico SDR Radio with Waterfall Display
Software-defined radio (SDR) is a radio communication system where components that have traditional...
Build a Raspberry Pi Pico SDR Radio with Waterfall Display
Software-defined radio (SDR) is a radio communication system where components that have traditional...
-
 DIY Magnet Polarity Detector - How to Identify Poles with a Hall Sensor from a PC Fan
Recently, while working on a project, I needed to determine the polarity of several permanent magne...
DIY Magnet Polarity Detector - How to Identify Poles with a Hall Sensor from a PC Fan
Recently, while working on a project, I needed to determine the polarity of several permanent magne...
-
 Light Meter Project - Making Dfrobot Unihiker K10 Work with Standard Arduino Libraries
The other day I received a shipment with a UNIHIKER K10 development board from DFRobot, which I rec...
Light Meter Project - Making Dfrobot Unihiker K10 Work with Standard Arduino Libraries
The other day I received a shipment with a UNIHIKER K10 development board from DFRobot, which I rec...
-
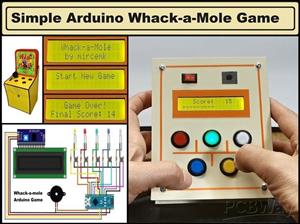 DIY Simple Arduino Whack-a-Mole Game
A "Whack-a-Mole" game is a classic arcade-style game where moles pop up randomly from holes, and th...
DIY Simple Arduino Whack-a-Mole Game
A "Whack-a-Mole" game is a classic arcade-style game where moles pop up randomly from holes, and th...
-
-
-
-
Tester for Touch Screen Digitizer without using microcontroller
324 2 2 -
Audio reactive glow LED wristband/bracelet with NFC / RFID-Tags
309 0 1 -
-
-


