


|
Soldering Iron Kit |
|

|
arduino IDEArduino
|
DIY Analog VU meter with Arduino peak meter
An analog VU meter, or Volume Unit meter, is a device used in audio equipment to display the level of audio signal in decibels (dB). It is commonly found on audio mixing consoles, amplifiers, and other audio equipment. The primary purpose of a VU meter is to provide a visual representation of the audio signal's amplitude, helping users monitor and control the signal level to prevent distortion or ensure proper recording and playback. Despite the prevalence of digital meters, analog VU meters are still appreciated for their nostalgic and classic appearance, and many audio enthusiasts prefer their aesthetic and the way they visually represent audio signals.

Unfortunately even nowadays these instruments are relatively expensive and their price is higher than several hundred dollars. This time I will present you a way to make such an instrument yourself, which according to the characteristics does not lag behind commercial devices of this type.
The most expensive part of these Vu meters are of course the galvanometers which are actually precision microammeters with a moving needle. Such instruments were commonly used in sound recording devices manufactured at the end of the last century and can easily be found in electronic waste disposal sites.

This project is sponsored by PCBway. This year PCBway is celebrating the 10th anniversary of its successful existence. On the occasion of this event, PCBway provided its users with more conveniences such as big savings for certain products, as well as discounts of up to 80%. From July 1st to July 31st, log in to the PCBway site, and start the PCBway 10th Anniversary Tour, where you will enjoy Coupons, Lucky Draw, Exclusive Badges, unboxing blind boxes, and many other surprises. PCBway is always your great choice.

In particular I bought for $10 an old defective UHER 4200 Record Monitor tape recorder that contains two marked round VU meters with a built-in backlight. These instruments need to be connected to an audio signal source in some way.

For this purpose is used an electronic circuit (driver), which can be of passive or active type. The passive driver is simple to build but is relatively insensitive because you must overcome the voltage drop of the diodes with the signal. In that case, they are usually connected to the output of the amplifier and represent power meters.

An active driver contains ICs or transistors as an amplifier, and despite the fact that it is very sensitive, has a high input resistance and does not affect the source signal at all. n this particular project I will use two identical active drivers for both channels.

The device is relatively simple to build and consists of several parts:
- Two microamp meters,
- an operational amplifier IC (I used TL081, but another similar one can be used),
- some passive elements (capacitors, resistors and diode)
- and a potentiometer that changes the input sensitivity, and serves to calibrating the VU meter.

I also added a peak meter circuit, whose function is each time when the signal exceeds the specified level, turns on RED led. It was easiest for me to use an microcontroller for this purpose, because I can very simply and precisely set the activation threshold of the LED in the code. This is an Arduino Nano clone that costs less than $2 and doesn't add much to the cost of the device. Of course, if you have no experience with microcontrollers, you can make a very simple peak meter with transistors.

If we use the VU meter as an independent device as in my case, there is no need for calibration and the sensitivity can be adjusted with the potentiometer. Another option is to embed it in some audio device, for example between the preamplifier and the output amplifier, in which case we need to calibrate using a reference calibrated VU meter.
And now let's see how the device works in real conditions: We take the audio signal from the sound card of the PC to the input of the VU meter, and from there it continues to the input of the audio amplifier. In this way, the VU meter shows the level of the input signal, regardless of the intensity of the output volume. For a better visual impression, I made the appropriate rings on a 3D printer, and I installed the entire device in a box made of PVC material with a thickness of 3 and 5 mm and covered with self-adhesive colored wallpaper.

The device is powered by 12V DC.


#define L A0
#define R A1

int sigL = 0;
int sigR = 0;

void setup() {
 pinMode(2, OUTPUT);
 pinMode(3, OUTPUT);
}

void led() {
 sigL = analogRead(L)*5;
 sigR = analogRead(R)*5;
 if (sigL > 600)  {digitalWrite(2, HIGH);} else {digitalWrite(2, LOW);}
 if (sigR > 650) {digitalWrite(3, HIGH);} else {digitalWrite(3, LOW);}

}

void loop() {
 led();
}


DIY Analog VU meter with Arduino peak meter









Raspberry Pi 5 7 Inch Touch Screen IPS 1024x600 HD LCD HDMI-compatible Display for RPI 4B 3B+ OPI 5 AIDA64 PC Secondary Screen(Without Speaker)
BUY NOW


- Comments(0)
- Likes(1)
More by Mirko Pavleski
-
 Arduino 3D Printed self Balancing Cube
Self-balancing devices are electronic devices that use sensors and motors to keep themselves balanc...
Arduino 3D Printed self Balancing Cube
Self-balancing devices are electronic devices that use sensors and motors to keep themselves balanc...
-
 Building a Mini Fostex Horn Speaker with a 2-Inch Full-Range Driver
A back-loaded horn speaker is a loudspeaker design that channels the rear sound wave of a driver th...
Building a Mini Fostex Horn Speaker with a 2-Inch Full-Range Driver
A back-loaded horn speaker is a loudspeaker design that channels the rear sound wave of a driver th...
-
 ESP32 Moon Lamp That Shows the Real Moon Phase on Crowpanel Round Dispaly
Recently on the Hackaday portal I came across a very interesting project called Moon Display by aut...
ESP32 Moon Lamp That Shows the Real Moon Phase on Crowpanel Round Dispaly
Recently on the Hackaday portal I came across a very interesting project called Moon Display by aut...
-
 40-Year-Old DIY Power Amplifiers – Do They Still Work - 500W MOSFET & Transistor Amps
This time I want to describe my two DIY super powerful audio amplifiers that I made about 40 years ...
40-Year-Old DIY Power Amplifiers – Do They Still Work - 500W MOSFET & Transistor Amps
This time I want to describe my two DIY super powerful audio amplifiers that I made about 40 years ...
-
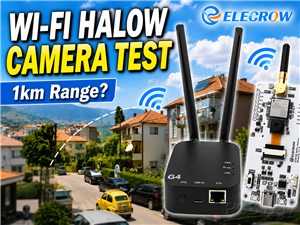 Wi-Fi HaLow Explained! Long-Range Camera Test up to 300m (ESP32 + ThinkNode G4 from ELECROW)
I recently needed to install a security camera at a relatively large distance from my home, more pre...
Wi-Fi HaLow Explained! Long-Range Camera Test up to 300m (ESP32 + ThinkNode G4 from ELECROW)
I recently needed to install a security camera at a relatively large distance from my home, more pre...
-
 Simple Object Recognition with the UNIHIKER K10 – No TensorFlow, No Internet, No Cloud AI
Object recognition has become one of the most popular applications of artificial intelligence and em...
Simple Object Recognition with the UNIHIKER K10 – No TensorFlow, No Internet, No Cloud AI
Object recognition has become one of the most popular applications of artificial intelligence and em...
-
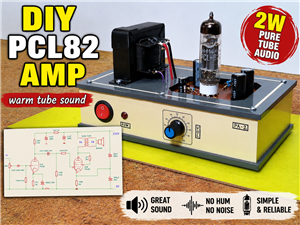 DIY PCL82 Tube Amplifier, Single-Ended Amp with Amazing Sound
The idea for this project came from a local electronics magazine called EMITER, issue 12/13 from 20...
DIY PCL82 Tube Amplifier, Single-Ended Amp with Amazing Sound
The idea for this project came from a local electronics magazine called EMITER, issue 12/13 from 20...
-
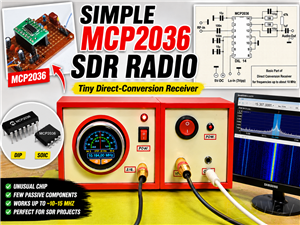 Simple MCP2036 SDR Radio - The Most Unusual Software Defined Radio
SDR (Software Defined Radio) is a radio communication system where many of the key electronic compo...
Simple MCP2036 SDR Radio - The Most Unusual Software Defined Radio
SDR (Software Defined Radio) is a radio communication system where many of the key electronic compo...
-
 Elecrow All-in-One Arduino Starter Kit Review - 20 Projects & 16 Modules
This time I will describe a simple and practical way to enter the world of microcontrollers, specif...
Elecrow All-in-One Arduino Starter Kit Review - 20 Projects & 16 Modules
This time I will describe a simple and practical way to enter the world of microcontrollers, specif...
-
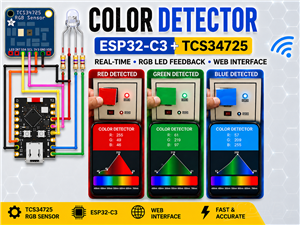 ESP32-C3 Color Detector with TCS34725, Real-Time RGB Detection & Web Interface
Color detection is a fundamental task in many embedded systems – from industrial sorting machines t...
ESP32-C3 Color Detector with TCS34725, Real-Time RGB Detection & Web Interface
Color detection is a fundamental task in many embedded systems – from industrial sorting machines t...
-
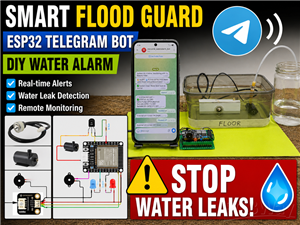 DIY ESP32 Telegram Flood Protection System - Smart Home Automation
Recently I had an unpleasant experience in my home, specifically my ground floor was flooded as a r...
DIY ESP32 Telegram Flood Protection System - Smart Home Automation
Recently I had an unpleasant experience in my home, specifically my ground floor was flooded as a r...
-
 Real-Time Air Traffic Radar using ESP32 + ADS-B Data
ADS-B, which stands for Automatic Dependent Surveillance-Broadcast, is the modern standard for trac...
Real-Time Air Traffic Radar using ESP32 + ADS-B Data
ADS-B, which stands for Automatic Dependent Surveillance-Broadcast, is the modern standard for trac...
-
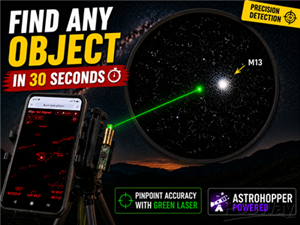 DIY Green Laser Night Sky Object Finder - Find Stars & Galaxies Instantly with great accuracy
As an amateur astronomer, especially at the beginning, the most difficult part of observing the nig...
DIY Green Laser Night Sky Object Finder - Find Stars & Galaxies Instantly with great accuracy
As an amateur astronomer, especially at the beginning, the most difficult part of observing the nig...
-
 DIY Avionics Simulator with ESP32 - Artificial Horizon, Compass & Altimeter
The inspiration for this project comes from classical aircraft cockpit instruments used for navigat...
DIY Avionics Simulator with ESP32 - Artificial Horizon, Compass & Altimeter
The inspiration for this project comes from classical aircraft cockpit instruments used for navigat...
-
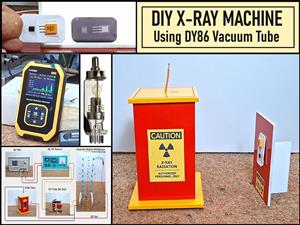 DIY Miniature X-Ray Machine using a TV Vacuum Tube DY86
An X-ray machine (or radiograph) is a quick, painless medical test that produces images of the struc...
DIY Miniature X-Ray Machine using a TV Vacuum Tube DY86
An X-ray machine (or radiograph) is a quick, painless medical test that produces images of the struc...
-
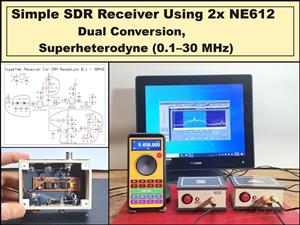 Simple SDR Receiver Using 2x NE612 - Dual Conversion, Superheterodyne (0.1–30 MHz)
SDR (Software Defined Radio) is a radio system in which most of the functions of a classic radio (f...
Simple SDR Receiver Using 2x NE612 - Dual Conversion, Superheterodyne (0.1–30 MHz)
SDR (Software Defined Radio) is a radio system in which most of the functions of a classic radio (f...
-
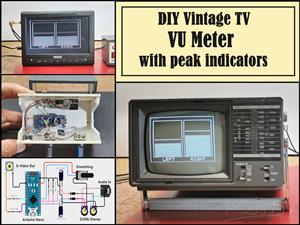 DIY Vintage TV VU Meter with peak indicators
Some time ago in one of my projects I presented you a way to turn a black and white old mini TV int...
DIY Vintage TV VU Meter with peak indicators
Some time ago in one of my projects I presented you a way to turn a black and white old mini TV int...
-
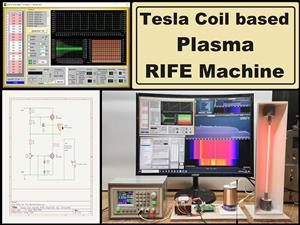 DIY Tesla Coil based Plasma Rife Machine
In several of my previous videos, I presented you with different ways to make a Rife Machine, from ...
DIY Tesla Coil based Plasma Rife Machine
In several of my previous videos, I presented you with different ways to make a Rife Machine, from ...
-
Programmable Mist Maker - XIAO / QT PY Extension
2117 2 2 -
RadioHAT - Raspberry Pi radio development platform
1798 0 4 -
-
-
-
ARPS-2 – Arduino-Compatible Robot Project Shield for Arduino UNO
4012 0 6 -
A Compact Charging Breakout Board For Waveshare ESP32-C3
4749 3 8 -
AI-driven LoRa & LLM-enabled Kiosk & Food Delivery System
5562 2 2 -





















