


|
|
ON/OFF Slide Switch |
x 1 | |
|
|
TP4056 Charging Module |
x 1 | |
|
|
Li-ion Rechargable Battery |
x 1 | |
|
|
PAM8403 Amplifier Module |
x 1 | |
|
|
BT 5.0 Audio Receiver Module |
x 1 | |
|
|
Old Earphone |
x 1 |

|
fusion360 |
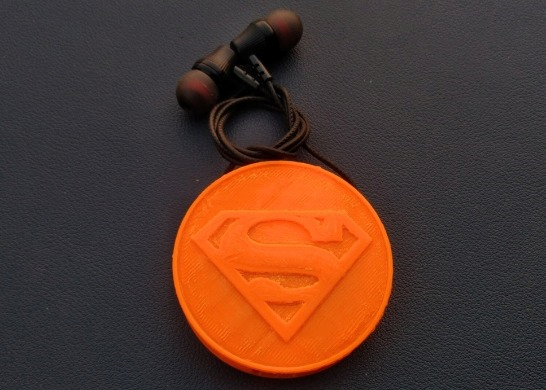
3d Printed Wireless Earphone
These days, most new smartphones don’t come with a headphone jack. And if you're like me, you probably have a few old wired earphones lying around that still work perfectly—but can’t be used anymore. Instead of throwing them away, why not turn them into something cool?
That’s exactly what I did with this project—a 3D Printed Wireless Earphone! It’s a simple but fun way to give your old earphones a second life by turning them into Bluetooth earphones that are not only wireless but also wearable. I designed a compact 3D printed case that looks awesome with Superman logo! and fits all the components neatly.
This project is perfect if you want to save money, reduce e-waste, or just love building useful gadgets. I’m sharing it as part of the Make It Wearable Contest here on Instructables, and I hope it inspires more people to upcycle their tech creatively.
I Got Earphone With Spekar from smartphone repairing shop, you can get too. Or you can even get it from old Earphone.
Step 1: CAD Design & 3D Printing
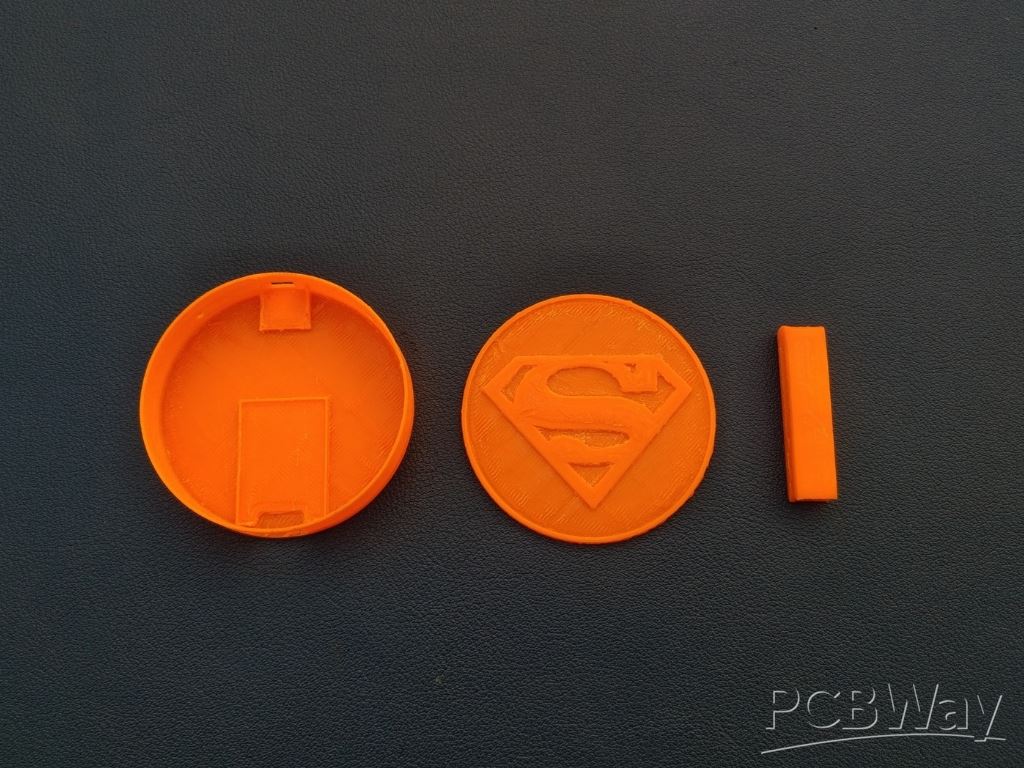
To begin, I designed this iron man Arc reactor using Fusion 360. I'm providing the STL files for directly 3D Printing. The files are listed below:
1x Bottom.stl
1x CLIP.stl
1x Middle.stl
1x top.stl
If you don't have a 3d Printer like me! Then you can use pcbway 3d printing service. PCBWay offers high-quality, precise, and affordable 3D printing for hobbyists, engineers, and designers. With advanced printing technologies like SLA, SLS, FDM, MJF, and DMLS, they ensure top-notch accuracy and detail. You can choose from a wide range of materials, including resin, plastics, and metals, at competitive prices. Their fast turnaround and global shipping make them a preferred choice for rapid prototyping.
Ordering is simple: Upload your 3D file, select material and technology, get an instant quote, confirm your order, and let PCBWay handle the rest. Your custom 3D print will be delivered with precision and care. Experience the best in 3D printing with PCBWay today! Register Now using this link and get huge discount on your order.
Step 2: Earphone Assembly
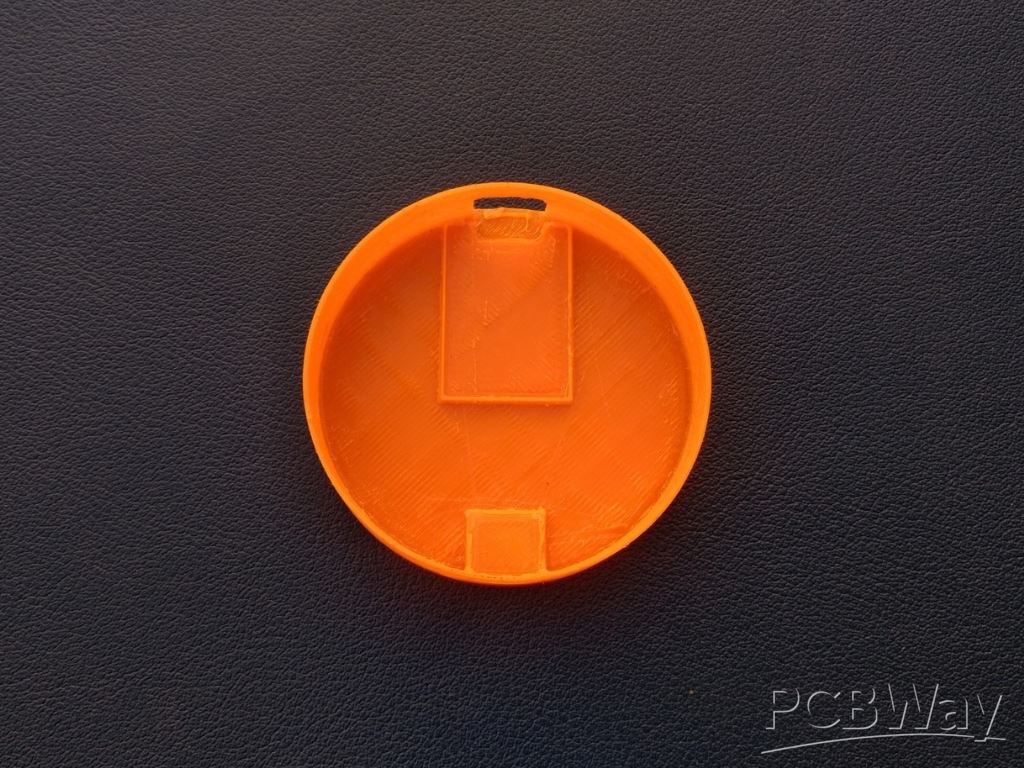
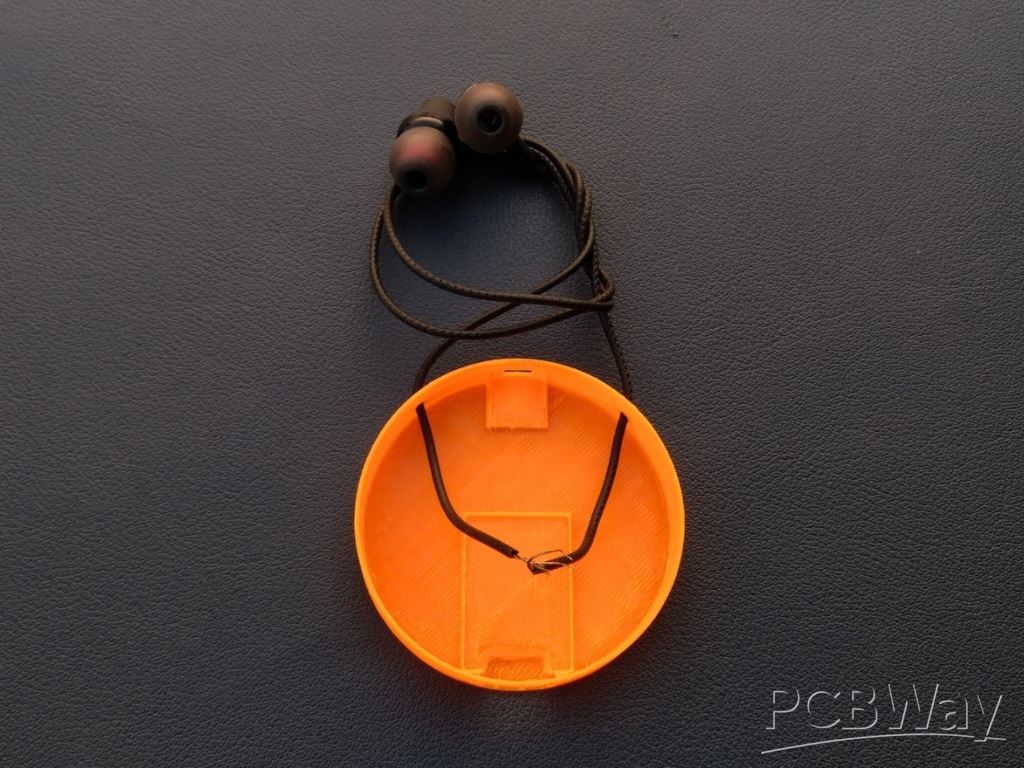 Now that we have our 3D printed bottom ready, it’s time to add the earphones. Take a closer look at the bottom, you’ll see two small holes on either side. These are made specifically for the earphone wires to pass through. Gently insert each earphone wire through the holes from the outside.
Once you're happy with the placement, apply a small amount of super glue around the entry points to hold the wires firmly in place. Just a drop is enough! Be careful not to let the glue spread to the earphones themselves or the sound output area.
Step 3: Battery Connection & Assembly
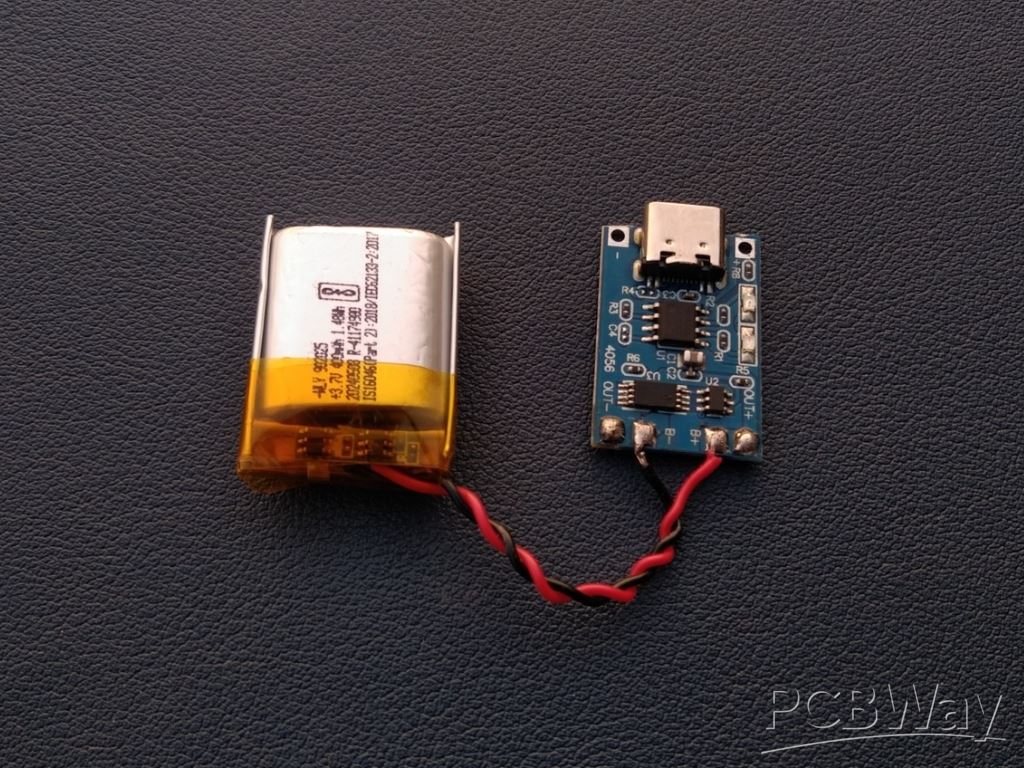
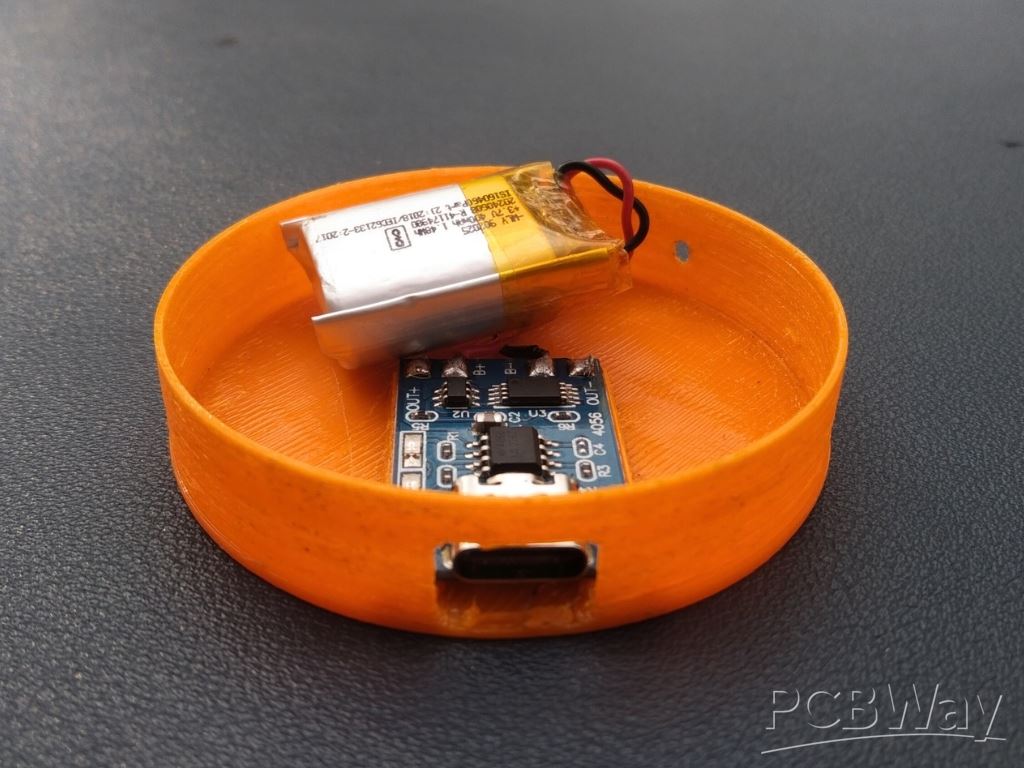
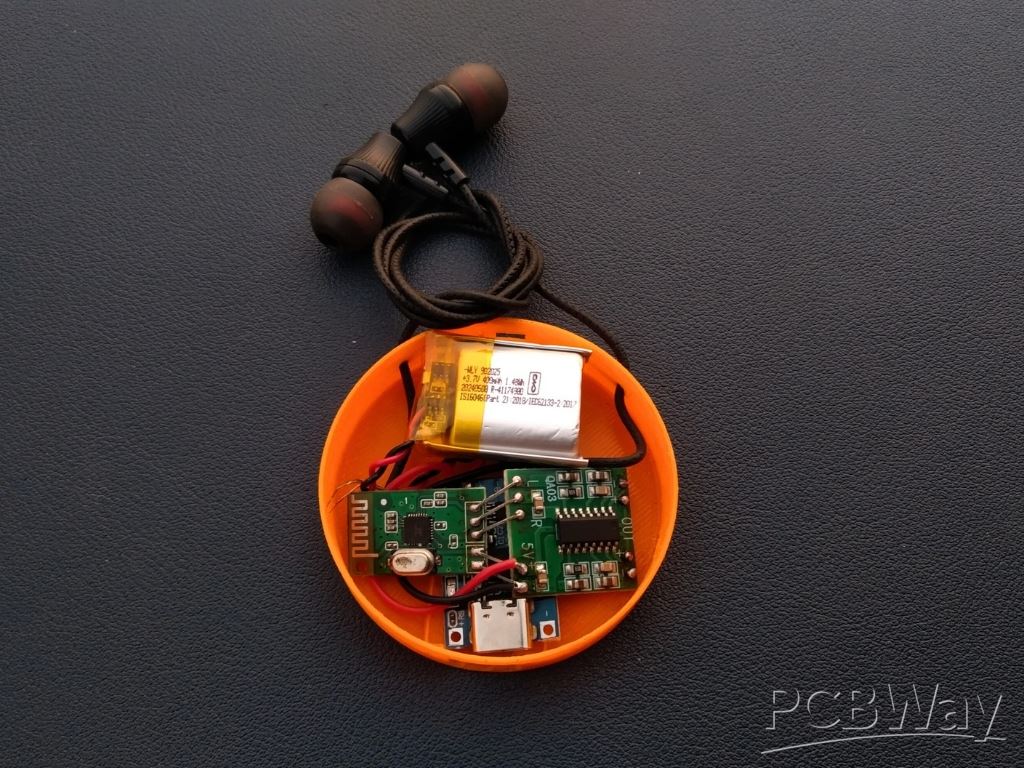
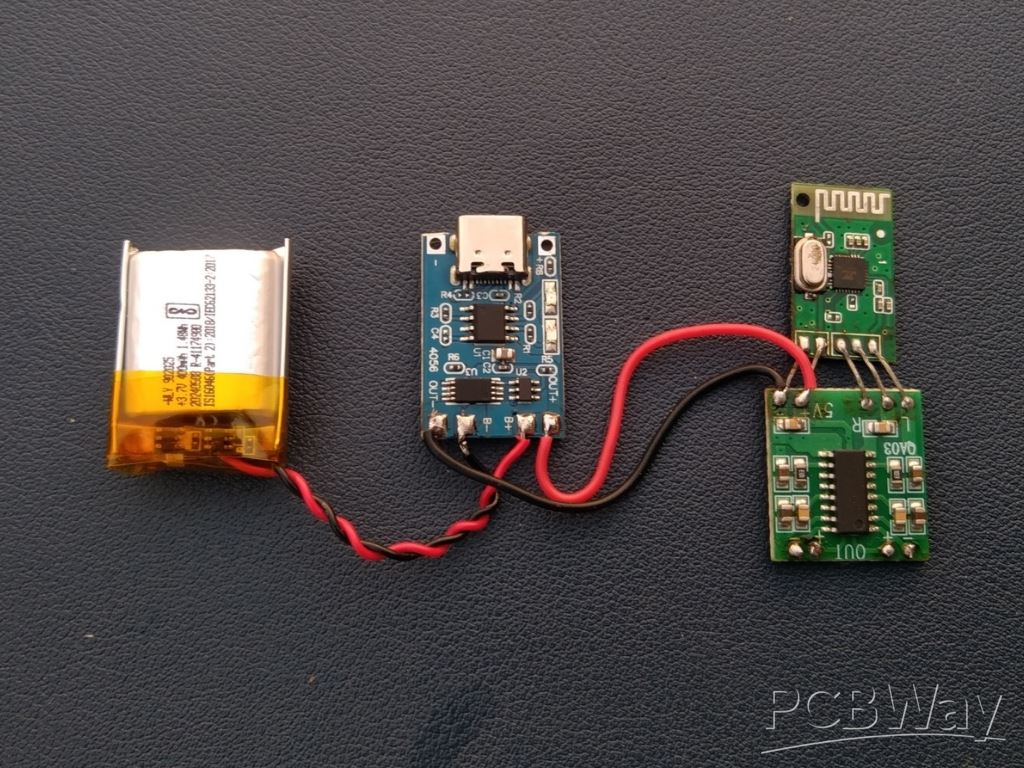
In this step, connect the Li-ion battery to the TP4056 Type-C charging module and fix the module into the bottom section of the enclosure. Begin by soldering the red wire from the battery to the B+ pad and the black wire to the B- pad on the module. Ensure the polarity is correct to avoid any damage. Once the wires are securely soldered, place the charging module in its designated spot at the bottom of the case. Use a small amount of super glue to keep the module firmly in place. Make sure the Type-C port is properly aligned with the slot in the case for convenient charging.
Step 4: Audio Section Connection
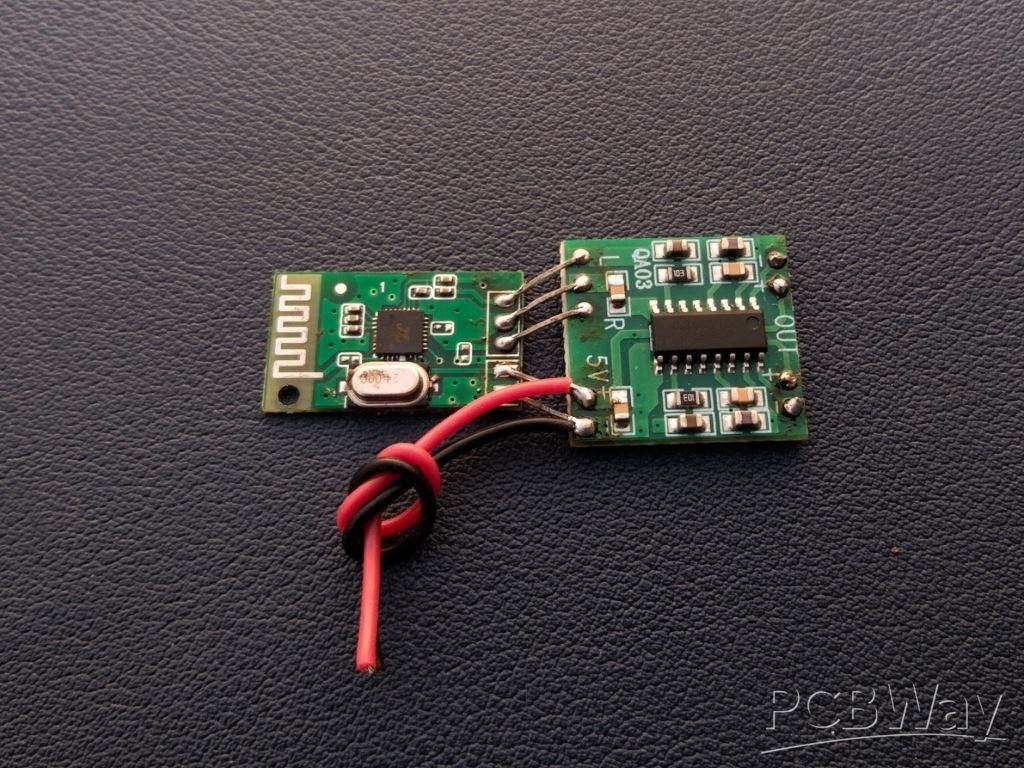 In this step, connect the Bluetooth audio receiver module to the PAM8403 amplifier module. Begin by soldering the left and right channel output pins of the Bluetooth module to the corresponding input pins of the amplifier module (L and R). Connect the GND pins of both modules together to ensure a common ground. Then, solder the red and black 26AWG Silicon wires to the 5V and GND pads of the module. these will be used to provide power from the battery module.
Step 5: Switch Connection
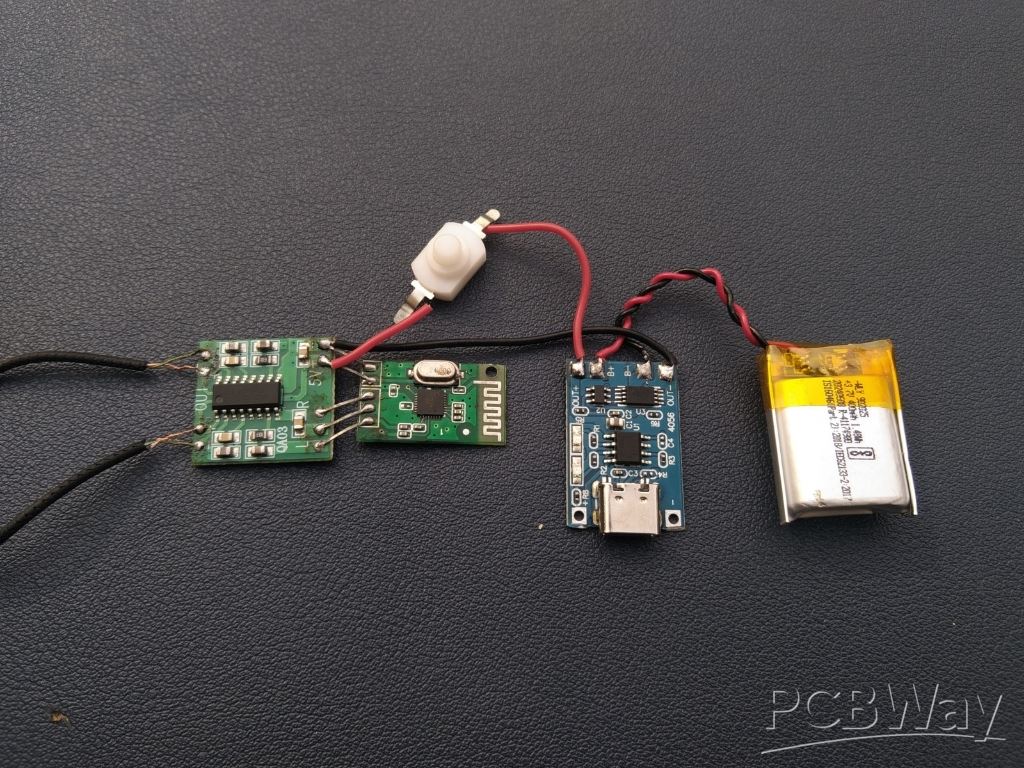
At this stage, all main connections are completed, including the battery, charging module, Bluetooth receiver, and amplifier module. As a final addition, a small slide switch is connected in-line with the positive wire between the charging module’s output and the amplifier's power input. This switch allows you to turn the device on or off easily.
Since I'm using push switch due to unavailability of slide switch. If you're building this one then use slide switch because it's recommended.
Step 6: Earphone Connection
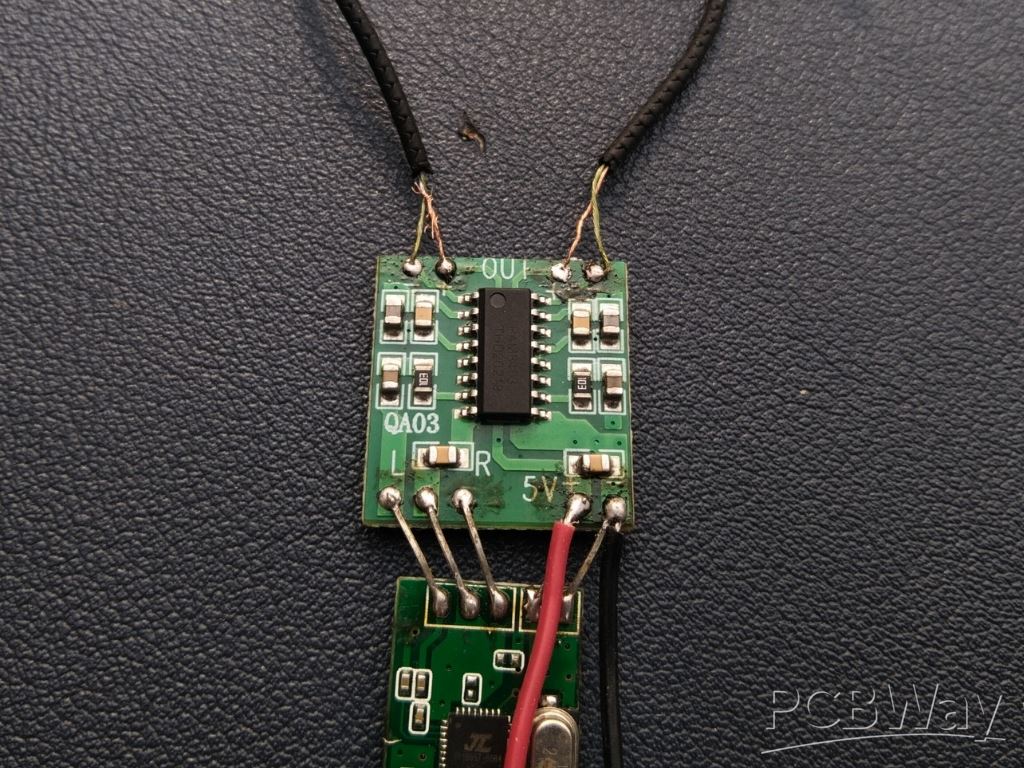 in this step, the earphones are connected to the output terminals of the PAM8403 amplifier module. First, gently burn off the insulation from the earphone wires using a lighter or matchstick—just a quick flame to expose the copper strands without damaging them. After that, twist the exposed wires neatly and solder the left and right channel wires to the corresponding output terminals marked (+) and (-) on the PAM8403 module. Connect Postive Wire of Earphone to (+) of pam8403 and Negative wire to (-) of pam8403 module.
Make sure the connections are firm and that no wires are shorting across adjacent pads. Once soldered properly, this step completes the audio path from Bluetooth input to speaker output via the amplifier.
Step 7: Switch Assembly
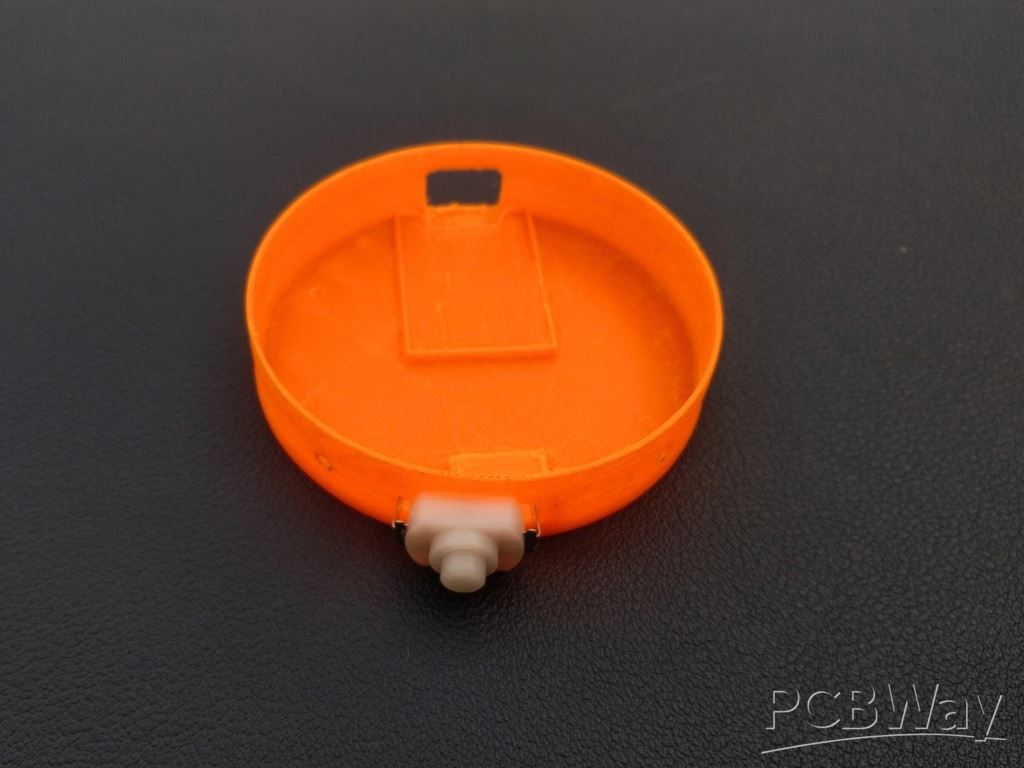
Once the connection is done, carefully position the switch into the designated open slot at the bottom of the case. Apply a small amount of super glue to secure the switch in place so it doesn’t shift during operation. Ensure the switch is accessible from outside the case, allowing easy power control of the device.
Step 8: Audio Section Assembly
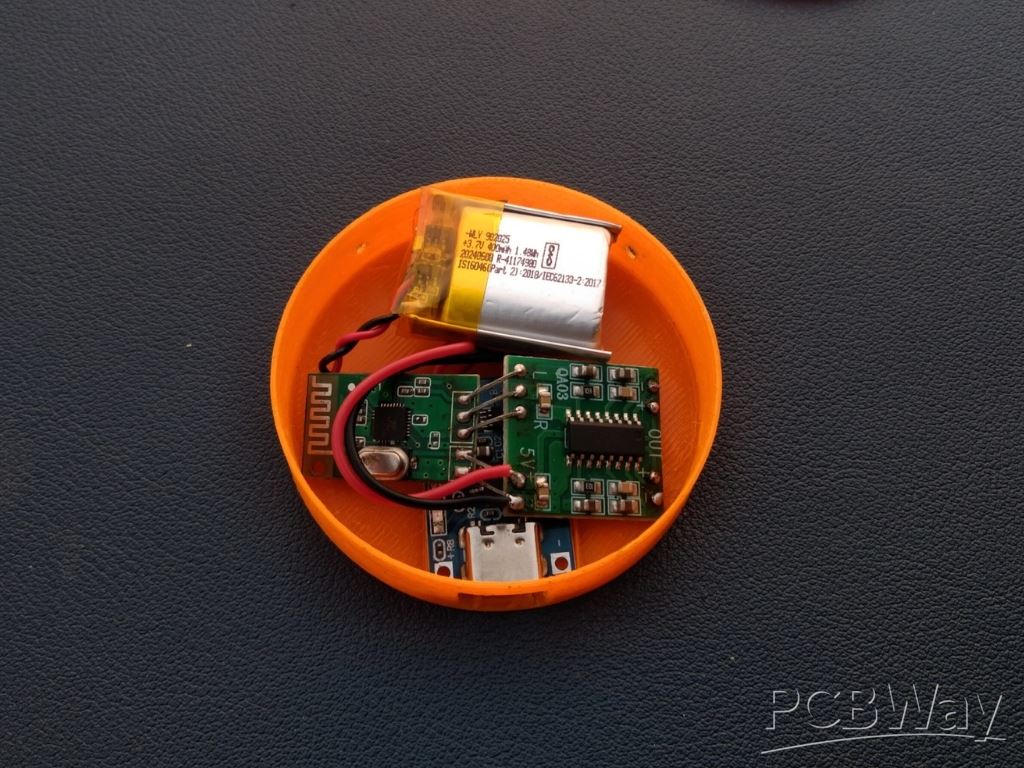
Now that we have already assembled the TP4056 charging module, connected the battery, and installed the switch, it’s time to move on to the audio receiving section. Take the audio receiver module and carefully place it inside the case. Make sure all the wires are soldered properly and there are no loose connections. Arrange all the components neatly inside the case to avoid any short circuits or damage.
Step 9: Top Assembly

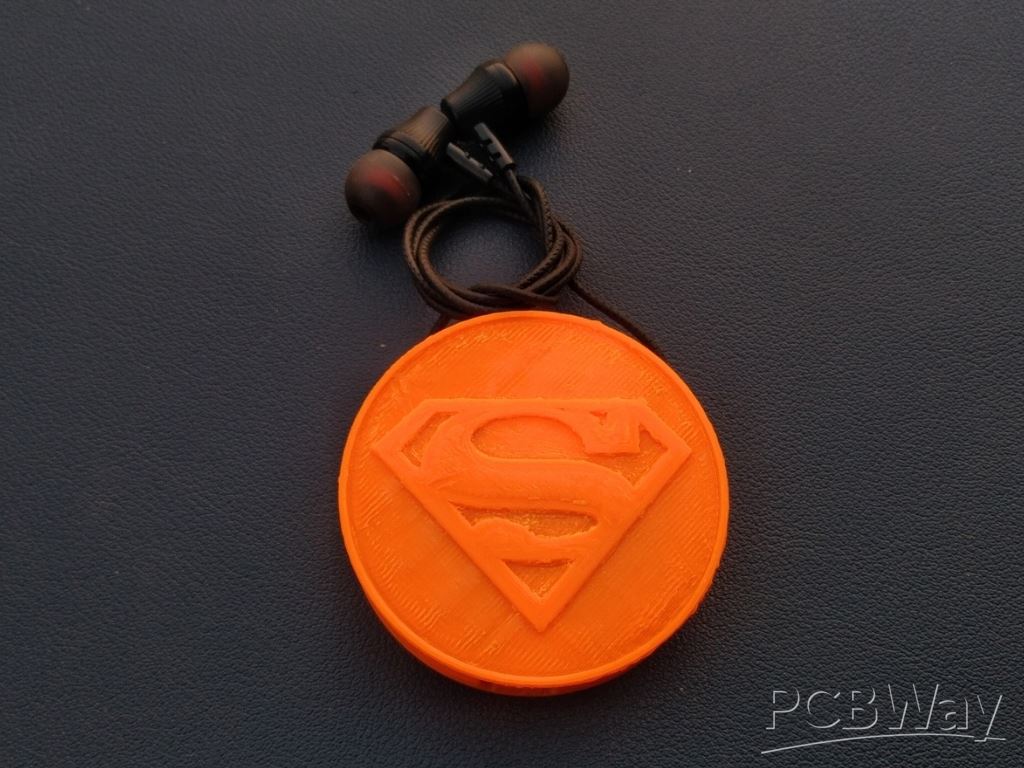
Now that all the components are placed inside the case, it's time to close it using the top panel. Take the 3D-printed top cover with the Superman logo and carefully place it over the bottom part of the case. Make sure all the wires and components are properly arranged inside and nothing is sticking out. you can use a small amount of super glue around the inner edge of the case to keep it secure.
After placing the top panel, check that the USB charging port and the switch are still accessible and the earphones can be wrapped around the case comfortably.
Step 10: Clip Assembly
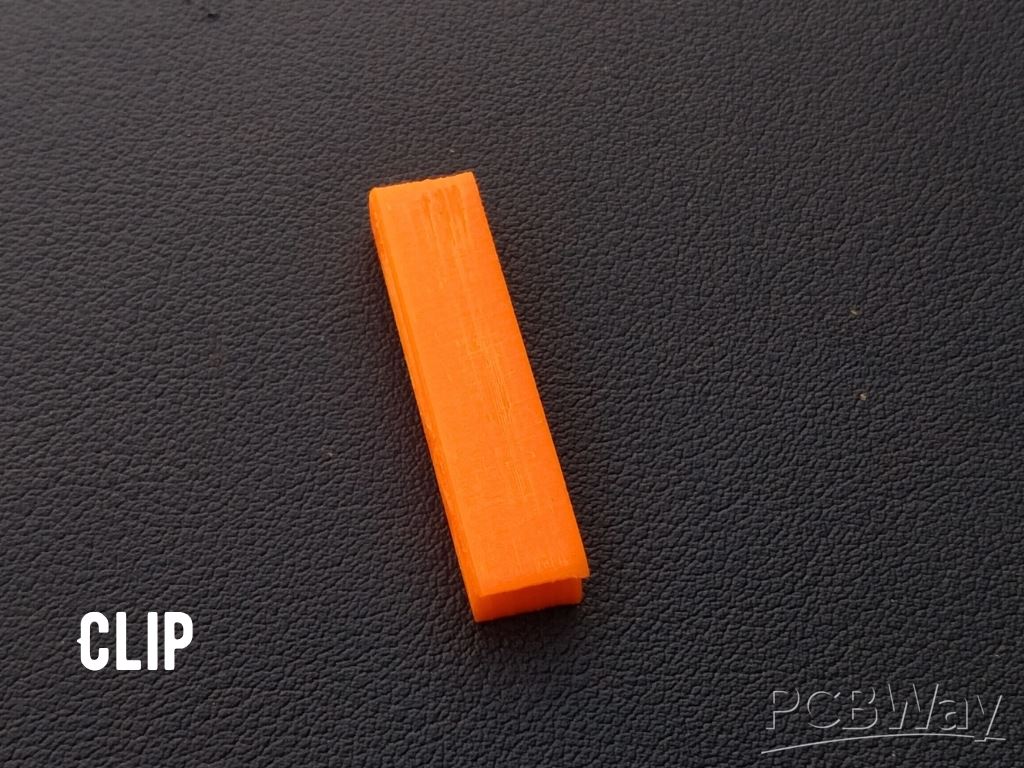
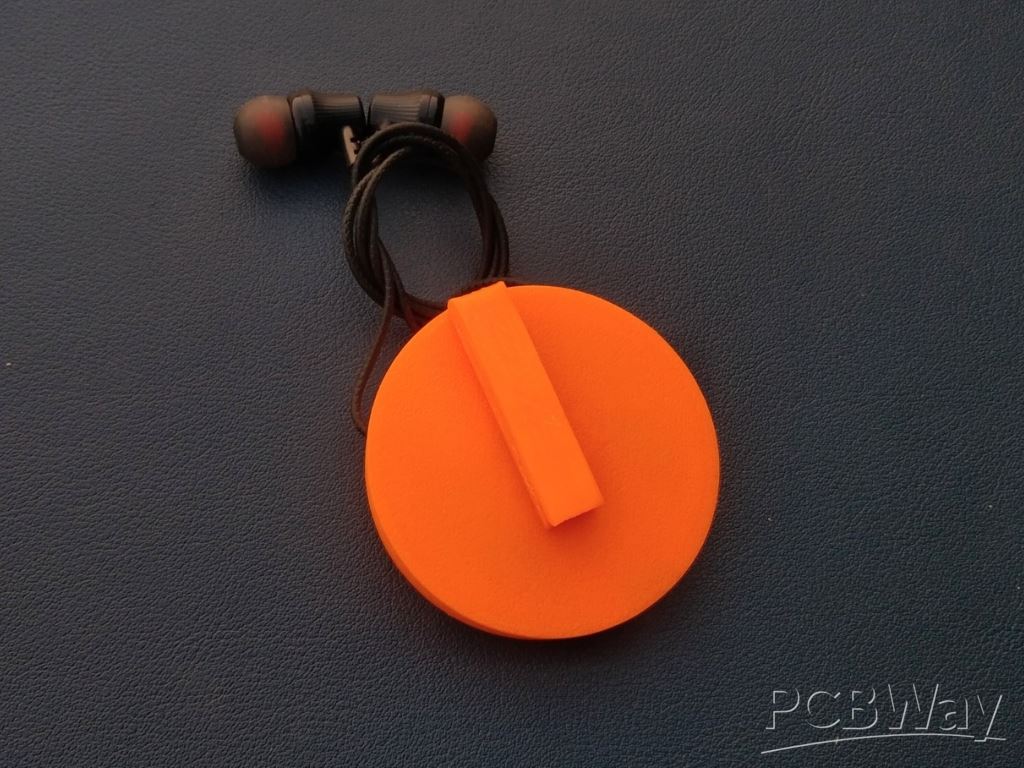
Take the clip and apply a small amount of super glue to its base. Carefully place it on the back side of the bottom case, making sure it is centered and firmly pressed. Hold it in place for a few seconds to let the glue set properly. The clip makes the device wearable, allowing you to easily attach it to your clothes. Make sure the clip is secure before moving to the next step.
Step 11: Testing
Now it's time for the most exciting part—testing your device. Start by turning on the switch to power up the circuit. On your smartphone, go to the Bluetooth settings and look for the name of the audio receiver module. Pair and connect with it just like you would with any regular Bluetooth earphone. Once connected, play your favorite music and enjoy the wireless sound through your newly converted earphones.
Conclusion
From converting old wired earphones into a fully functional Bluetooth audio device to making it wearable. this project is a perfect blend of creativity, electronics, and 3D printing. It’s compact, stylish, and actually useful in everyday life.
With smartphone companies gradually removing the headphone jack, this project gives new life to your old earphones while also giving you a unique wearable gadget you made yourself. It’s not just a fun DIY—it's a practical solution too.
3d Printed Wireless Earphone
*PCBWay community is a sharing platform. We are not responsible for any design issues and parameter issues (board thickness, surface finish, etc.) you choose.


Raspberry Pi 5 7 Inch Touch Screen IPS 1024x600 HD LCD HDMI-compatible Display for RPI 4B 3B+ OPI 5 AIDA64 PC Secondary Screen(Without Speaker)
BUY NOW


- Comments(3)
- Likes(1)
More by Kishan Pratap Singh
-
 A Compact Charging Breakout Board For Waveshare ESP32-C3
The Waveshare ESP32-C3 Mini development board is a powerful and compact solution for modern IoT and ...
A Compact Charging Breakout Board For Waveshare ESP32-C3
The Waveshare ESP32-C3 Mini development board is a powerful and compact solution for modern IoT and ...
-
 World's Smallest 1S Battery Charger
This is a very small 1S lithium battery charger board designed for projects where space is extremely...
World's Smallest 1S Battery Charger
This is a very small 1S lithium battery charger board designed for projects where space is extremely...
-
 DIY Smart Battery Charger
In today's world, batteries are an integral part of our lives, powering everything from our smartpho...
DIY Smart Battery Charger
In today's world, batteries are an integral part of our lives, powering everything from our smartpho...
-
 DIY 3D Printed Keychain Light
Hello Friends, welcome back in my new Instructables. Today I'm going to build my own smallest & ...
DIY 3D Printed Keychain Light
Hello Friends, welcome back in my new Instructables. Today I'm going to build my own smallest & ...
-
 DIY 3D Printed Compact Size Bluetooth speaker
Hello Friends, My self Kishan Pratap Singh. I developed my new project. Kindly let me know your thou...
DIY 3D Printed Compact Size Bluetooth speaker
Hello Friends, My self Kishan Pratap Singh. I developed my new project. Kindly let me know your thou...
-
 200w Mini Smart Inverter PCB
Introducing our Mini Inverter PCB, a compact and efficient solution for portable power needs. This c...
200w Mini Smart Inverter PCB
Introducing our Mini Inverter PCB, a compact and efficient solution for portable power needs. This c...
-
 A Compact Charging Breakout Board For Waveshare ESP32-C3 (V2 – Improved Manufacturability)
The Waveshare ESP32-C3 Mini is an excellent choice for compact IoT projects. However, one limitation...
A Compact Charging Breakout Board For Waveshare ESP32-C3 (V2 – Improved Manufacturability)
The Waveshare ESP32-C3 Mini is an excellent choice for compact IoT projects. However, one limitation...
-
 Custom Coupler for BO Motor to Robot Wheel
Standard robot wheels are widely used in educational and DIY robotic platforms, but they are not alw...
Custom Coupler for BO Motor to Robot Wheel
Standard robot wheels are widely used in educational and DIY robotic platforms, but they are not alw...
-
 Custom Coupler for N20 Gear Motor to Robot Wheel
These rubber wheels are commonly used in small robotic mobile platforms such as 2WD and 4WD robots. ...
Custom Coupler for N20 Gear Motor to Robot Wheel
These rubber wheels are commonly used in small robotic mobile platforms such as 2WD and 4WD robots. ...
-
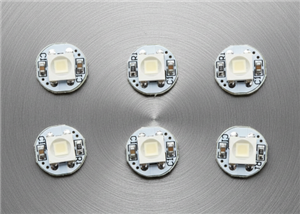 Ultra-Compact RGB Button LED PCB (NeoPixel Compatible)
I designed this tiny RGB button LED PCB to make adding colorful, addressable lighting to projects si...
Ultra-Compact RGB Button LED PCB (NeoPixel Compatible)
I designed this tiny RGB button LED PCB to make adding colorful, addressable lighting to projects si...
-
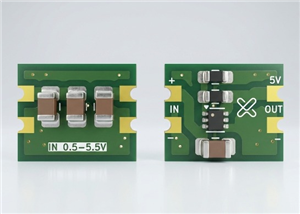 Ultra Compact Boost Converter Module
This project features an ultra-compact, high-efficiency boost converter module designed using the TP...
Ultra Compact Boost Converter Module
This project features an ultra-compact, high-efficiency boost converter module designed using the TP...
-
 PCBWay 11th Anniversary LED Badge – Services Edition 🎉
This project is a custom-designed PCB badge created to celebrate PCBWay’s 11th anniversary and highl...
PCBWay 11th Anniversary LED Badge – Services Edition 🎉
This project is a custom-designed PCB badge created to celebrate PCBWay’s 11th anniversary and highl...
-
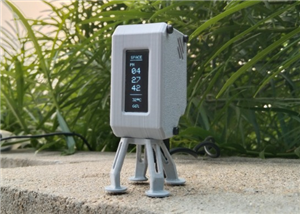 OrbitClock – a Tiny Space-Inspired IoT Environment Clock
Time and space are deeply connected — satellites orbit Earth to keep our clocks synchronized with in...
OrbitClock – a Tiny Space-Inspired IoT Environment Clock
Time and space are deeply connected — satellites orbit Earth to keep our clocks synchronized with in...
-
 DIY Compact UPS for Wifi Router (Easy To Build)
In villages and towns where electricity cut-offs are a daily challenge, one of the first things to g...
DIY Compact UPS for Wifi Router (Easy To Build)
In villages and towns where electricity cut-offs are a daily challenge, one of the first things to g...
-
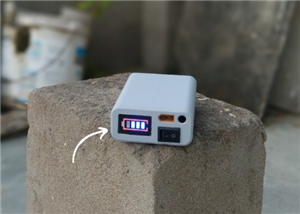
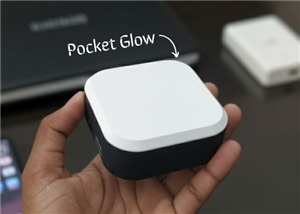 Pocket Glow: a perfect camping light
The call of the wild is always exciting, but it also comes with challenges – like needing the right ...
Pocket Glow: a perfect camping light
The call of the wild is always exciting, but it also comes with challenges – like needing the right ...
-
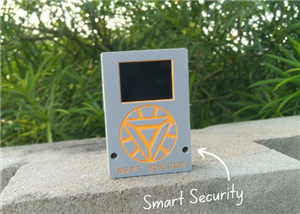 Face Recognition Door Lock with Smartphone Notification
Have you ever wished your home security system felt as futuristic and intelligent as JARVIS from Iro...
Face Recognition Door Lock with Smartphone Notification
Have you ever wished your home security system felt as futuristic and intelligent as JARVIS from Iro...
-
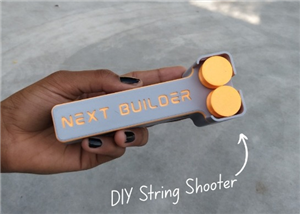 DIY String Shooter
This is my DIY 3D Printed String Shooter—a fun little project I made using two micro dc toy motor. I...
DIY String Shooter
This is my DIY 3D Printed String Shooter—a fun little project I made using two micro dc toy motor. I...
-
 PCBWay 11th Anniversary LED Badge 🎉
This project is a custom-designed PCBWay 11th Anniversary Badge, created to celebrate 11 years of PC...
PCBWay 11th Anniversary LED Badge 🎉
This project is a custom-designed PCBWay 11th Anniversary Badge, created to celebrate 11 years of PC...
-
Programmable Mist Maker - XIAO / QT PY Extension
412 0 0 -
RadioHAT - Raspberry Pi radio development platform
320 0 1 -
-
-
-
-
ARPS-2 – Arduino-Compatible Robot Project Shield for Arduino UNO
2872 0 6 -
A Compact Charging Breakout Board For Waveshare ESP32-C3
3376 3 8 -
AI-driven LoRa & LLM-enabled Kiosk & Food Delivery System
3694 2 2


