


|
|
TL494 IC |
x 1 | |
|
|
HV Trafo |
x 1 | |
|
|
IRF740 or similar Power Mosfet |
x 1 | |
|
|
2N3906 transistor |
x 1 | |
|
|
Various passive components |
x 1 | |
|
|
Compact fluorescent lamp |
x 2 | |
|
|
60W PCIe 12V 5A Power Supply |
x 1 |

|
Soldering Iron Kit |
The simplest and cheapest way to make your own Plasma Rife Machine (Detailed instructions)
Royal Raymond Rife was a scientist, inventor and medical researcher. He is known for his microscopes, which he claimed could observe live microorganisms but also by an electronic device constructed by him called the Rife Machine, which according to his claims, is capable of curing very serious and incurable diseases.

In two of my previous videos on this topic (How to make Оriginal Plasma Rife Mchine ", and DIY Advanced Plasma Rife Machine ), I described how I made such devices, one with a simpler construction and the other more complex, with advanced functions. This time I will try to describe to you in more detail the simplest and cheapest way to make such a device, and for its making I will use components that can be easily obtained.
Of course, in order to make it yourself, you must have at least basic knowledge in the field of electronics. If you decide to make this device, it is advisable to watch the previously mentioned videos to make many things clearer.
Basically, Rife Machine consists of several Parts:

1. RIFE FREQUENCY GENERATOR
This part serves to generate a series of frequencies with a certain duration that depend on the type of treatment and type of disease. For this purpose, we will use the personal computer as the simplest solution, and with the help of advanced Free software, we will send the frequencies to the modulator through the sound card. The software is "Frex 16" (http://www.spectrotek.com/frex/) and you can freely download it at the given address.
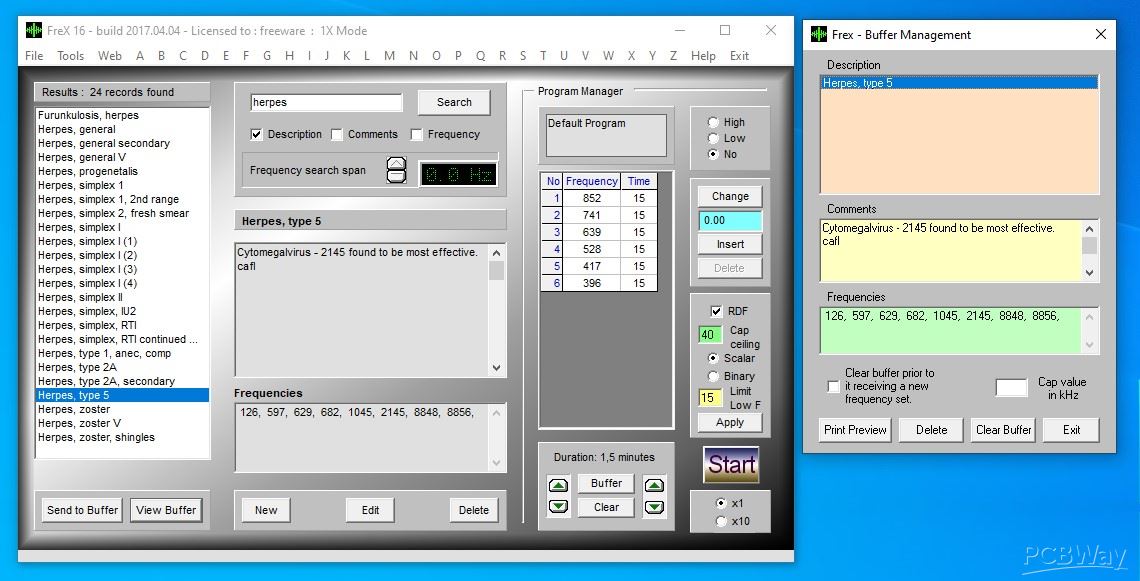
The application contains a large database with ready-made Rife frequency sequences for various diseases. We can search for the disease according to the initial letter or through the search tab. Very useful function is that we can assign our own frequency sequence, which is not contained in the given database. We can choose different shapes of the signal: sine wawe, square wave, triangle wave, saw tooth positive, and saw tooth negative. It have also white niose generator. In practice, rectangular and saw tooth negative are mostly used. In the video, the method of installation and use is described in more detail.
2. Next part is CARRIER FREQUENCY GENERATOR WITH MODULATOR AND AMPLIFIER.
For this purpose, I use a TL494 PWM modulator Integrated Circuit and a IRF740 or similar Power Mosfet Transistor as signal amplifier.

At the input, we bring the signal from the PC sound card, which are actually the Riffe frequencies that are modulated by the carrier. With the first potentiometer is regulated the degree of modulation(Gain), and with the other, the carrier frequency. We can change the carrier frequency in the range from 20 to 200 MHz. Then this summed signal is amplified by power transistor which is mounted on an aluminum board for cooling, and fed to the primary winding of a high voltage transformer.

3. THE HV TRANSFORMER can be taken for example from an old CRT monitor or TV, from a copy machine as in my case, or we can get it from an electronic parts store or online. If we use an HV transformer from an old monitor, we need to wind about 7 to 10 turns of lacquered copper wire with a diameter of 1 to 1.5 millimeters on the core (that will be the primary winding of the transformer).

The outputs of the HV transformer are connected directly to the plasma tube. For the CRT monitor trafo, Ground pin can be tested in such a way that when we turn on the circuit and bring the electrode closer to the pins, a spark of several centimeters will form at the correct Ground pin.
4. And last part is PLASMA TUBE.
This part is the most difficult to obtain and is often the main reason for avoiding the construction of a Plasma Rife machine. Unfortunately, on the internet you can find countless "Rife" machines that work by holding metal electrodes in the hands, which is completely wrong and dysfunctional, because due to the "skin effect" the high-frequency current moves only on the surface of the skin, and does not penetrate to the internal organs. On the other hand, the devices that contain the Plasma Tube are extremely expensive.
Now I will reveal to you a BIG SECRET that does not work in favor of the manufacturers of such devices. Namely Rife experimented with tubes filled with inert gases Argon, Neon and Mercury. Compact fluorescent lamps are filled with Agon and a small percentage of Mercury vapor, which until recently were used for lighting in our homes and can still be bought as old stock at a very low price.
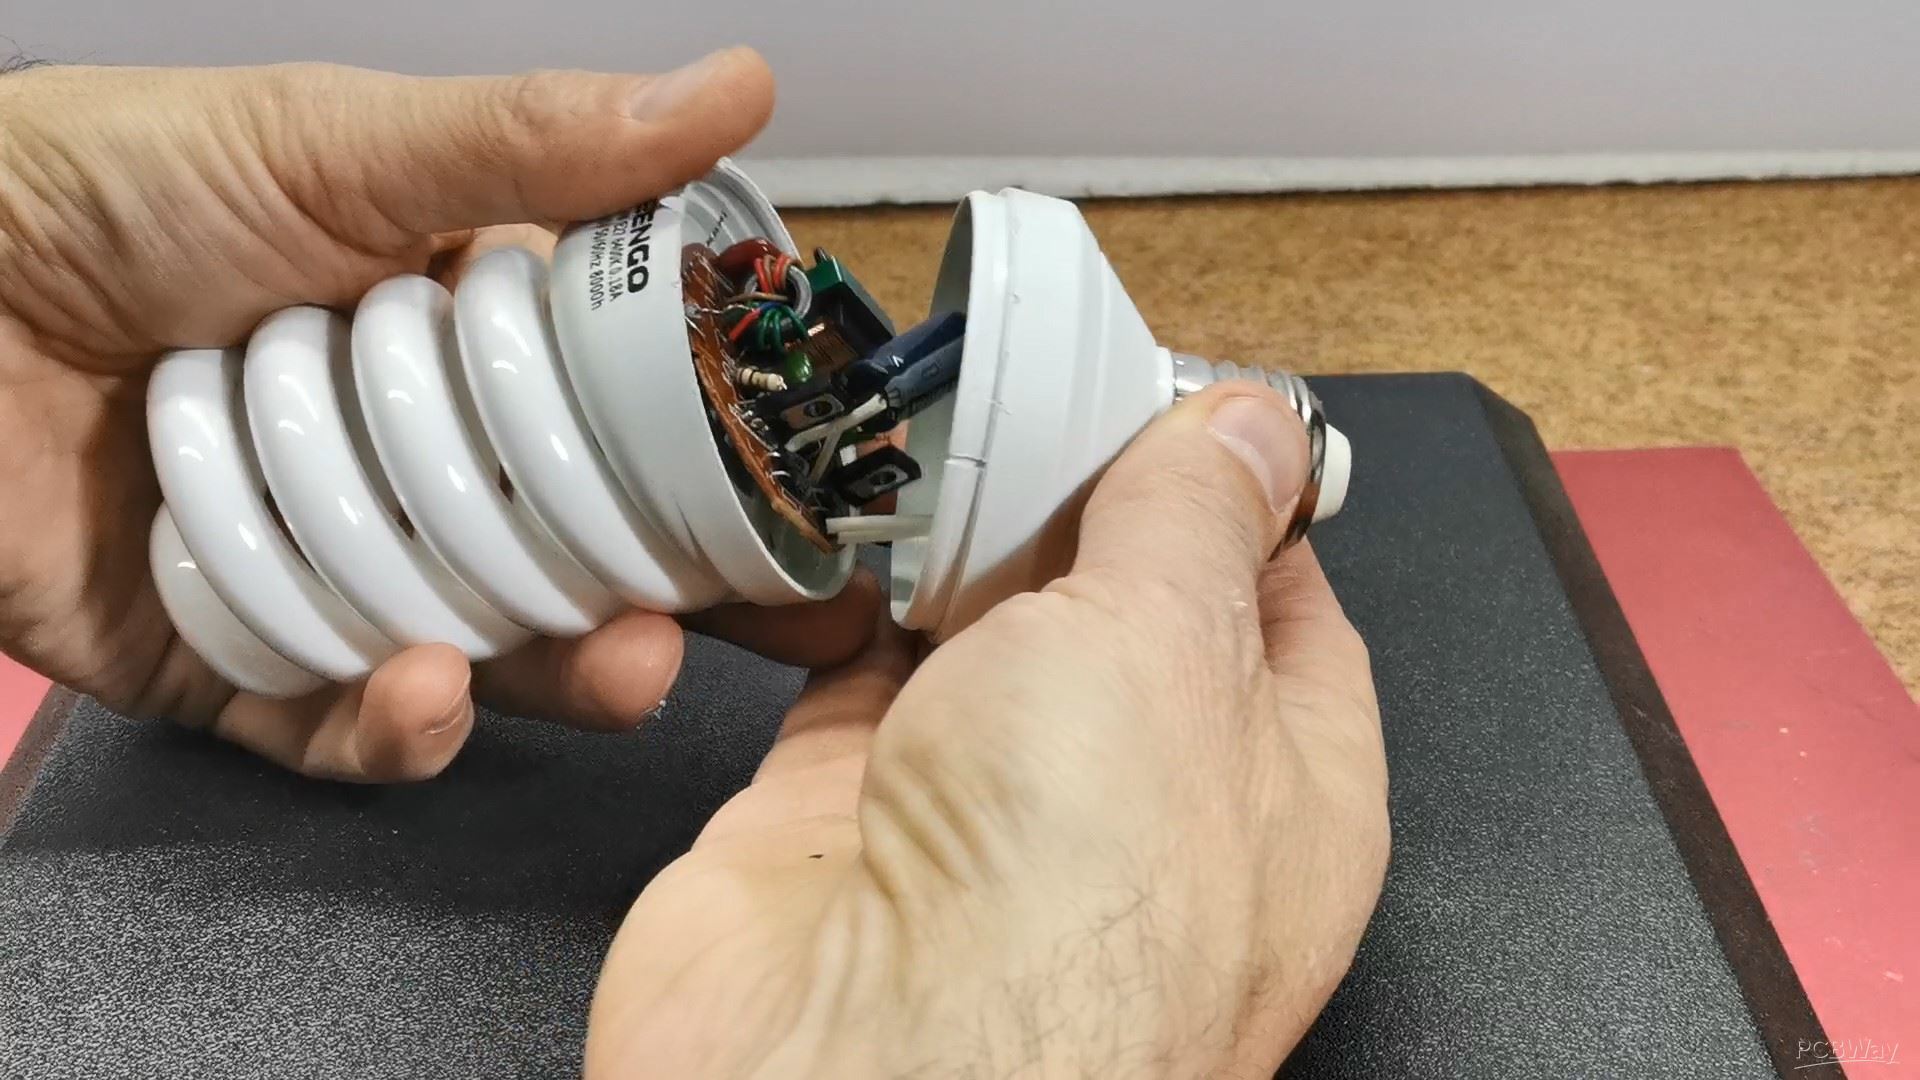
If we remove their electronics, these tubes are ideal for use in this particular case. The only drawback is that now the device will be less visually exotic, and the "placebo" effect during the treatment will be weaker. Otherwise, its function is identical to that of expensive plasma Rife machines that are offered on the Internet. The following is a short video description of how to separate the tube from the electronics of the bulb.
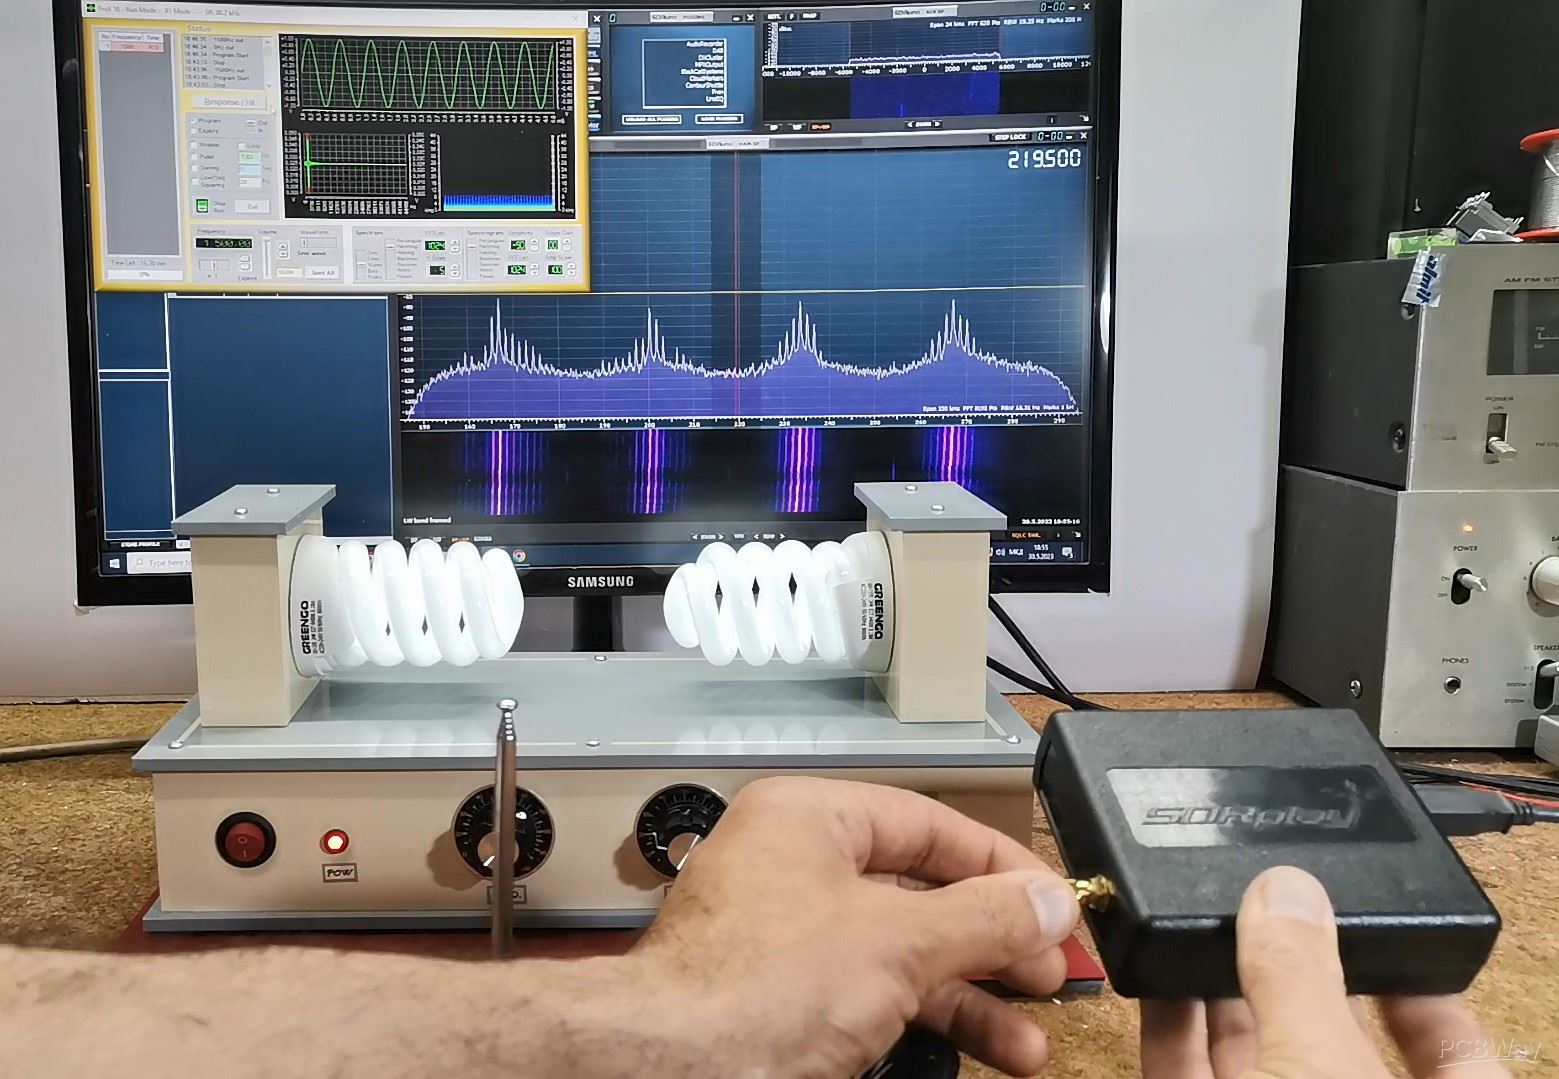
Now let's briefly explain how the device works in reality. First, we turn on the Rife machine, and then through the Frex software, we activate a series of Rife frequencies to treat a specific disease. The plasma tubes start to glow, and start to radiate the desired frequency in our body.

We will detect this radiation with a Spectral Analyzer (in my case SDR Radio) and special software through a small antenna.
And finally a short conclusion:
First of all, I personally do not believe in this method of treatment and you can read my clear position on this topic HERE(https://www.youtube.com/watch?v=O0TJF3Wbdkg). I will also repeat that I am not an expert in the field of medicine and that is why I am commenting and describing the method of making the device itself, and not its effect. What I can assure you for sure is that this device does not have any negative effects on the human organism (in my humble opinion, not even positive ones :)), because the device is actually an RF transmitter that was used before, and even now, for the transmission of Radio signals.
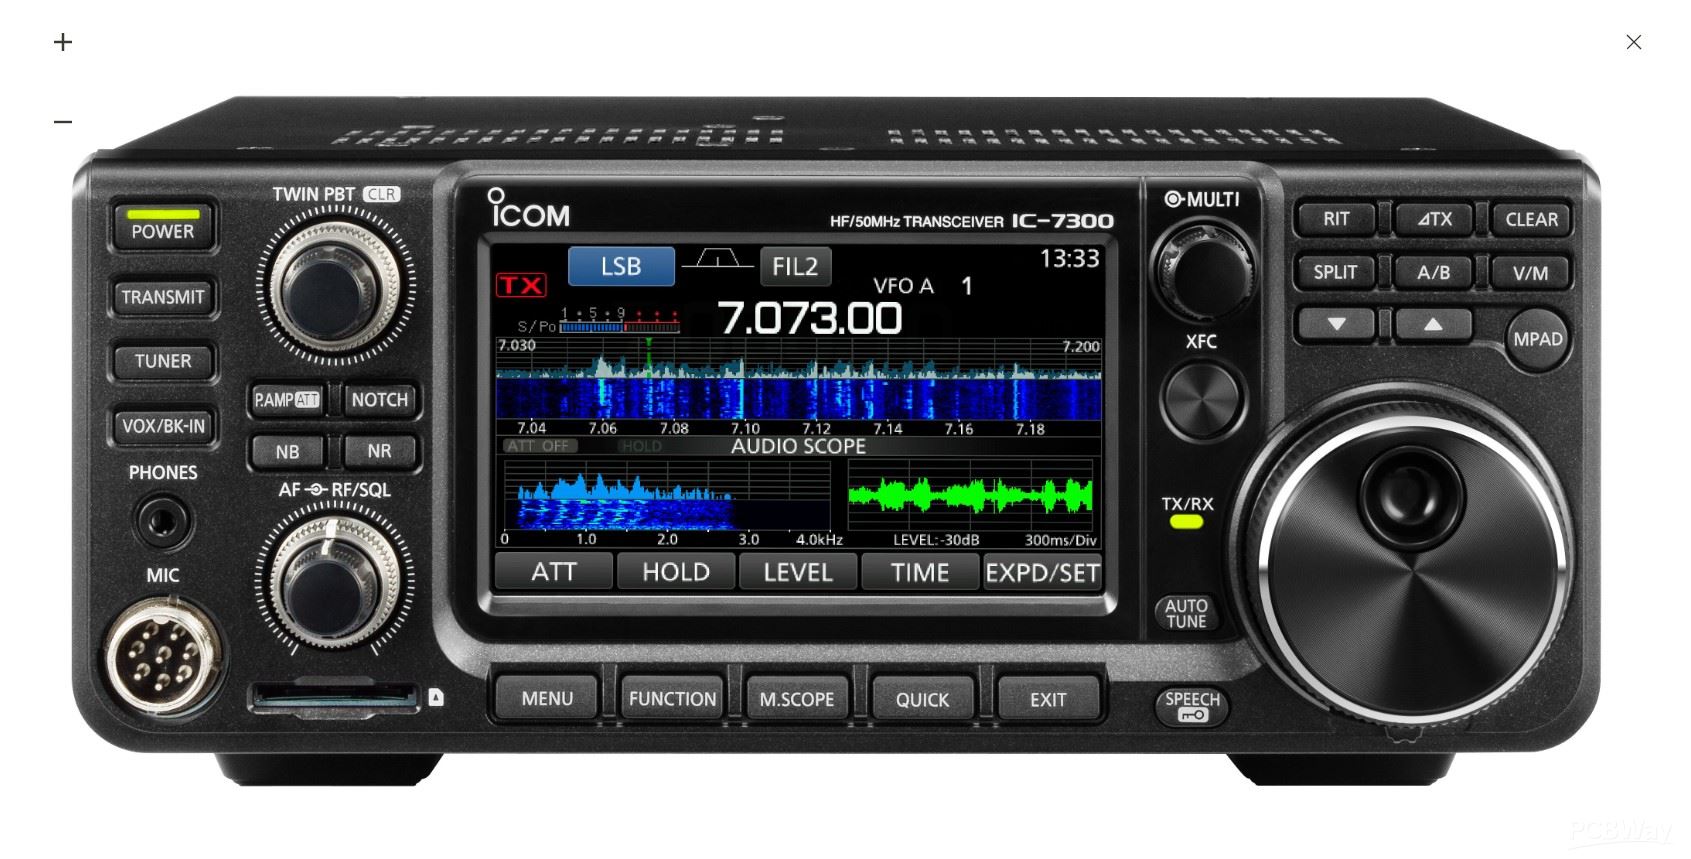
Speaking of which, one more secret. If you are a radio amateur and have a radio transmitter at home, then keep in mind that you own an excellent Rife machine. You only need to connect the PC sound card to the input of the radio station, instead of a microphone, and activate the Frex software. Next, you need to set the frequency of the carrier in the area between 160 and 80 meters (between 2000 and 3500 Mhz) where there are probably no broadcast radio stations. But first, a very important note. Broadcasting an HF signal at an illegal frequency is punishable by law. First of all, you should check with the local electronic communications agency on which frequency you are allowed to transmit the radio signal.
The main goal of this and the previous several projects in this area was to capture the true value of such devices, which are otherwise sold on the Internet at astronomical prices. Unfortunately, a person who has some health problem would pay an unlimited amount of money to be cured. Without commenting on whether or not you get medical benefit from these devices, my next goal was to describe to you a way to make such a device yourself if you are not able to buy it. Even if you are not an electronics expert, someone can make it for you for a reasonable amount. The total cost of the parts does not exceed a few tens of dollars, which is much less than the cost of just one treatment at the so-called medical specialists which "cure" all diseases.
Finally, the device is installed in a suitable case made of PVC board with a thickness of 3mm and 5mm and covered with self-adhesive wallpaper in color

The simplest and cheapest way to make your own Plasma Rife Machine (Detailed instructions)


Raspberry Pi 5 7 Inch Touch Screen IPS 1024x600 HD LCD HDMI-compatible Display for RPI 4B 3B+ OPI 5 AIDA64 PC Secondary Screen(Without Speaker)
BUY NOW


- Comments(2)
- Likes(2)
More by Mirko Pavleski
-
 Arduino 3D Printed self Balancing Cube
Self-balancing devices are electronic devices that use sensors and motors to keep themselves balanc...
Arduino 3D Printed self Balancing Cube
Self-balancing devices are electronic devices that use sensors and motors to keep themselves balanc...
-
 Retro Analog VU Meter on Round dispalys (ESP32 and GC9A01)
Recently, in one of my previous videos I presented you a Retro VU Meter project on round displays ...
Retro Analog VU Meter on Round dispalys (ESP32 and GC9A01)
Recently, in one of my previous videos I presented you a Retro VU Meter project on round displays ...
-
 Ultimate 2-Player Reaction Timer with WS2812B LED Strips & Arduino
Arcade reaction game is a genre of play designed to test a player's physical response time and hand...
Ultimate 2-Player Reaction Timer with WS2812B LED Strips & Arduino
Arcade reaction game is a genre of play designed to test a player's physical response time and hand...
-
 Building a Vintage Tube-Style Internet Radio with Raspberry Pi & Rotary Encoder
Internet radio (also known as web radio or net radio) is a digital audio service transmitted via th...
Building a Vintage Tube-Style Internet Radio with Raspberry Pi & Rotary Encoder
Internet radio (also known as web radio or net radio) is a digital audio service transmitted via th...
-
 DIY Smart Code Lock with CrowPanel 1.28 ESP32 Rotary Display
A code lock is a keyless security device—either mechanical or electronic—that restricts access to d...
DIY Smart Code Lock with CrowPanel 1.28 ESP32 Rotary Display
A code lock is a keyless security device—either mechanical or electronic—that restricts access to d...
-
 SDR Panadapter for Vintage Tube Radios – Step-by-Step Tutorial
A radio panadapter (or panoramic adapter) is a device or software tool used in amateur radio and ot...
SDR Panadapter for Vintage Tube Radios – Step-by-Step Tutorial
A radio panadapter (or panoramic adapter) is a device or software tool used in amateur radio and ot...
-
 Oscilloscope Clock Simulation on a Round ESP32 Display
An oscilloscope clock is a circuit that turns an old analog oscilloscope into a stylish, retro-them...
Oscilloscope Clock Simulation on a Round ESP32 Display
An oscilloscope clock is a circuit that turns an old analog oscilloscope into a stylish, retro-them...
-
 DIY Simple GU32 Tube Stereo Amplifier (2x3W on 12VDC)
Vacuum tube amplifiers are often favored for their smooth harmonic distortion, especially in the low...
DIY Simple GU32 Tube Stereo Amplifier (2x3W on 12VDC)
Vacuum tube amplifiers are often favored for their smooth harmonic distortion, especially in the low...
-
 DIY 3-Display OLED Clock with Arduino and I2C Multiplexer
In this video I want to present you another unusual clock to add to my large collection of such DIY...
DIY 3-Display OLED Clock with Arduino and I2C Multiplexer
In this video I want to present you another unusual clock to add to my large collection of such DIY...
-
 Build a 5-Day forecast Raspberry Pi Weather Dashboard (Step-by-Step)
Recently in one of my previous videos,I introduced you to the 7 inch Elecrow Pi Terminal and how to...
Build a 5-Day forecast Raspberry Pi Weather Dashboard (Step-by-Step)
Recently in one of my previous videos,I introduced you to the 7 inch Elecrow Pi Terminal and how to...
-
 ESP32 Aneroid Barometer using Squareline Studio and LVGL on CrowPanel Round display
A barometer is a scientific instrument used to measure atmospheric pressure. Rising Pressure genera...
ESP32 Aneroid Barometer using Squareline Studio and LVGL on CrowPanel Round display
A barometer is a scientific instrument used to measure atmospheric pressure. Rising Pressure genera...
-
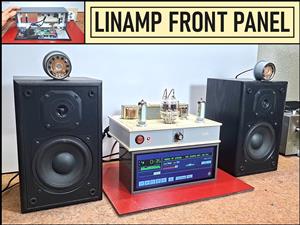 LINAMP Project – Winamp-Style Audio Front Panel on Raspberry Pi 5
Winamp is one of the most iconic and historically significant digital media players ever created. I...
LINAMP Project – Winamp-Style Audio Front Panel on Raspberry Pi 5
Winamp is one of the most iconic and historically significant digital media players ever created. I...
-
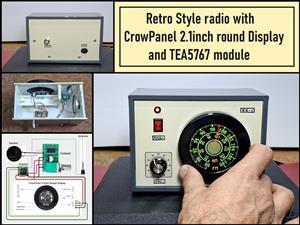 Retro Style radio with CrowPanel 2.1inch round Display (TEA5767)
Some time ago I presented you a clock project with CrowPanel 2.1inch-HMI ESP32 Rotary Display 480*4...
Retro Style radio with CrowPanel 2.1inch round Display (TEA5767)
Some time ago I presented you a clock project with CrowPanel 2.1inch-HMI ESP32 Rotary Display 480*4...
-
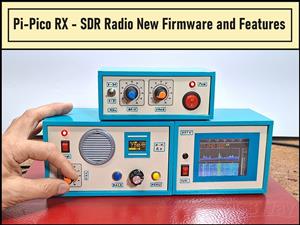 Pi-Pico RX - SDR Radio with New Firmware and Features
A few months ago I presented you a wonderful SDR radio project by DawsonJon 101 Things. In short, i...
Pi-Pico RX - SDR Radio with New Firmware and Features
A few months ago I presented you a wonderful SDR radio project by DawsonJon 101 Things. In short, i...
-
 How to make simple Variable HIGH VOLTAGE Power Supply
High Voltage Power Supply is usually understood as a device that is capable of generating a voltage...
How to make simple Variable HIGH VOLTAGE Power Supply
High Voltage Power Supply is usually understood as a device that is capable of generating a voltage...
-
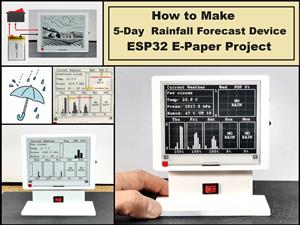 DIY 5-Day Rainfall Forecast Device - ESP32 E-Paper Project
In several of my previous projects I have presented ways to make weather stations, but this time I ...
DIY 5-Day Rainfall Forecast Device - ESP32 E-Paper Project
In several of my previous projects I have presented ways to make weather stations, but this time I ...
-
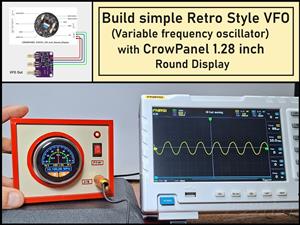 Build simple Retro Style VFO (Variable frequency oscillator) with Crowoanel 1.28 inch Round Display
Today I received a shipment with a Small round LCD display from Elecrow. The device is packed in tw...
Build simple Retro Style VFO (Variable frequency oscillator) with Crowoanel 1.28 inch Round Display
Today I received a shipment with a Small round LCD display from Elecrow. The device is packed in tw...
-
 Human vs Robot – Rock Paper Scissors with MyCobot 280 M5Stack
Today I received a package containing the few Elephant Robotics products. The shipment is well pack...
Human vs Robot – Rock Paper Scissors with MyCobot 280 M5Stack
Today I received a package containing the few Elephant Robotics products. The shipment is well pack...
-
-
ARPS-2 – Arduino-Compatible Robot Project Shield for Arduino UNO
1308 0 4 -
A Compact Charging Breakout Board For Waveshare ESP32-C3
1830 3 7 -
AI-driven LoRa & LLM-enabled Kiosk & Food Delivery System
1823 2 0 -
-
-
-
ESP32-C3 BLE Keyboard - Battery Powered with USB-C Charging
1993 0 1 -


