


|
|
10W Power Led |
x 1 | |
|
IRF3205ZPBFInfineon Technologies
|
x 1 | |
|
|
Trimmer Potentiometer, 100 kohm |
x 1 | |
|
|
Capacitor 100 µF |
x 1 | |
|
|
Resistor 4.75k ohm |
x 1 |

|
Soldering iron |
|

|
Soldering Iron Wire Welding Lead Roll |
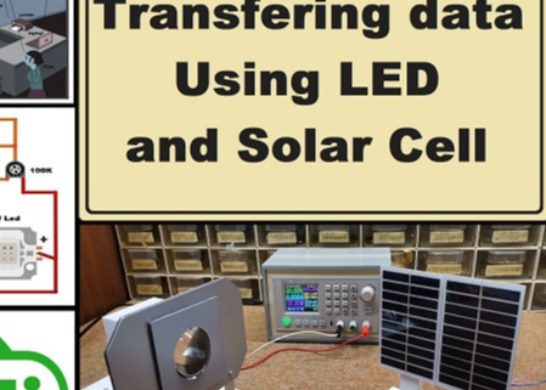
Li-Fi data transfer experiment - transferring data using a Led and Solar Cell
Li-Fi is a light communication system that is capable of transmitting data at high speeds over the visible light, ultraviolet, and infrared spectrums. The term was first introduced by Harald Haas in 2011. The Li-Fi system consists of normal LED light bulbs and modulating circuits.

LED bulbs are semiconductor devices, which means the current, and therefore the illumination can be modulated at extremely high speeds which can be detected by the photo-detector.
Using this technique allows for high-speed information can be transmitted from an LED light bulb. So, the same light energy used for illumination may also be used for communication.

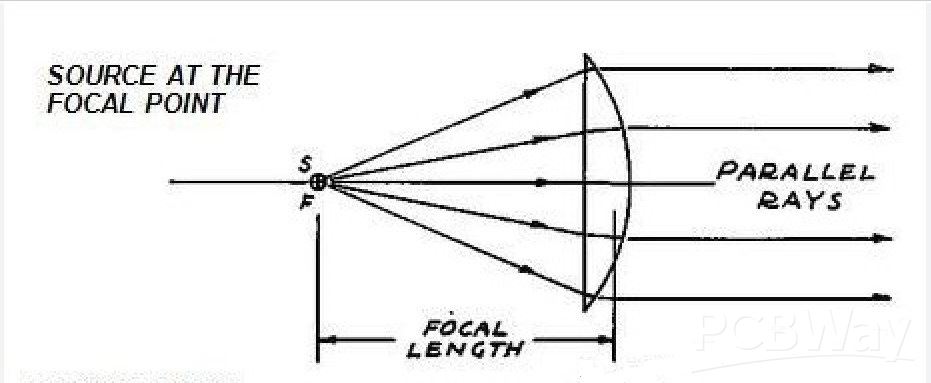
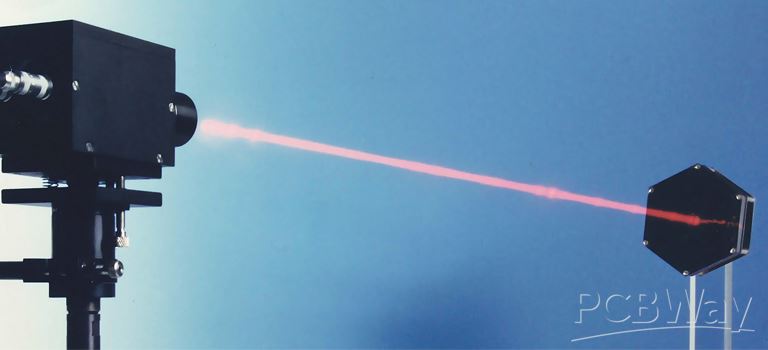
In this experiment I will describe you a way where the light from 10W Power LED diode is used for this purpose as a medium of transmission. To reduce the losses at the lowest level, we direct light from the source through a plane convex lens, so if the light source is positioned exactly at the focal point, the light rays on the exit will extend almost parallel and directly hit the receiver (solar cell) with the least loss.

If you want to make a PCB for your electronic project, PCBway is a great choice for you. PCBway is one of the most experienced PCB manufacturing company in China in field of PCB prototype and fabrication. They provide completed PCB assembly service with worldwide free shipping , and ISO9001 quality control system. Also, on their site there is an online gerber viewer where you can upload your gerber and drill files to render your board.
In this way, the distance at which transmission can be carried out is drastically increased, and at the same time, due to the strong intensity of light that reaches the receiver, the influence of the ambient light has an insignificant effect.
As I mentioned earlier, the experiment is very simple to replicate and consists of several parts:

- The transmitter, which consists of an LED that is mounted on a suitable heatsink and can be moved in this channel to position it exactly on the focal point.

- This small electronic board is a modulator, whose task is to incorporate the audio signal into the light source. It consists of only one mosfet and a few passive elements, and the schematic is given below
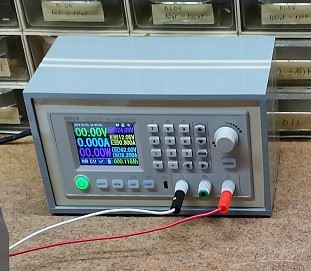
- And a DC voltage source that powers the transmitter.

- The receiver is actually a solar cell, in my case two elements that generate 5 volts each connected in series, but this is not critical and any panel we have at hand can be used. The signal from the solar panel is fed to the Aux input of this small radio receiver through a 10 microfarad capacitor, whose function is to not pass the DC component of the signal. Otherwise, this radio in this case has the function of an audio amplifier.
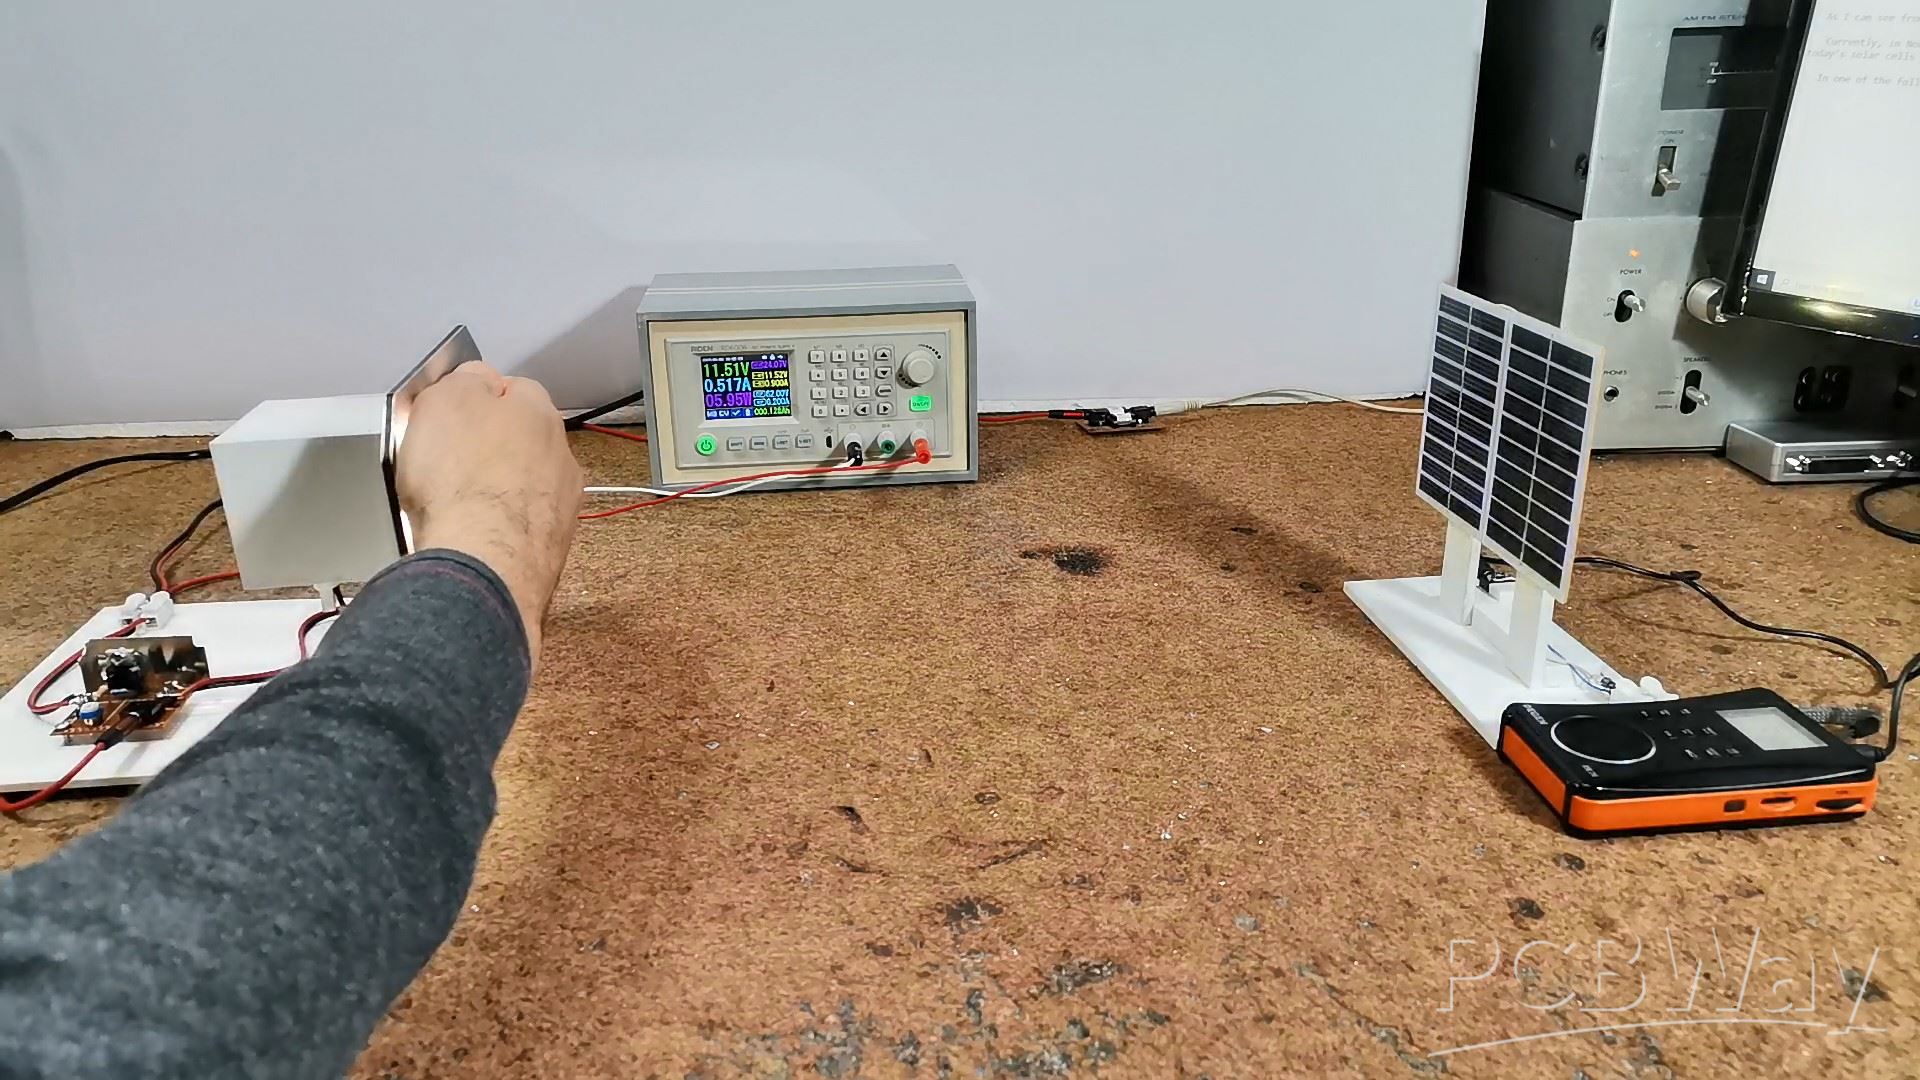
Now let's see how the device works in reality:
First we turn on the transmitter and focus the output beam. An audio signal is brought to the input of the modulator, in my case from the sound card of the Personal Computer. On the side of the receiver, we turn on the radio, then we select the Aux input. The signal from the transmitter is emitted on the receiver. If we block the light beam, the transfer is interrupted.
The distance between the transmitter and the receiver can be increased up to a certain limit that depends on several parameters. In our case it is a maximum of 5 to 6 meters with acceptable signal attenuation.
Next I will present you a practical example of transmitting an Audio signal through a room lighting source. We connect the lighting through a modulator, and a small solar panel is connected to the receiver.

Now if I feed a music signal to the input of the modulator, that same signal will be output to the radio. Many different signals can be transmitted in the same way, such as the Internet, which is the most used service today.
And finally, a short conclusion: First the positive aspects
- As we could see and hear, the transfer is done without any distortions and degradation of the original signal.
- Since homes and offices already have LED bulbs for lighting purposes, the same source of light can be used to transmit data.
- Quicker Data Transmission than Wi-Fi
- One main advantage of Li-Fi is security. Since light cannot pass through opaque structures, Li-Fi Internet for example is available only to the users within a room and cannot be breached by users in other rooms or buildings.
On the other hand, the biggest disadvantages are:
- Because it uses visible light, and light cannot penetrate walls, the signal's range is limited by physical barriers
- Other sources like sunlight may interfere with the signal.
- A whole new infrastructure for Li-Fi would need to be constructed.
Otherwise, initially my idea for this experiment was to achieve wireless power transfer, i.e. wireless transmission of electricity using light rays (analogous to my previous experiments where electromagnetic waves were used " https://www.youtube.com/watch? v=R85IPpmHWMU " ), but unfortunately, the utilization rate is extremely low, and practically this method is unusable. As we can see from this example, the utilization of a distance of 50cm is less than one percent.
Currently, in Norway, work is being done on the development of a photovoltiac panel (receiver) for laser homogeneous light that has a useful coefficient greater than 80 percent (in today's solar cells it is at most 20 percent), whereby energy transfer over long distances will be practically applicable.
In one of the following videos I will present data transmission via Li-Fi using an Arduino microcontroller


Li-Fi data transfer experiment - transferring data using a Led and Solar Cell


- Comments(0)
- Likes(0)
More by Mirko Pavleski
-
 Arduino 3D Printed self Balancing Cube
Self-balancing devices are electronic devices that use sensors and motors to keep themselves balanc...
Arduino 3D Printed self Balancing Cube
Self-balancing devices are electronic devices that use sensors and motors to keep themselves balanc...
-
 DIY 5-Day Rainfall Forecast Device - ESP32 E-Paper Project
In several of my previous projects I have presented ways to make weather stations, but this time I ...
DIY 5-Day Rainfall Forecast Device - ESP32 E-Paper Project
In several of my previous projects I have presented ways to make weather stations, but this time I ...
-
 Build simple Retro Style VFO (Variable frequency oscillator) with Crowoanel 1.28 inch Round Display
Today I received a shipment with a Small round LCD display from Elecrow. The device is packed in tw...
Build simple Retro Style VFO (Variable frequency oscillator) with Crowoanel 1.28 inch Round Display
Today I received a shipment with a Small round LCD display from Elecrow. The device is packed in tw...
-
 Human vs Robot – Rock Paper Scissors with MyCobot 280 M5Stack
Today I received a package containing the few Elephant Robotics products. The shipment is well pack...
Human vs Robot – Rock Paper Scissors with MyCobot 280 M5Stack
Today I received a package containing the few Elephant Robotics products. The shipment is well pack...
-
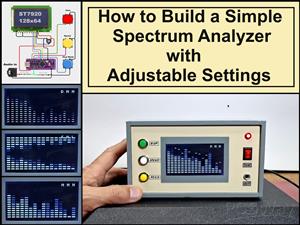 How to Build a Simple Audio Spectrum Analyzer with Adjustable Settings
An audio spectrum analyzer is an electronic device or software tool that measures and visually disp...
How to Build a Simple Audio Spectrum Analyzer with Adjustable Settings
An audio spectrum analyzer is an electronic device or software tool that measures and visually disp...
-
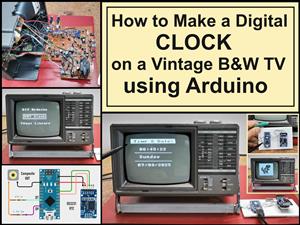 How to Make a Digital Clock on a Vintage B&W TV using Arduino
These days I accidentally came across this small retro Black and White TV with a built-in Radio, so ...
How to Make a Digital Clock on a Vintage B&W TV using Arduino
These days I accidentally came across this small retro Black and White TV with a built-in Radio, so ...
-
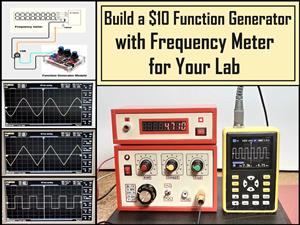 Build a $10 Function Generator with Frequency Meter for Your Lab
A function generator is a piece of electronic test equipment used to generate various types of elec...
Build a $10 Function Generator with Frequency Meter for Your Lab
A function generator is a piece of electronic test equipment used to generate various types of elec...
-
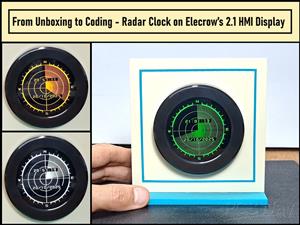 From Unboxing to Coding - Radar Clock on Elecrow’s 2.1 HMI Display
Today I received a shipment with a large round LCD display from Elecrow. The device is packed in two...
From Unboxing to Coding - Radar Clock on Elecrow’s 2.1 HMI Display
Today I received a shipment with a large round LCD display from Elecrow. The device is packed in two...
-
 Making a Retro Analog NTP Clock with Unihiker K10 - Arduino IDE Tutorial
Some time ago I presented you a way to use standard Arduino libraries on the Unihiker k10 developme...
Making a Retro Analog NTP Clock with Unihiker K10 - Arduino IDE Tutorial
Some time ago I presented you a way to use standard Arduino libraries on the Unihiker k10 developme...
-
 Build a Cheap & Easy HF Preselector - Antenna Tuner
HF antenna preselector is an electronic device connected between an HF radio antenna, and a radio r...
Build a Cheap & Easy HF Preselector - Antenna Tuner
HF antenna preselector is an electronic device connected between an HF radio antenna, and a radio r...
-
 DIY Static Charge Monitor - Electrostatic Field Detector (Arduino & TL071)
A Static Charge Monitor also known as a Static Field Meter or Electrostatic Voltmeter is a device u...
DIY Static Charge Monitor - Electrostatic Field Detector (Arduino & TL071)
A Static Charge Monitor also known as a Static Field Meter or Electrostatic Voltmeter is a device u...
-
 XHDATA D-219 Radio Short Review with complete disassembly
Some time ago I received an offer from XHDATA to be one of the first test users of their new radio m...
XHDATA D-219 Radio Short Review with complete disassembly
Some time ago I received an offer from XHDATA to be one of the first test users of their new radio m...
-
 How to make Simplest ever Oscilloscope Clock
An oscilloscope clock is a unique and creative way to display the time using an oscilloscope, which...
How to make Simplest ever Oscilloscope Clock
An oscilloscope clock is a unique and creative way to display the time using an oscilloscope, which...
-
 DIY Digital Barograph with BME280 and ESP32 - 24 Hour Pressure Trends
A barograph is a self-recording barometer that continuously measures and records atmospheric pressu...
DIY Digital Barograph with BME280 and ESP32 - 24 Hour Pressure Trends
A barograph is a self-recording barometer that continuously measures and records atmospheric pressu...
-
 Build a Raspberry Pi Pico SDR Radio with Waterfall Display
Software-defined radio (SDR) is a radio communication system where components that have traditional...
Build a Raspberry Pi Pico SDR Radio with Waterfall Display
Software-defined radio (SDR) is a radio communication system where components that have traditional...
-
 DIY Magnet Polarity Detector - How to Identify Poles with a Hall Sensor from a PC Fan
Recently, while working on a project, I needed to determine the polarity of several permanent magne...
DIY Magnet Polarity Detector - How to Identify Poles with a Hall Sensor from a PC Fan
Recently, while working on a project, I needed to determine the polarity of several permanent magne...
-
 Light Meter Project - Making Dfrobot Unihiker K10 Work with Standard Arduino Libraries
The other day I received a shipment with a UNIHIKER K10 development board from DFRobot, which I rec...
Light Meter Project - Making Dfrobot Unihiker K10 Work with Standard Arduino Libraries
The other day I received a shipment with a UNIHIKER K10 development board from DFRobot, which I rec...
-
 DIY Simple Arduino Whack-a-Mole Game
A "Whack-a-Mole" game is a classic arcade-style game where moles pop up randomly from holes, and th...
DIY Simple Arduino Whack-a-Mole Game
A "Whack-a-Mole" game is a classic arcade-style game where moles pop up randomly from holes, and th...
-
-
-
-
Tester for Touch Screen Digitizer without using microcontroller
333 2 2 -
Audio reactive glow LED wristband/bracelet with NFC / RFID-Tags
314 0 1 -
-
-


