


|
|
HV diode 2CL25 - 25 kV/20 mA |
x 30 | |
|
|
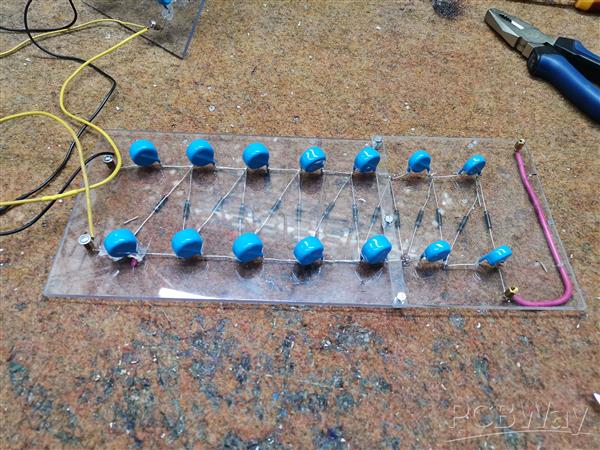
1nF/30kV Capacitor |
x 30 | |
|
|
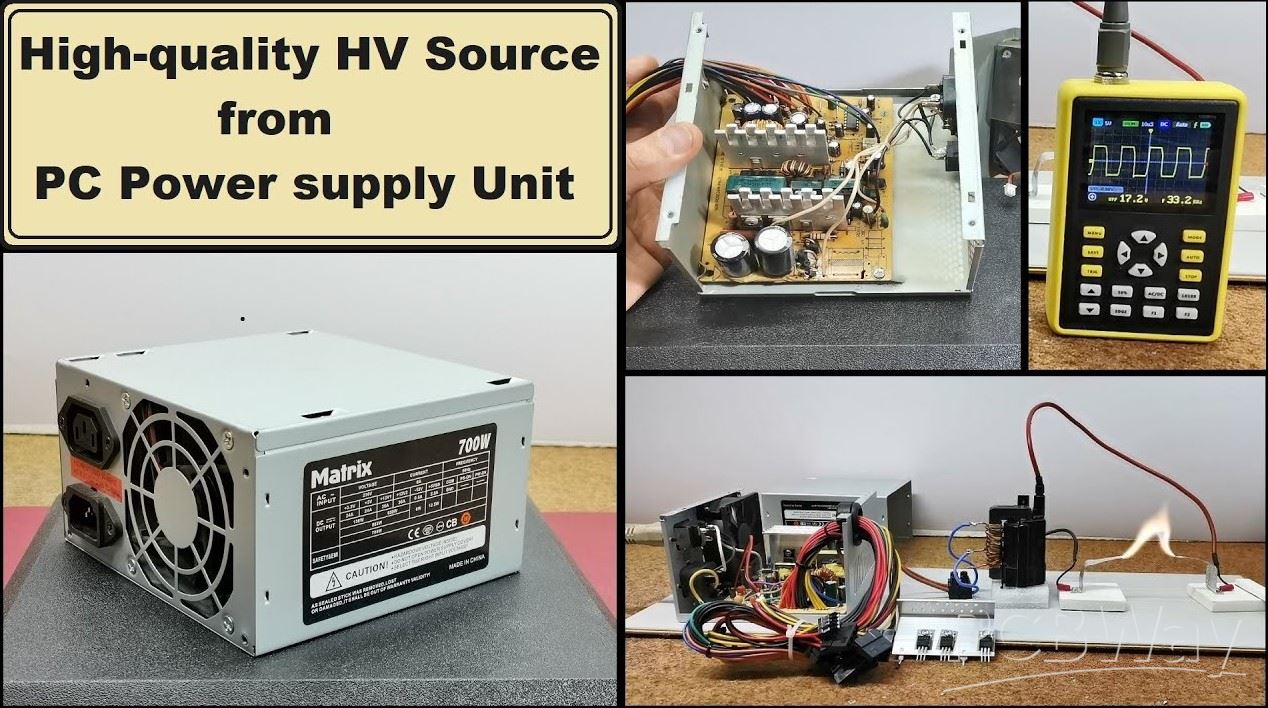
Modified PC Power Supply |
x 1 | |
|
|
HV Trafo from old CRT TV |
x 1 |

|
Soldering Iron Kit |
330,000 volts (330kV) from modified PC Power Supply and Cockroft Walton Multiplier
The Cockcroft-Walton voltage multiplier is a circuit configuration used to generate high DC voltages from a low AC voltage source. The basic Cockcroft-Walton voltage multiplier circuit consists of a series of capacitors and diodes interconnected in a ladder-like configuratoin. The circuit takes advantage of the fact that capacitors charge and discharge alternately when connected in series with diodes. It's typically used in applications where a relatively constant output voltage isn't required, as a laser systems, X-ray systems, air ionisers, cathode ray tubes etc...
A standard cocroft-walton multiplier uses one ladder stage and the multiplied voltage is generated between the last segment and the input or ground.
In order to increase the voltage and thus the length of the spark, I will connect the HV Transformer to drive two cascades of opposite polarities at the same time.
The elements of the cascade are mounted on Plexiglas with a thickness of 3 mm, which is also an excellent insulating material. The capacitors are mounted on the front and the diodes on the back of the plexiglass. Now at the end of one cascade prevail negative ions(Kations), and at the end of the other positive ions(Anions), so between these two differently charged electrodes a spark appears
A similar project is described in one of my previous videos where an output voltage of 200 kV is obtained.
Unlike then, this time I increased the number of both cascades, but in order to get a constant spark at the output, a stronger input source of high voltage is also needed.
This project is sponsored by PCBWay . They has all the services you need to create your project at the best price, whether is a scool project, or complex professional project. On PCBWay you can share your experiences, or get inspiration for your next project. They also provide completed Surface mount SMT PCB assemblY service at a best price, and ISO9001 quality control. Visit pcbway.com for more services.

For this purpose I will use the device also made in one of my previous videos in which it is described how to make an excellent stable high voltage source with minimal modification of the PC power supply. In order not to repeat ourselves, you can watch the video on the manufacturing method at the given link above. In this way, the device itself becomes more compact, it works stably, and there is no unnecessary wires under high voltage.
Now let's see how the device works in real conditions:
Before I start testing, I should mention that in this case you are working for extremely high voltages, so it is necessary to take all the safety conditions, because if we do not follow the rules, an electric shock can be fatal. My recommendation is not to build the device if you do not have great knowledge and experience in this area.
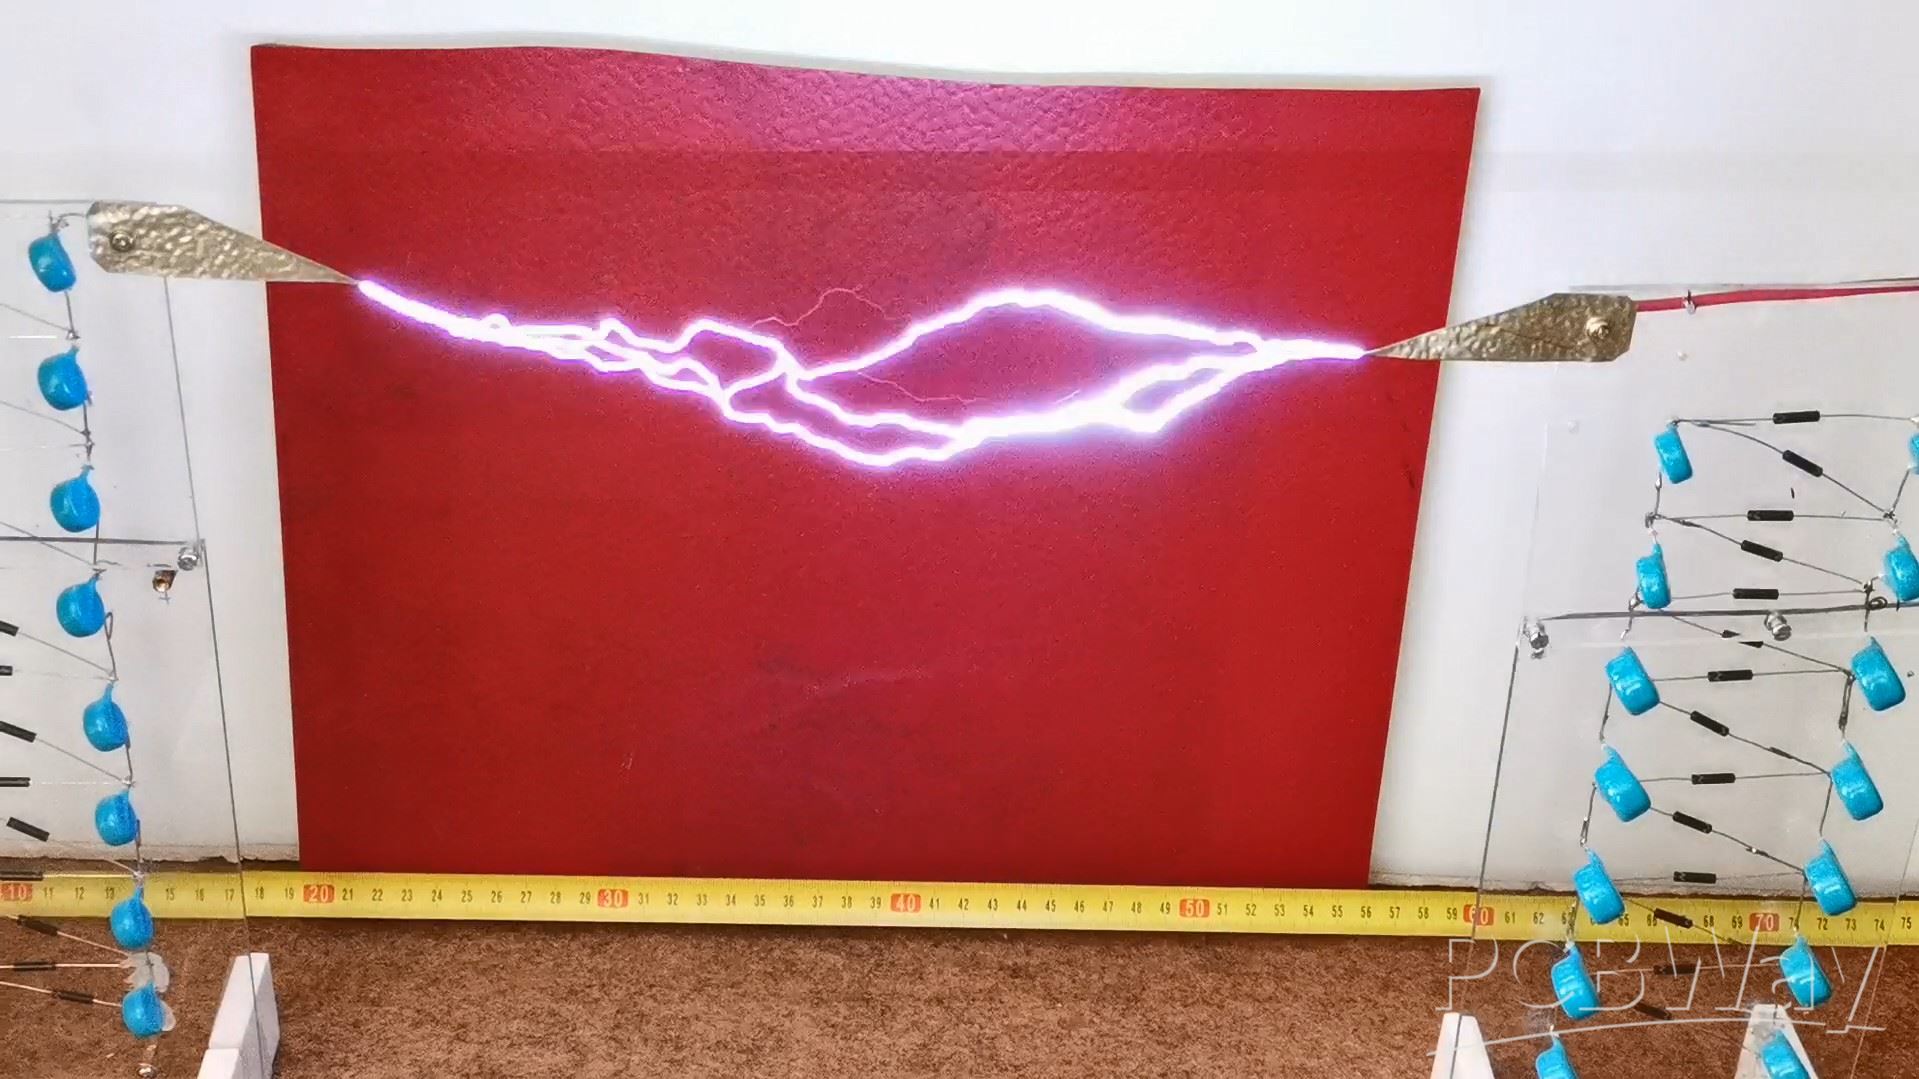
As you can see in the video, And all this is achieved in air, without the use of various oils for insulation. As far as I could find online, there is no one else who has managed to create such a large spark without using insulating fluids. In order to ensure the reliability of the results, I put a ruler tool on the table on which the device is placed so that the length of the spark can be clearly measured.
These spark lengths in air correspond to a voltage of approximately 300-350 kilovolts
And finally, again SAFETY NOTES:
Please do not attempt to recreate the experiments shown on this video unless you are familiar with High Voltage Safety Techniques! Direct Current even above 60V maybe lethal, even when the AC supply voltage has been disconnected due to the stored energy in the capacitors.

330,000 volts (330kV) from modified PC Power Supply and Cockroft Walton Multiplier


Raspberry Pi 5 7 Inch Touch Screen IPS 1024x600 HD LCD HDMI-compatible Display for RPI 4B 3B+ OPI 5 AIDA64 PC Secondary Screen(Without Speaker)
BUY NOW


- Comments(0)
- Likes(0)
More by Mirko Pavleski
-
 Arduino 3D Printed self Balancing Cube
Self-balancing devices are electronic devices that use sensors and motors to keep themselves balanc...
Arduino 3D Printed self Balancing Cube
Self-balancing devices are electronic devices that use sensors and motors to keep themselves balanc...
-
 Professional grade Smart Lock with ESP32, BLE and Android App Control
An electronic codelock is a security device that grants access using a numerical sequence—a PIN cod...
Professional grade Smart Lock with ESP32, BLE and Android App Control
An electronic codelock is a security device that grants access using a numerical sequence—a PIN cod...
-
 Building a 3-Input Stereo ECC83 (12AX7) Tube Preamp
Some time ago I presented you a project for a 3W stereo tube amplifier with a GU32 output vacuum t...
Building a 3-Input Stereo ECC83 (12AX7) Tube Preamp
Some time ago I presented you a project for a 3W stereo tube amplifier with a GU32 output vacuum t...
-
 ESP32 Weather Dashboard with Satellite Maps and 16-day Weather Forecast
As you can see from my previous videos, besides Electronics, my fields of experimentation and proje...
ESP32 Weather Dashboard with Satellite Maps and 16-day Weather Forecast
As you can see from my previous videos, besides Electronics, my fields of experimentation and proje...
-
 Retro Analog VU Meter on Round dispalys (ESP32 and GC9A01)
Recently, in one of my previous videos I presented you a Retro VU Meter project on round displays ...
Retro Analog VU Meter on Round dispalys (ESP32 and GC9A01)
Recently, in one of my previous videos I presented you a Retro VU Meter project on round displays ...
-
 Ultimate 2-Player Reaction Timer with WS2812B LED Strips & Arduino
Arcade reaction game is a genre of play designed to test a player's physical response time and hand...
Ultimate 2-Player Reaction Timer with WS2812B LED Strips & Arduino
Arcade reaction game is a genre of play designed to test a player's physical response time and hand...
-
 Building a Vintage Tube-Style Internet Radio with Raspberry Pi & Rotary Encoder
Internet radio (also known as web radio or net radio) is a digital audio service transmitted via th...
Building a Vintage Tube-Style Internet Radio with Raspberry Pi & Rotary Encoder
Internet radio (also known as web radio or net radio) is a digital audio service transmitted via th...
-
 DIY Smart Code Lock with CrowPanel 1.28 ESP32 Rotary Display
A code lock is a keyless security device—either mechanical or electronic—that restricts access to d...
DIY Smart Code Lock with CrowPanel 1.28 ESP32 Rotary Display
A code lock is a keyless security device—either mechanical or electronic—that restricts access to d...
-
 SDR Panadapter for Vintage Tube Radios – Step-by-Step Tutorial
A radio panadapter (or panoramic adapter) is a device or software tool used in amateur radio and ot...
SDR Panadapter for Vintage Tube Radios – Step-by-Step Tutorial
A radio panadapter (or panoramic adapter) is a device or software tool used in amateur radio and ot...
-
 Oscilloscope Clock Simulation on a Round ESP32 Display
An oscilloscope clock is a circuit that turns an old analog oscilloscope into a stylish, retro-them...
Oscilloscope Clock Simulation on a Round ESP32 Display
An oscilloscope clock is a circuit that turns an old analog oscilloscope into a stylish, retro-them...
-
 DIY Simple GU32 Tube Stereo Amplifier (2x3W on 12VDC)
Vacuum tube amplifiers are often favored for their smooth harmonic distortion, especially in the low...
DIY Simple GU32 Tube Stereo Amplifier (2x3W on 12VDC)
Vacuum tube amplifiers are often favored for their smooth harmonic distortion, especially in the low...
-
 DIY 3-Display OLED Clock with Arduino and I2C Multiplexer
In this video I want to present you another unusual clock to add to my large collection of such DIY...
DIY 3-Display OLED Clock with Arduino and I2C Multiplexer
In this video I want to present you another unusual clock to add to my large collection of such DIY...
-
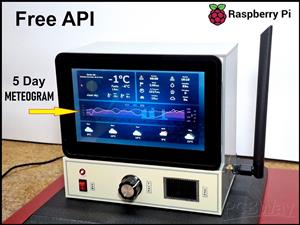 Build a 5-Day forecast Raspberry Pi Weather Dashboard (Step-by-Step)
Recently in one of my previous videos,I introduced you to the 7 inch Elecrow Pi Terminal and how to...
Build a 5-Day forecast Raspberry Pi Weather Dashboard (Step-by-Step)
Recently in one of my previous videos,I introduced you to the 7 inch Elecrow Pi Terminal and how to...
-
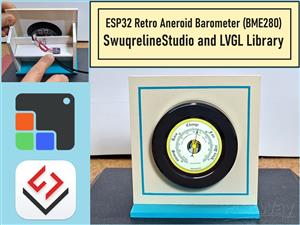 ESP32 Aneroid Barometer using Squareline Studio and LVGL on CrowPanel Round display
A barometer is a scientific instrument used to measure atmospheric pressure. Rising Pressure genera...
ESP32 Aneroid Barometer using Squareline Studio and LVGL on CrowPanel Round display
A barometer is a scientific instrument used to measure atmospheric pressure. Rising Pressure genera...
-
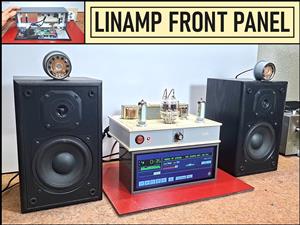 LINAMP Project – Winamp-Style Audio Front Panel on Raspberry Pi 5
Winamp is one of the most iconic and historically significant digital media players ever created. I...
LINAMP Project – Winamp-Style Audio Front Panel on Raspberry Pi 5
Winamp is one of the most iconic and historically significant digital media players ever created. I...
-
 Retro Style radio with CrowPanel 2.1inch round Display (TEA5767)
Some time ago I presented you a clock project with CrowPanel 2.1inch-HMI ESP32 Rotary Display 480*4...
Retro Style radio with CrowPanel 2.1inch round Display (TEA5767)
Some time ago I presented you a clock project with CrowPanel 2.1inch-HMI ESP32 Rotary Display 480*4...
-
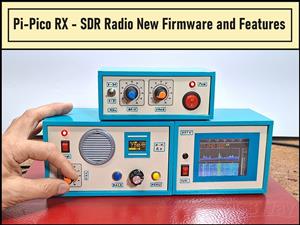 Pi-Pico RX - SDR Radio with New Firmware and Features
A few months ago I presented you a wonderful SDR radio project by DawsonJon 101 Things. In short, i...
Pi-Pico RX - SDR Radio with New Firmware and Features
A few months ago I presented you a wonderful SDR radio project by DawsonJon 101 Things. In short, i...
-
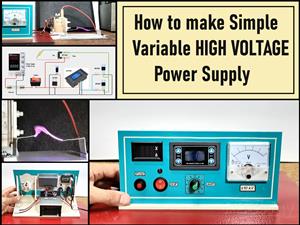 How to make simple Variable HIGH VOLTAGE Power Supply
High Voltage Power Supply is usually understood as a device that is capable of generating a voltage...
How to make simple Variable HIGH VOLTAGE Power Supply
High Voltage Power Supply is usually understood as a device that is capable of generating a voltage...
-
-
ARPS-2 – Arduino-Compatible Robot Project Shield for Arduino UNO
1879 0 5 -
A Compact Charging Breakout Board For Waveshare ESP32-C3
2485 3 7 -
AI-driven LoRa & LLM-enabled Kiosk & Food Delivery System
2563 2 0 -
-
-
-
ESP32-C3 BLE Keyboard - Battery Powered with USB-C Charging
2665 0 2 -


