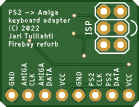
PS2toAmiga Keyboard Adapter
Sharing the project for greater visibility:
https://github.com/Jartza/PS2toAmiga
Please go support the author
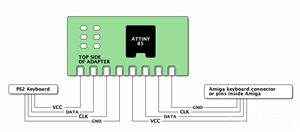
PS/2 keyboard protocol in it's basic level isn't that hard, it is bidirectional synchronous serial port with clock (CLK) and data (DATA) lines, communicating with PS/2 keyboard using microcontroller has been done multiple times already - which is why I chose to use PS2KeyAdvanced library for Arduino to handle that task - I didn't want to re-invent the wheel, and I had already used PS2KeyAdvanced in earlier projects as well. It also has nice support for Caps Lock, Num Lock etc.
The keycodes read from PS/2 keyboard using PS2KeyAdvanced are then translated to the respective Amiga keycode and sent to wire, using Amiga keyboard protocol.
The converter-code also keeps track of user pressing CTRL-Amiga-Amiga simultaneously and implements resetting the Amiga when those keys are pressed.
There are two different layouts, selectable with Scroll Lock (when Scroll Lock LED is on, second layout is in use). In first layout, Windows/Menu-keys are mapped to respective Amiga-keys on both sides of the space bar, Alt-keys are mapped to respective Amiga versions. On second layout, Left CTRL is mapped to CTRL, Right CTRL to ALT, ALT to Right Amiga-key. Also on second layout, F11 and F12 are mapped to Left and Right Amiga-keys.
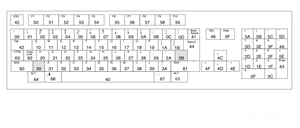
Mofifying the keyboard mapping should be pretty straight forward, in the table the comment after keycode denotes the respective key on PS/2 keyboard and the Amiga keycode can be checked from this image. Do not remove values from the table, and do not change the order of the items! Only change the HEX Amiga keycode, before the comment.
Code itself is "quick'n'dirty" -style but should be pretty much commented out so you can modify the internals of it to your own needs - if you have any.
Installing
See PS2KeyAdvanced project for install instructions, for some reason the version 1.0.9 failed to install into my pretty recent Arduino install, but version 1.0.8 worked as well.
For ATTiny85 support I used ATTinyCore, again check their respective site for install instructions to your Arduino IDE.
After installing ATTinyCore and PS2KeyAdvanced, load the project into your Arduino IDE and select following settings:
Board: ATtiny24/45/85 (No bootloader)
Chip: ATtiny85
Clock Source: 16 MHz (PLL)
TImer 1 Clock: CPU frequency
LTO: Enabled
millis(): Enabled
Steps to install to ATTiny85:
Use whatever ISP programmer you have. I used cheap USBASP programmer with 10 -> 6 pin adapter cable, having header pins in ISP connector and then pushing the connector into ISP holes (no header soldered) and keeping them tilted in an angle during programming.
Tools -> Burn bootloader (actually only sets fuses, and enables 16MHz PLL clock)
Sketch -> Verify/Compile
Upload using programmer
You should be done now, if not, verify your programmer connections. I also have had issue sometimes programming the new parts, which are set to 1MHz default in factory - you might need to change your Arduino settings to slow down the programmer for Fuse burning.
PS2toAmiga Keyboard Adapter
Project images are for reference only. Actual production is based on the manufacturing files on the project page.
Please review the designer's notes (e.g., PCB thickness) and select the appropriate options.
PCBWay is not responsible
for issues caused by unsuitable parameter selections.
For more important ordering information, please refer to
Read More









Raspberry Pi 5 7 Inch Touch Screen IPS 1024x600 HD LCD HDMI-compatible Display for RPI 4B 3B+ OPI 5 AIDA64 PC Secondary Screen(Without Speaker)
BUY NOW


- Comments(0)
- Likes(1)
 More by Engineer
-
 Amiga 2000/3000 USB & Bluetooth Keyboard, Mouse and Joystick Adapter
This is just sharing the project from https://github.com/trickydee/ultrausbt-amiga. All credit goes ...
Amiga 2000/3000 USB & Bluetooth Keyboard, Mouse and Joystick Adapter
This is just sharing the project from https://github.com/trickydee/ultrausbt-amiga. All credit goes ...
-
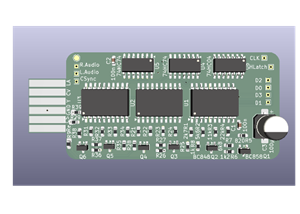 SEGA Game Gear to RGB TV Output Board
This is just sharing the project from https://github.com/Ugly-Mug/SEGA-Game-Gear-to-RGB-TV, designed...
SEGA Game Gear to RGB TV Output Board
This is just sharing the project from https://github.com/Ugly-Mug/SEGA-Game-Gear-to-RGB-TV, designed...
-
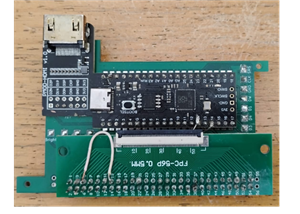 Pico GG LCD – RP2040 Game Gear Screen Replacement
Pico GG LCD is a DIY screen replacement for the Sega Game Gear. An RP2040 board captures the console...
Pico GG LCD – RP2040 Game Gear Screen Replacement
Pico GG LCD is a DIY screen replacement for the Sega Game Gear. An RP2040 board captures the console...
-
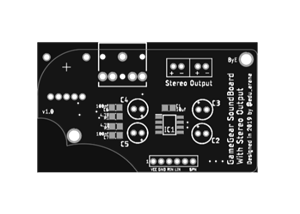 GGSND – Sega Game Gear Stereo Sound Board
This is a small replacement sound board for the Sega Game Gear, made for consoles whose original sou...
GGSND – Sega Game Gear Stereo Sound Board
This is a small replacement sound board for the Sega Game Gear, made for consoles whose original sou...
-
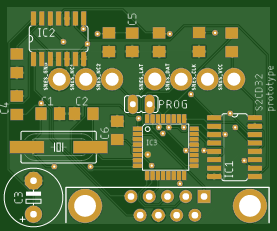 SNES2CD32 – SNES Controller Adapter for Amiga CD32
SNES2CD32 is a small adapter board that lets you plug a Super Nintendo controller into the joystick ...
SNES2CD32 – SNES Controller Adapter for Amiga CD32
SNES2CD32 is a small adapter board that lets you plug a Super Nintendo controller into the joystick ...
-
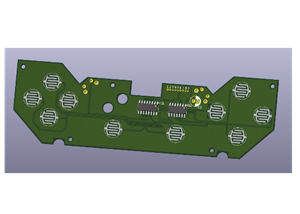 CD32 Pad Conversion PCB for the Amiga A500 Gamepad
This is just sharing the project from https://github.com/CRG-Glen/CD32-to-A500-gamepad, and all desi...
CD32 Pad Conversion PCB for the Amiga A500 Gamepad
This is just sharing the project from https://github.com/CRG-Glen/CD32-to-A500-gamepad, and all desi...
-
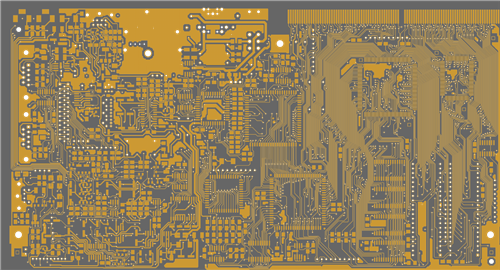 Amiga CD32 Rev 4.1 Motherboard Recreation
4-layer recreation of the Commodore Amiga CD32 Rev 4.1 motherboard, with Gerbers converted from amig...
Amiga CD32 Rev 4.1 Motherboard Recreation
4-layer recreation of the Commodore Amiga CD32 Rev 4.1 motherboard, with Gerbers converted from amig...
-
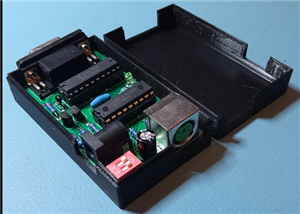 Amstrad CPC PS/2 Mouse Adapter
This is just sharing the project from https://github.com/rabs664/Amstrad-CPC-PS2-Mouse-Adapter. All ...
Amstrad CPC PS/2 Mouse Adapter
This is just sharing the project from https://github.com/rabs664/Amstrad-CPC-PS2-Mouse-Adapter. All ...
-
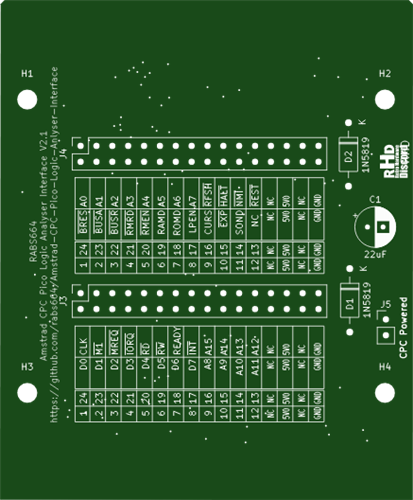 Amstrad CPC Pico Logic Analyser Interface – Dual-Analyser Expansion Bus Backplane
This is just sharing the project from https://github.com/rabs664/Amstrad-CPC-Pico-Logic-Anlyser-Inte...
Amstrad CPC Pico Logic Analyser Interface – Dual-Analyser Expansion Bus Backplane
This is just sharing the project from https://github.com/rabs664/Amstrad-CPC-Pico-Logic-Anlyser-Inte...
-
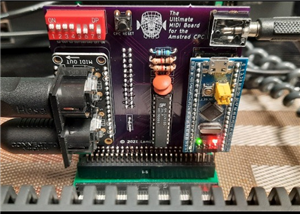 The Ultimate MIDI Sound & Interface Card for the Amstrad CPC
This is just sharing the project from https://github.com/lambdamikel/BluePillCPC – all credit goes t...
The Ultimate MIDI Sound & Interface Card for the Amstrad CPC
This is just sharing the project from https://github.com/lambdamikel/BluePillCPC – all credit goes t...
-
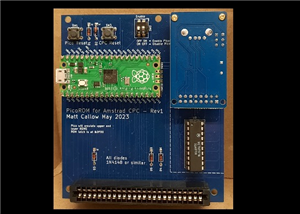 PicoROM – Raspberry Pi Pico ROM Emulator for Amstrad CPC
This is just sharing the project from https://github.com/mattcallow/CPC_PICOROM — all design credit ...
PicoROM – Raspberry Pi Pico ROM Emulator for Amstrad CPC
This is just sharing the project from https://github.com/mattcallow/CPC_PICOROM — all design credit ...
-
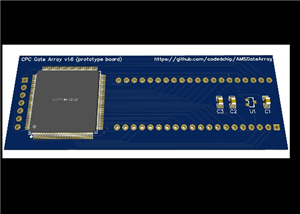 AMSGateArray – CPLD Replacement for the Amstrad CPC 40010 Gate Array
This is just sharing the project from https://github.com/codedchip/AMSGateArray, created by Darren J...
AMSGateArray – CPLD Replacement for the Amstrad CPC 40010 Gate Array
This is just sharing the project from https://github.com/codedchip/AMSGateArray, created by Darren J...
-
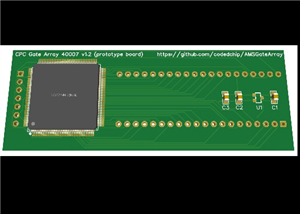 AMSGateArray – CPLD Replacement for the Amstrad CPC 40007 Gate Array
This is just sharing the project from https://github.com/codedchip/AMSGateArray, created by Darren J...
AMSGateArray – CPLD Replacement for the Amstrad CPC 40007 Gate Array
This is just sharing the project from https://github.com/codedchip/AMSGateArray, created by Darren J...
-
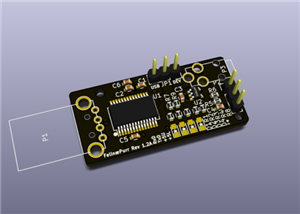 FelinæPurr Rev 1.2A – USB ComLynx Adapter for the Atari Lynx
This is just sharing the FelinæPurr project from https://github.com/986-Studio/FelinaePurr. The boar...
FelinæPurr Rev 1.2A – USB ComLynx Adapter for the Atari Lynx
This is just sharing the FelinæPurr project from https://github.com/986-Studio/FelinaePurr. The boar...
-
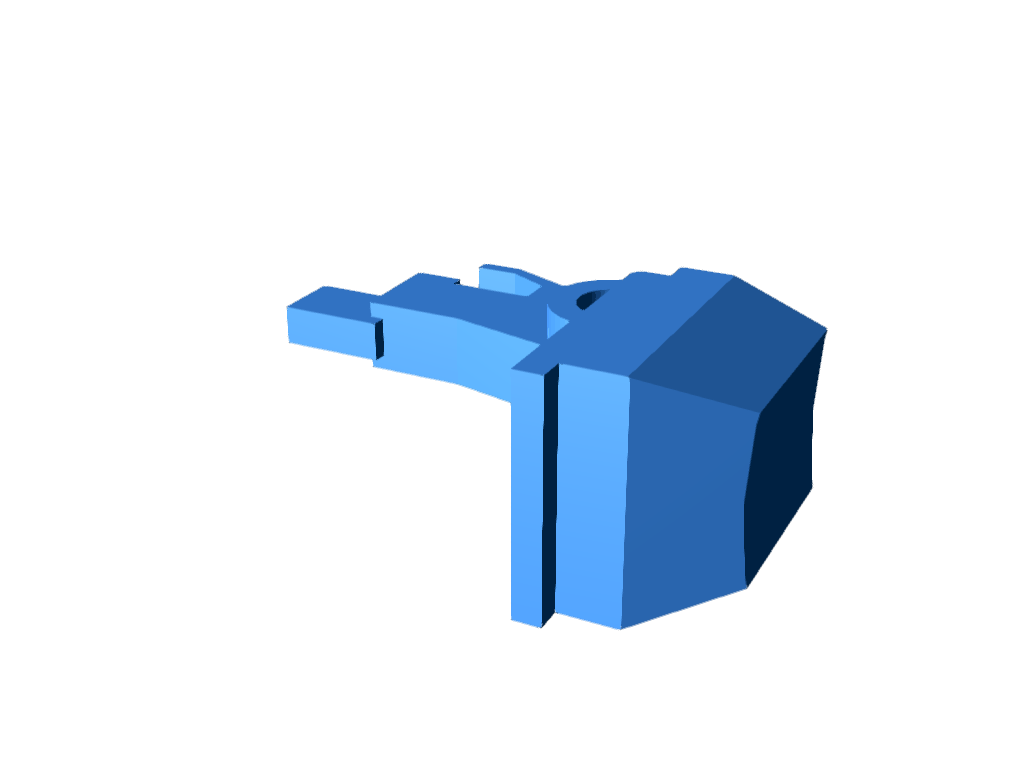 Spectrum +2 Datacorder key
Brendan Alfords design shared on a Facebook group Spectrum for Everyone on 24.9.2026, sharing for ea...
Spectrum +2 Datacorder key
Brendan Alfords design shared on a Facebook group Spectrum for Everyone on 24.9.2026, sharing for ea...
-
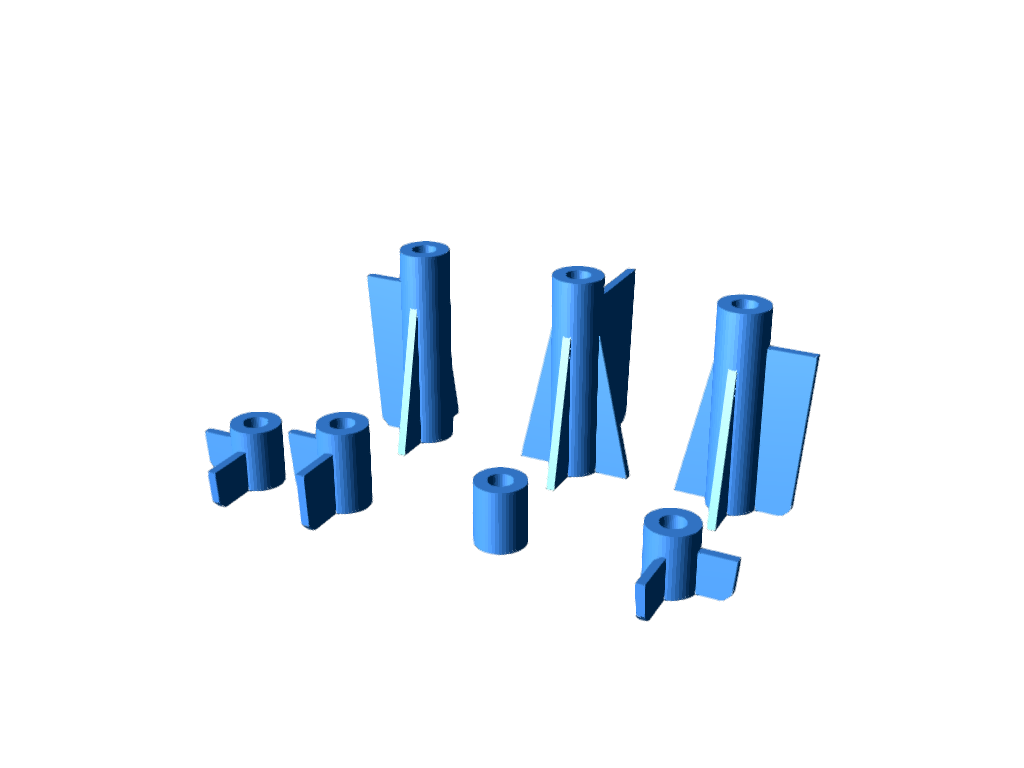 Replacement screw pillars for the top half of a Spectrum +2 or +2A case
Brendan Alfords design shared on a Facebook group Spectrum for Everyone on 24.9.2026, sharing for ea...
Replacement screw pillars for the top half of a Spectrum +2 or +2A case
Brendan Alfords design shared on a Facebook group Spectrum for Everyone on 24.9.2026, sharing for ea...
-
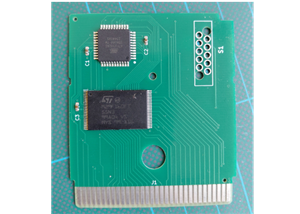 GBneprio — GameBoy Compatible 2MB Flash Cartridge
GBneprio is a classic Game Boy cartridge built around just two active chips: a 16 Mbit (2 MB) NOR fl...
GBneprio — GameBoy Compatible 2MB Flash Cartridge
GBneprio is a classic Game Boy cartridge built around just two active chips: a 16 Mbit (2 MB) NOR fl...
-
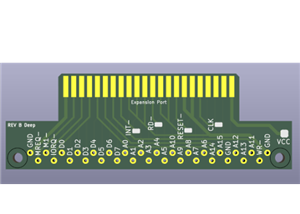 Galaksija Expansion Slot PCB — Edge Connector Deep
Most classic Galaksija computers left the factory without an expansion port connector. This board fi...
Galaksija Expansion Slot PCB — Edge Connector Deep
Most classic Galaksija computers left the factory without an expansion port connector. This board fi...
-
Émetteur Récepteur Optique Expérimental (communication UART ATtiny + fibre optique)
138 0 1 -
SmallOLED - Live PC Stats, Animated Clocks & Audio Visualizer
978 0 3 -
"Talking Multimeter": Arduino-Based Speech Add-on for Multimeters with SCPI Protocol
561 0 1 -
Programmable Mist Maker - XIAO / QT PY Extension
3032 2 3 -
RadioHAT - Raspberry Pi radio development platform
2579 0 4 -
-
-