


|
KiCADKicad
|
|

|
arduino IDEArduino
|
High-Resolution POV Display using ESP32
In this guide, we'll learn how to create a cool POV display using an ESP32 module. It's all about using something called Persistence of Vision to make pictures and animations appear in the air. We're going to make our display show not just simple shapes, but also detailed images and animations. This project is perfect for anyone interested in electronics and cool visual effects. Let's dive in!
Features of our POV Display
- 128 Pixel resolution.
- Frame rate of 20 FPS.
- Easy to build.
- Easy to control.
- ESP32 based.
- Fully open source.
- Companion web app to easily convert images.
Components Required:
- To embark on this POV Display project, you'll need the following components:
- ESP32 WROOM Module x1
- 74HC595D shift register x16
- CH340K USB - UART controller x1
- TP4056 Li-ion charger IC x1
- AMS1117 3.3v LDO x1
- AO3401 P - MOSFET x1
- 2N7002DW dual N - MOSFET x1
- Hall effect sensors x2
- SS34 Diode x1
- Type C USB Connector 16Pin x1
- SMD LED Blue 0603 x128
- 775 Motor x1
- DC Motor Speed Controller x1
- SMD resistors and capacitors
- SMD LEDs
- SMD Tactile switches
- SDM Slide Switch
- Connectors
- Custom PCB
- 3D printed parts and mounting screws
- Other tools and consumables
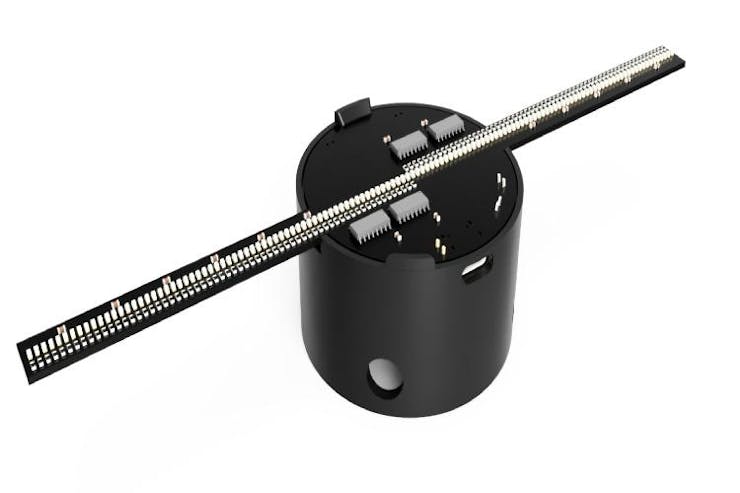
Circuit Diagram
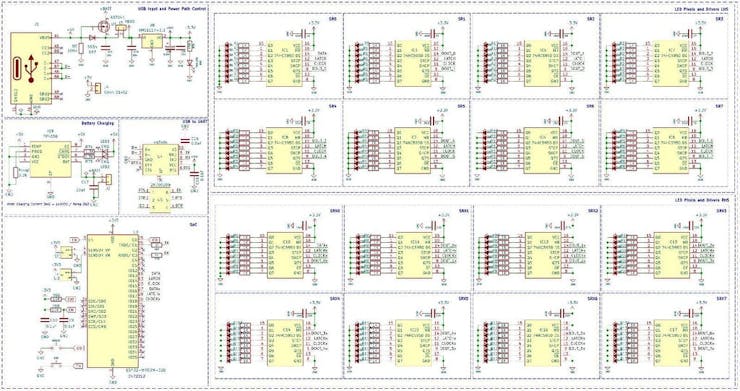
The POV Display circuit diagram integrates various components to facilitate smooth operation. A Type C USB port serves dual purposes of charging and programming, with a power path controller circuit managed by a P-Channel MOSFET and diode. Voltage regulation is ensured by an AMS1117 3.3V LDO, while a TP4056 charge controller handles battery charging. The programming circuit employs a CH340K chip and a dual MOSFET for auto reset. An ESP32-WROOM module serves as the brain, coordinating LED displays via 74HC595D shift registers and hall effect sensors for RPM measurement and position sensing.
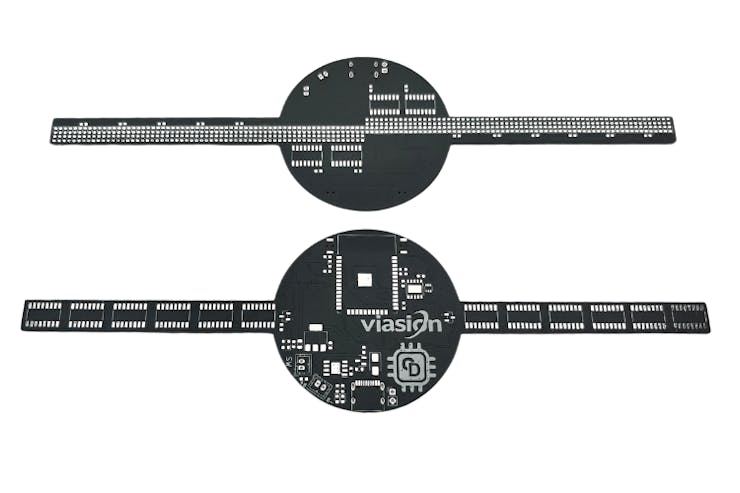
PCB for POV Display
For this project, we have decided to make a custom PCB using KiCad. This will ensure that the final product is as compact as possible as well as easy to assemble and use. The PCB has a dimension of approximately 210mm x 60mm. Here are the top and bottom layers of the PCB.
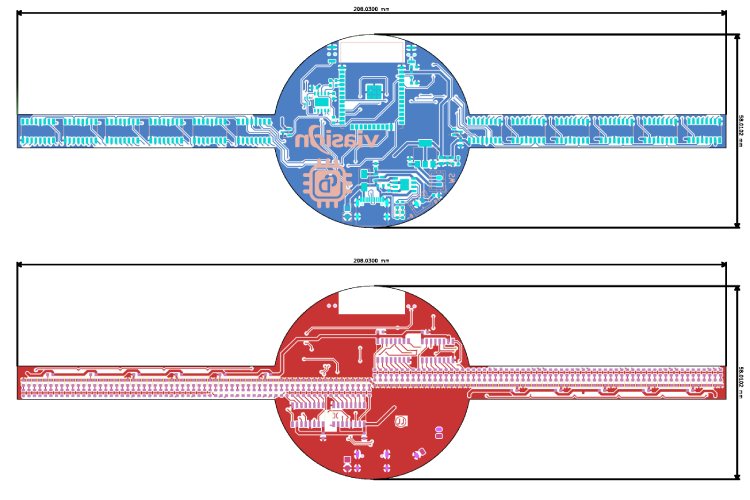
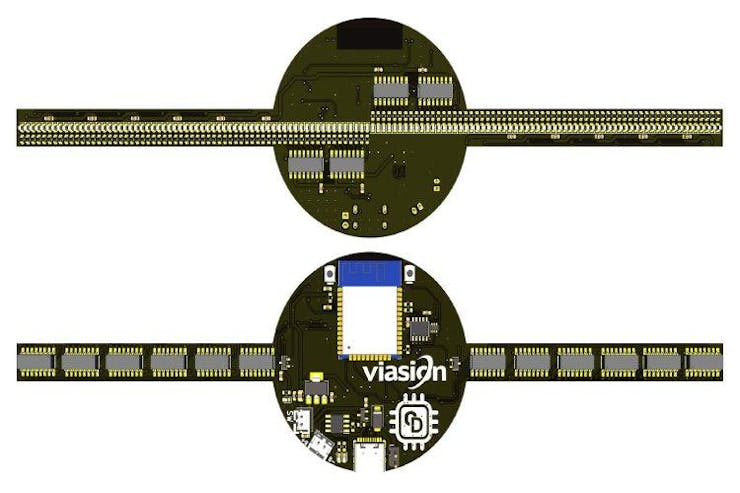
Utilizing KiCad, we design a custom PCB for compactness and ease of assembly. The PCB accommodates all components, ensuring efficient utilization of space. Once assembled, the PCB seamlessly integrates with 3D-printed parts and mounting screws to form the complete POV Display unit.
Working Principle
The POV Display harnesses the Persistence of Vision to create seamless visual experiences. By dividing images into radial segments and employing trigonometric calculations, the display manipulates LEDs to generate images and animations. Precomputed values optimize image processing, enhancing refresh rates while minimizing response times. Additionally, image storage optimization reduces memory usage, enabling efficient utilization of code space.
Image Conversion and Code Implementation

Converting images to polar coordinates ensures compatibility with the POV Display. Our web app simplifies this process, generating optimized data arrays for easy integration into the Arduino code. The Arduino code orchestrates LED displays, animating images and sequences with precision. By adjusting parameters like animation speed and repetition, users can customize visual experiences to their liking.
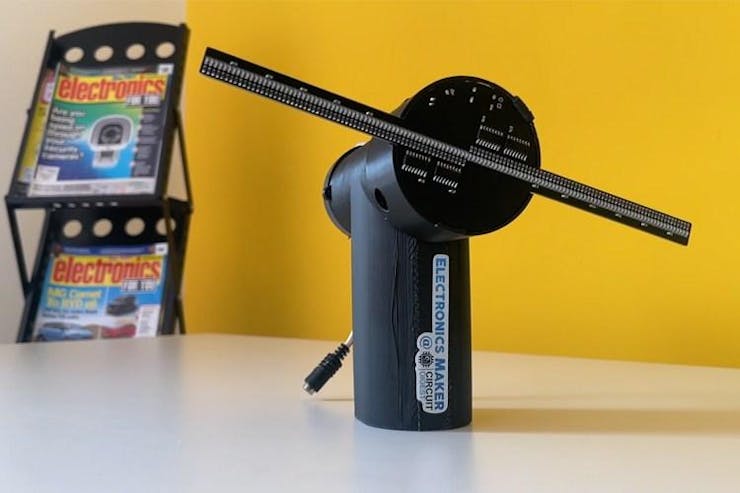
Building and Testing
With components assembled and code uploaded, it's time to build and test the POV Display. Ensure proper connections and power supply before initiating display operations. Test different images and animations to verify functionality and fine-tune parameters for optimal performance.
Exploring Further Possibilities
Once the POV Display is up and running, we can explore further possibilities for customization and enhancement. Experiment with different images, animations, and code modifications to unleash creativity and maximize visual impact. Additionally, consider incorporating additional features or functionalities to expand the capabilities of your POV Display.
To learn more detailed information about the project please check out Building a High-Resolution POV Display using ESP32.
High-Resolution POV Display using ESP32
Project images are for reference only. Actual production is based on the manufacturing files on the project page.
Please review the designer's notes (e.g., PCB thickness) and select the appropriate options.
PCBWay is not responsible
for issues caused by unsuitable parameter selections.
For more important ordering information, please refer to
Read More


Raspberry Pi 5 7 Inch Touch Screen IPS 1024x600 HD LCD HDMI-compatible Display for RPI 4B 3B+ OPI 5 AIDA64 PC Secondary Screen(Without Speaker)
BUY NOW


- Comments(0)
- Likes(1)
More by Jobit Joseph
-
 How to build a Wearable Air Quality Monitor Pendant using STM32 & SGP40 Sensor
This DIY Wearable Air Quality Monitor Pendant is a compact, battery-powered device designed to conti...
How to build a Wearable Air Quality Monitor Pendant using STM32 & SGP40 Sensor
This DIY Wearable Air Quality Monitor Pendant is a compact, battery-powered device designed to conti...
-
 Smart Digital Ludo Game Board with Multicolour PCB
Ludo, a beloved childhood game, holds a special place in our hearts with its simple and engaging gam...
Smart Digital Ludo Game Board with Multicolour PCB
Ludo, a beloved childhood game, holds a special place in our hearts with its simple and engaging gam...
-
 Electronic Dice with BLE Connectivity
Many of us fondly remember the joy of playing board games like Snakes and Ladders or Ludo during our...
Electronic Dice with BLE Connectivity
Many of us fondly remember the joy of playing board games like Snakes and Ladders or Ludo during our...
-
 3D printed Enclosure Backplate for Riden RD60xx power supplies
3D printed Enclosure for Riden RD60xx power supplies such as RD6006, RD6012, RD6018, RD6024 and RD60...
3D printed Enclosure Backplate for Riden RD60xx power supplies
3D printed Enclosure for Riden RD60xx power supplies such as RD6006, RD6012, RD6018, RD6024 and RD60...
-
 3D printed Enclosure for Riden RD60xx power supplies
 such as RD6006, RD6012, RD6018, RD6024 and RD60...
3D printed Enclosure for Riden RD60xx power supplies
3D printed Enclosure for Riden RD60xx power supplies such as RD6006, RD6012, RD6018, RD6024 and RD60...
-
 Suzuki Ignis Universal Armrest No Screw Adapter
I own a 2024 Suzuki Ignis. When I searched for an armrest for my car I couldn't find any domesticall...
Suzuki Ignis Universal Armrest No Screw Adapter
I own a 2024 Suzuki Ignis. When I searched for an armrest for my car I couldn't find any domesticall...
-
 Wireless Potentiostat for Electrochemical Analysis
This wireless potentiostat is based on the ADuCM355 SoC from Analog Devices, tailored for portable e...
Wireless Potentiostat for Electrochemical Analysis
This wireless potentiostat is based on the ADuCM355 SoC from Analog Devices, tailored for portable e...
-
 160 Channel Configurable DAC Controller
The DAC controller board features 160 individually controllable 16-bit DAC output. It can output vol...
160 Channel Configurable DAC Controller
The DAC controller board features 160 individually controllable 16-bit DAC output. It can output vol...
-
 ESP32 IoT Water Flow Meter with Real-Time Monitoring
OverviewThis project demonstrates how to build a smart water flow meter using an ESP32 microcontroll...
ESP32 IoT Water Flow Meter with Real-Time Monitoring
OverviewThis project demonstrates how to build a smart water flow meter using an ESP32 microcontroll...
-
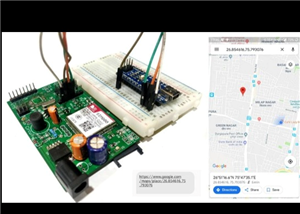 DIY GSM GPS Location Tracker with Arduino
Project OverviewThis project demonstrates how to build a simple and reliable location tracking syste...
DIY GSM GPS Location Tracker with Arduino
Project OverviewThis project demonstrates how to build a simple and reliable location tracking syste...
-
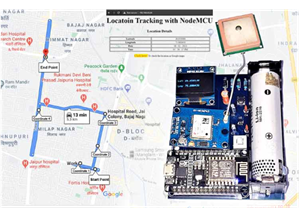 IoT GPS Tracker with NodeMCU and Google Maps
OverviewThis project demonstrates how to build an IoT-based GPS tracking system using a NodeMCU (ESP...
IoT GPS Tracker with NodeMCU and Google Maps
OverviewThis project demonstrates how to build an IoT-based GPS tracking system using a NodeMCU (ESP...
-
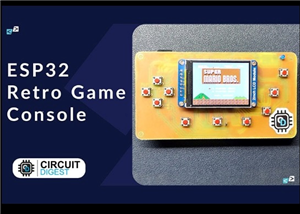 ESP32 Retro Game Console with OLED Display
OverviewThis project demonstrates how to build a compact, handheld retro gaming console using the ES...
ESP32 Retro Game Console with OLED Display
OverviewThis project demonstrates how to build a compact, handheld retro gaming console using the ES...
-
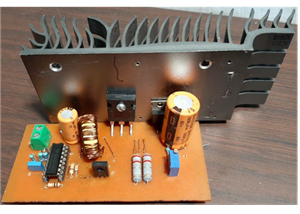 High Power Boost Converter Using TL494
OverviewThis project demonstrates the design and implementation of a high-power, high-efficiency DC-...
High Power Boost Converter Using TL494
OverviewThis project demonstrates the design and implementation of a high-power, high-efficiency DC-...
-
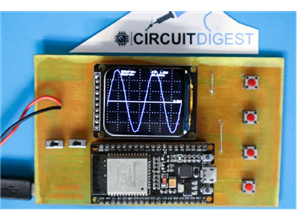 DIY ESP32 Oscilloscope Project
OverviewThis project demonstrates how to build a simple and affordable oscilloscope using an ESP32. ...
DIY ESP32 Oscilloscope Project
OverviewThis project demonstrates how to build a simple and affordable oscilloscope using an ESP32. ...
-
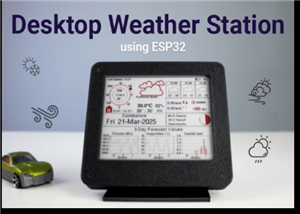 ESP32 Desktop Weather Station
Project OverviewBuild a compact desktop weather station using an ESP32 that measures temperature, hu...
ESP32 Desktop Weather Station
Project OverviewBuild a compact desktop weather station using an ESP32 that measures temperature, hu...
-
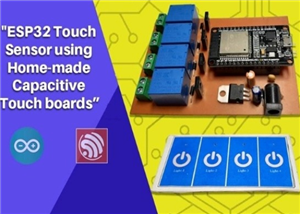 ESP32 Capacitive Touch Home Automation
OverviewMechanical switches wear out over time and can be prone to failure due to dust, moisture, or...
ESP32 Capacitive Touch Home Automation
OverviewMechanical switches wear out over time and can be prone to failure due to dust, moisture, or...
-
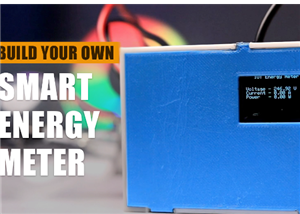 ESP32-Powered Smart Energy Meter for Real-Time Monitoring
ESP32-Powered Smart Energy Meter for Accurate Consumption TrackingIn modern electronics and IoT appl...
ESP32-Powered Smart Energy Meter for Real-Time Monitoring
ESP32-Powered Smart Energy Meter for Accurate Consumption TrackingIn modern electronics and IoT appl...
-
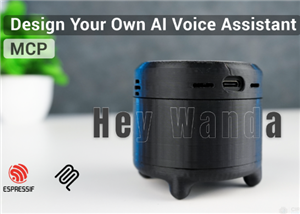 Build Your Own ESP32 AI Voice Assistant with MCP Integration
Project OverviewThe ESP32 AI Voice Assistant with MCP Integration is an advanced voice-controlled sm...
Build Your Own ESP32 AI Voice Assistant with MCP Integration
Project OverviewThe ESP32 AI Voice Assistant with MCP Integration is an advanced voice-controlled sm...
-
Programmable Mist Maker - XIAO / QT PY Extension
1150 2 1 -
RadioHAT - Raspberry Pi radio development platform
960 0 2 -
-
-
-
-
ARPS-2 – Arduino-Compatible Robot Project Shield for Arduino UNO
3382 0 6 -
A Compact Charging Breakout Board For Waveshare ESP32-C3
4001 3 8 -
AI-driven LoRa & LLM-enabled Kiosk & Food Delivery System
4389 2 2


