


|
DFR0654DFRobot
|
x 1 | |
|
|
WS2812B RGB led Strip |
x 1 | |
|
|
5v adaptor |
x 1 | |
|
|
DC 5525 Female Jack |
x 1 |
|
|
WLEDAircoookie
|
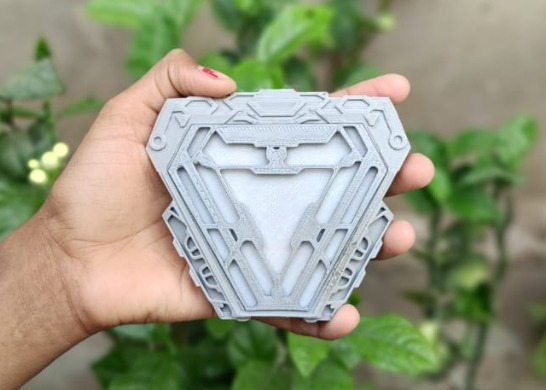
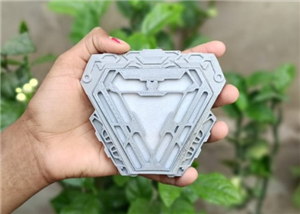
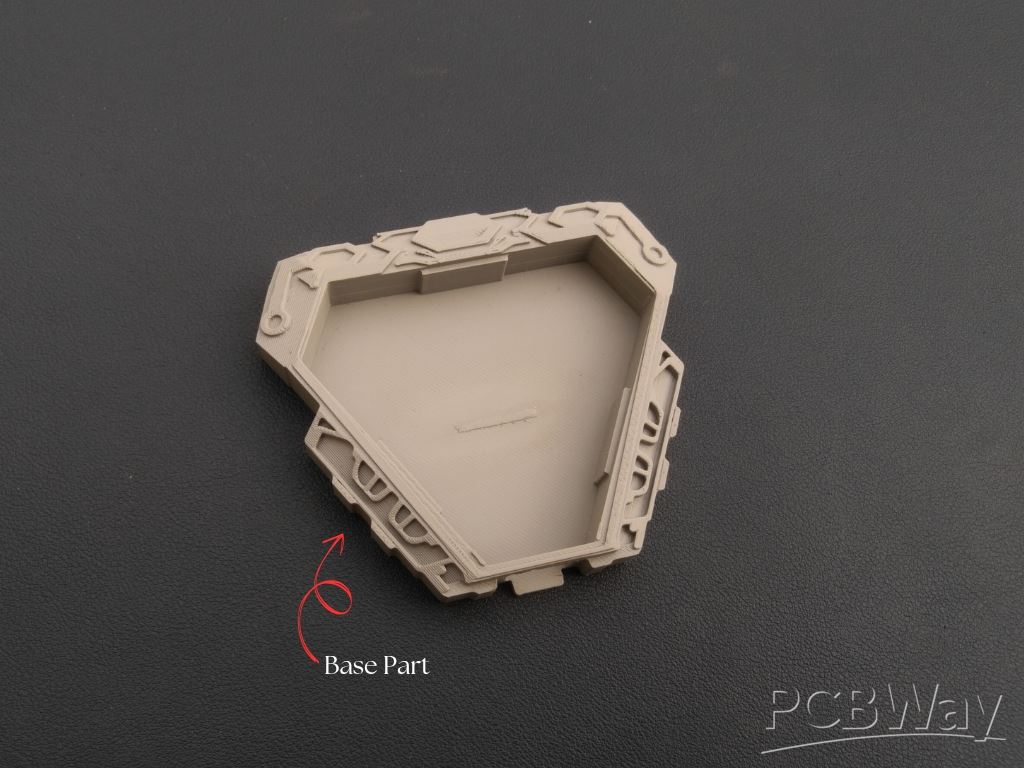
3d Printed Iron Man Arc Reactor
Have you ever dreamed of holding a piece of Iron Man’s genius in your own hands? Well, I did—and I turned that dream into reality with my very own Mark 50 Arc Reactor replica, built using 3D-printed parts and powered by customizable RGB LEDs. This isn't just a prop—it’s a glowing tribute to engineering, creativity, and innovation.
What sets this Arc Reactor apart is its smart lighting control. Using the WLED application, you can transform the reactor’s glow with a tap on your smartphone—cycling through dynamic visual effects, color patterns, and brightness levels, all in real-time. this project is designed to spark your imagination.
Step 1: Design & Print
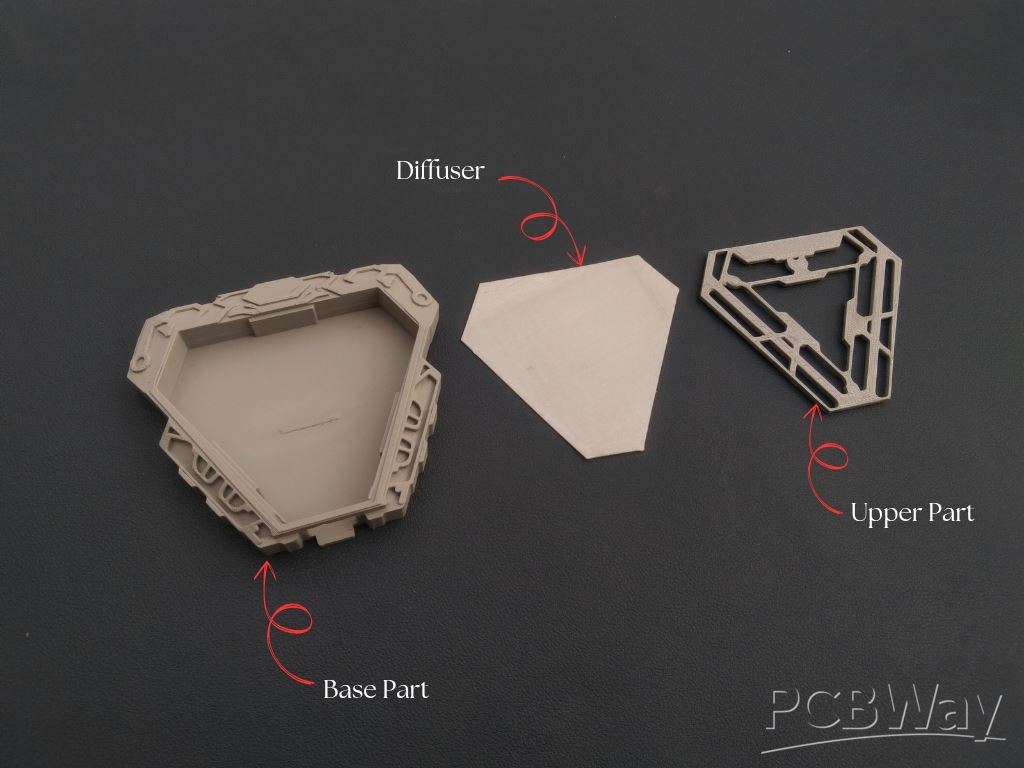
To begin, I designed this iron man Arc reactor using Fusion 360. Since the design was two old so the link of fusion 360 is not available for modification. Although I'm providing the STL files for directly 3D Printing. The files are listed below:
- 1x Iron Man Based.stl
- 1x Iron Man Middle.stl
- 1x Iron Man Top.stl
Since I haven't a 3d Printer, so I'm using pcbway 3d printing service. PCBWay offers high-quality, precise, and affordable 3D printing for hobbyists, engineers, and designers. With advanced printing technologies like SLA, SLS, FDM, MJF, and DMLS, they ensure top-notch accuracy and detail. You can choose from a wide range of materials, including resin, plastics, and metals, at competitive prices. Their fast turnaround and global shipping make them a preferred choice for rapid prototyping.
Ordering is simple: Upload your 3D file, select material and technology, get an instant quote, confirm your order, and let PCBWay handle the rest. Your custom 3D print will be delivered with precision and care. Experience the best in 3D printing with PCBWay today! Register Now using this link and get huge discount on your order.
Step 2: RGB Strip Assembly
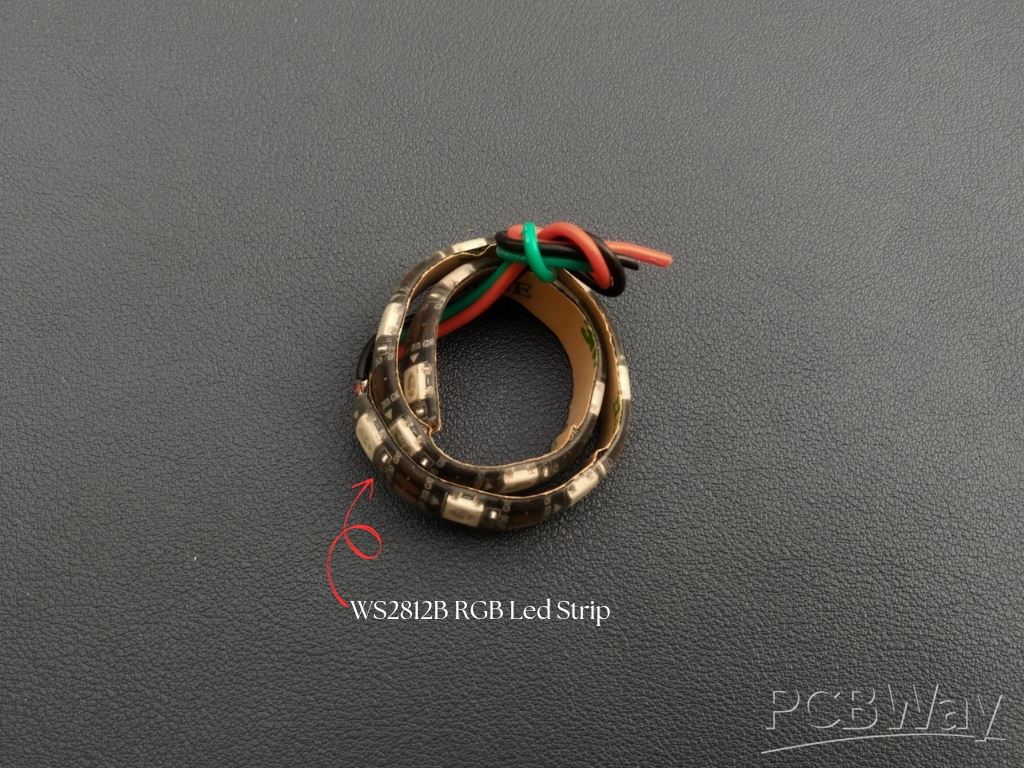
I began by carefully measuring and cutting the LED strip to fit snugly inside the reactor’s inner frame. The strip I used came with a pre-applied adhesive backing, so I simply peeled off the protective layer and pressed it firmly into place along the inner edge.
Once the strip was in place, I soldered the three key connections: 5V (power), GND (ground), and Data In. It's important to ensure the data flow direction is correct—the arrow on the strip should point away from the microcontroller input. A reversed connection could prevent the lights from responding.
Step 3: Microcontroller Selection
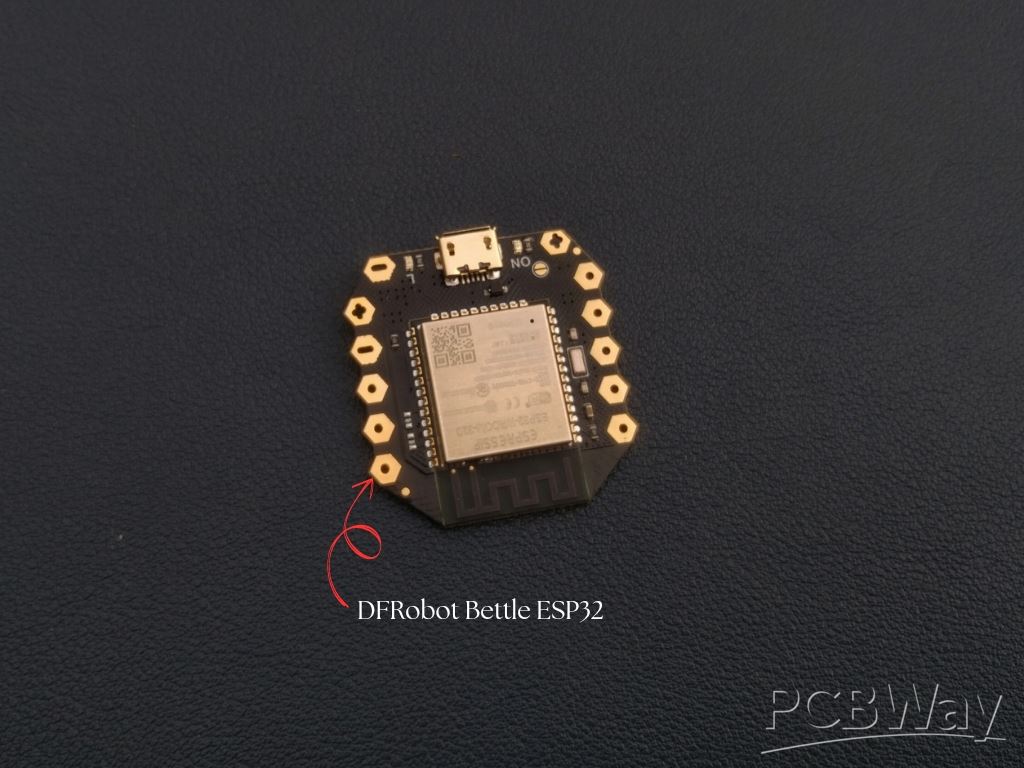
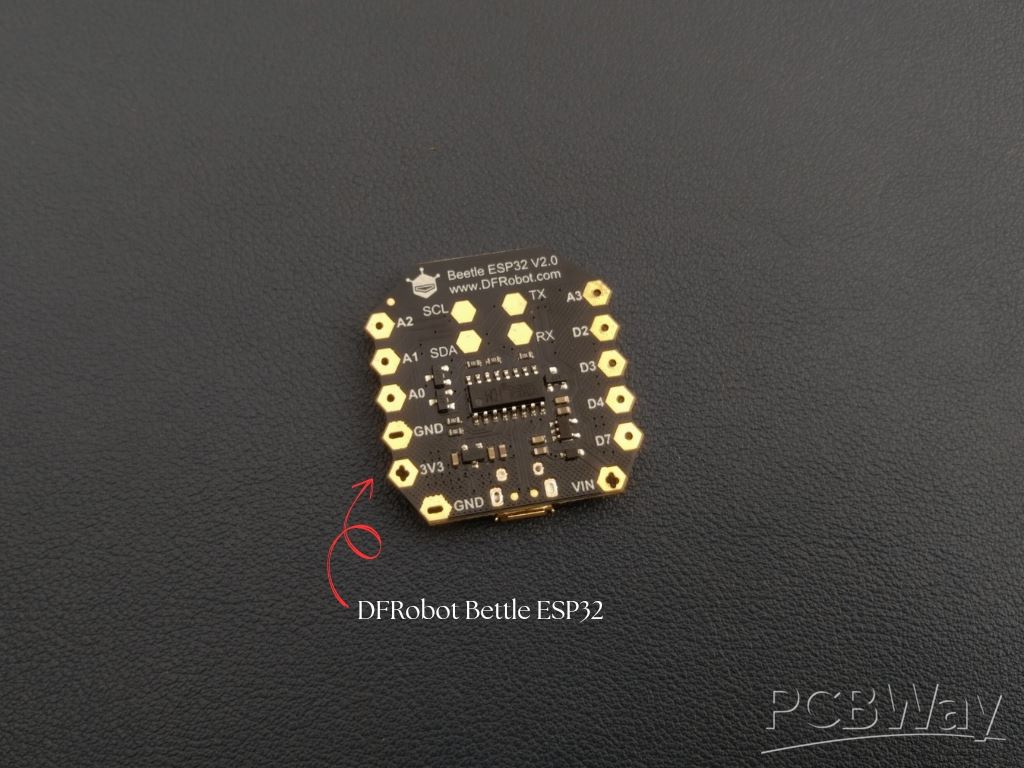
While a standard ESP32 would have done the job just fine, I chose the Beetle ESP32 for a specific reason: its ultra-compact size combined with high performance. In a project where space is limited and aesthetics matter, the Beetle ESP32 was the perfect fit. It packs the full capabilities of the regular ESP32—Wi-Fi, Bluetooth, and plenty of GPIO pins—into a tiny form factor, making it ideal for embedding into tight enclosures like this one. This microcontroller is responsible for controlling the WS2812B LED strip using the WLED firmware, which allows real-time lighting effects via a smartphone.
Step 4: Connection
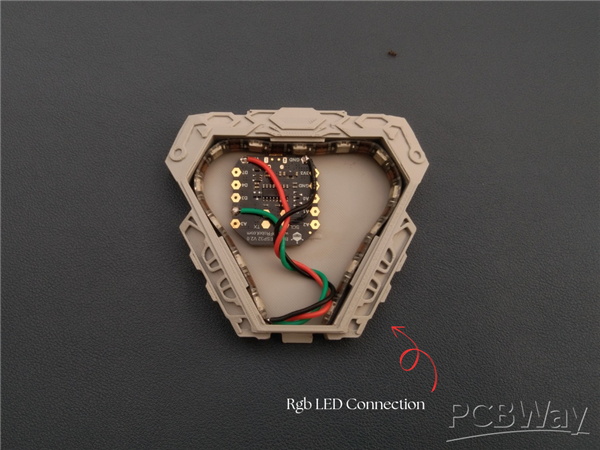
You can follow the above circuit diagram to make the connection, however I choose GPIO 2 of DFRobot ESP32 for Connecting Din Pin of Ws2812b led Strip. In the above circuit diagram you can see some safety comments like resistor and capacitor, you can connect if you want otherwise the ESP32 can even handle smoothly.
Connection of WS2812B RGB led Strip With DFRobot ESP32
- WS2812B Strip VCC Pin To DFRobot ESP32 VCC Pin
- WS2812B Strip GND Pin To DFRobot ESP32 GND Pin
- WS2812B Strip DIN Pin To DFRobot ESP32 D2 Pin
Connection of 5V DC Jack with DFRobot ESP32
- 5v DC Jack Postive (+) Pin To DFRobot ESP32 VCC Pin
- 5v DC Jack Negative (-) Pin To DFRobot ESP32 GND Pin
Step 5: Uploading Firmware
Since I’ve already explained the complete WELDER firmware upload process in a previous article and detailed video tutorial, I won’t repeat the same steps here. If you haven’t seen it yet, I highly recommend checking it out before moving forward. Just follow the instructions in my earlier guide to flash WLED onto your DFRobot Beetle ESP32 using the official WLED web flasher.
Previous Project Link - Click Here
Step 6: DC Jack Assembly

I placed the DC jack into its designated slot in the back part of the reactor. It fit just right, and to keep it firmly in place, I used a small drop of super glue. This keeps the jack secure while still maintaining a clean and sleek look.
Once fixed, the jack connects directly to the 5V input of the LED strip and microcontroller, making it easy to power the reactor using any compatible adapter.
Step 7: Diffuser Assembly
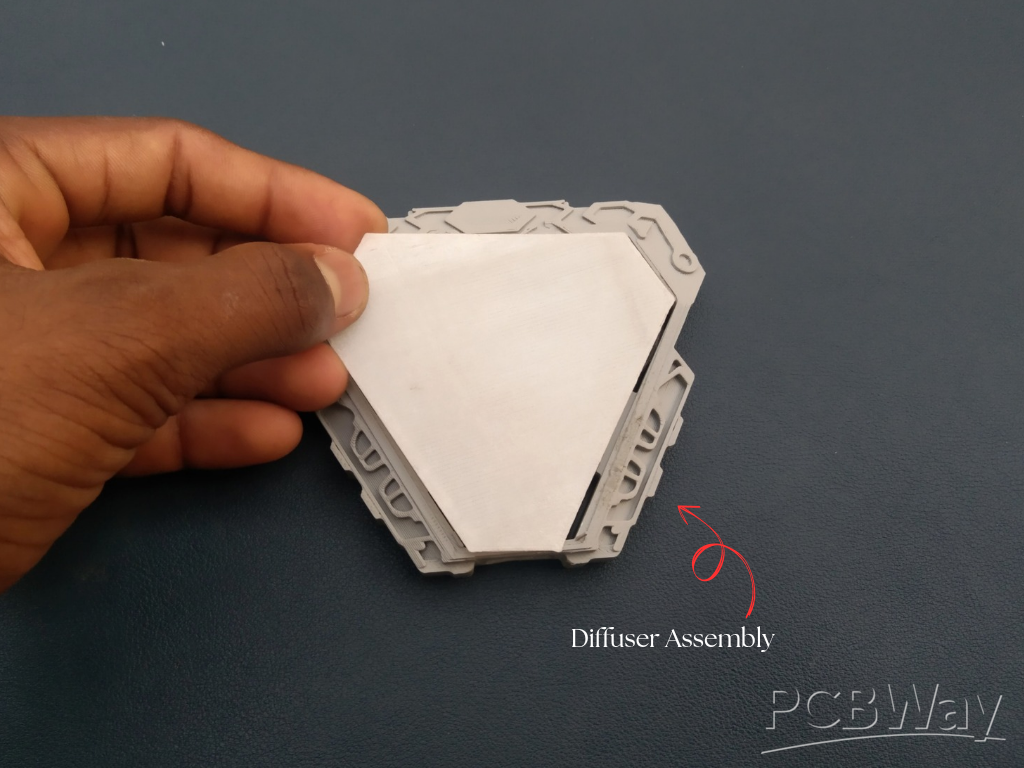
Now when everything is done, it’s time to add the 3D-printed diffuser on top. This not only gives the Arc Reactor a clean and finished look, but also helps soften the light so it doesn’t appear too harsh or direct.
Once the diffuse place on its place, carefully apply a small amount of super glue, so that it can fit perfectly.
Step 8: Top Assembly
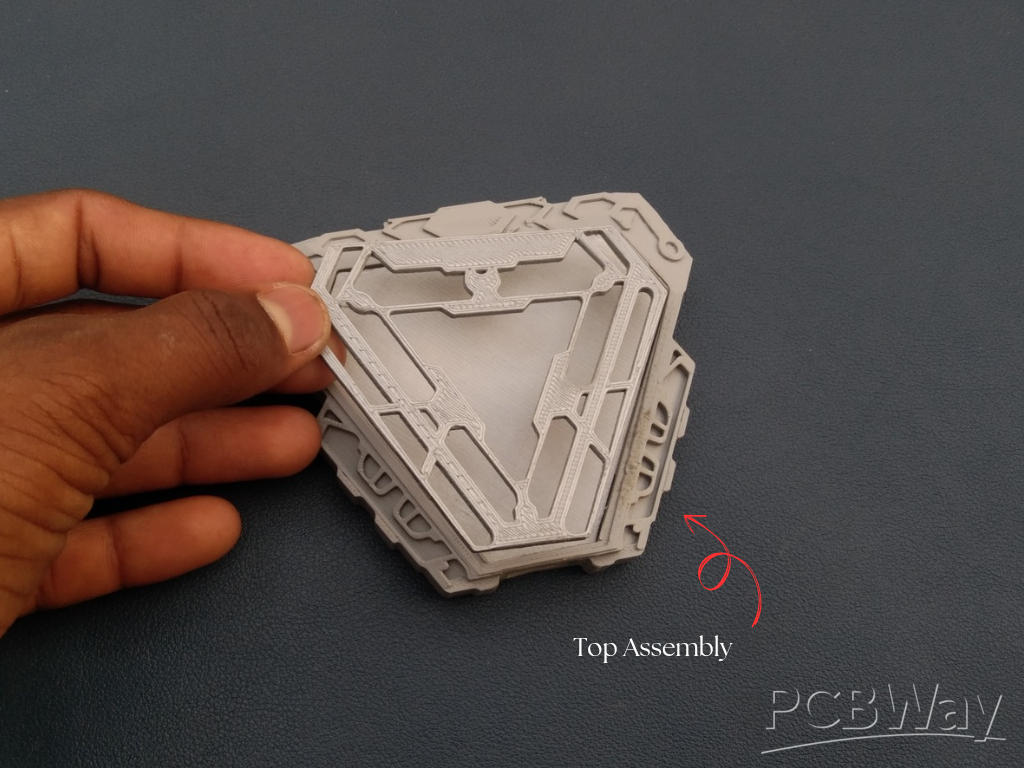
Now it’s time to complete the look by attaching the top 3D-printed panel of the Arc Reactor. I carefully aligned the top panel over the diffuser and pressed it into place. To make sure it stays secure, I added a small amount of super glue at the edges. Just a little is enough—too much can overflow and affect the finish.
Step 9: Testing
Once everything is done, I connected a 5V power adapter to the DC jack, and instantly, the reactor came to life with a beautiful glow. Using the WLED app, I explored a variety of lighting effects—from smooth breathing pulses to fast dynamic animations. Everything worked perfectly, with no flickering or connectivity issues.
The light was evenly diffused, the colors were vibrant, and the overall look was exactly what I envisioned—a miniature Arc Reactor glowing with energy and style.
Conclusion
In my conclusion this is one of the best DIY Arc Reactors, fully brought to life with stunning RGB effects, smart control through the WLED app, and a compact, high-performance core. From precise 3D printing to beautiful light diffusion and smooth wireless control, this build brings together both creativity and technology in a compact, eye-catching design.
If you enjoyed this build or found it inspiring, don’t forget to share it and support me. Let’s keep building cool things.
3d Printed Iron Man Arc Reactor
*PCBWay community is a sharing platform. We are not responsible for any design issues and parameter issues (board thickness, surface finish, etc.) you choose.


Raspberry Pi 5 7 Inch Touch Screen IPS 1024x600 HD LCD HDMI-compatible Display for RPI 4B 3B+ OPI 5 AIDA64 PC Secondary Screen(Without Speaker)
BUY NOW


- Comments(0)
- Likes(1)
More by Kishan Pratap Singh
-
 A Compact Charging Breakout Board For Waveshare ESP32-C3
The Waveshare ESP32-C3 Mini development board is a powerful and compact solution for modern IoT and ...
A Compact Charging Breakout Board For Waveshare ESP32-C3
The Waveshare ESP32-C3 Mini development board is a powerful and compact solution for modern IoT and ...
-
 World's Smallest 1S Battery Charger
This is a very small 1S lithium battery charger board designed for projects where space is extremely...
World's Smallest 1S Battery Charger
This is a very small 1S lithium battery charger board designed for projects where space is extremely...
-
 DIY Smart Battery Charger
In today's world, batteries are an integral part of our lives, powering everything from our smartpho...
DIY Smart Battery Charger
In today's world, batteries are an integral part of our lives, powering everything from our smartpho...
-
 DIY 3D Printed Keychain Light
Hello Friends, welcome back in my new Instructables. Today I'm going to build my own smallest & ...
DIY 3D Printed Keychain Light
Hello Friends, welcome back in my new Instructables. Today I'm going to build my own smallest & ...
-
 DIY 3D Printed Compact Size Bluetooth speaker
Hello Friends, My self Kishan Pratap Singh. I developed my new project. Kindly let me know your thou...
DIY 3D Printed Compact Size Bluetooth speaker
Hello Friends, My self Kishan Pratap Singh. I developed my new project. Kindly let me know your thou...
-
 200w Mini Smart Inverter PCB
Introducing our Mini Inverter PCB, a compact and efficient solution for portable power needs. This c...
200w Mini Smart Inverter PCB
Introducing our Mini Inverter PCB, a compact and efficient solution for portable power needs. This c...
-
 A Compact Charging Breakout Board For Waveshare ESP32-C3 (V2 – Improved Manufacturability)
The Waveshare ESP32-C3 Mini is an excellent choice for compact IoT projects. However, one limitation...
A Compact Charging Breakout Board For Waveshare ESP32-C3 (V2 – Improved Manufacturability)
The Waveshare ESP32-C3 Mini is an excellent choice for compact IoT projects. However, one limitation...
-
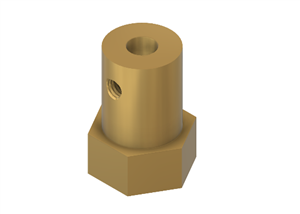
 Custom Coupler for BO Motor to Robot Wheel
Standard robot wheels are widely used in educational and DIY robotic platforms, but they are not alw...
Custom Coupler for BO Motor to Robot Wheel
Standard robot wheels are widely used in educational and DIY robotic platforms, but they are not alw...
-
 Custom Coupler for N20 Gear Motor to Robot Wheel
These rubber wheels are commonly used in small robotic mobile platforms such as 2WD and 4WD robots. ...
Custom Coupler for N20 Gear Motor to Robot Wheel
These rubber wheels are commonly used in small robotic mobile platforms such as 2WD and 4WD robots. ...
-
 Ultra-Compact RGB Button LED PCB (NeoPixel Compatible)
I designed this tiny RGB button LED PCB to make adding colorful, addressable lighting to projects si...
Ultra-Compact RGB Button LED PCB (NeoPixel Compatible)
I designed this tiny RGB button LED PCB to make adding colorful, addressable lighting to projects si...
-
 Ultra Compact Boost Converter Module
This project features an ultra-compact, high-efficiency boost converter module designed using the TP...
Ultra Compact Boost Converter Module
This project features an ultra-compact, high-efficiency boost converter module designed using the TP...
-
 PCBWay 11th Anniversary LED Badge – Services Edition 🎉
This project is a custom-designed PCB badge created to celebrate PCBWay’s 11th anniversary and highl...
PCBWay 11th Anniversary LED Badge – Services Edition 🎉
This project is a custom-designed PCB badge created to celebrate PCBWay’s 11th anniversary and highl...
-
 OrbitClock – a Tiny Space-Inspired IoT Environment Clock
Time and space are deeply connected — satellites orbit Earth to keep our clocks synchronized with in...
OrbitClock – a Tiny Space-Inspired IoT Environment Clock
Time and space are deeply connected — satellites orbit Earth to keep our clocks synchronized with in...
-
 DIY Compact UPS for Wifi Router (Easy To Build)
In villages and towns where electricity cut-offs are a daily challenge, one of the first things to g...
DIY Compact UPS for Wifi Router (Easy To Build)
In villages and towns where electricity cut-offs are a daily challenge, one of the first things to g...
-
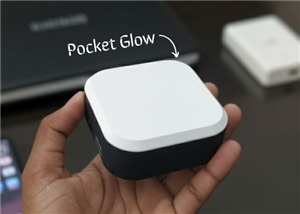 Pocket Glow: a perfect camping light
The call of the wild is always exciting, but it also comes with challenges – like needing the right ...
Pocket Glow: a perfect camping light
The call of the wild is always exciting, but it also comes with challenges – like needing the right ...
-
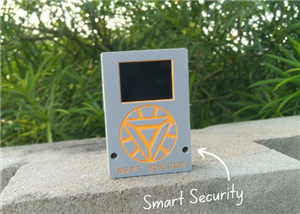 Face Recognition Door Lock with Smartphone Notification
Have you ever wished your home security system felt as futuristic and intelligent as JARVIS from Iro...
Face Recognition Door Lock with Smartphone Notification
Have you ever wished your home security system felt as futuristic and intelligent as JARVIS from Iro...
-
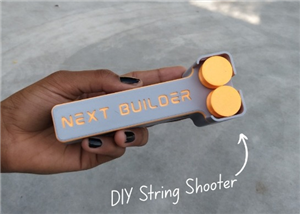 DIY String Shooter
This is my DIY 3D Printed String Shooter—a fun little project I made using two micro dc toy motor. I...
DIY String Shooter
This is my DIY 3D Printed String Shooter—a fun little project I made using two micro dc toy motor. I...
-
 PCBWay 11th Anniversary LED Badge 🎉
This project is a custom-designed PCBWay 11th Anniversary Badge, created to celebrate 11 years of PC...
PCBWay 11th Anniversary LED Badge 🎉
This project is a custom-designed PCBWay 11th Anniversary Badge, created to celebrate 11 years of PC...
-
Programmable Mist Maker - XIAO / QT PY Extension
172 0 0 -
RadioHAT - Raspberry Pi radio development platform
182 0 1 -
-
-
-
-
ARPS-2 – Arduino-Compatible Robot Project Shield for Arduino UNO
2767 0 5 -
A Compact Charging Breakout Board For Waveshare ESP32-C3
3275 3 8 -
AI-driven LoRa & LLM-enabled Kiosk & Food Delivery System
3529 2 2


