|
KiCADKicad
|
PWM controller with galvanic isolation
PWM controller with galvanic isolation
Circuit operation
With this type of circuit you can control the speed of a motor from 0 to 100%. The pulses are generated by the oscillator made with NE555, the frequency is adjusted with the RV1 potentiometer. The signal is then picked up by a discharge circuit of the capacitor C3 which is charged through Q3, a constant current generator, at a current controlled by RV2. A ramp-type signal is thus applied to input 2 of the operational, sawtooth, which will be compared with the voltage on the slider of RV3 (Cut-off). This adjusts the filling factor of the rectangular signal generated by U1. The PWM pulses thus generated will be applied to a final stage, a cascade amplifier, through an optocoupler, thus isolating the control part from the force part. The power supplies are separated, the driver stage can be supplied with voltages corresponding to the type of motor used. As can be seen, Q1 and Q2 allow a rapid fall of the decreasing front, a rapid discharge of the C3 capacity, the signal having a "sawtooth" shape with an extremely linear slope. Likewise, the optocoupler transistor allows a quick opening of the Darlington circuit which has additionally arranged the resistors R15 and R16 for a fast discharge of the parasitic capacitances and obtaining excellent fronts even at higher frequencies. It is based on the control in pulses generated by U1, transformed into a sawtooth using the constant current generator made with Q3 and the comparator U2 performs the cut-off related to the voltage on the non-inverting input thus setting the pulse duration.
The signal is then transmitted through the optocoupler to the final stage which will be in charge of the motor. From RV1 the pulse frequency is adjusted, from RV2 the charging current of C3 is adjusted, the slope, and from RV3 the pulse duration is adjusted.
Bill of Materials available in the download section.
Have fun with it !

PWM controller with galvanic isolation
*PCBWay community is a sharing platform. We are not responsible for any design issues and parameter issues (board thickness, surface finish, etc.) you choose.

Raspberry Pi 5 7 Inch Touch Screen IPS 1024x600 HD LCD HDMI-compatible Display for RPI 4B 3B+ OPI 5 AIDA64 PC Secondary Screen(Without Speaker)
BUY NOW- Comments(0)
- Likes(2)
- 0 USER VOTES
- YOUR VOTE 0.00 0.00
- 1
- 2
- 3
- 4
- 5
- 6
- 7
- 8
- 9
- 10
- 1
- 2
- 3
- 4
- 5
- 6
- 7
- 8
- 9
- 10
- 1
- 2
- 3
- 4
- 5
- 6
- 7
- 8
- 9
- 10
- 1
- 2
- 3
- 4
- 5
- 6
- 7
- 8
- 9
- 10
 More by cris 🙂
-
 Dynamic decoration with LEDs and more
Hello everyone!As you can see in the title, we have a circuit with LEDs, many LEDs, it's a 4x4 LEDs ...
-
 LEDs Stars
Hello everyone! I'm signing up for this competition with a small project designed to attract your a...
-
 Audio amplifier with LM386 (and BASS boost)
Hello everyone!Circuit descriptionThe LM386 is quite a ve...
Audio amplifier with LM386 (and BASS boost)
Audio amplifier with LM386 (and BASS boost)Hello everyone!Circuit descriptionThe LM386 is quite a ve...
-
 Audio amplifier 25W TDA2030
A fairly well-known and interesting montagePresentationThe presented audi...
Audio amplifier 25W TDA2030
Audio amplifier 25W TDA2030A fairly well-known and interesting montagePresentationThe presented audi...
-
 Raspberry Pi Pico Expansion Board
Hello everyone!UPDATE!!!I made some changes, routing in particular, and freed up the board of a few ...
-
 Adjustable voltage power supply
Among the most important electronic devices in the electronics laboratory is the voltage source. Thi...
-
 Digital Clock with AT89C2051
Circuit OperationShort SW2 presses cycle through displaying the current time in HH:MM and MM:SS form...
-
 Switch based light sensor
Hi!The circuit shown can be used to turn on the light in the garden, or some light panels / advertis...
-
 LM3909 flashing indicator
I present to you a circuit which is a little outdated, but quite pleasant for some, I saw that this ...
-
 4x4x4 cube with blue LEDs
Hi makers!I know that these days there are many variations of LEDs, for example SMDs are smaller and...
-
 Low cost turntable 😁
Hi makers!I'm entering this competition with a small project that I've wanted to make for some time,...
-
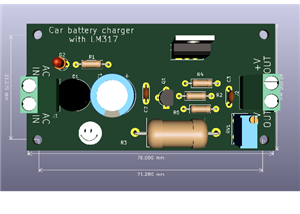 A DIY charger for 12V battery
Hello everyone!I present to you a project that really didn't reach its final state, until recently. ...
-
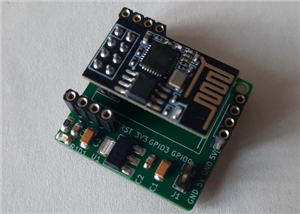 ESP01 board
Hello PCBWayers!You probably know that ESP01S/01 boards can be a little difficult to use in an easie...
-
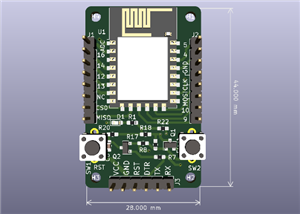 ESP12F Board
Hello makers!Some time ago I had a shopping coupon and I thought about making some simple PCBs with ...
-
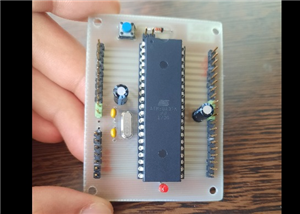 ATMega32 Board
Hi !I remembered this simple project I made for myself, you can use it with an ATMega32 or ATMega16 ...
-
 AT90CAN128
Hello makers!Here is a guy who likes to build various, small, electronic circuits, and through this ...
-
 PCBWay 11th Badge Design
Hello PCBwayers!I'm here to participate in the PCBWay 11th Badge Design Contest and after a few idea...
-
 The use of IoT technology for monitoring specific electrical parameters of autonomous power systems
Hello everyone!A brief introduction of this project.What you see presented here is a home made (or D...
-
A Compact Charging Breakout Board For Waveshare ESP32-C3
472 3 4 -
AI-driven LoRa & LLM-enabled Kiosk & Food Delivery System
485 2 0 -
-
-
-
ESP32-C3 BLE Keyboard - Battery Powered with USB-C Charging
682 0 1 -
-
mammoth-3D SLM Voron Toolhead – Manual Drill & Tap Edition
671 0 1 -
-
AEL-2011 Power Supply Module
1341 0 2 -
AEL-2011 50W Power Amplifier
1223 0 2


