


|
|
LM317 |
x 1 |

|
Soldering iron (generic) |
|

|
Drill, Screwdriver |
|

|
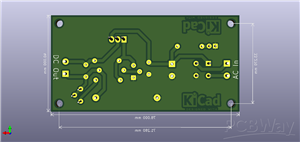
KiCADKicad
|
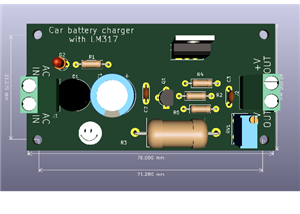
A DIY charger for 12V battery
Hello everyone!
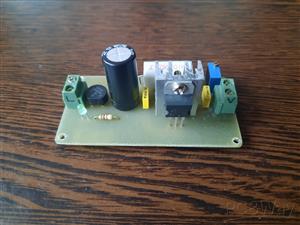
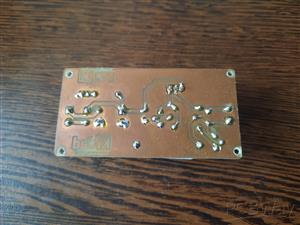
I present to you a project that really didn't reach its final state, until recently. It's been more than 1 year since I was working on a project that included a 12V battery (I don't even have that battery anymore 🤣🤣) and I needed a way to charge the battery. I like to spend my time working on something, and I opened the internet, KiCAD and look how I got a PCB. The method of making it -- homemade -- of course (thermal transfer using a clothes iron); over time the PCB got worse, it's not perfect, but it still works. What do you think about this ?
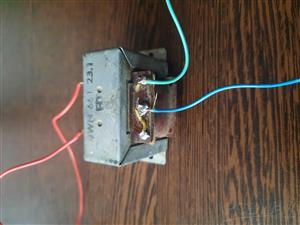
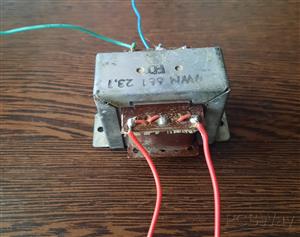
Most of the components are actually salvaged (I like to reuse what I have), but I also bought a few because I didn't have an equivalent. The transformer is recycled from an old radio, I think it can handle about 1A, it gets a little warm when I connect a more discharged battery (i.e. one that also draws a lot of current). It may not be pretty but for me it is still good to use. I think from of all these components, the transformer is probably the most unsuitable, meaning that putting one from a radio into a charger means some abuse, but I have enough "abused" components being unsoldered and later re-soldered.
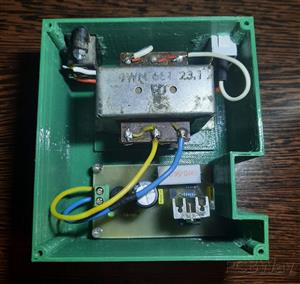
The recent novelty is 3D printing, after some experiments with Tinkercad I made some 3D designs, I went to town to a workshop where they have a 3D printer. It's not perfect, I had to use a file and a letcon to make room for the PCB. I like 3D printing because it allows me to create custom projects.
I soldered a few wires, I couldn't completely insulate them but since the case is plastic I don't worry about touching something that would make me smile too loud. 😆😅
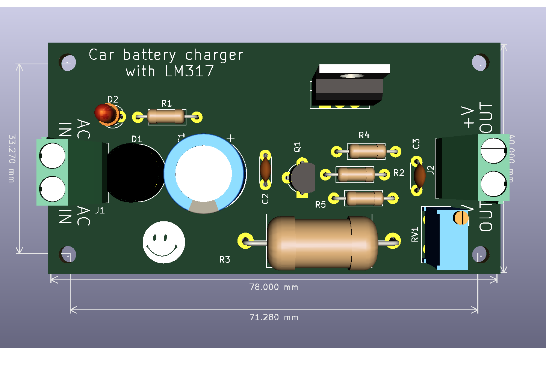
And the electronic circuit.
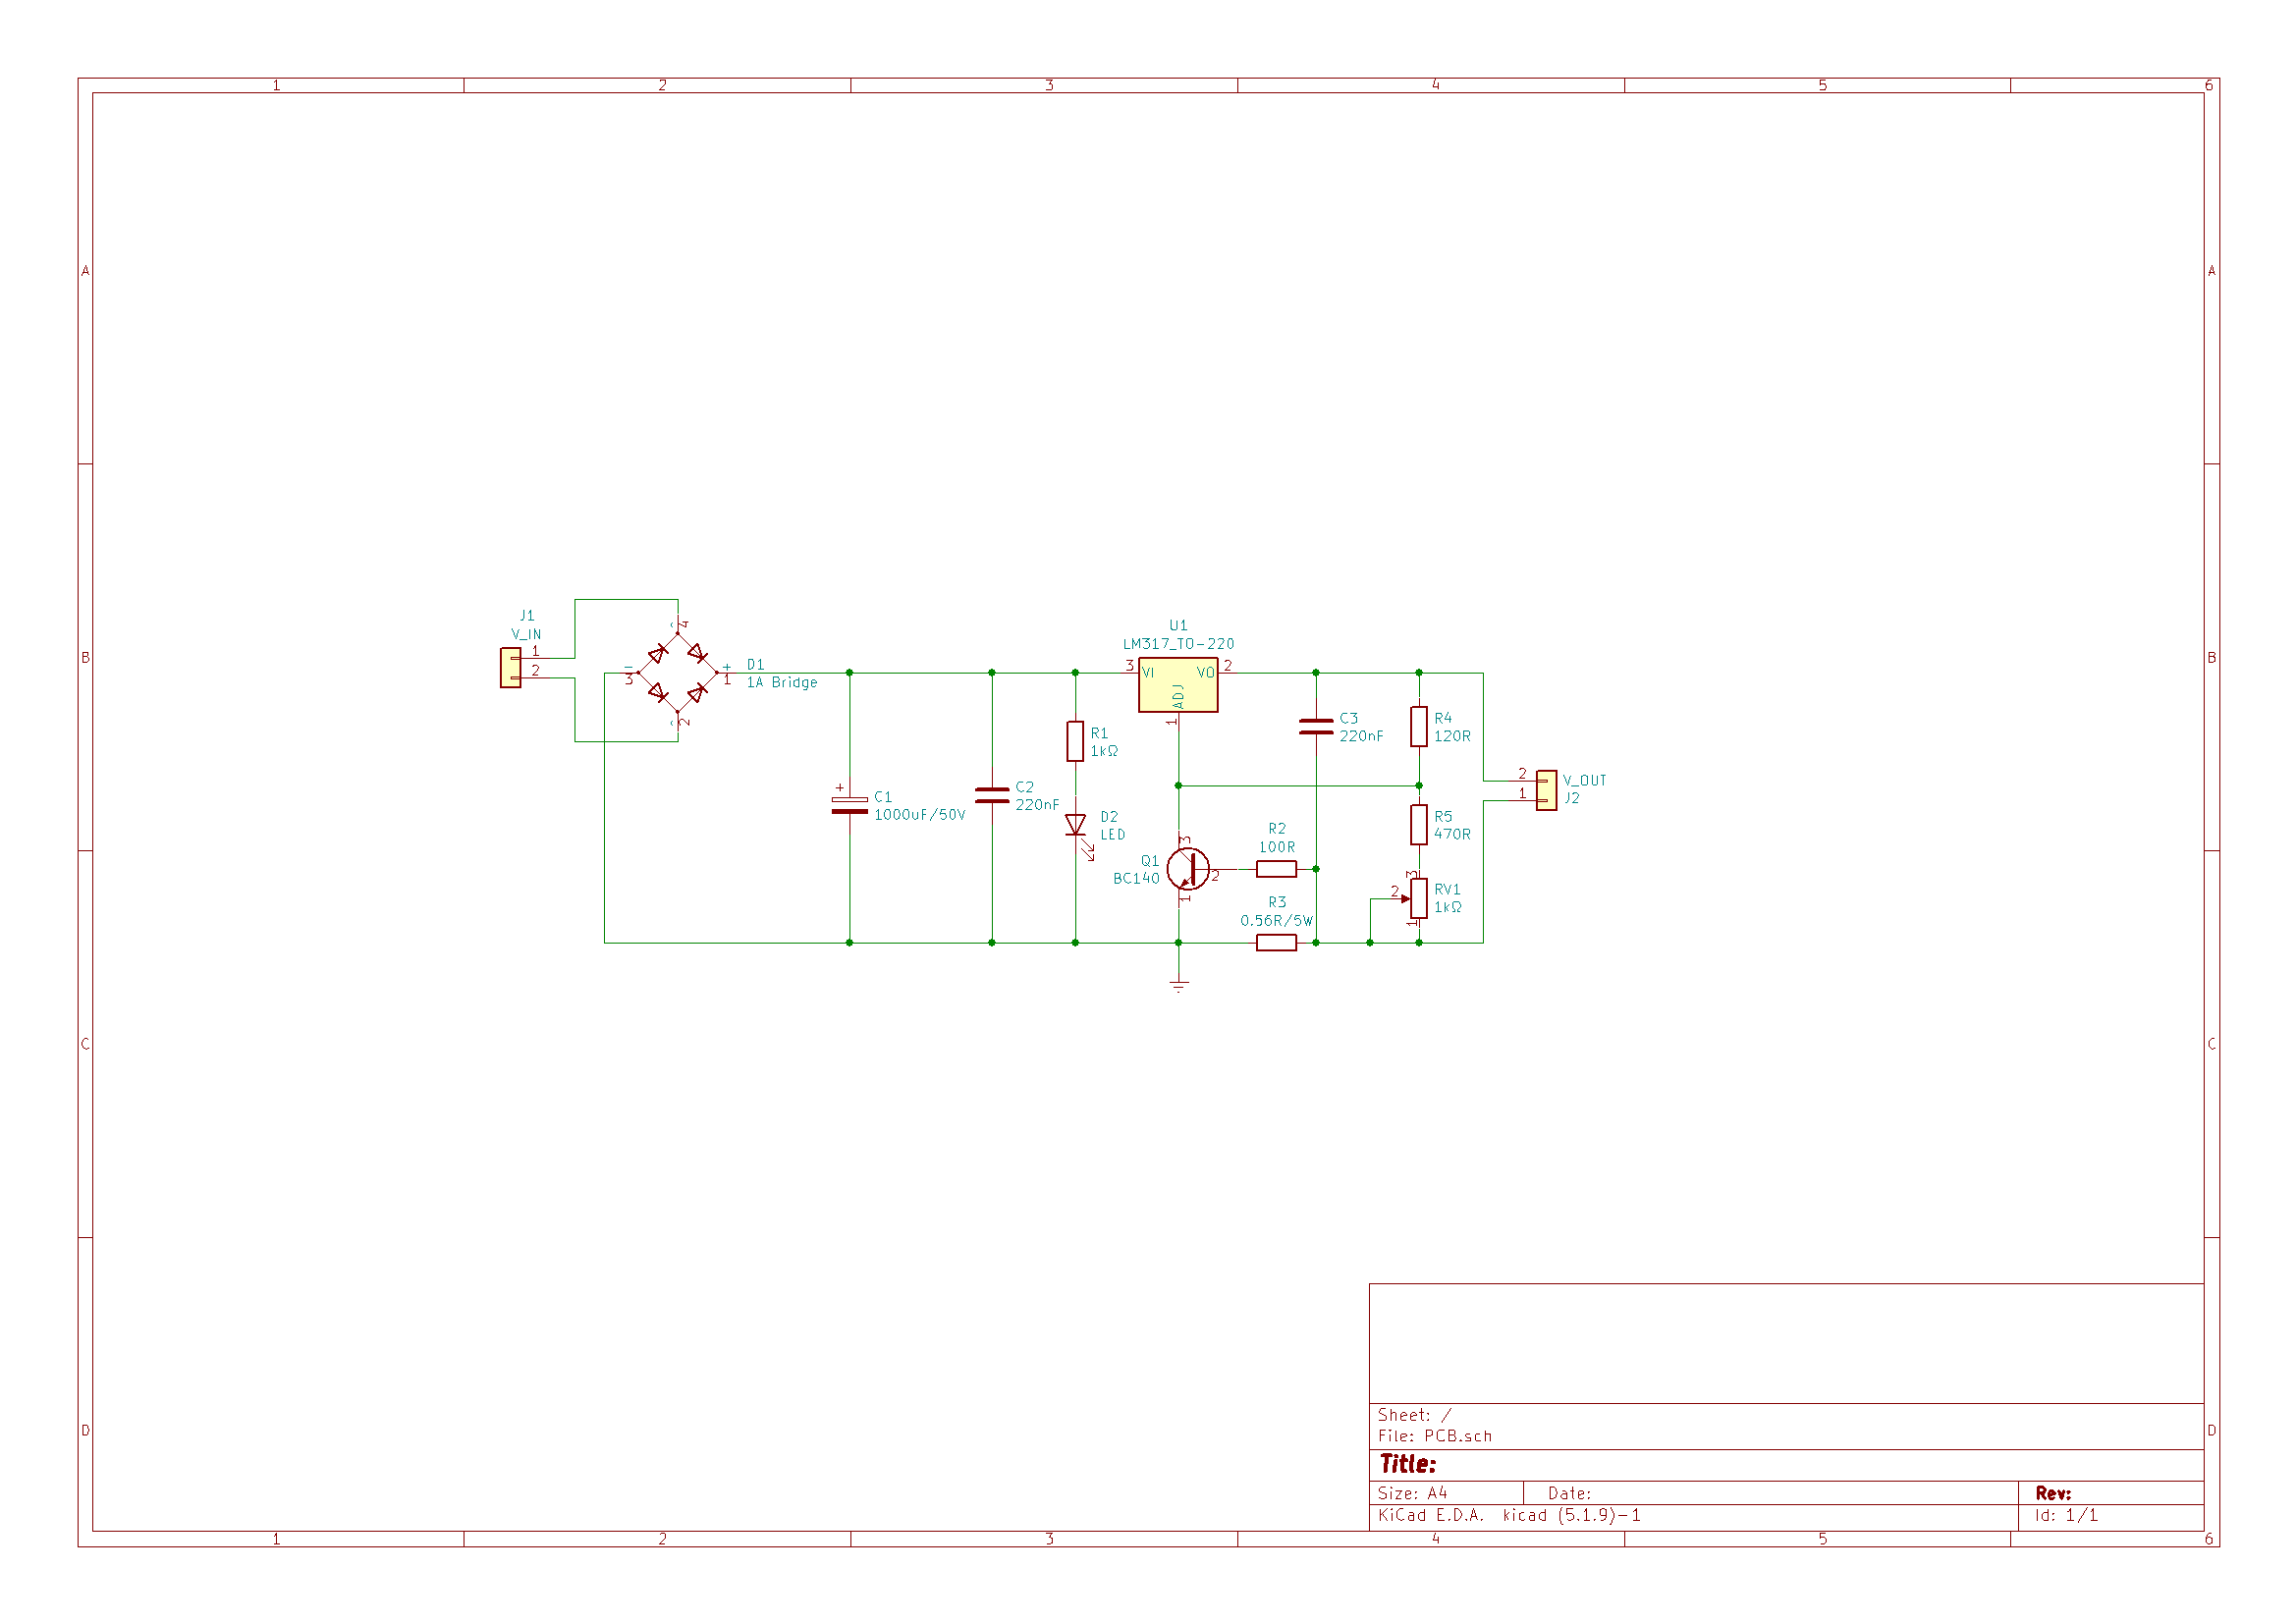
The schematic presented in this project is actually a constant current source to which a current limiting section composed of Q1, R2 and R3 has been added.
The moment the current required for charging is exceeded, it is diverted through Q1 and the output voltage drops. The output voltage is: 1.2x (RV1+R5+R4)/R4 volts. The current limiting occurs when the current is approximately 0.6/R3 amps.
For a 6V battery that requires a faster charge, the charging voltage is 3x2.45=7.35V (3 cells, at 2.45V per cell). So the total value for R5+RV1 is then about 585 Ohms. For a 12V battery the value for R5+RV1 is 1290 Ohms.
For the power supply to work efficiently the input voltage must be at least 3V higher than the output voltage needed to charge the battery.
RV1 is a standard potentiometer capable of handling enough watts for the application in which the circuit is used.
The LM317 must be cooled with a sufficiently large heat sink (ultimately it depends on how much you ask of it).
Except for the situation when the circuit is used for charging car batteries or accumulators, it can also be used as a stabilized voltage source in various applications.
The diode bridge D1 is rated at 2A, and the transformer is a voltage drop from 230Vac, I don't know what voltage it has in the secondary but I trust that I did it correctly.
Gerber files and BoM for PCB are available in the download section as well.
Enjoy it! 🤓

A DIY charger for 12V battery
*PCBWay community is a sharing platform. We are not responsible for any design issues and parameter issues (board thickness, surface finish, etc.) you choose.


Raspberry Pi 5 7 Inch Touch Screen IPS 1024x600 HD LCD HDMI-compatible Display for RPI 4B 3B+ OPI 5 AIDA64 PC Secondary Screen(Without Speaker)
BUY NOW


- Comments(0)
- Likes(0)
 More by cris 🙂
-
 Dynamic decoration with LEDs and more
Hello everyone!As you can see in the title, we have a circuit with LEDs, many LEDs, it's a 4x4 LEDs ...
Dynamic decoration with LEDs and more
Hello everyone!As you can see in the title, we have a circuit with LEDs, many LEDs, it's a 4x4 LEDs ...
-
 LEDs Stars
Hello everyone! I'm signing up for this competition with a small project designed to attract your a...
LEDs Stars
Hello everyone! I'm signing up for this competition with a small project designed to attract your a...
-
 Audio amplifier with LM386 (and BASS boost)
Hello everyone!Circuit descriptionThe LM386 is quite a ve...
Audio amplifier with LM386 (and BASS boost)
Audio amplifier with LM386 (and BASS boost)Hello everyone!Circuit descriptionThe LM386 is quite a ve...
-
 Audio amplifier 25W TDA2030
A fairly well-known and interesting montagePresentationThe presented audi...
Audio amplifier 25W TDA2030
Audio amplifier 25W TDA2030A fairly well-known and interesting montagePresentationThe presented audi...
-
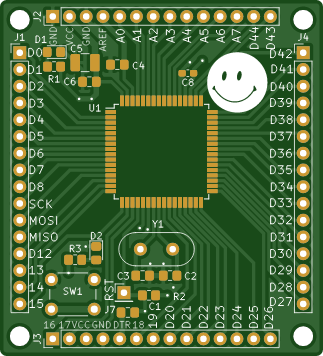
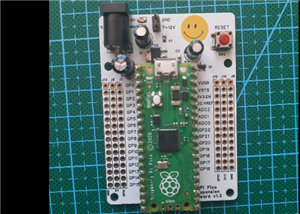 Raspberry Pi Pico Expansion Board
Hello everyone!UPDATE!!!I made some changes, routing in particular, and freed up the board of a few ...
Raspberry Pi Pico Expansion Board
Hello everyone!UPDATE!!!I made some changes, routing in particular, and freed up the board of a few ...
-
 Adjustable voltage power supply
Among the most important electronic devices in the electronics laboratory is the voltage source. Thi...
Adjustable voltage power supply
Among the most important electronic devices in the electronics laboratory is the voltage source. Thi...
-
 Digital Clock with AT89C2051
Circuit OperationShort SW2 presses cycle through displaying the current time in HH:MM and MM:SS form...
Digital Clock with AT89C2051
Circuit OperationShort SW2 presses cycle through displaying the current time in HH:MM and MM:SS form...
-
 Switch based light sensor
Hi!The circuit shown can be used to turn on the light in the garden, or some light panels / advertis...
Switch based light sensor
Hi!The circuit shown can be used to turn on the light in the garden, or some light panels / advertis...
-
 LM3909 flashing indicator
I present to you a circuit which is a little outdated, but quite pleasant for some, I saw that this ...
LM3909 flashing indicator
I present to you a circuit which is a little outdated, but quite pleasant for some, I saw that this ...
-
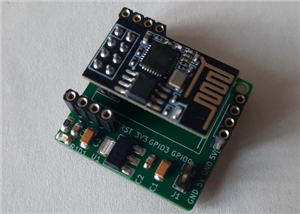
 ESP01S Minimal Board
Hi makers!I created this small PCB for ESP01S because before I was using a DIY version and then I bo...
ESP01S Minimal Board
Hi makers!I created this small PCB for ESP01S because before I was using a DIY version and then I bo...
-
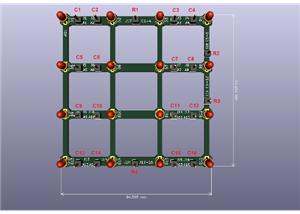 4x4x4 cube with blue LEDs
Hi makers!I know that these days there are many variations of LEDs, for example SMDs are smaller and...
4x4x4 cube with blue LEDs
Hi makers!I know that these days there are many variations of LEDs, for example SMDs are smaller and...
-
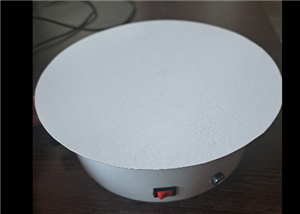 Low cost turntable 😁
Hi makers!I'm entering this competition with a small project that I've wanted to make for some time,...
Low cost turntable 😁
Hi makers!I'm entering this competition with a small project that I've wanted to make for some time,...
-
 A DIY charger for 12V battery
Hello everyone!I present to you a project that really didn't reach its final state, until recently. ...
A DIY charger for 12V battery
Hello everyone!I present to you a project that really didn't reach its final state, until recently. ...
-
 ESP01 board
Hello PCBWayers!You probably know that ESP01S/01 boards can be a little difficult to use in an easie...
ESP01 board
Hello PCBWayers!You probably know that ESP01S/01 boards can be a little difficult to use in an easie...
-
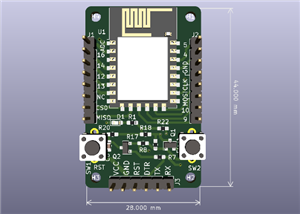 ESP12F Board
Hello makers!Some time ago I had a shopping coupon and I thought about making some simple PCBs with ...
ESP12F Board
Hello makers!Some time ago I had a shopping coupon and I thought about making some simple PCBs with ...
-
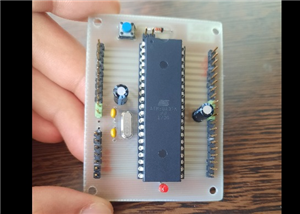 ATMega32 Board
Hi !I remembered this simple project I made for myself, you can use it with an ATMega32 or ATMega16 ...
ATMega32 Board
Hi !I remembered this simple project I made for myself, you can use it with an ATMega32 or ATMega16 ...
-
 AT90CAN128
Hello makers!Here is a guy who likes to build various, small, electronic circuits, and through this ...
AT90CAN128
Hello makers!Here is a guy who likes to build various, small, electronic circuits, and through this ...
-
 PCBWay 11th Badge Design
Hello PCBwayers!I'm here to participate in the PCBWay 11th Badge Design Contest and after a few idea...
PCBWay 11th Badge Design
Hello PCBwayers!I'm here to participate in the PCBWay 11th Badge Design Contest and after a few idea...
-
Programmable Mist Maker - XIAO / QT PY Extension
222 0 0 -
RadioHAT - Raspberry Pi radio development platform
249 0 1 -
-
-
-
-
ARPS-2 – Arduino-Compatible Robot Project Shield for Arduino UNO
2801 0 5 -
A Compact Charging Breakout Board For Waveshare ESP32-C3
3304 3 8 -
AI-driven LoRa & LLM-enabled Kiosk & Food Delivery System
3585 2 2


