


|
|
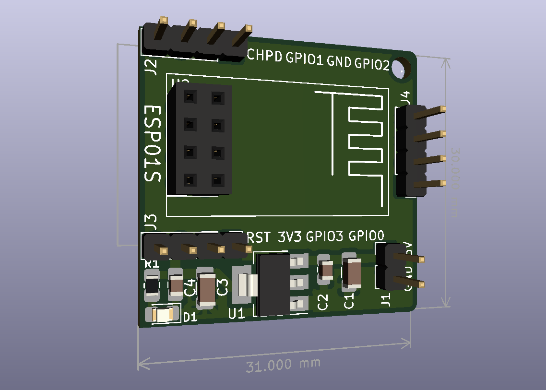
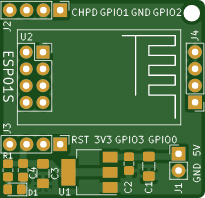
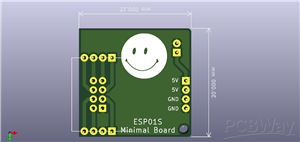
ESP-01S |
x 1 |

|
KiCADKicad
|
|

|
arduino IDEArduino
|
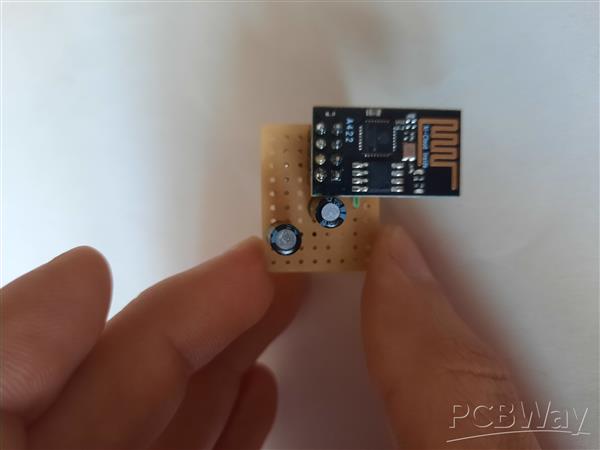
ESP01S Minimal Board
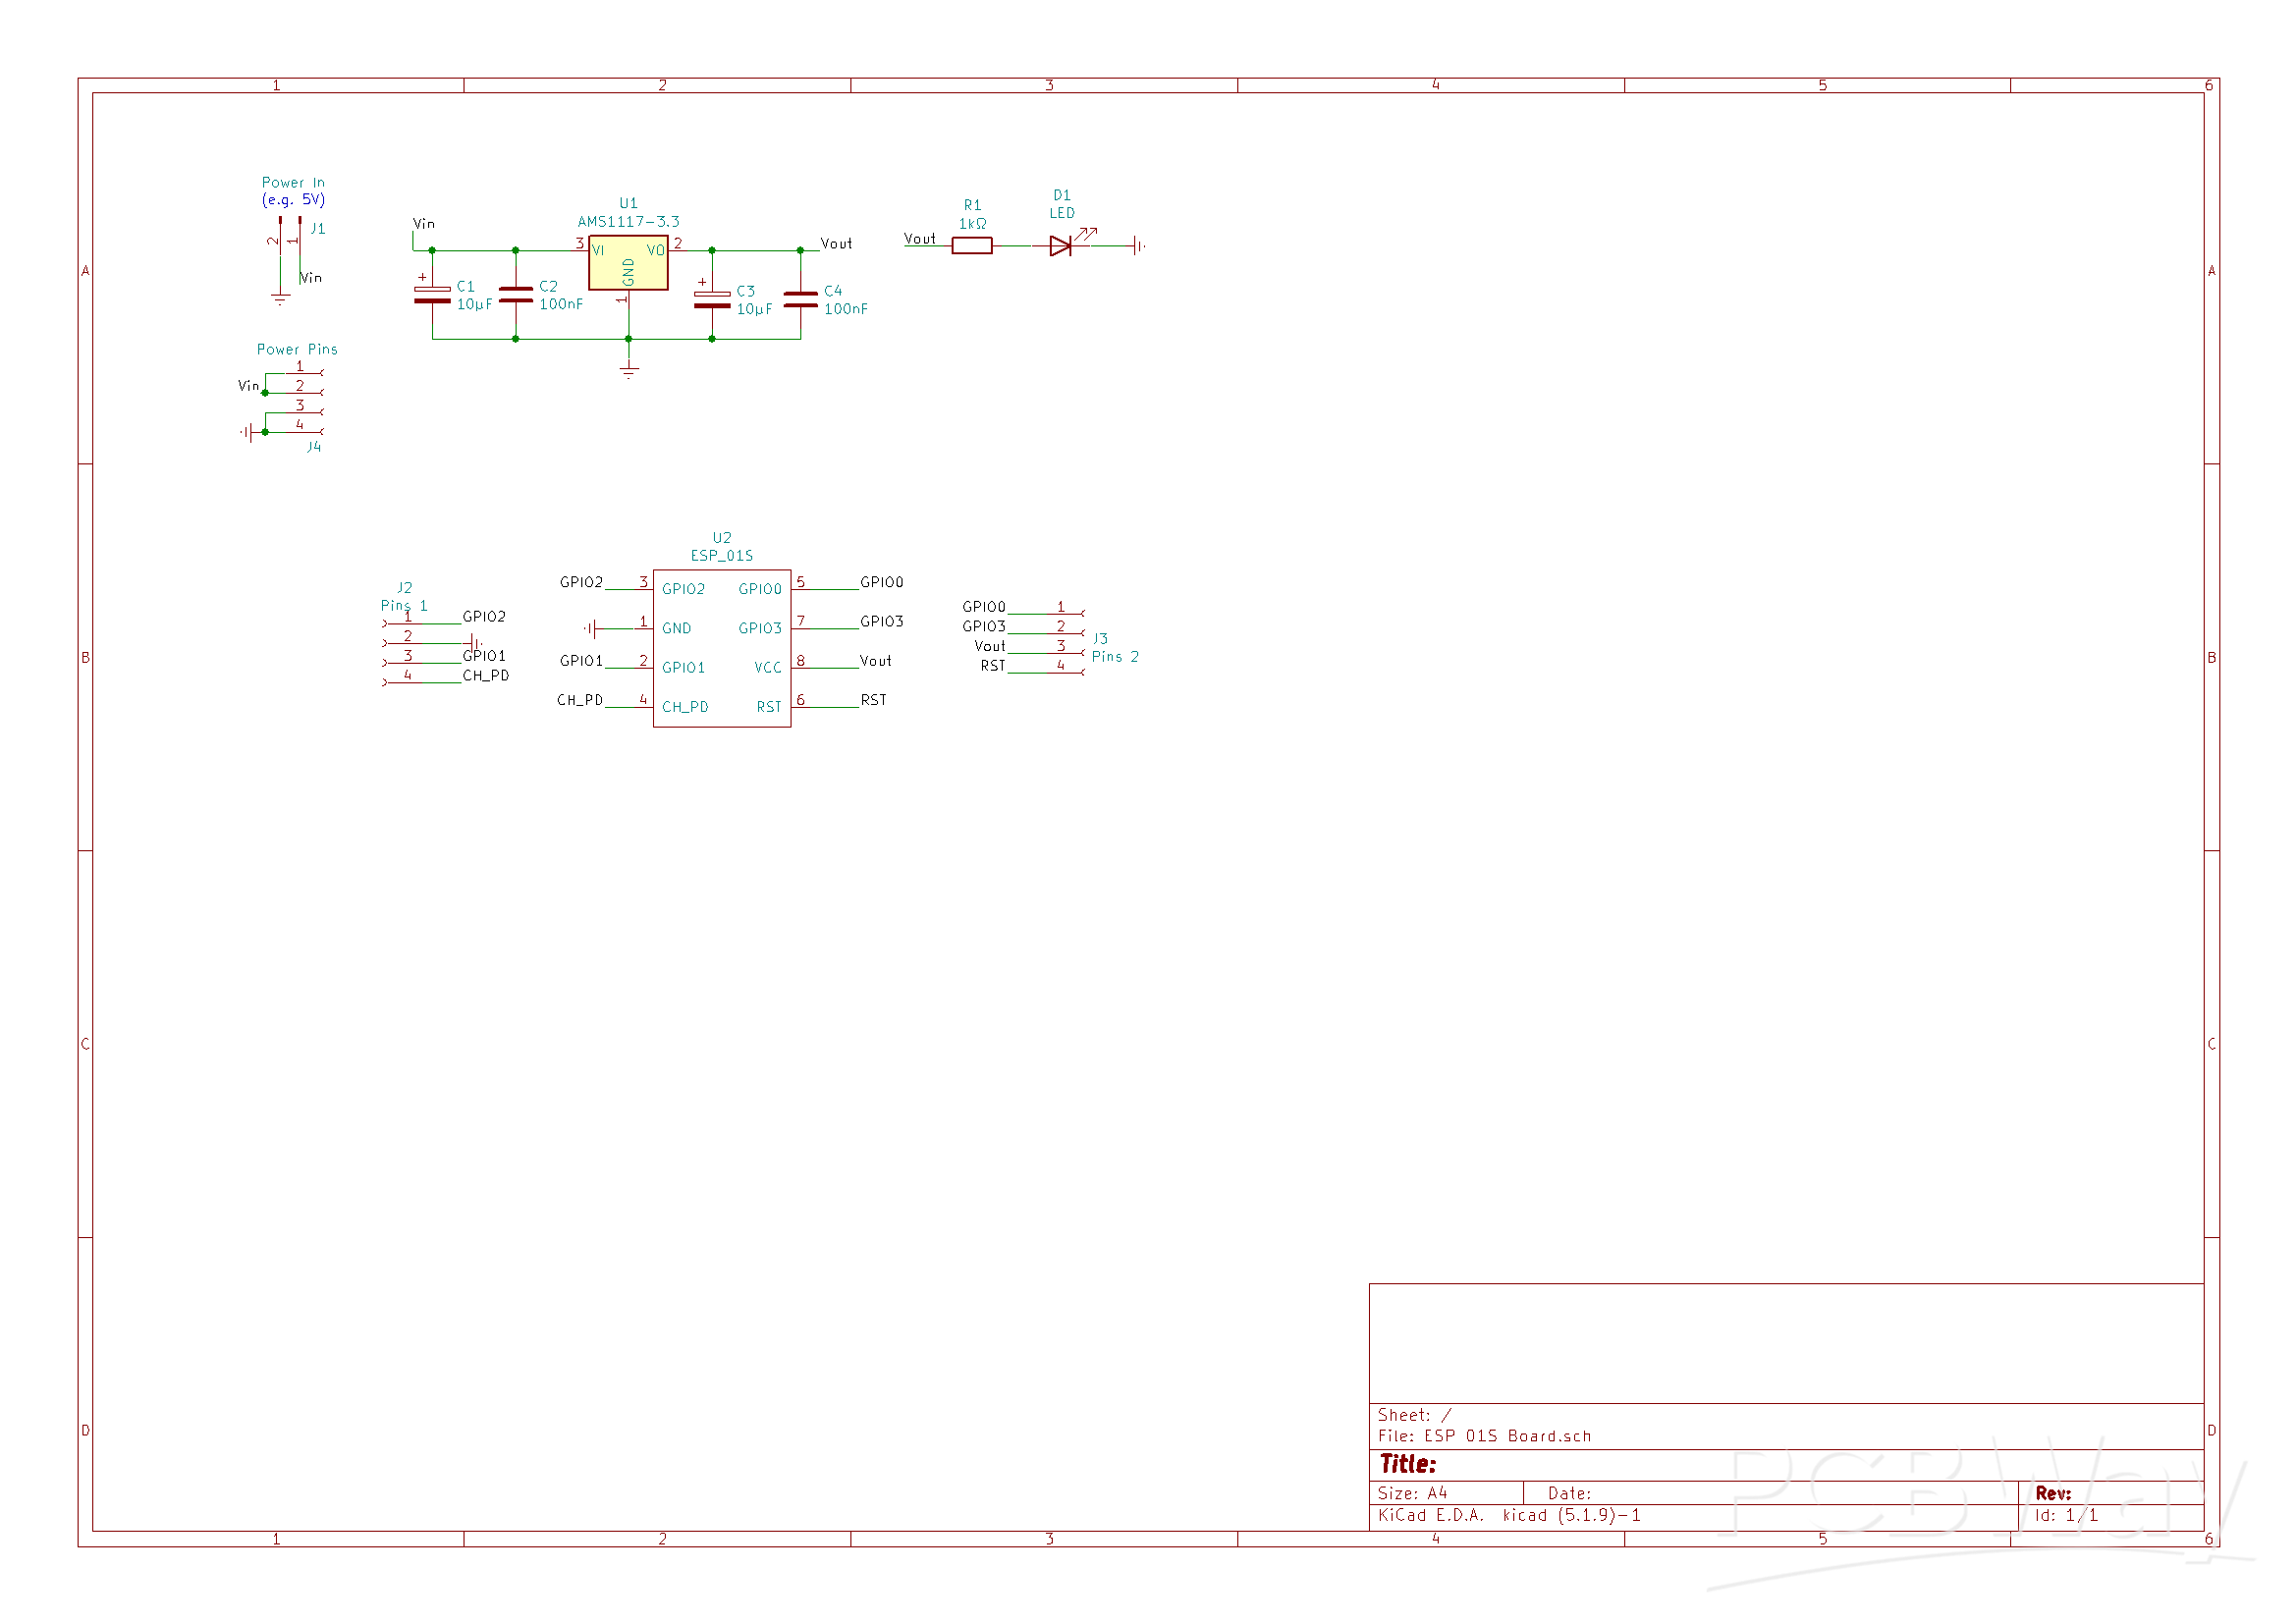
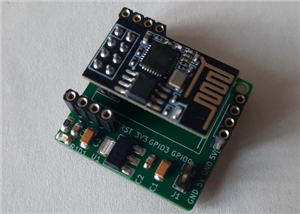
Hi makers!
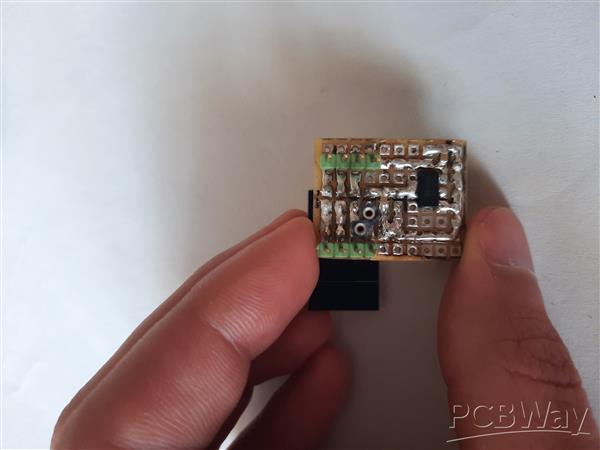
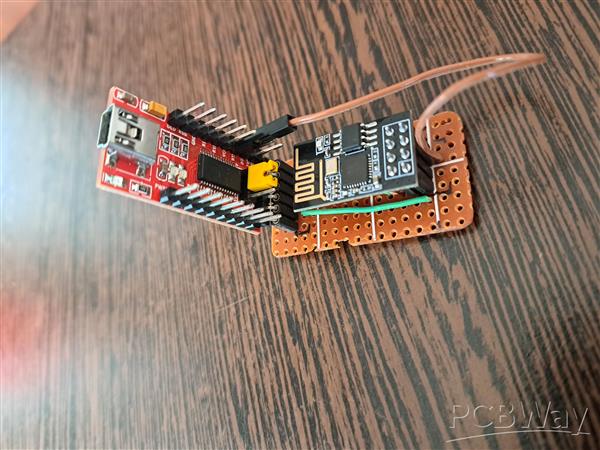
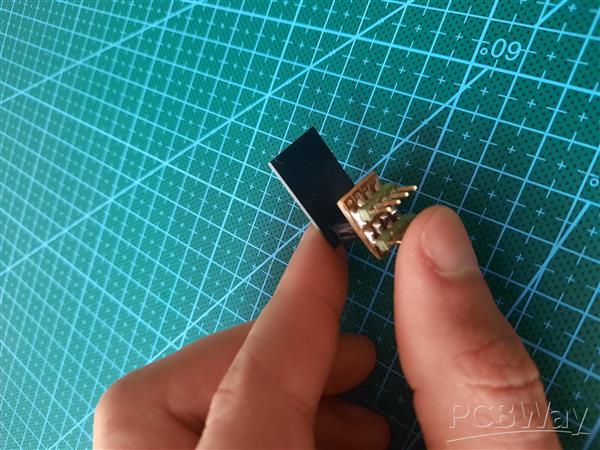
I created this small PCB for ESP01S because before I was using a DIY version and then I bought several pieces, so the DIY version was no longer feasible.
The PCB is minimal and allows us access to the GPIOs. For power I use 5V, then I inserted a 3.3V regulator for the ESP01S board, as you can see. The components needed are few, you have a bill of materials available.
And now the instructions for programming using the Arduino IDE.
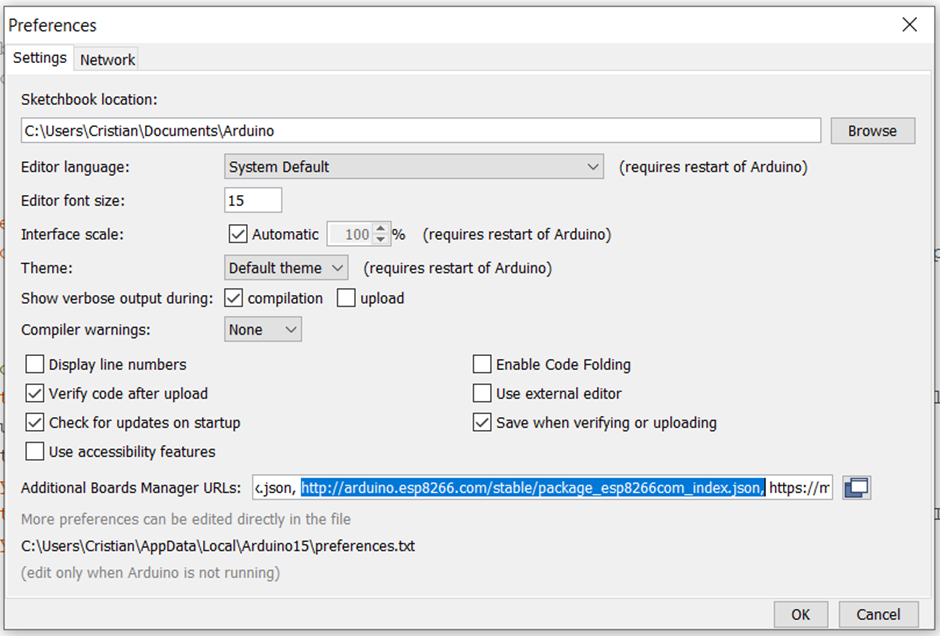
Add the ESP 01/01S board to the Arduino IDE (if it doesn't already exist) by entering the link in the indicated field (Arduino IDE → File → Preferences): http://arduino.esp8266.com/stable/package_esp8266com_index.json
Put a comma (,) between the others, if there are others (this is my case). Now we have the path needed to install the board.
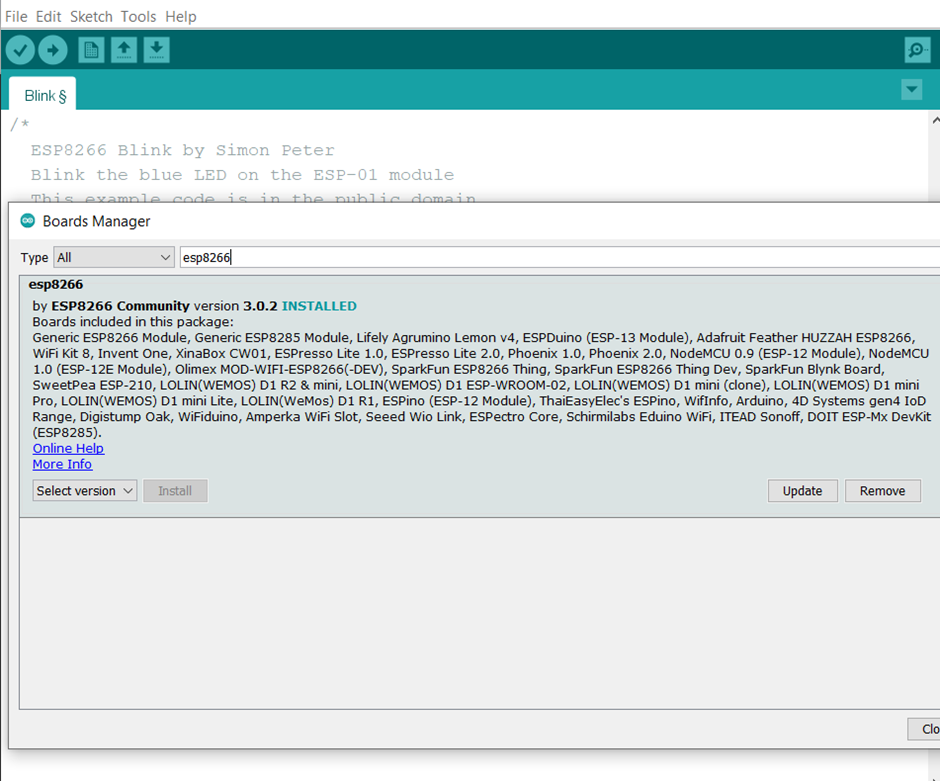
Open Tools → Board → Boards Manager and search for "ESP8266", then install the version created by ESP8266 Community.
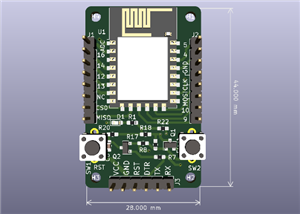
Now we need to know that there are physical differences between ESP01 and ESP01S.
On the ESP01 the red LED is for power signaling and the blue LED is the "built-in" one that can be controlled by program.
On the ESP01S we have a blue LED (built-in) that can be controlled by program.
But the pinout is the same:
The diagram below shows how to program the ESP01S using FTDI. Be careful, put the jumper on 3.3V at FTDI, the ESP 01/01S board works at 3.3V.
Connections between ESP01S ↔ FTDI:
• RX → TX
• TX → RX
• GND → GND
• CHPD/EN → 3.3V
• VCC → 3.3V
• RST → Button → GND
• GPIO 0 → GND
https://techtalkies.in/2024/02/05/programming-esp-01-in-different-ways/?i=1
Don't forget that in the case of ESP01, after programming, you have to permanently connect CHPD/EN to 3V3. So just powering the board is not enough to make the program run.
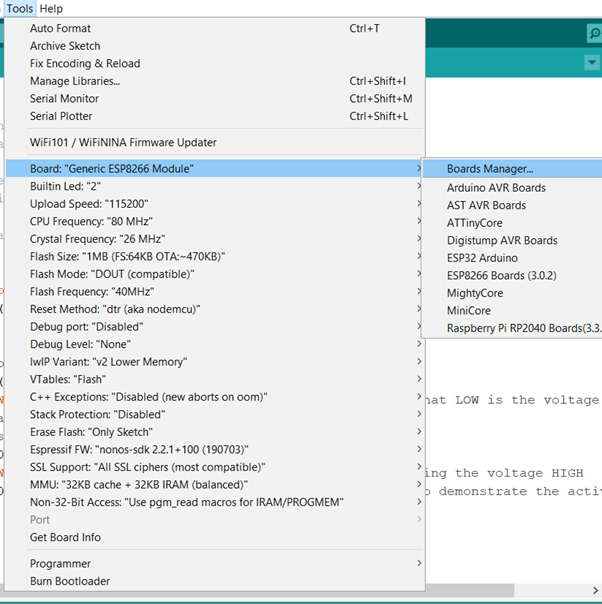
The ESP01 board is a little bit different, the built-in LED is connected to pin 1 (change it in the sketch above), you still need to select like this:
I'm waiting for your project ideas in the comments. Thank you and enjoy it! 🤓👍
ESP01S Minimal Board
*PCBWay community is a sharing platform. We are not responsible for any design issues and parameter issues (board thickness, surface finish, etc.) you choose.


Raspberry Pi 5 7 Inch Touch Screen IPS 1024x600 HD LCD HDMI-compatible Display for RPI 4B 3B+ OPI 5 AIDA64 PC Secondary Screen(Without Speaker)
BUY NOW


- Comments(0)
- Likes(1)
- 1 USER VOTES
- YOUR VOTE 0.00 0.00

-
10design
-
10usability
-
10creativity
-
10content
More by cris 🙂
-
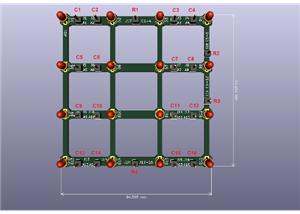
 Dynamic decoration with LEDs and more
Hello everyone!As you can see in the title, we have a circuit with LEDs, many LEDs, it's a 4x4 LEDs ...
Dynamic decoration with LEDs and more
Hello everyone!As you can see in the title, we have a circuit with LEDs, many LEDs, it's a 4x4 LEDs ...
-
 LEDs Stars
Hello everyone! I'm signing up for this competition with a small project designed to attract your a...
LEDs Stars
Hello everyone! I'm signing up for this competition with a small project designed to attract your a...
-
 Audio amplifier with LM386 (and BASS boost)
Hello everyone!Circuit descriptionThe LM386 is quite a ve...
Audio amplifier with LM386 (and BASS boost)
Audio amplifier with LM386 (and BASS boost)Hello everyone!Circuit descriptionThe LM386 is quite a ve...
-
 Audio amplifier 25W TDA2030
A fairly well-known and interesting montagePresentationThe presented audi...
Audio amplifier 25W TDA2030
Audio amplifier 25W TDA2030A fairly well-known and interesting montagePresentationThe presented audi...
-
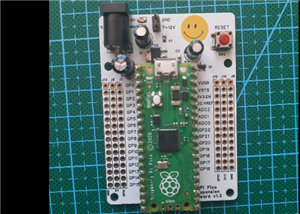 Raspberry Pi Pico Expansion Board
Hello everyone!UPDATE!!!I made some changes, routing in particular, and freed up the board of a few ...
Raspberry Pi Pico Expansion Board
Hello everyone!UPDATE!!!I made some changes, routing in particular, and freed up the board of a few ...
-
 Adjustable voltage power supply
Among the most important electronic devices in the electronics laboratory is the voltage source. Thi...
Adjustable voltage power supply
Among the most important electronic devices in the electronics laboratory is the voltage source. Thi...
-
 Digital Clock with AT89C2051
Circuit OperationShort SW2 presses cycle through displaying the current time in HH:MM and MM:SS form...
Digital Clock with AT89C2051
Circuit OperationShort SW2 presses cycle through displaying the current time in HH:MM and MM:SS form...
-
 Switch based light sensor
Hi!The circuit shown can be used to turn on the light in the garden, or some light panels / advertis...
Switch based light sensor
Hi!The circuit shown can be used to turn on the light in the garden, or some light panels / advertis...
-
 LM3909 flashing indicator
I present to you a circuit which is a little outdated, but quite pleasant for some, I saw that this ...
LM3909 flashing indicator
I present to you a circuit which is a little outdated, but quite pleasant for some, I saw that this ...
-
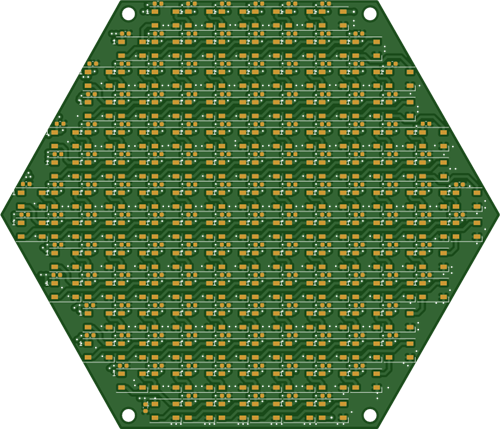 Hexagonal Panel with WS2812B LEDs
Hi makers!I created a hexagonal PCB with many WS2812B LEDs, 144 in total, for which I thought of pla...
Hexagonal Panel with WS2812B LEDs
Hi makers!I created a hexagonal PCB with many WS2812B LEDs, 144 in total, for which I thought of pla...
-
 ESP01S Minimal Board
Hi makers!I created this small PCB for ESP01S because before I was using a DIY version and then I bo...
ESP01S Minimal Board
Hi makers!I created this small PCB for ESP01S because before I was using a DIY version and then I bo...
-
 4x4x4 cube with blue LEDs
Hi makers!I know that these days there are many variations of LEDs, for example SMDs are smaller and...
4x4x4 cube with blue LEDs
Hi makers!I know that these days there are many variations of LEDs, for example SMDs are smaller and...
-
 Low cost turntable 😁
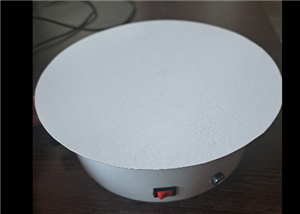
Hi makers!I'm entering this competition with a small project that I've wanted to make for some time,...
Low cost turntable 😁
Hi makers!I'm entering this competition with a small project that I've wanted to make for some time,...
-
 A DIY charger for 12V battery
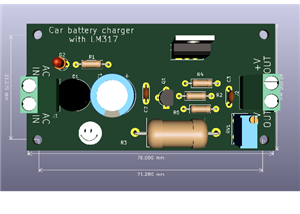
Hello everyone!I present to you a project that really didn't reach its final state, until recently. ...
A DIY charger for 12V battery
Hello everyone!I present to you a project that really didn't reach its final state, until recently. ...
-
 ESP01 board
Hello PCBWayers!You probably know that ESP01S/01 boards can be a little difficult to use in an easie...
ESP01 board
Hello PCBWayers!You probably know that ESP01S/01 boards can be a little difficult to use in an easie...
-
 ESP12F Board
Hello makers!Some time ago I had a shopping coupon and I thought about making some simple PCBs with ...
ESP12F Board
Hello makers!Some time ago I had a shopping coupon and I thought about making some simple PCBs with ...
-
 ATMega32 Board
Hi !I remembered this simple project I made for myself, you can use it with an ATMega32 or ATMega16 ...
ATMega32 Board
Hi !I remembered this simple project I made for myself, you can use it with an ATMega32 or ATMega16 ...
-
 AT90CAN128
Hello makers!Here is a guy who likes to build various, small, electronic circuits, and through this ...
AT90CAN128
Hello makers!Here is a guy who likes to build various, small, electronic circuits, and through this ...
-
Programmable Mist Maker - XIAO / QT PY Extension
401 0 0 -
RadioHAT - Raspberry Pi radio development platform
315 0 1 -
-
-
-
-
ARPS-2 – Arduino-Compatible Robot Project Shield for Arduino UNO
2866 0 6 -
A Compact Charging Breakout Board For Waveshare ESP32-C3
3369 3 8 -
AI-driven LoRa & LLM-enabled Kiosk & Food Delivery System
3688 2 2


