|
Soldering iron |
|

|
Soldering Iron Wire Welding Lead Roll |
3D Printed Rotating Table Board with Arduino Nano and 28BYJ-48 Stepper Motor
This project shows how to make a 3D printed Rotating Table using Arduino and a hobby stepper motor. Take a look at the video and see what a simple project can do! This is a low budget and simple set up Rotating Table for product shots. I will definitely use this rotating table for video shoots for my own channel.
How It Works?
28BYJ-48 Stepper Motor and ULN2003 motor driver were used in the project. On the microcontroller side, an Arduino Nano V3 version was preferred. Besides the breadboard circuit, a printed circuit board (PCB) was designed for a more useful prototype. The making stage of the project is shown in the video step by step.
Supplies

The project needs inexpensive components. You can easily find the components listed below in the market.
- 1x Arduino Nano V3 microcontroller
- 1x 28BYJ-48 hobby stepper motor
- 1x ULN2003x stepper motor driver
- 1x 5V power supply
- 4x 608 bearing (8x22x7mm)
- 2x Screws to mount the motor
- 1x On/Off switch
- Miscellaneous jumper wires
Download and Print 3D Parts

The 3D models were designed by BasementCreations and shared on Thingiverse. Download the STL files of the 3D models from the link below and print them with the help of a 3D printer.
Rotating Table 3D Parts - https://www.thingiverse.com/thing:4817279
The design consists of 4 parts base, top plate, motor gear and pins for fixing the bearings.
Assembly of Parts


A total of 4 608 bearings were used in the project. Place 3 bearings on the base with the help of pins. If there is a break in the pins, you can use bolts of the same thickness. We will use the last bearing for the top plate. Place the last bearing in the center of the top plate. 1 hobby stepper motor was used in the project. Attach the motor gear to the stepper motor, then fix the stepper motor to the base using 2 screws.
Assembling the 3D parts is that simple, we'll build the circuit in the next step.
Breadboard Circuit


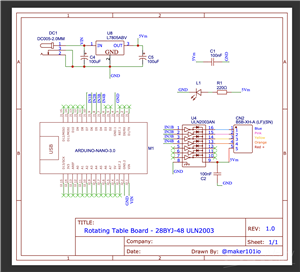
The circuit is simple to set up. Build the circuit by following the links in the shared schematic. 28BYJ-48 Stepper Motor and ULN2003 motor driver were used in the project.
28BYJ-48 Stepper Motor
One of the inexpensive ways to learn about stepper motors is to use 28BYJ-48 stepper motors. They usually come with an ULN2003-based driver board which makes them super easy to use. The 28BYJ-48 is a 5-wire unipolar stepper motor that runs on 5 volts. One of the best things about these motors is that they can be positioned accurately, one ‘step’ at a time. The other advantage is that they are relatively precise in their movement.
The power consumption of the motor is around 240mA. Because the motor draws too much power, it is best to power it directly from an external 5V power supply rather than drawing that power from the Arduino.
The ULN2003 Driver Board
The motor usually comes with a ULN2003-based driver board. The motor usually comes with a ULN2003-based driver board. The ULN2003 is one of the most common motor driver ICs.
The board has a connector that mates the motor wires perfectly which makes it very easy to connect the motor to the board. There are also connections for four control inputs and power supply connections.
The pin connections of the motor driver to the Arduino Nano are as follows:
- IN1 to Digital 7
- IN2 to Digital 6
- IN3 to Digital 5
- IN4 to Digital 4
Printed Circuit Board (PCB)

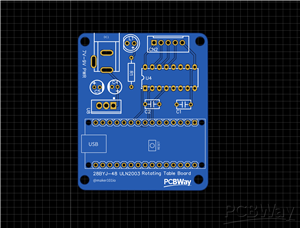
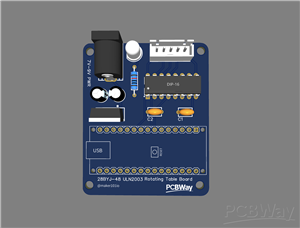
After building and testing the breadboard circuit, I designed a printed circuit board to turn the project into a useful prototype. Printed circuit boards are plates with conductive paths on the surface for mounting electronic circuit components.
To get the PCBs, upload the shared "Gerber file" to PCBWay and create an order. High-quality PCBs will arrive in a few days depending on the shipping address.
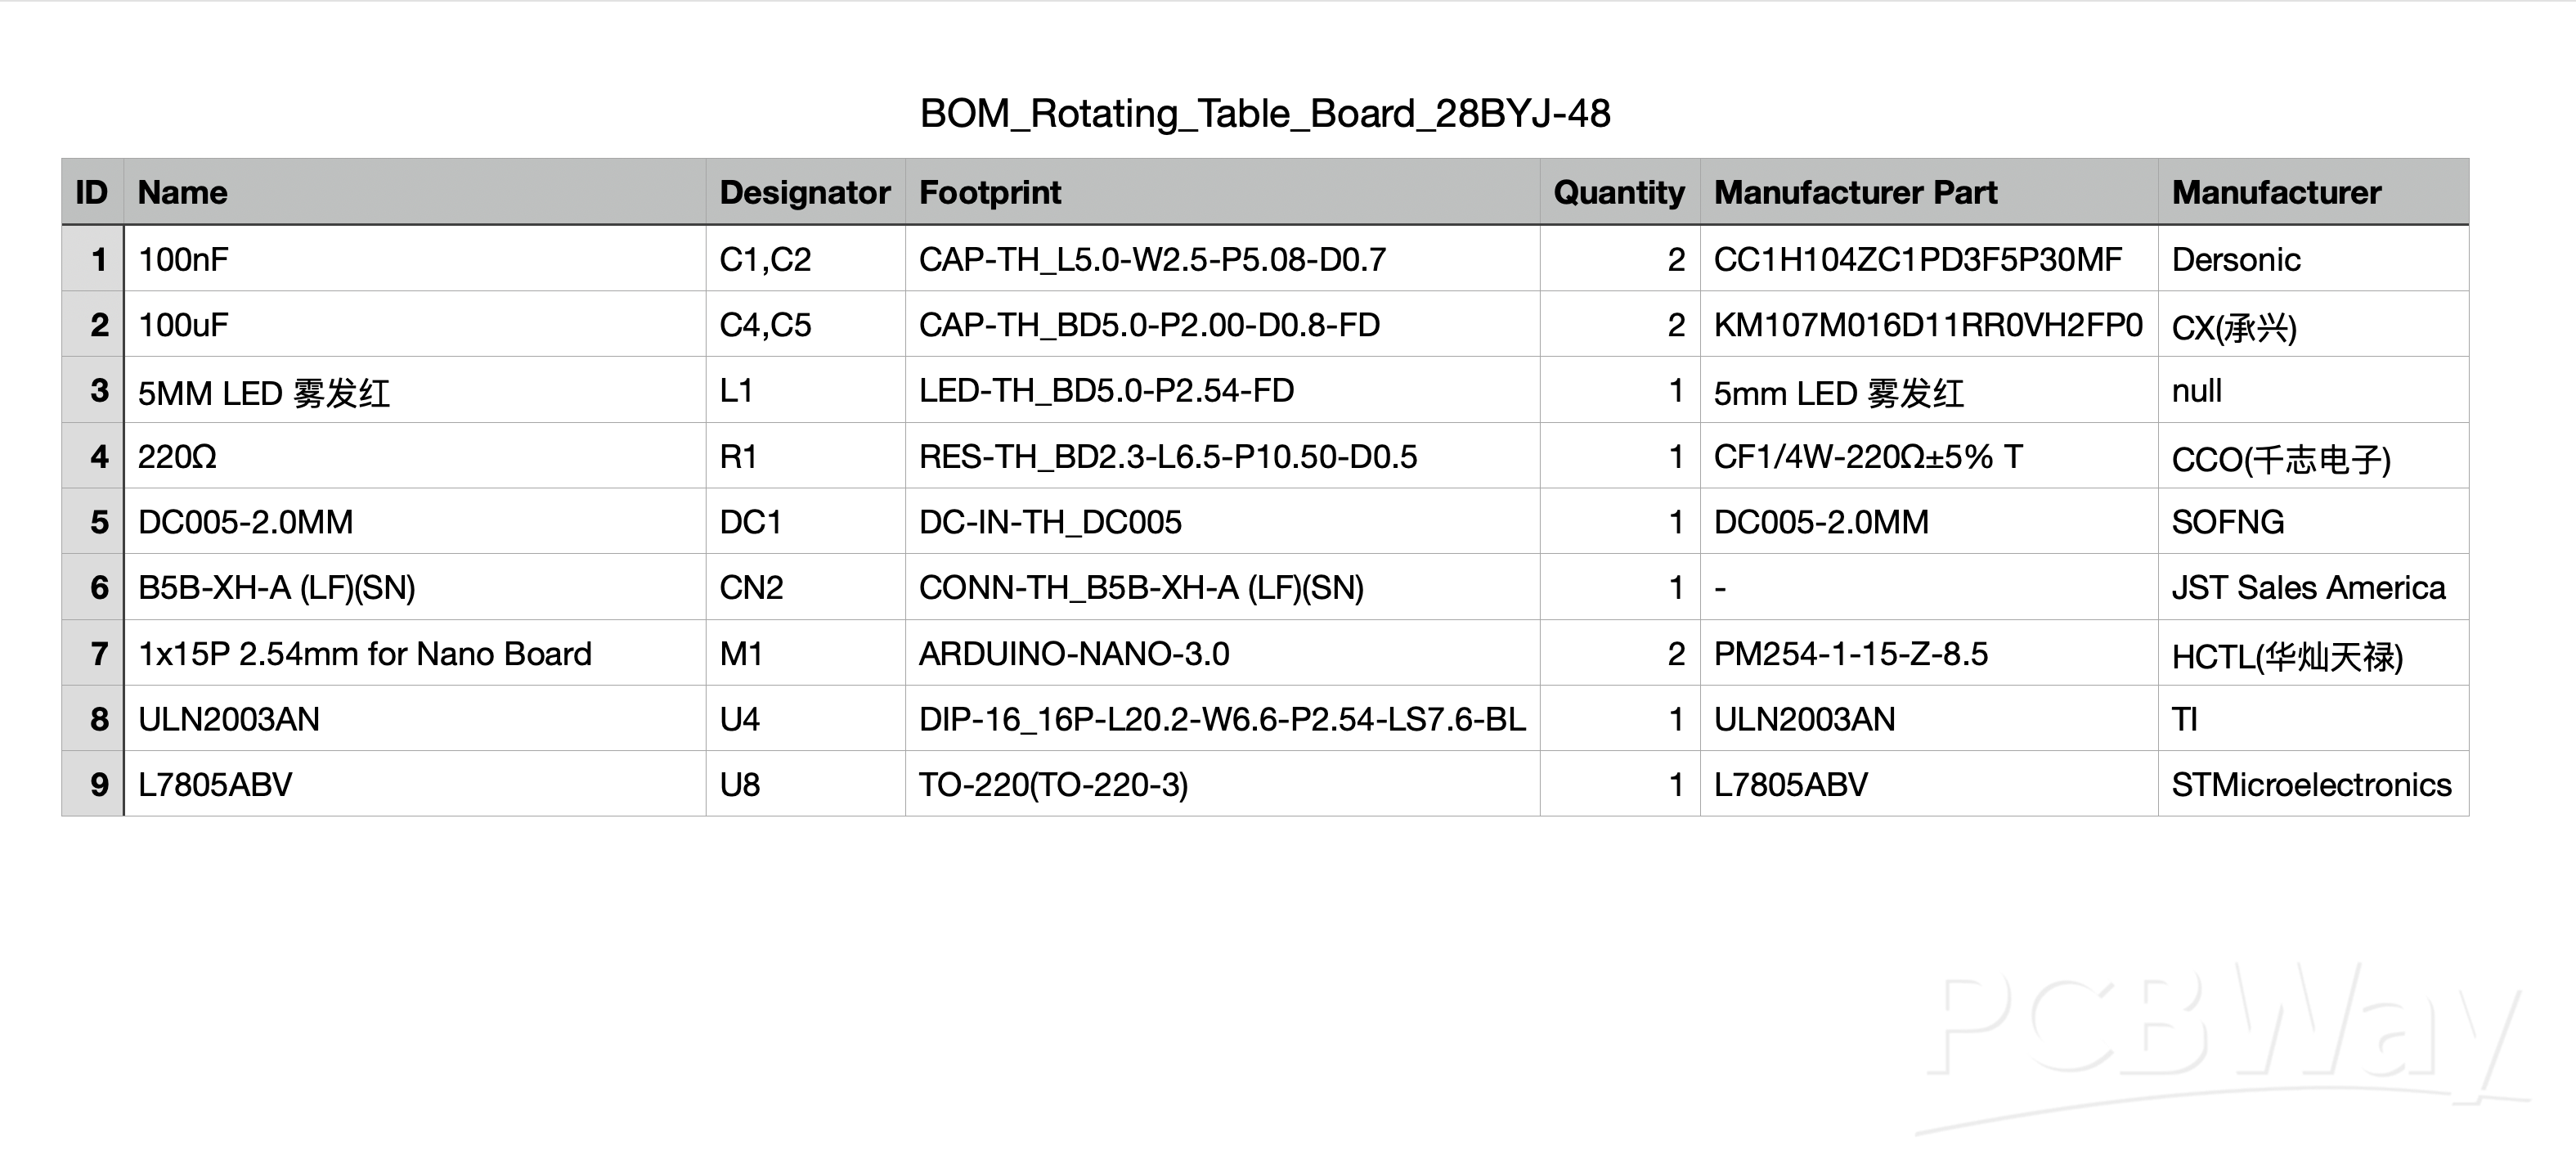

3D Printed Arduino Rotating Table Board needs a few components. Place and solder components according to the shared reference designator.
Source Code

Upload the shared stepper-test.ino source code. If your motor runs to the wrong direction, change the order of the numbers in code as: int port[4] = {4, 5, 6, 7};
Also, no library is required for the source code.
3D Printed Rotating Table Board with Arduino Nano and 28BYJ-48 Stepper Motor
*PCBWay community is a sharing platform. We are not responsible for any design issues and parameter issues (board thickness, surface finish, etc.) you choose.
- Comments(5)
- Likes(12)
-
 Anthony Pedotto
Feb 22,2025
-
 Engineer
Jan 24,2025
-
 Engineer
Mar 11,2024
-
 Engineer
Nov 11,2023
-
 MERT KILIC
Aug 03,2023
-
 Engineer
Aug 03,2023
-
 Engineer
Aug 24,2022
-
 Raffaello Bonghi
Mar 22,2022
-
 Yuriy Efremov
Feb 15,2022
-
 yuyue test test test test test test test test test
Feb 15,2022
-
 (DIY) C64iSTANBUL
Feb 14,2022
-
 Engineer
Feb 14,2022
- 0 USER VOTES
- YOUR VOTE 0.00 0.00
- 1
- 2
- 3
- 4
- 5
- 6
- 7
- 8
- 9
- 10
- 1
- 2
- 3
- 4
- 5
- 6
- 7
- 8
- 9
- 10
- 1
- 2
- 3
- 4
- 5
- 6
- 7
- 8
- 9
- 10
- 1
- 2
- 3
- 4
- 5
- 6
- 7
- 8
- 9
- 10
 More by MERT KILIC
-
 3D Printed Theo Jansen Style Octopod Robot (Arduino Based)
Hi everyone! In this project, I will show you an amazing eight-legged robot in the Octopod style! It...
-
 Creative Modular LED Lighting with Magnetic Pogo Pins & Wi-Fi Control
Hi everyone! Welcome to my latest project: a modular, plug-in LED lighting system that is as fun as ...
-
 Build a simple 3D printed CNC plotter machine
Hi friends, do you remember this Mini CNC Plotter machine that uses hobby stepper motors and a few 3...
-
 Circuit Activity Board - Educational Electronics
Circuit Activity Board – A Hands-On Project to Learn Basic ElectronicsIn this project, we're going t...
-
 Build a Simple 3D Wall Lighting
Hi friends, this project shows how to make and control 3D hexagonal LED lighting panels. The project...
-
 Robot Sumo Board
Robot-sumo, or pepe-sumo, is a sport in which two robots attempt to push each other out of a circle ...
-
 ESP32 Mecanum Wheels Robot and Bluetooth Gamepad Controller
In this project we will see how to make an ESP32 Mecanum Wheels Robot which is capable of moving in ...
-
 DIY Motorized WiFi Roller Blind - ESP8266 & Blynk
In this project we will see how to control a roller blind via a smartphone application. The reason w...
-
 Pet Feeder Controlled Via WiFi - ESP8266
How It Works?As you can see, a 3D design was used for the pet feeder. ESP8266-based Wemos D1 Mini bo...
-
 ESP8266 Two Wheel Robot (NodeMCU and Stepper Motor)
Generally, robot cars are built on a chassis with 2 DC motor wheels and a bovine wheel. While surfin...
-
 3D Printed Rotating Table Board with Arduino Nano and 28BYJ-48 Stepper Motor
This project shows how to make a 3D printed Rotating Table using Arduino and a hobby stepper motor. ...
-
 Hand Gesture Controller for Robotic
The hand gesture controller makes it possible to control applicat...
Hand Gesture Controller for Robotic
Hand Gesture Controller for RoboticThe hand gesture controller makes it possible to control applicat...
-
 How To Make DIY Remote Control Hoverboat at Home
In this video, I showed you how to make your own hoverboat from materials available at home and chea...
-
 How to Make DIY Arduino Gesture Control Robot at Home
Parts Required for Receiver (Tank):1) Robot Tank Chassis - https://bit.ly/3j8y2Q52) Arduino Nano V3 ...
-
 DIY Circuit Activty Board with Paperclips | MAKER | STEM
You can be creative and design your own circuit and add different sensors (other LEDs...). The idea ...
-
 ATtiny85 Wearable Activity Tracking Watch
How to make the wearable activity tracking watch? This is a wearable gadget designed to vibrate when...
-
 How to Build a Motorized 3D Scanning Turntable for Your Phone
In this project, I’ll show you how to make a simple motorized turntable for 3D scanning. It has thre...
-
 DIY Motorized 3D Scanning Turntable
In this project, I’ll show you how to make a simple motorized turntable for 3D scanning. It has thre...
-
-
AEL-2011 Power Supply Module
542 0 2 -
AEL-2011 50W Power Amplifier
503 0 2 -
-
-
Custom Mechanical Keyboard
706 0 0 -
Tester for Touch Screen Digitizer without using microcontroller
334 2 2 -
Audio reactive glow LED wristband/bracelet with NFC / RFID-Tags
317 0 1 -
-
-


