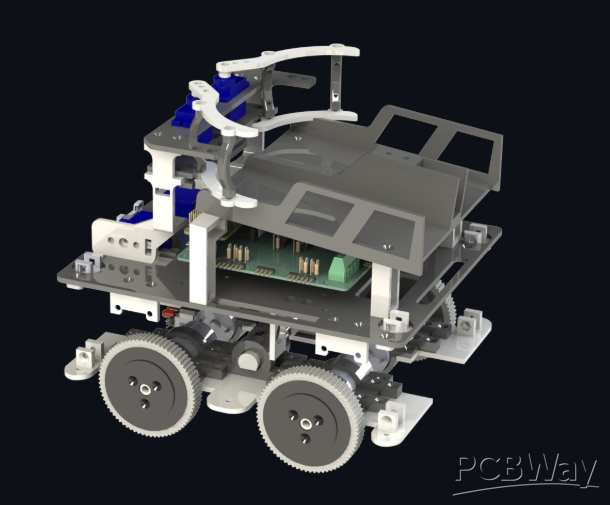


Pebble — a tracked companion robot
Pebble — a companion robot with a big mission, built by a dad for his son.
My name is Jordan Sciacca. I live in Albany, Oregon, where I work at Verizon by day and build in my workshop at night. Pebble is a family project: I am designing and building a small companion robot for my four-year-old son, Caden, and documenting the whole build as a public video series on my YouTube channel, From the Thinking Desk: https://www.youtube.com/@FromTheThinkingDesk
WHY PEBBLE
Caden is a fast talker with a big imagination. He invents characters and stories constantly, and what he wants most is someone who will keep up with him, listen, remember what he said yesterday, and play along. That is the robot I am building: a companion that turns toward whoever is talking to it, talks about what they show it, and remembers what matters for next time. Everything about Pebble, from its friendly face to the custom electronics below, exists to make that feel natural and safe for a young child.
MEET PEBBLE
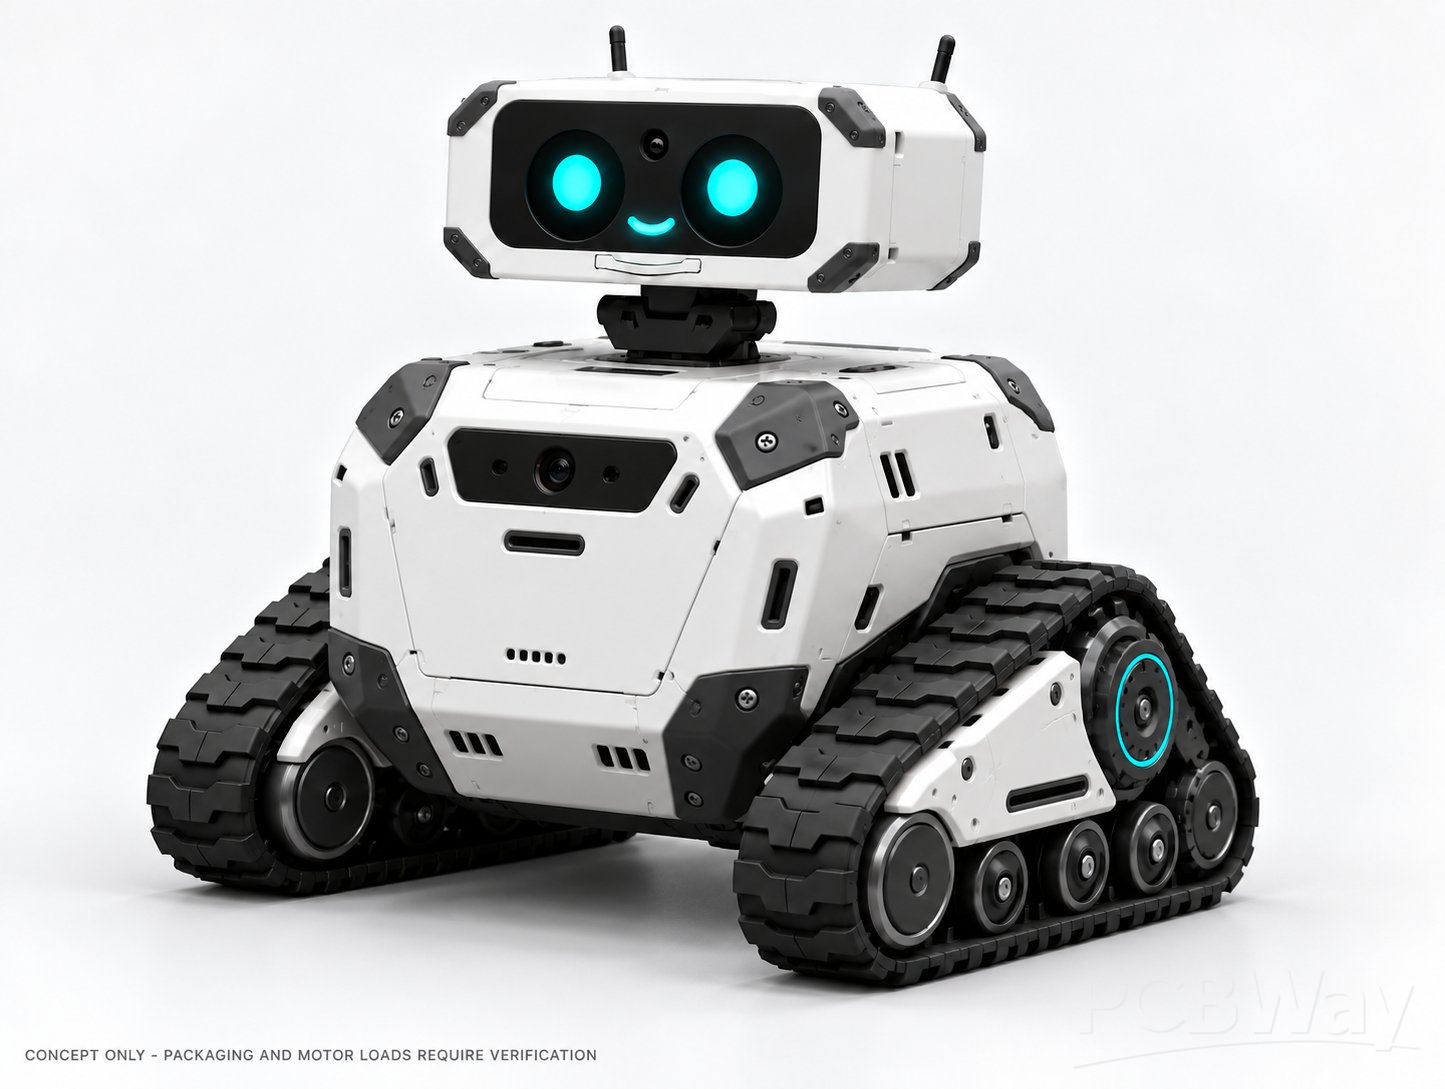
Pebble is a tracked robot, about the size of a small pet. Two rubber-track drive units with skid steering carry a white paneled body with black armor trim and teal accents. The wide head sits on a pan/tilt neck and carries two round LCD eyes and a lit smile, driven by a microcontroller in the head itself, so the face stays alive and expressive on its own. Two small antennas, cameras in the head and body, a distance sensor, and a microphone array round out its senses. The body is 3D printed, and the full build, chassis, tracks, head, electronics, and this board, will roll out as a season of episodes. Episode 1 is in production now.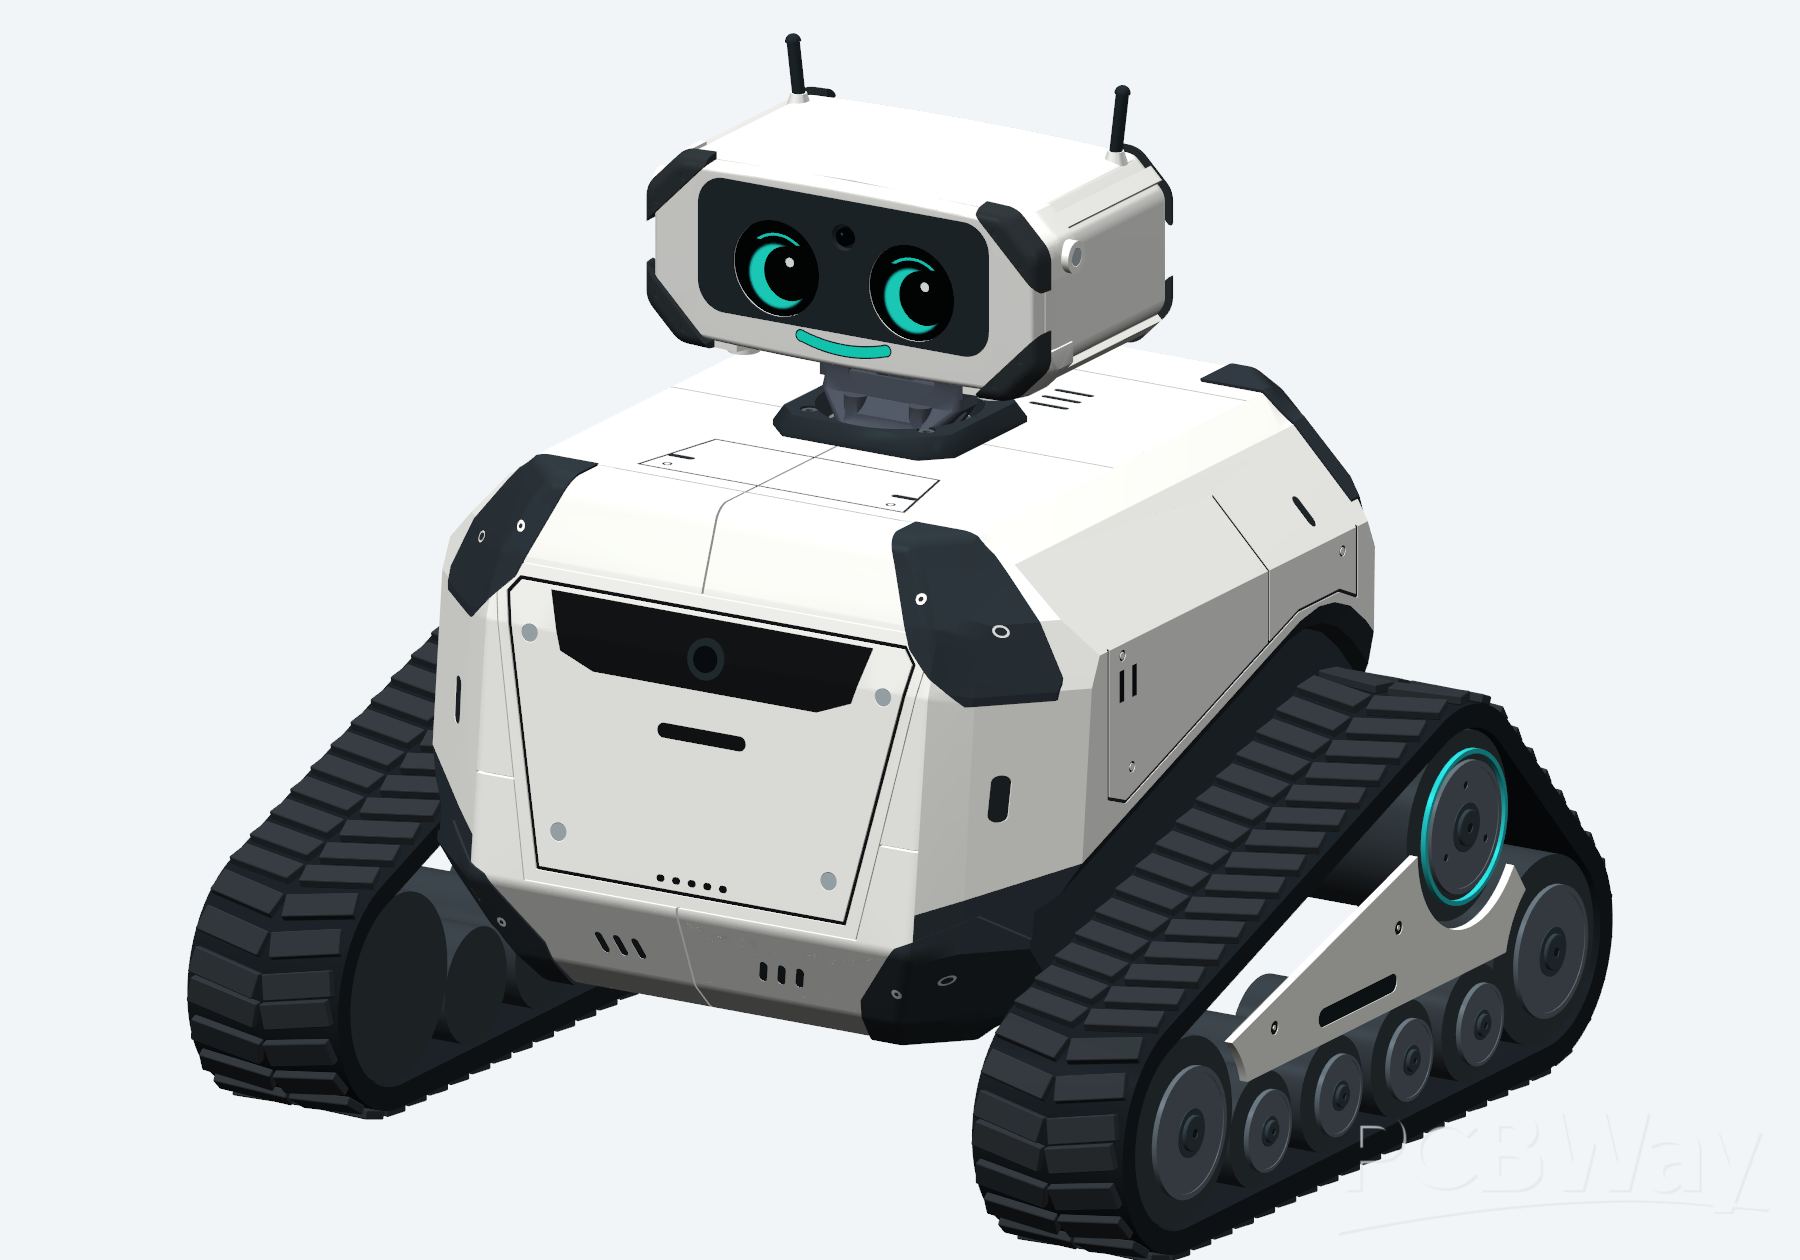
Pebble today: the current CAD model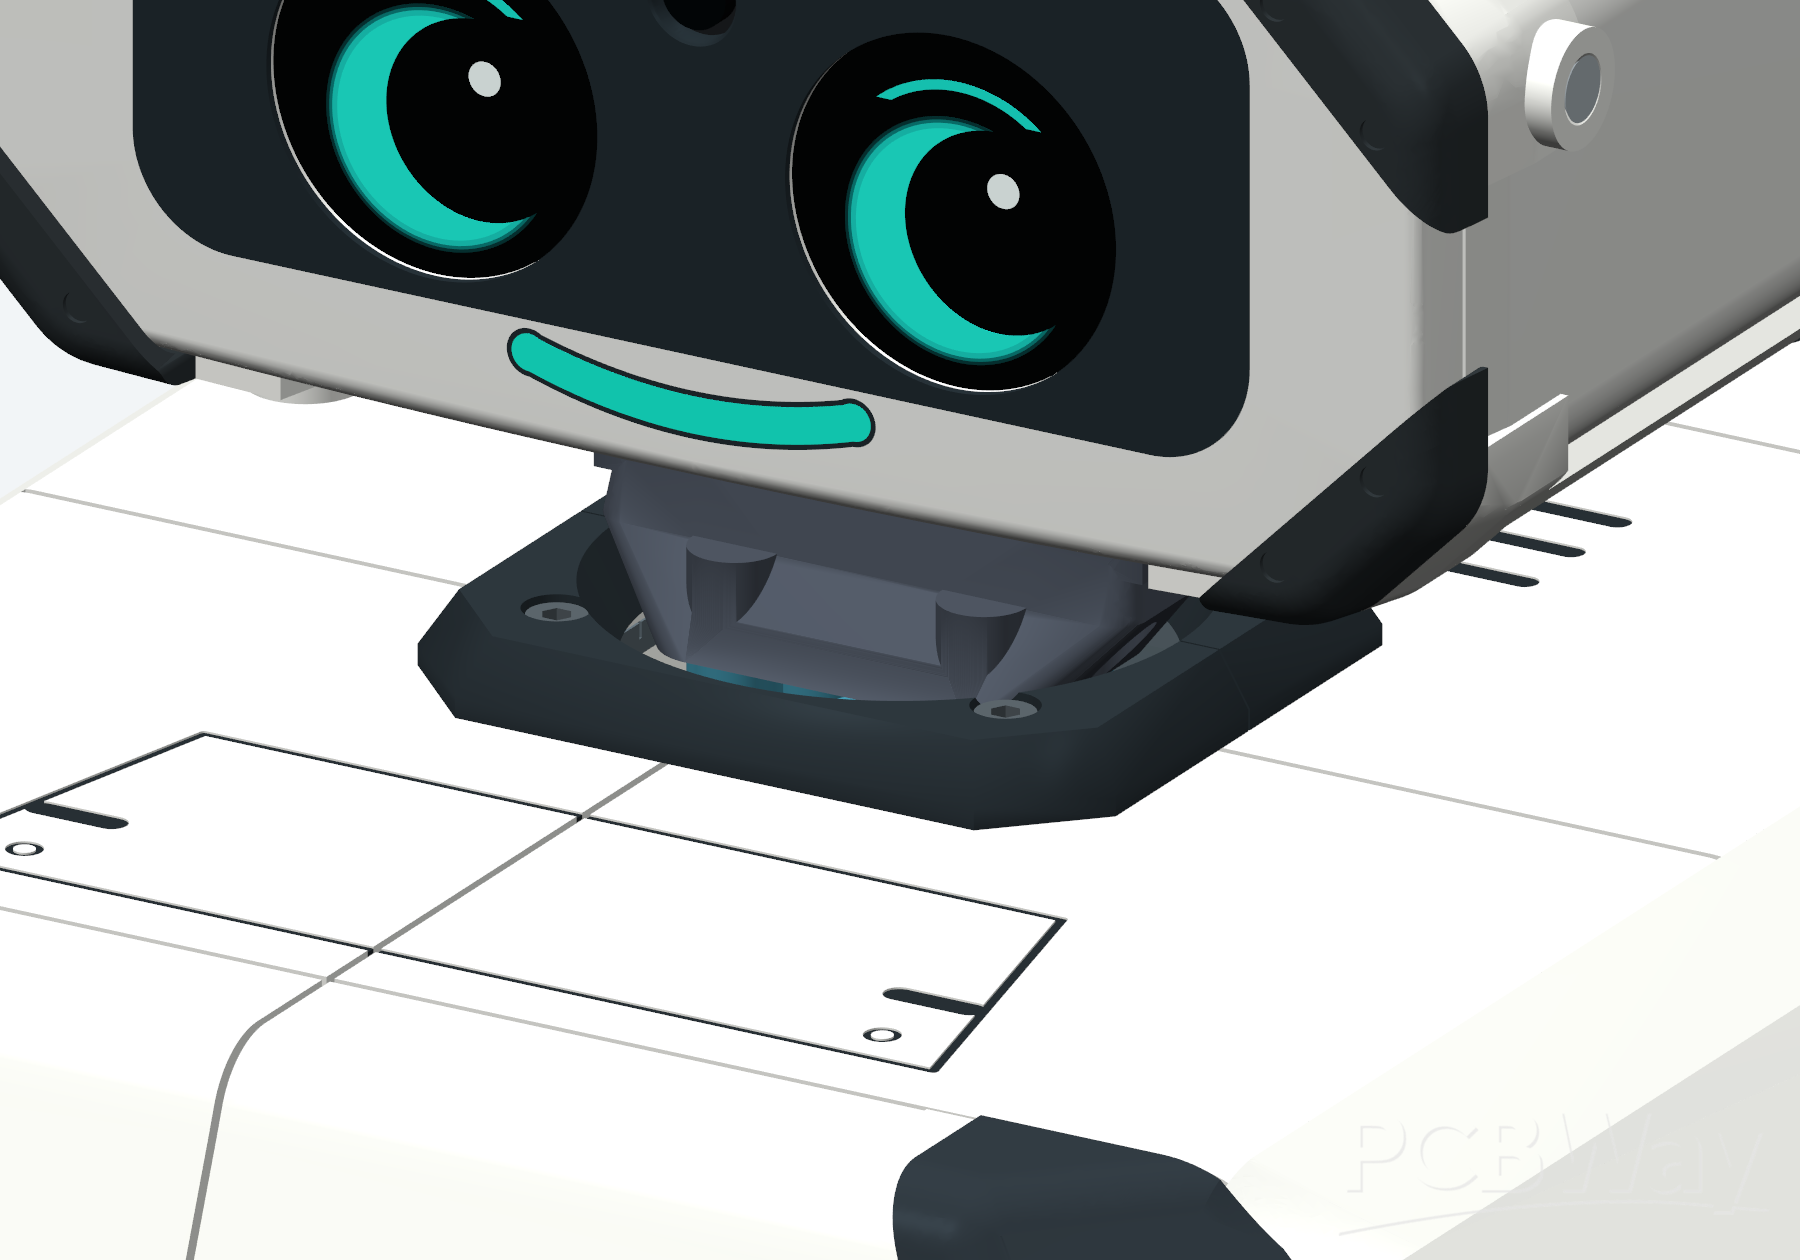
CAD detail: the head and pan/tilt neck
PROJECT DESCRIPTION — THE MAIN BOARD
Pebble's electronics started as a stack of separate off-the-shelf modules wired together. It worked, but it was heavy, messy, and hard to service. So I am designing Pebble's heart as one custom all-in-one main board that takes over power, protection, audio, supervision, and interconnect for the whole robot.
THE BOARD AT A GLANCE
Size: 190 × 95 mm, 1.6 mm (proposed), four mounting holes
Components: 585 electrical parts
Schematic: 31 pages, complete and frozen (revision F1C-IR3-P4), designed in KiCad
Layout: revised at L6 — every connector moved to the board edges with checked cable access; routing in progress
Host computer: Raspberry Pi 5 with AI HAT+ 2, powered and connected through this board
Supervisor: onboard RP2040 microcontroller
Power source: internal 3S lithium battery pack (3S2P, about 10 Ah), low in the belly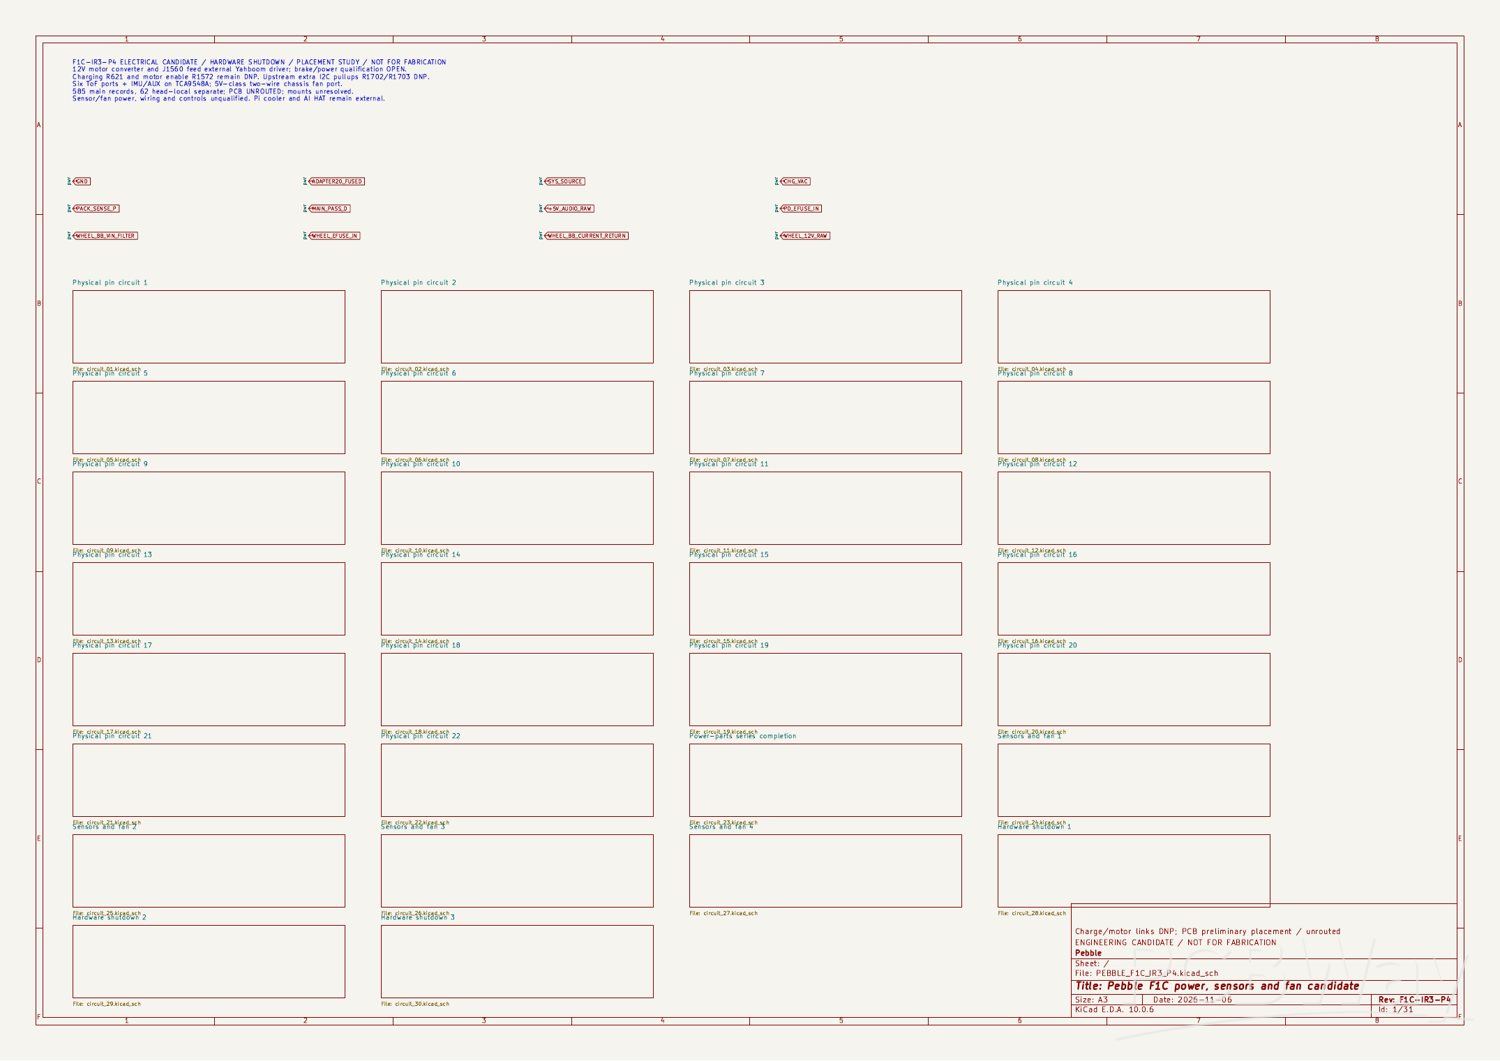
the schematic's top sheet: power, sensors, fan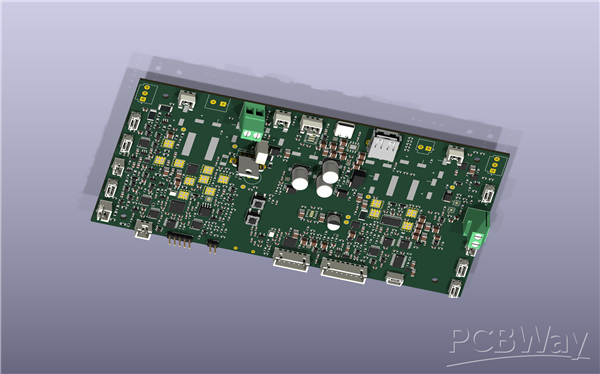
KiCad render of the actual saved board after the connector re-layout; four connector models are absent from the render but present in the design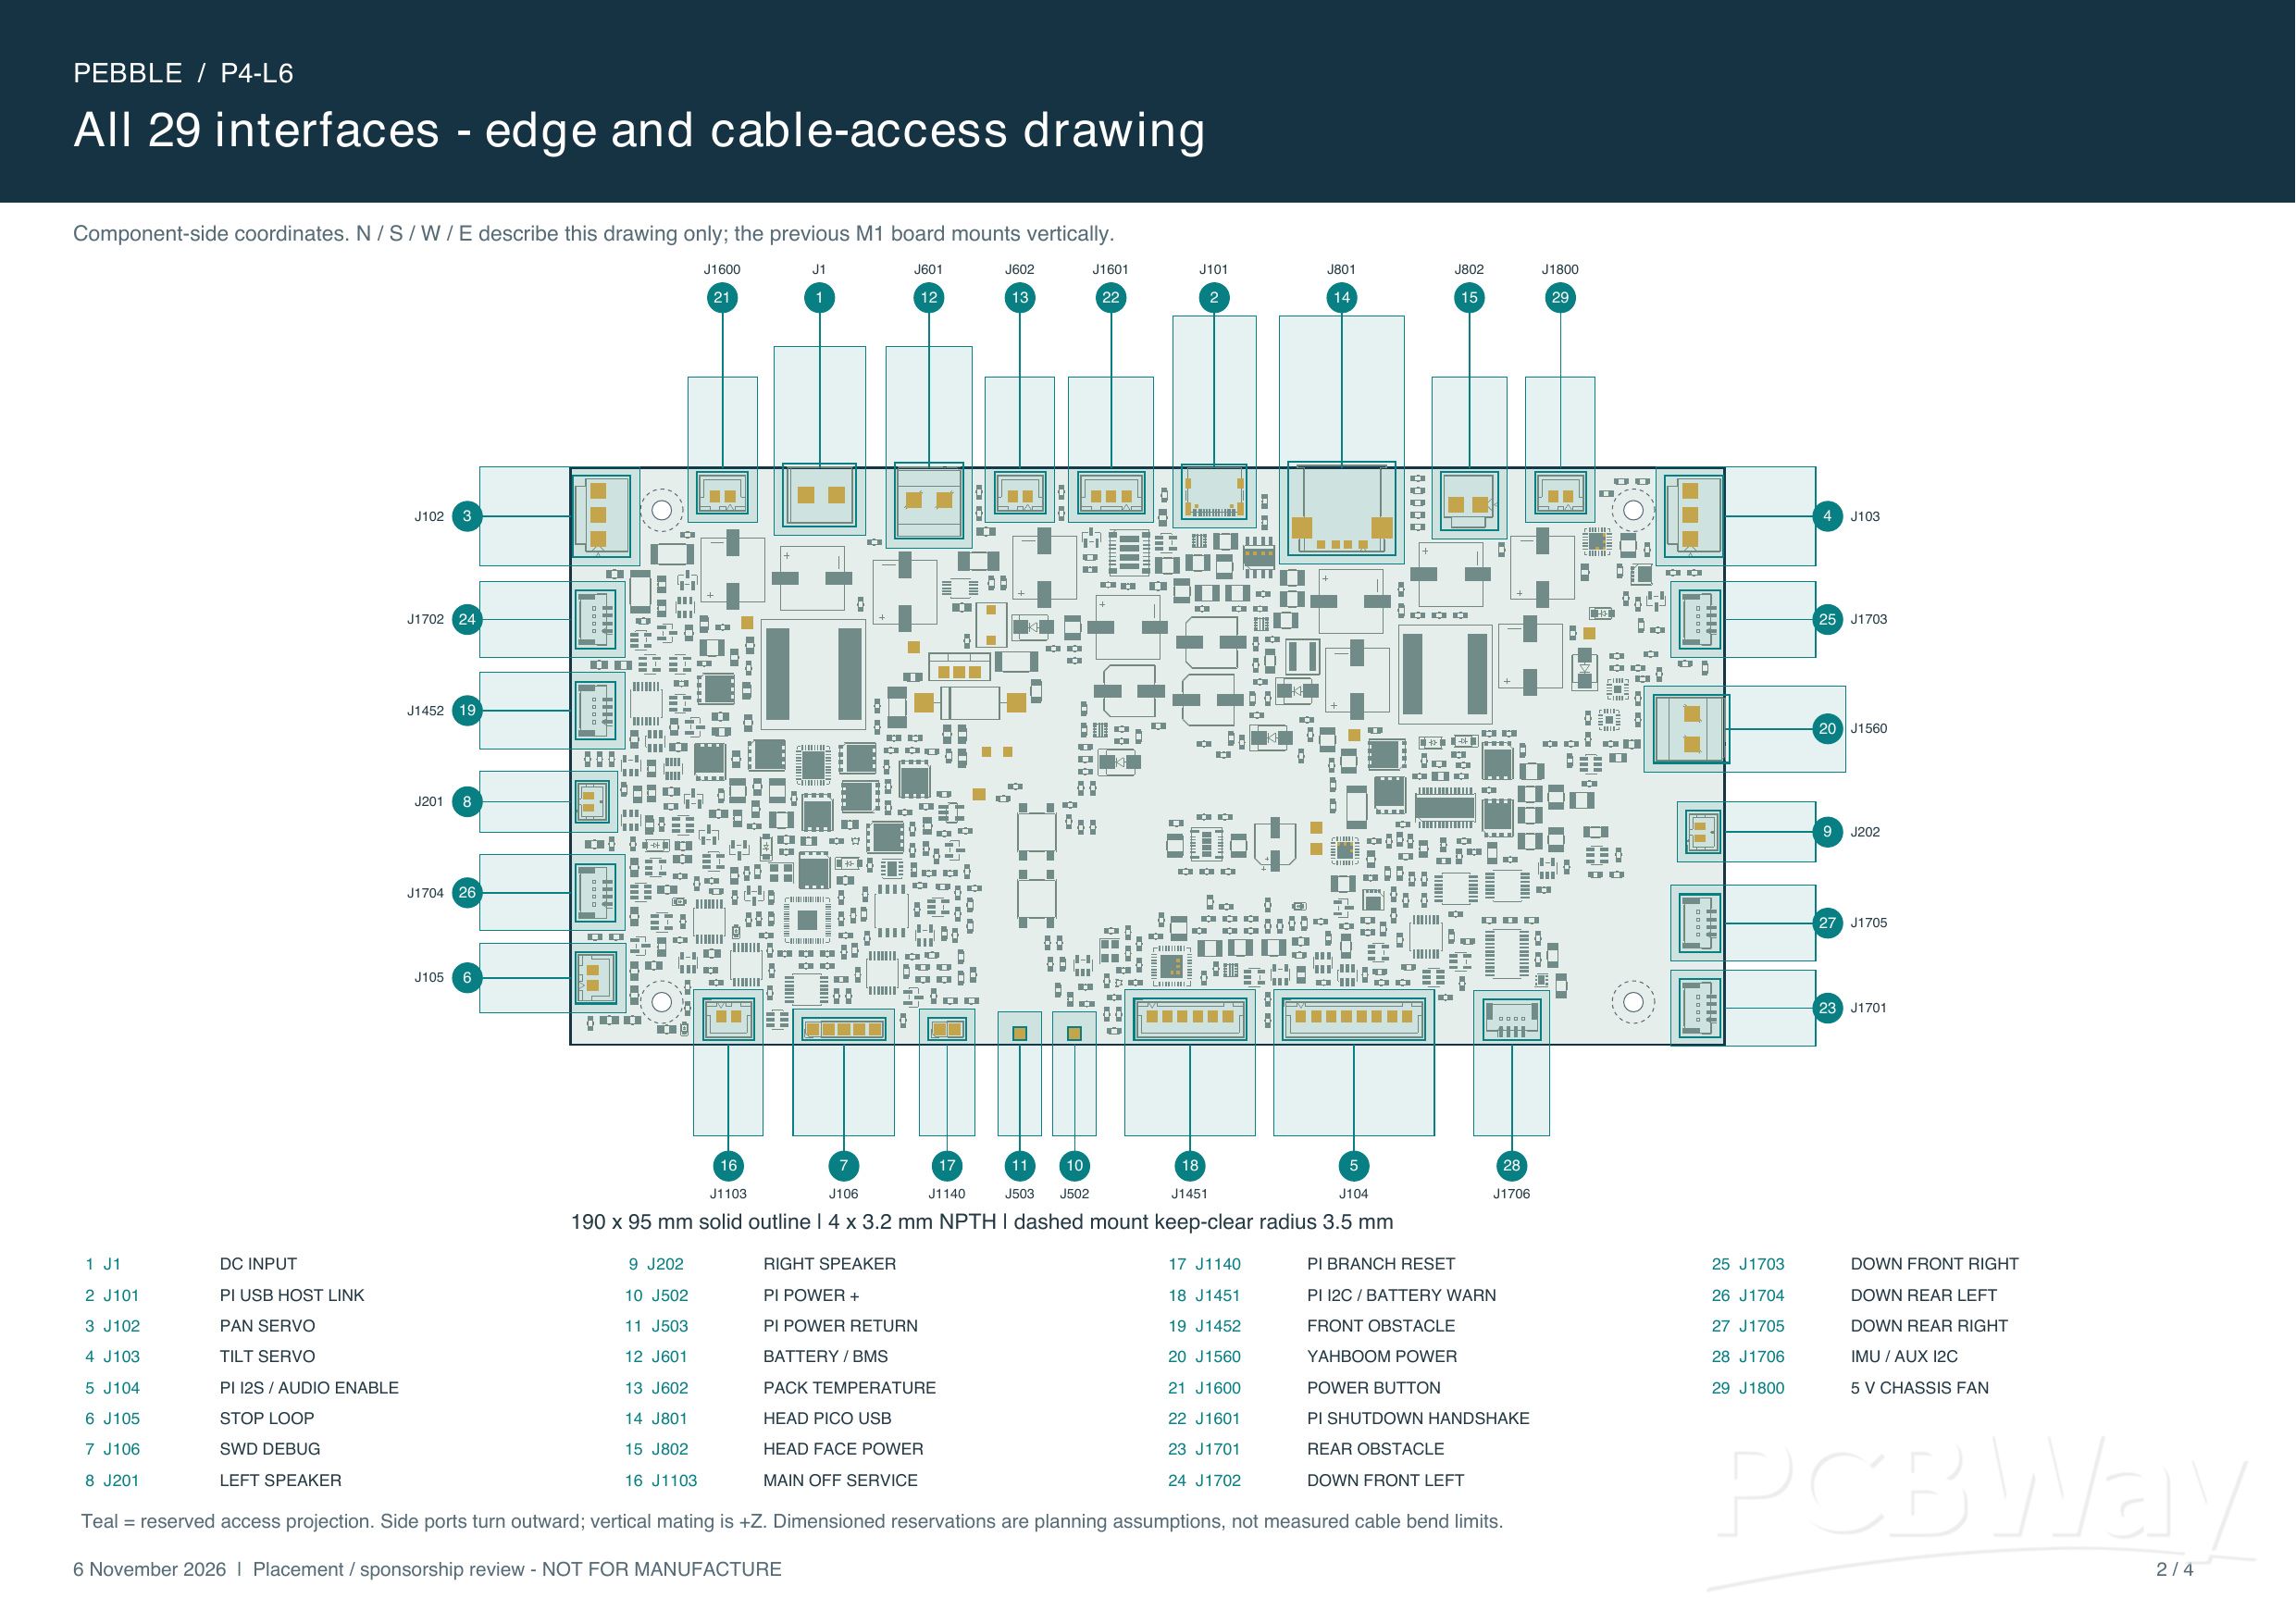
all 29 interfaces: edge placement and reserved cable access
POWER AND CHARGING
A dedicated charge controller (TI BQ25750) manages charging for the internal 3S pack, and the board distributes power to every system in the robot: the computer, the head, the servos, the audio, the sensors, and the drive. A proper on/off and shutdown path means the pack, the computers, and the motors are never fighting each other for power, and the robot can be shut down cleanly instead of just running a battery flat.
PROTECTION FIRST
A robot that lives around a young child has to fail safely, so protection is its own engineered section of this board, not an afterthought. Each major rail gets electronic fuse protection (TI TPS2663-family eFuse devices) that can cut a faulted rail in microseconds, and voltage supervisors (TPS3808 / TPS3700) watch the rails so the system always knows the state of its own power. Pack-level fuse coordination is under active qualification now, with Littelfuse candidates on both the input and the pack side. Getting this section right matters more to me than getting it fast.
Three full schematic sheets are devoted to hardware shutdown: independent of any software, the robot can cut motion and power in hardware. If the code ever misbehaves, the board does not have to ask its permission to stop.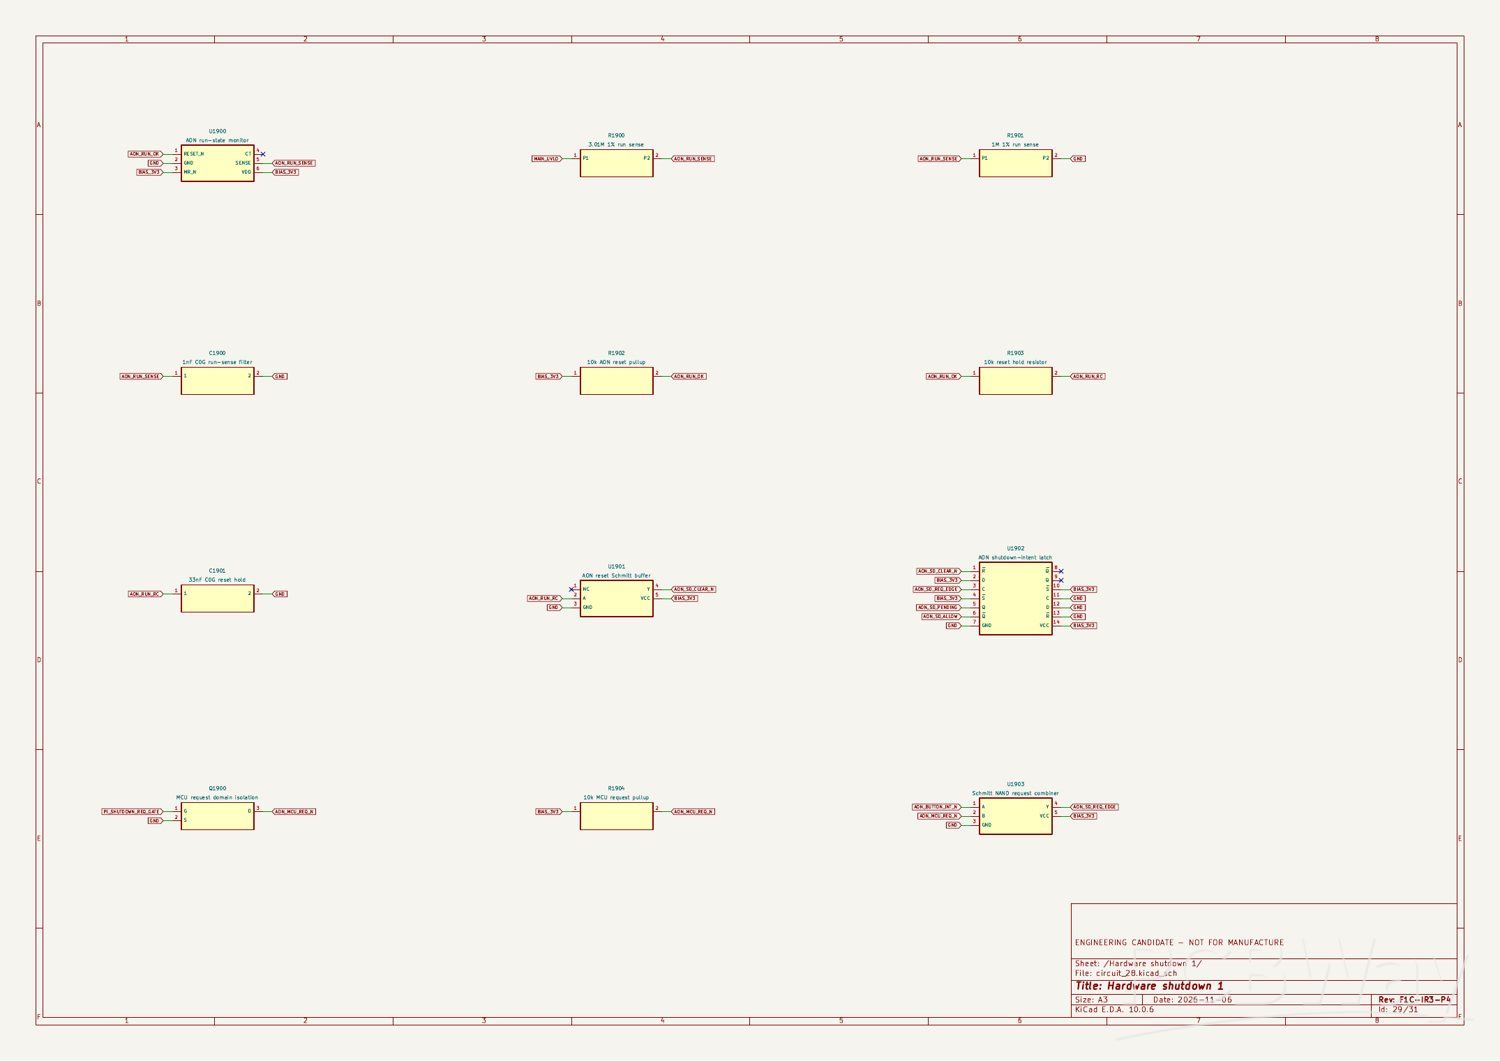
schematic: hardware shutdown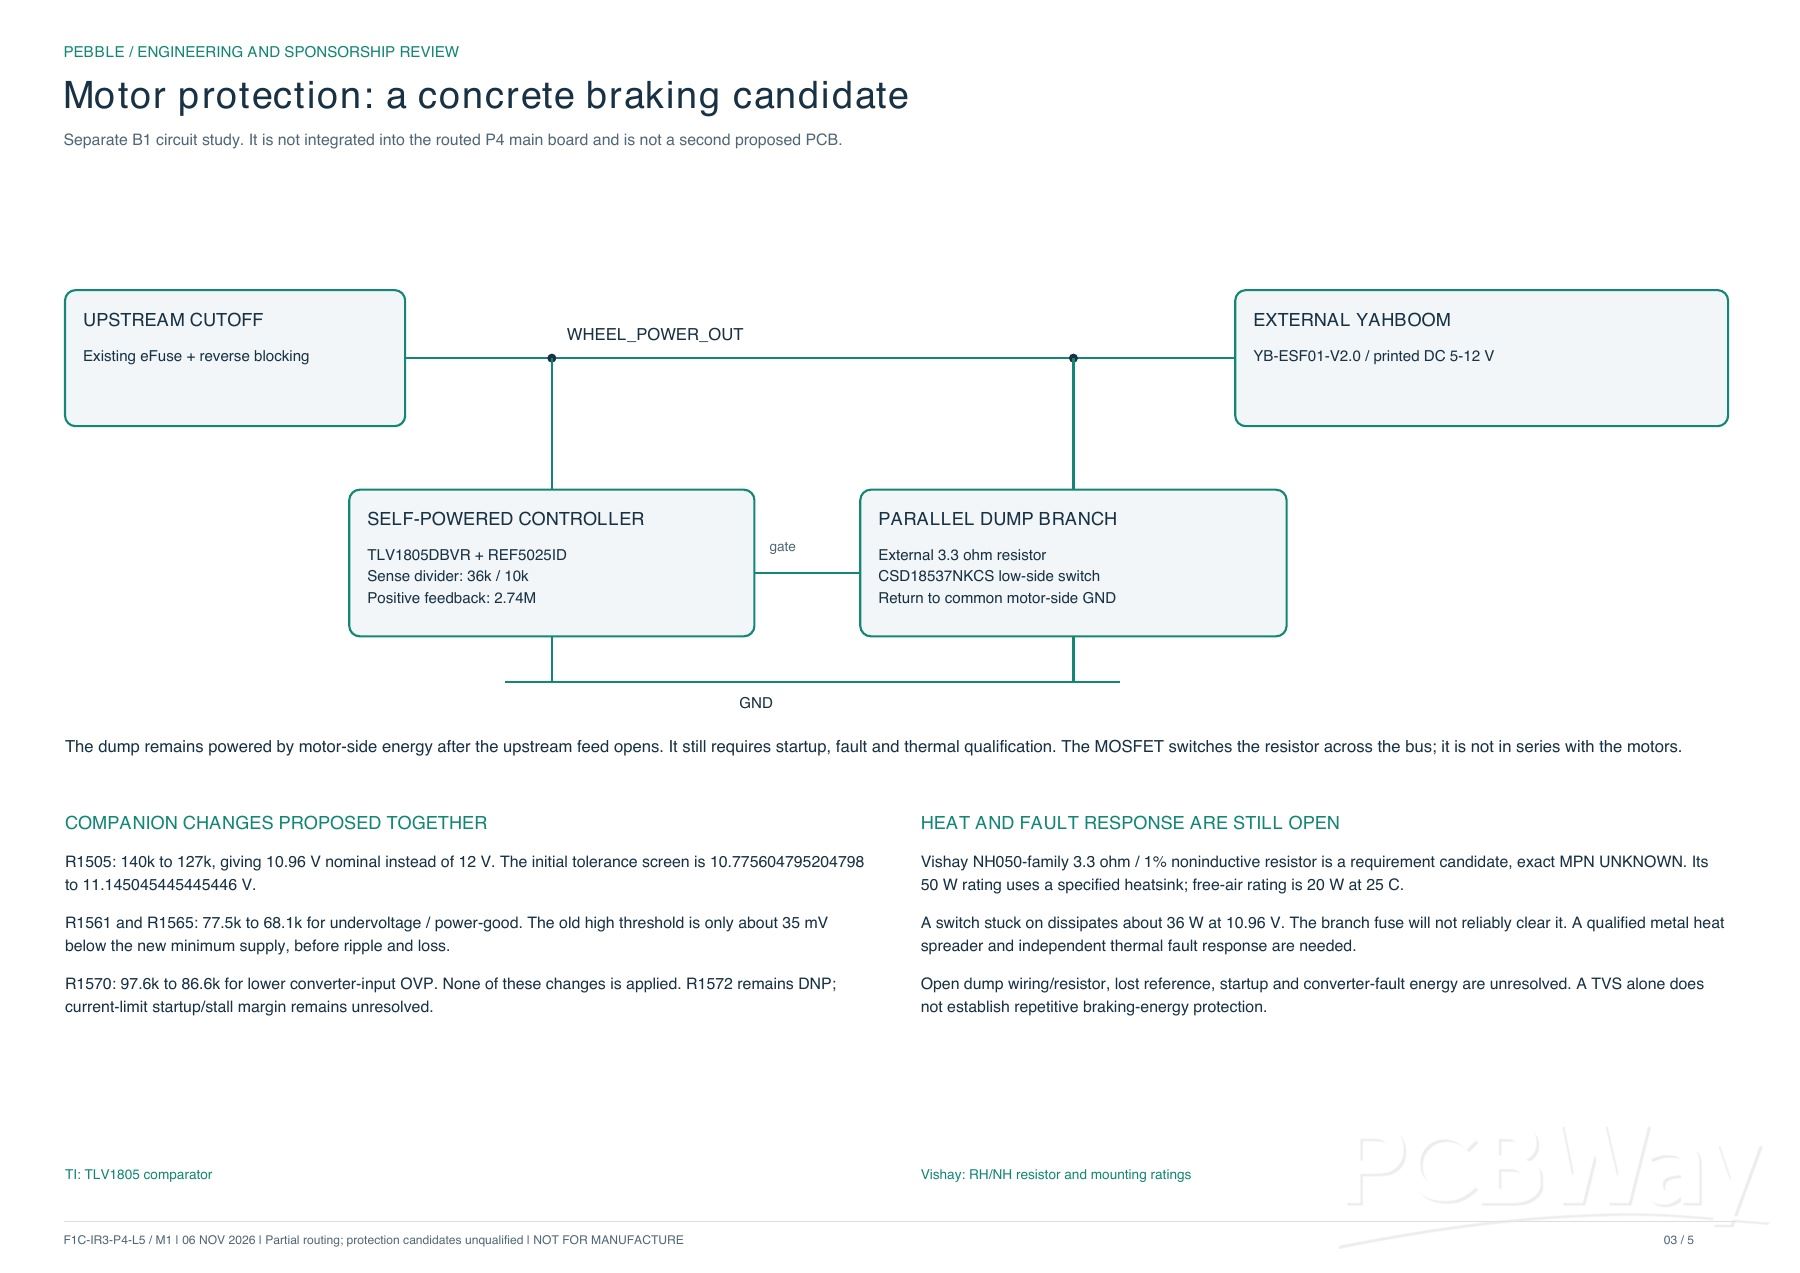
motor protection study
BRAINS AND INTERCONNECT
A Raspberry Pi 5 with an AI HAT+ 2 does Pebble's thinking: conversation, vision, and memory. The board provides the Pi's regulated power feed and carries a USB 2.0 hub (USB2512B) connecting the Pi to the head, where a dedicated controller runs the face. An RP2040 supervisor on the board watches over the whole system, handles motion interlocks, and keeps watch with the rail supervisors, so the robot can be stopped safely and predictably.
SOUND AND SERVO POWER
Pebble talks and listens constantly, so audio gets its own clean, dedicated supplies: two I2S audio amplifiers (MAX98357A) drive its speakers, fed separately from the servo power stage (a TPSM63610 power module) that runs the pan/tilt neck, so the face can move without the voice ever buzzing or dipping.
MOTION POWER
Pebble drives on two track units through an external track-motor controller (Yahboom YB-ESF01-V2.0). The board owns everything around that drive: the wheel power supply stage, arming logic, an eFuse feed with reverse blocking, and a fast cutoff path, plus a regenerative braking protection study we are qualifying now, with a self-powered dump branch that can absorb braking energy even after the main feed opens, so stopping a moving robot is controlled instead of abrupt.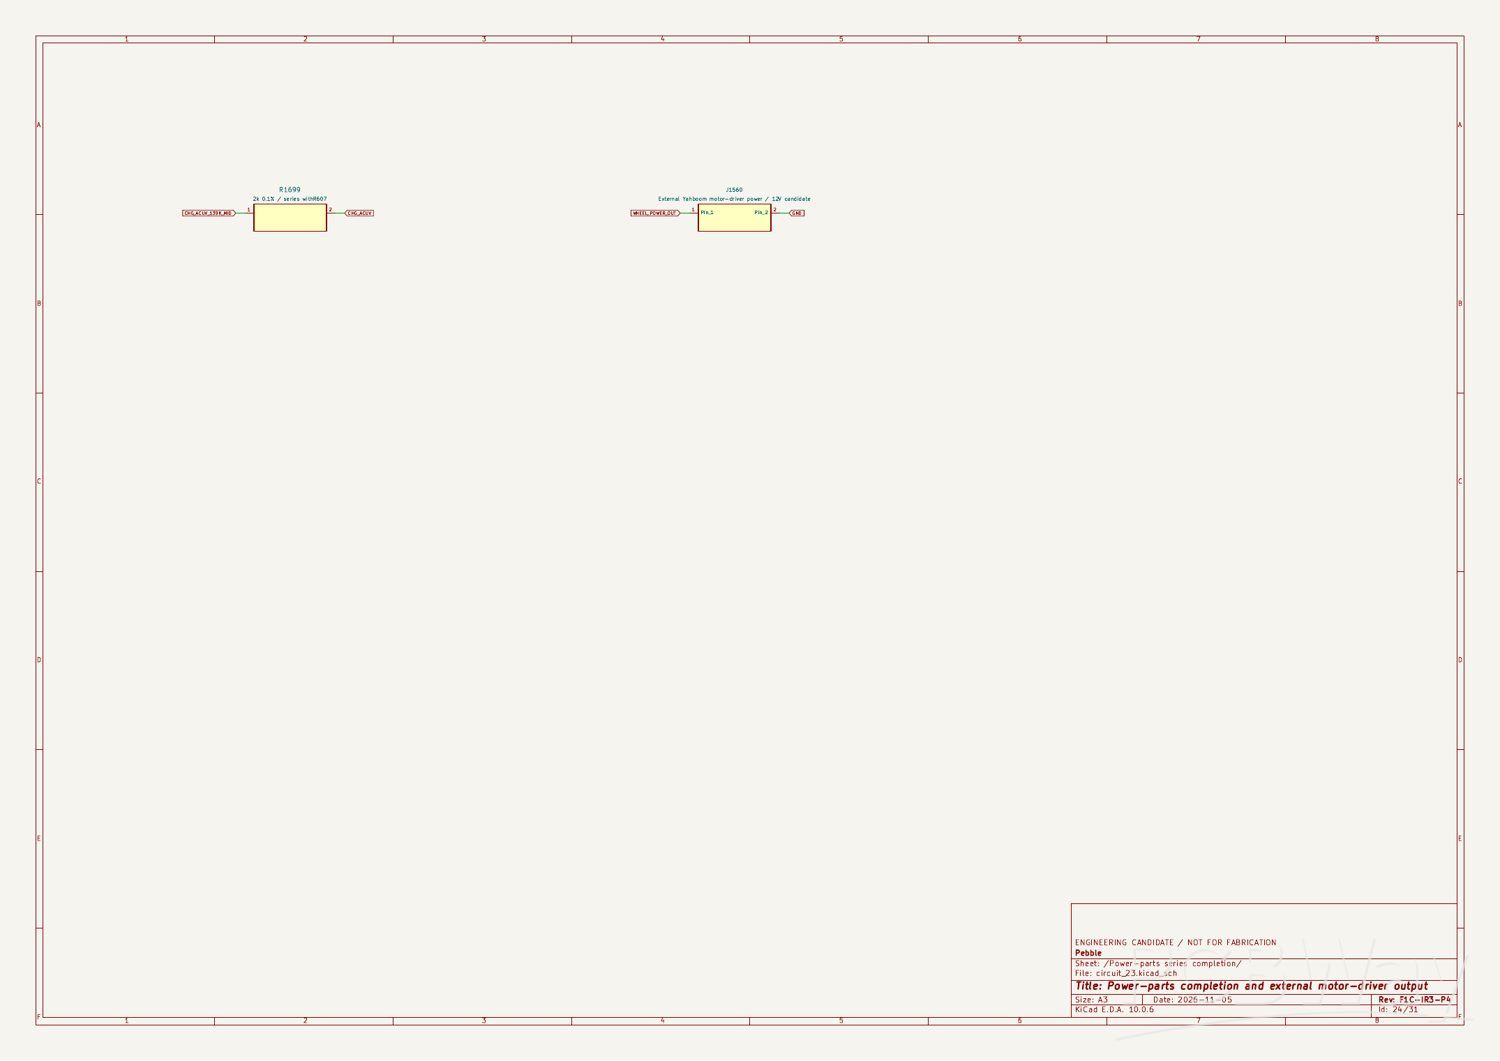
schematic: power-parts and motor-driver output stage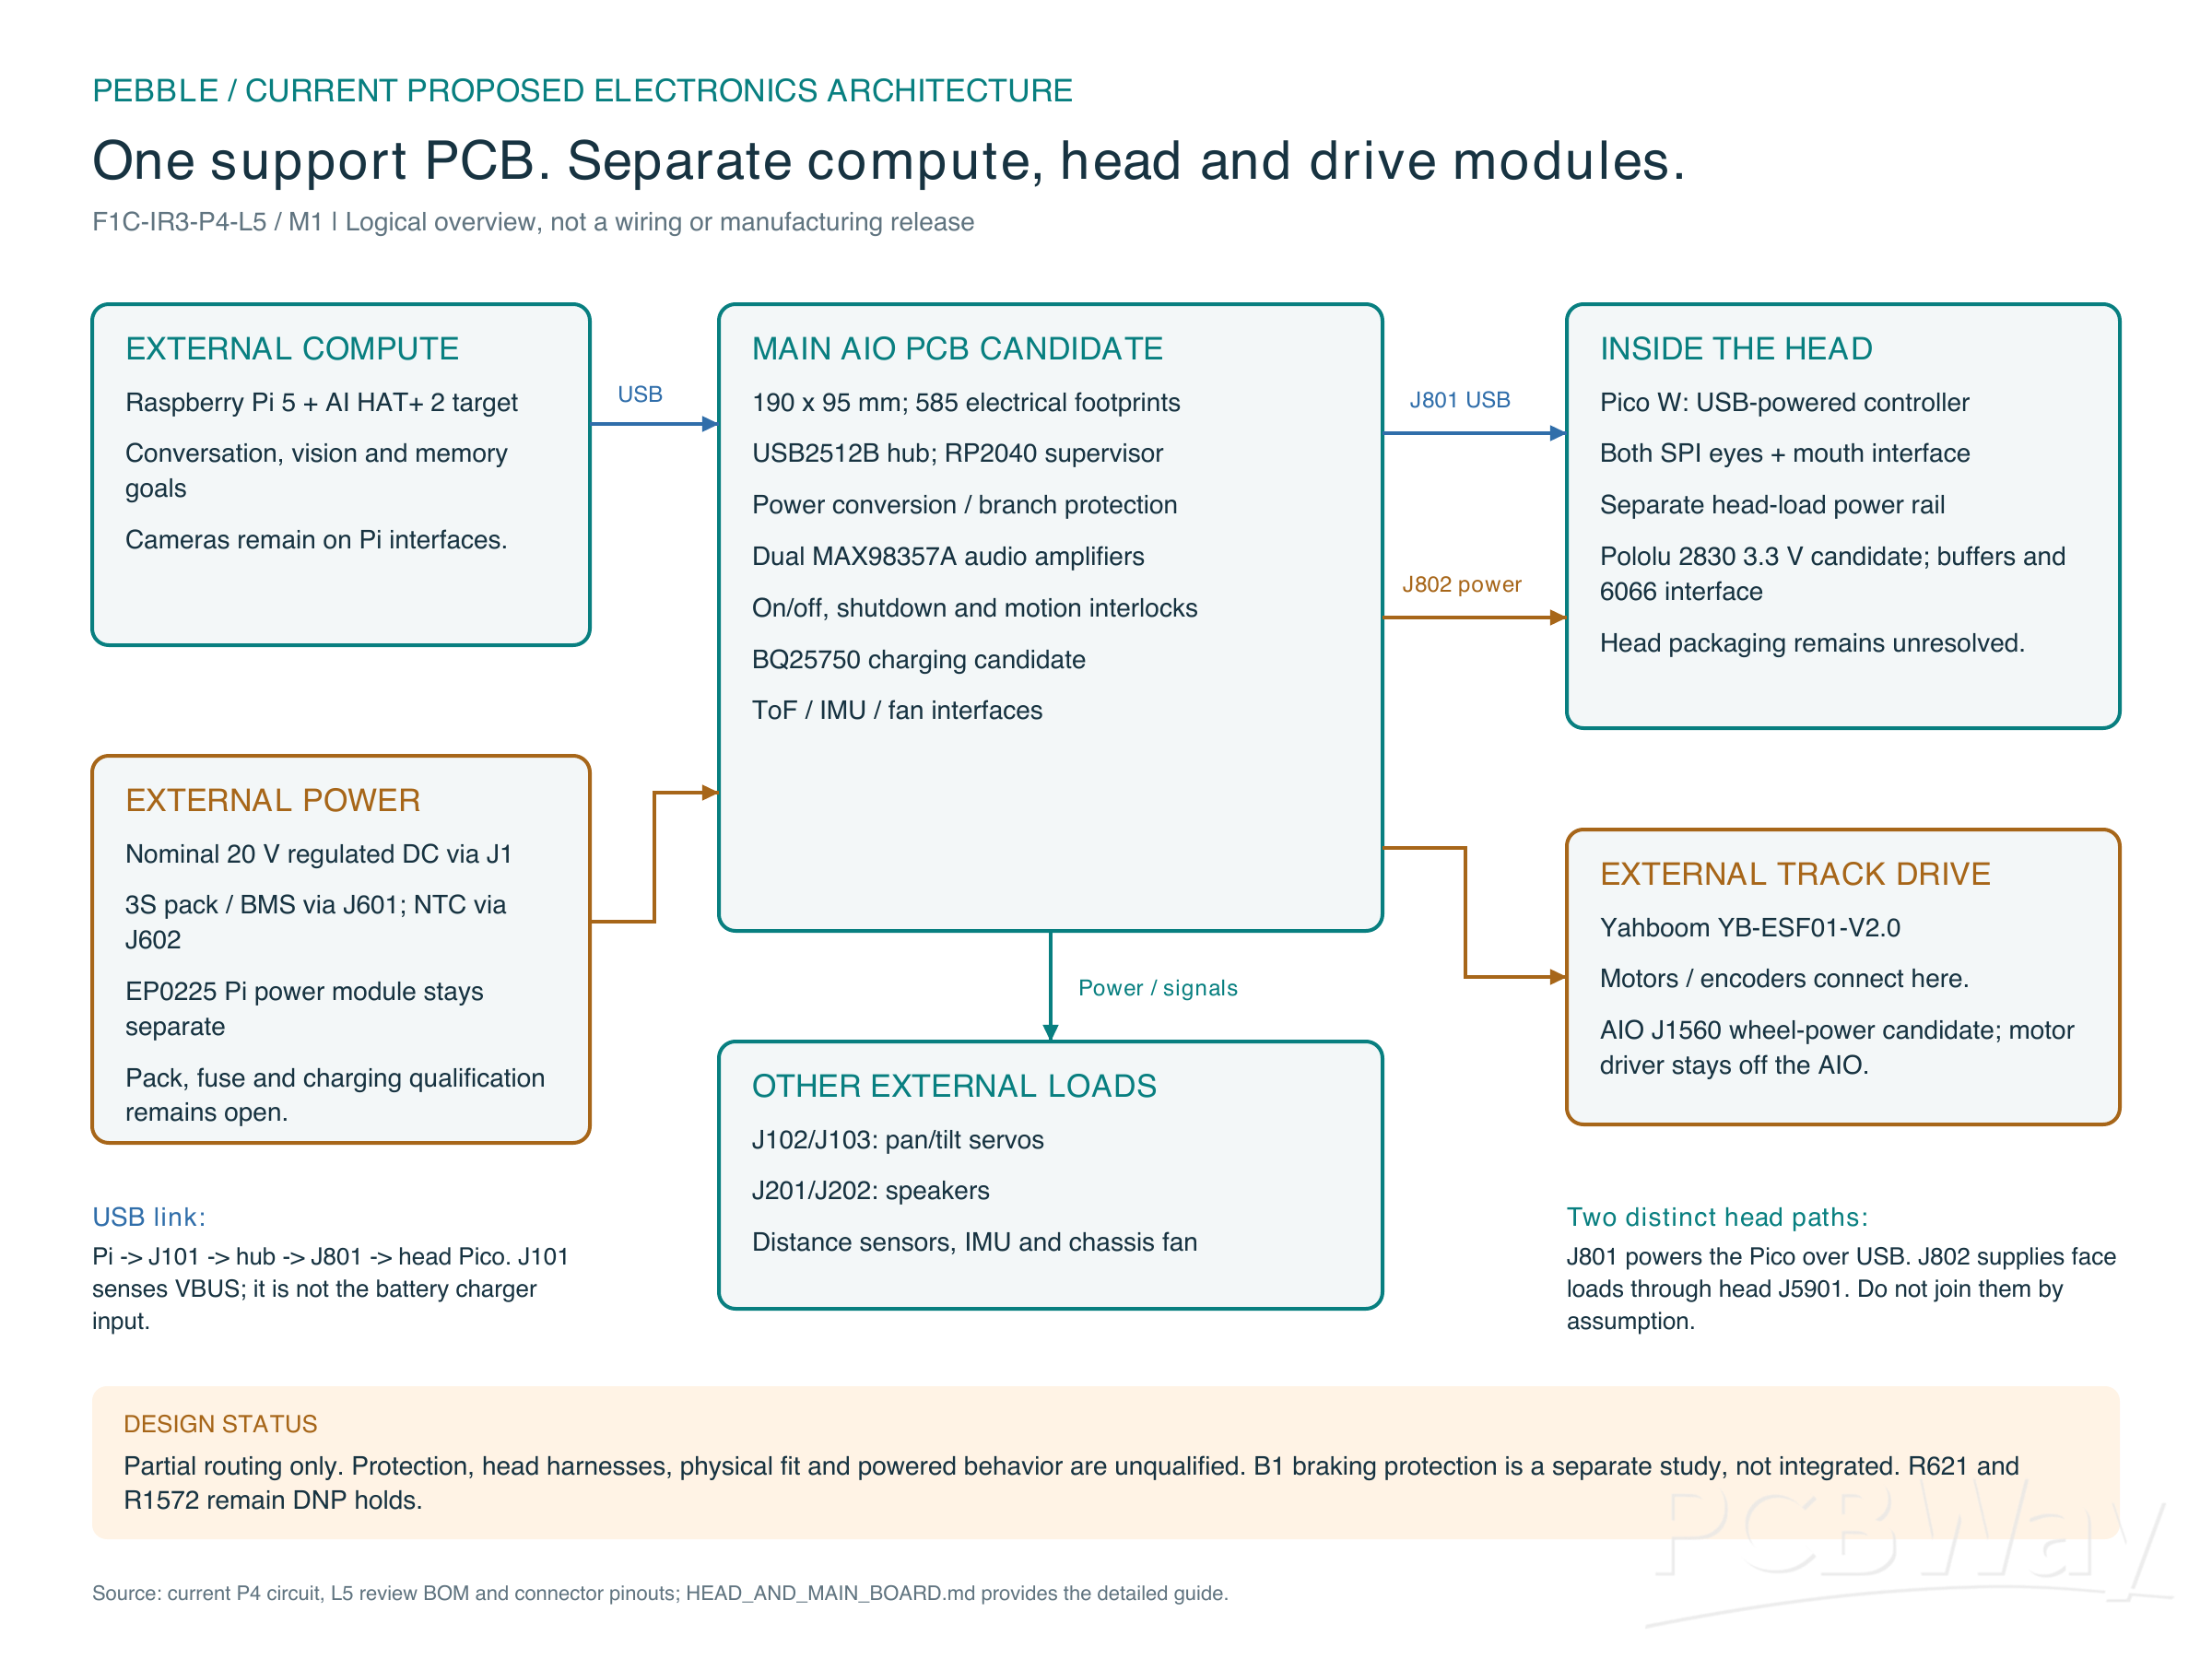
how the electronics fit together: Pi, main board, head, drive, and pack
SENSES AND COOLING
Four schematic sheets cover Pebble's senses and cooling: dedicated interfaces for its distance (ToF) and motion (IMU) sensors, and a chassis fan output that keeps air moving across the stacked electronics in the body.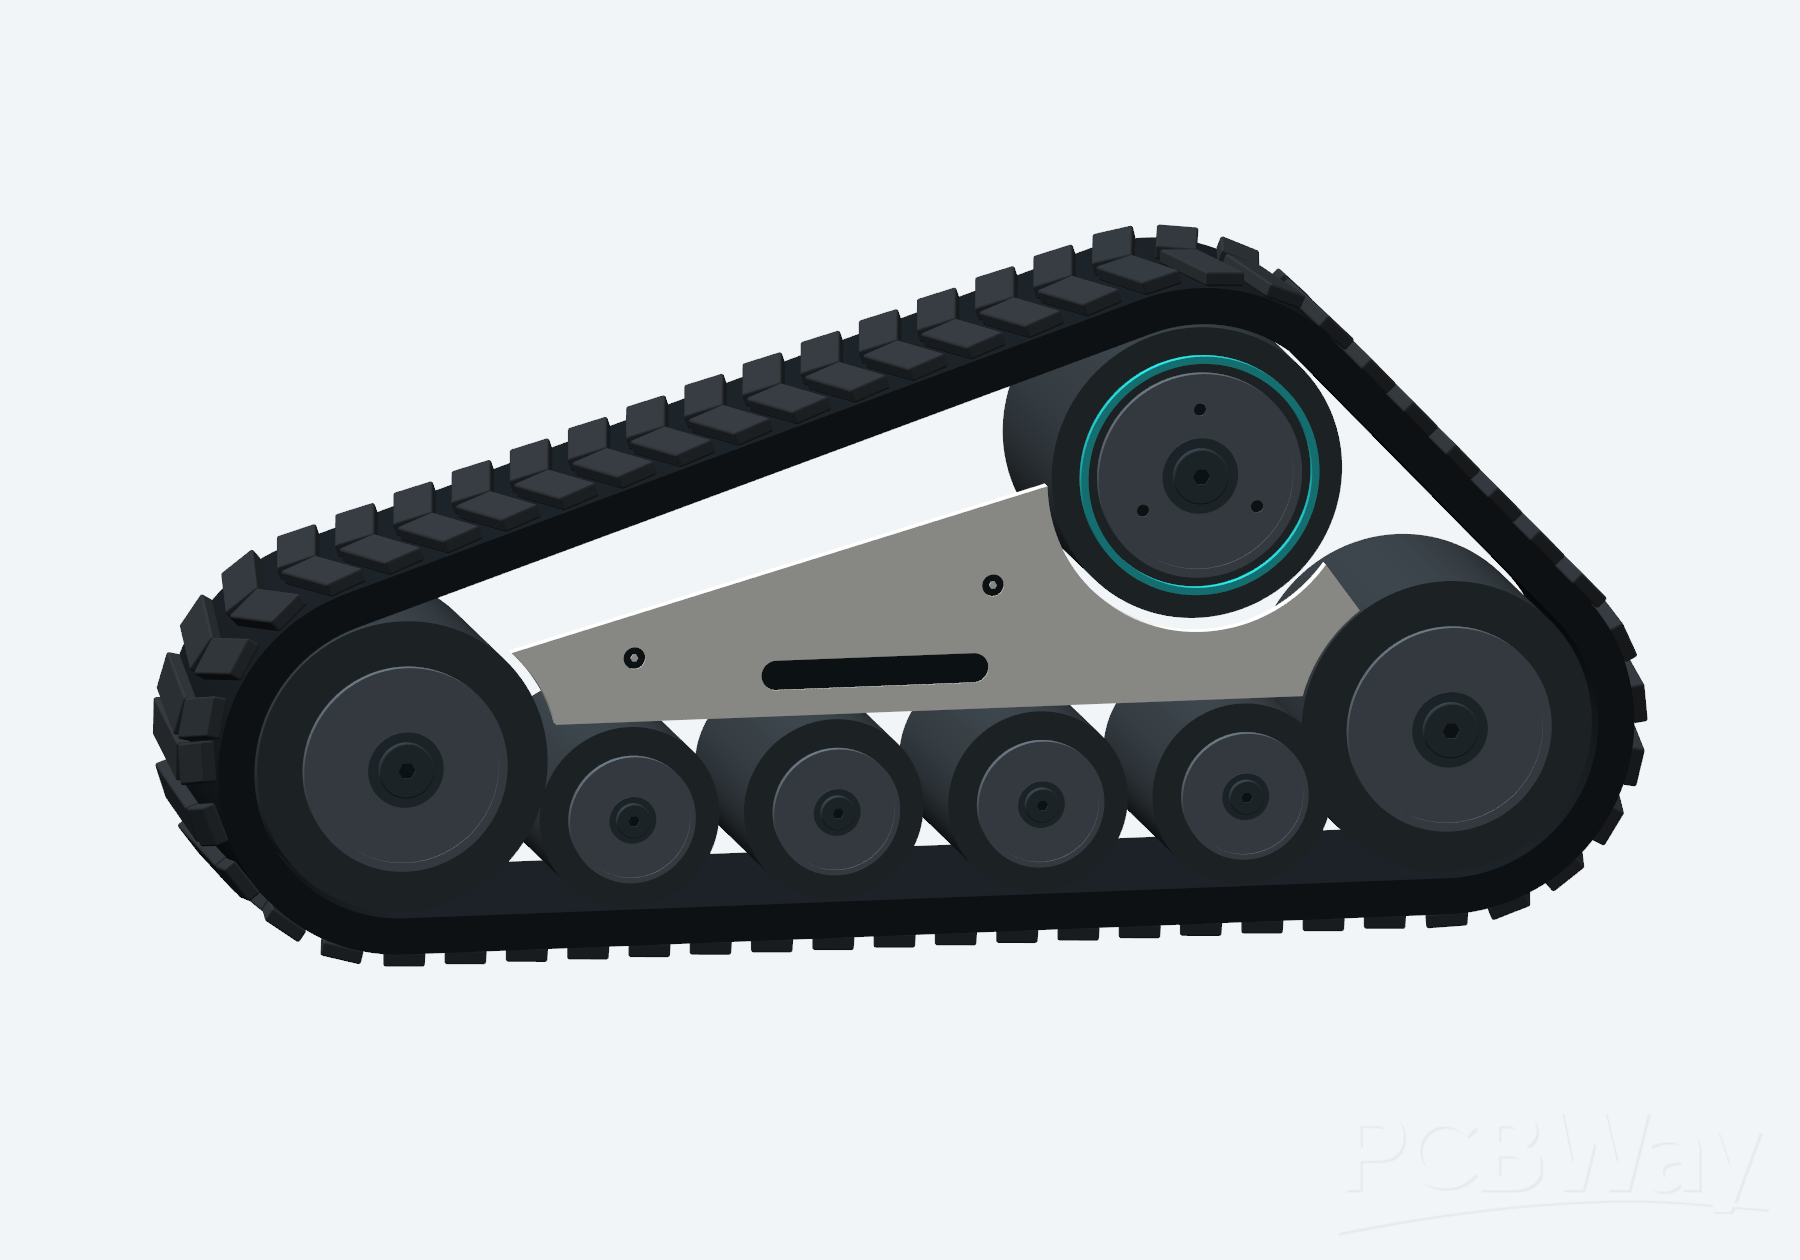
CAD detail: a track drive unit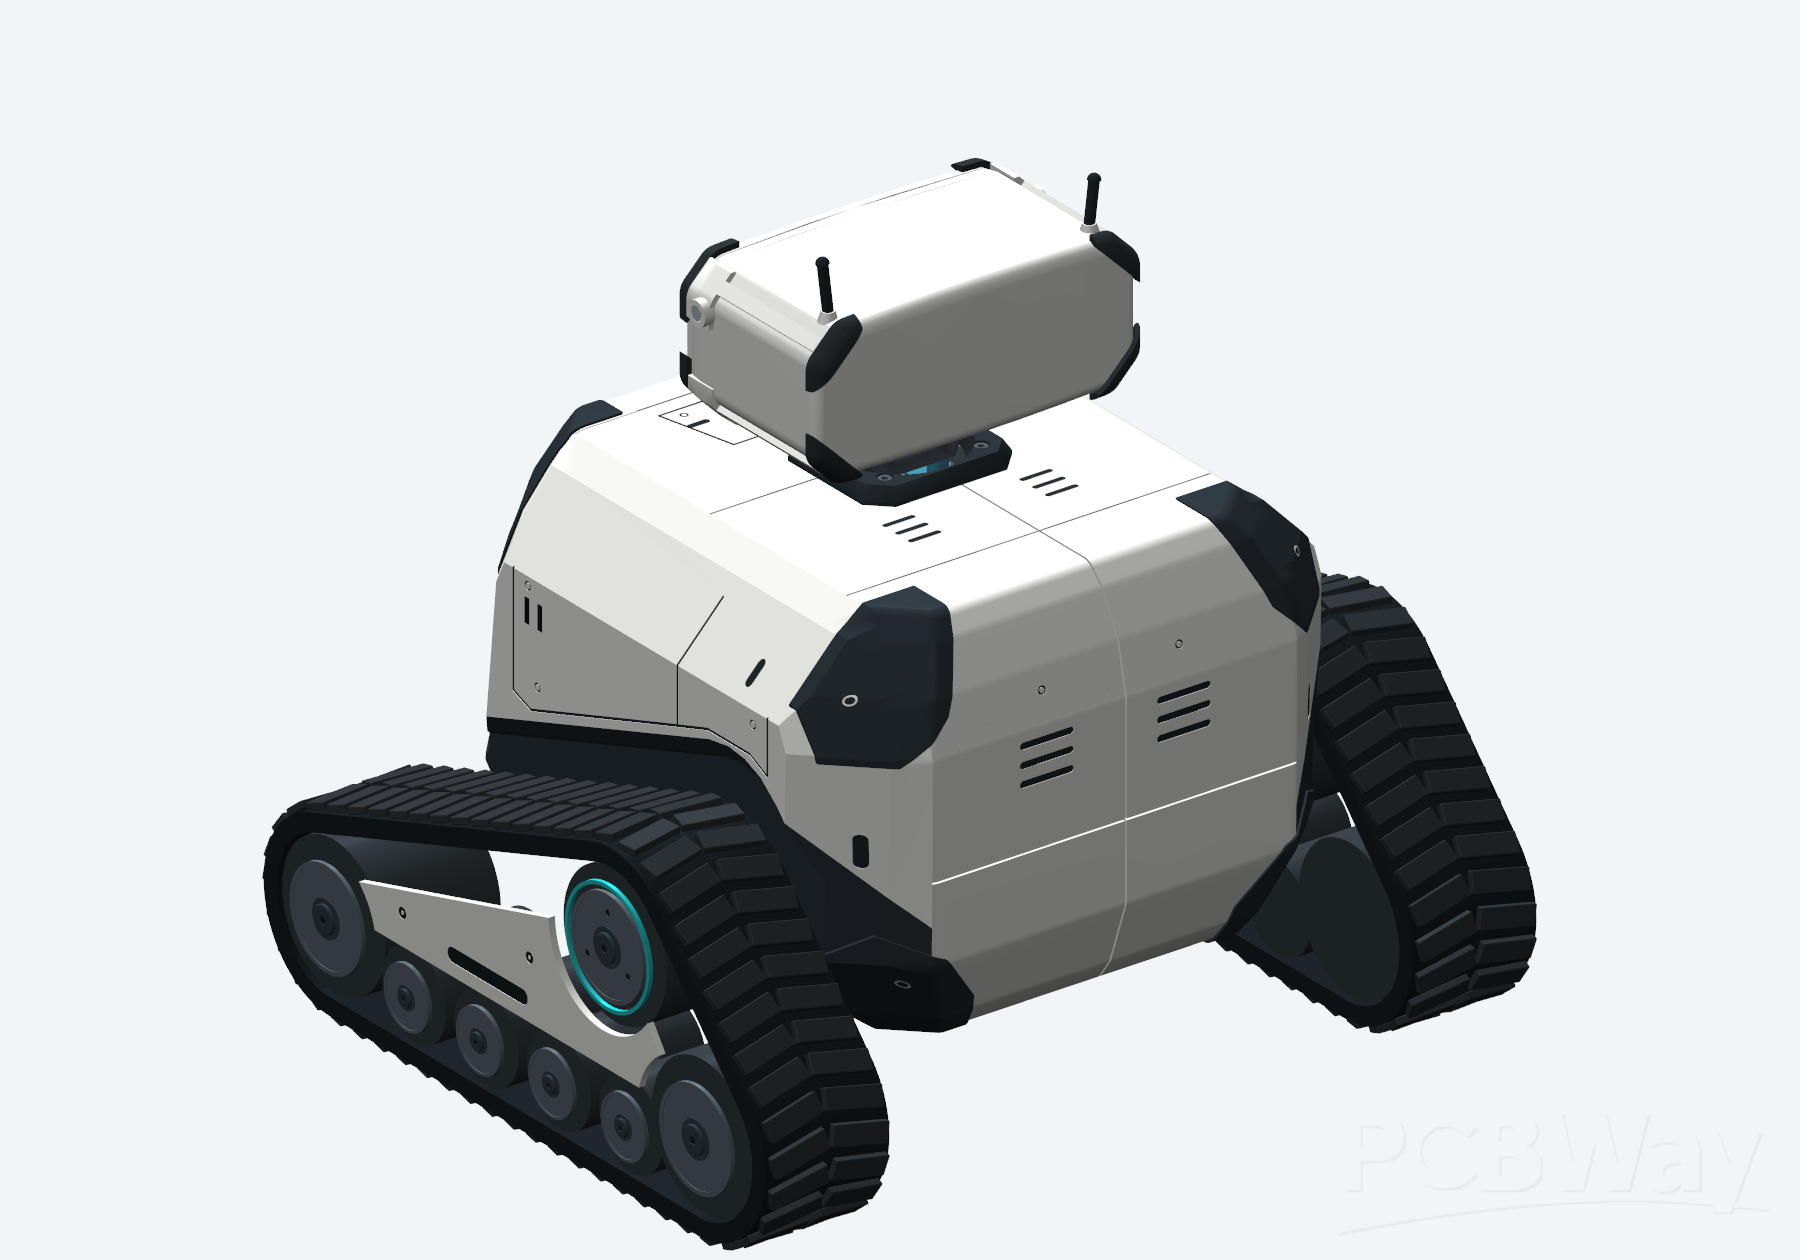
CAD detail: rear view
WHERE THE DESIGN STANDS
One recent change says a lot about how this project is run. Reviewing the first layout, I found connectors placed where cables could not actually reach them, so the layout went back: every one of the board's 29 interfaces now sits on the perimeter with a checked access reservation in front of it, grouped by where its harness belongs. Front sensors toward the front, rear and downward sensors toward the rear. The circuit did not change; the board got easier to build, wire, and service.
Honest status, because that is how I am running this project: the 31-page schematic is complete and frozen, and routing is underway on the revised layout (the connector move cleared most of the earlier partial routing, which is being redone properly), with the power, ground, and high-speed sections and the final protection qualification still ahead. When the layout and reviews are finished, the next step is exactly what this application is about: a first prototype run of fabricated and assembled boards, then a careful, documented bring-up on camera.
WHY PCBWAY
As an independent builder funding this project myself, the cost of prototype fabrication and assembly is the biggest single hurdle between a finished design and a working robot. PCBWay's support would let Pebble's heart be built properly, as one real board, instead of another season of wiring workarounds.
WHAT I AM ASKING FOR
Sponsorship of the custom board: PCB fabrication and assembly for the prototype run(s) of Pebble's main board.
WHAT PCBWAY RECEIVES
On-screen and verbal credit in every episode featuring the board, a linked credit in the video descriptions, the board's design and bring-up featured across the series, an honest review of the PCB and assembly quality after real use, and social posts through the build.
Thank you for considering Pebble. I would love to build its heart on a PCBWay board, and to show the whole process, honestly and in detail, to everyone following the series.
— Jordan
Apply for sponsorship >>- Comments(0)
- Likes(0)