|
OrCad Cadance |
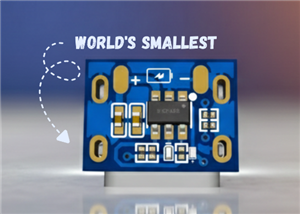
Super Power Buck Converter
Greetings everyone and welcome back!
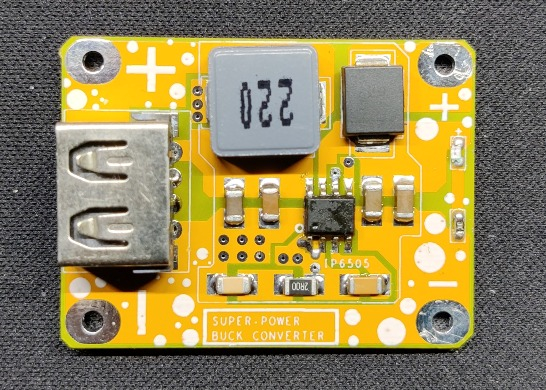
Here's something powerful, The SUPER POWER BUCK CONVERTER BOARD is a powerful power module that can output voltages ranging from 3V to 12V depending on the source added. Its input voltage ranges from 10V to 28V.
The goal was to build a power management board from scratch that could be utilized to supply 5V/3A from a 12V battery source for a future Lattepanda project.
The step-down converter integrated circuit (IP6505) that we are using in this case has a maximum output power of 24W and several PD output voltages ranging from 3V to 12V.
This circuit solution can be used to power a wide range of electronics projects and setups, such as single-board computers, Raspberry Pi or Arduino projects.
This article is about the whole build process of this Power Module, so let's get started with the build.
Material Required
These were the materials used in this project:
Custom PCB (Provided by PCBWAY)
IP6505 IC
22uH SMD Inductor
10uF Capacitor 1206 Package
22uF Capacitor 1206 Package
M7 Diode SMC Package
USB Port
LED 0603 Package
1K Resistor 0603 Package
IP6505

The IP6505, a step-down converter with an inbuilt synchronous switch that can handle an output of up to 10A for fast charging protocols, is the project's main appeal.
An integrated power MOSFET with an output voltage range of 3V to 12V and an input voltage range of 10.5V to 28V is a feature of the IP6505. By automatically altering the voltage and current in accordance with the recognized rapid charge protocol, it can produce up to 24W of output power.
Typical output configurations include 3V@3A, 5V@3A, 7V@3A, 9V@2.5A, and 12V@2A.
The IP6505 features CV/CC characteristics: in CV mode, the output voltage remains constant when the output current is below a set value; in CC mode, the output voltage decreases when the output current exceeds the set value.
It also has a line compensation function, which increases the output voltage as the output current rises to offset the voltage drop caused by the connecting line’s impedance. The IP6505 includes a soft start function to prevent input power instability due to inrush current during startup.
It supports various fast charging protocols, automatically identifying the protocol supported by the connected device via DP/DM and adjusting the output voltage and current accordingly.
Supported protocols include DCP (Apple, Samsung, and BC1.2), Qualcomm QC2.0/QC3.0, Huawei FCP/SCP, and Spreadtrum SFCP. The IP6505 also offers multiple protection features, including input overvoltage and undervoltage protection, output overcurrent, overvoltage, undervoltage, and short circuit protection.
The buck conversion efficiency reaches up to 97.5%.You can checkout its Datasheet here: https://robu.in/wp-content/uploads/2020/06/USB-Fast-Charging-Module.pdf
CIRCUIT
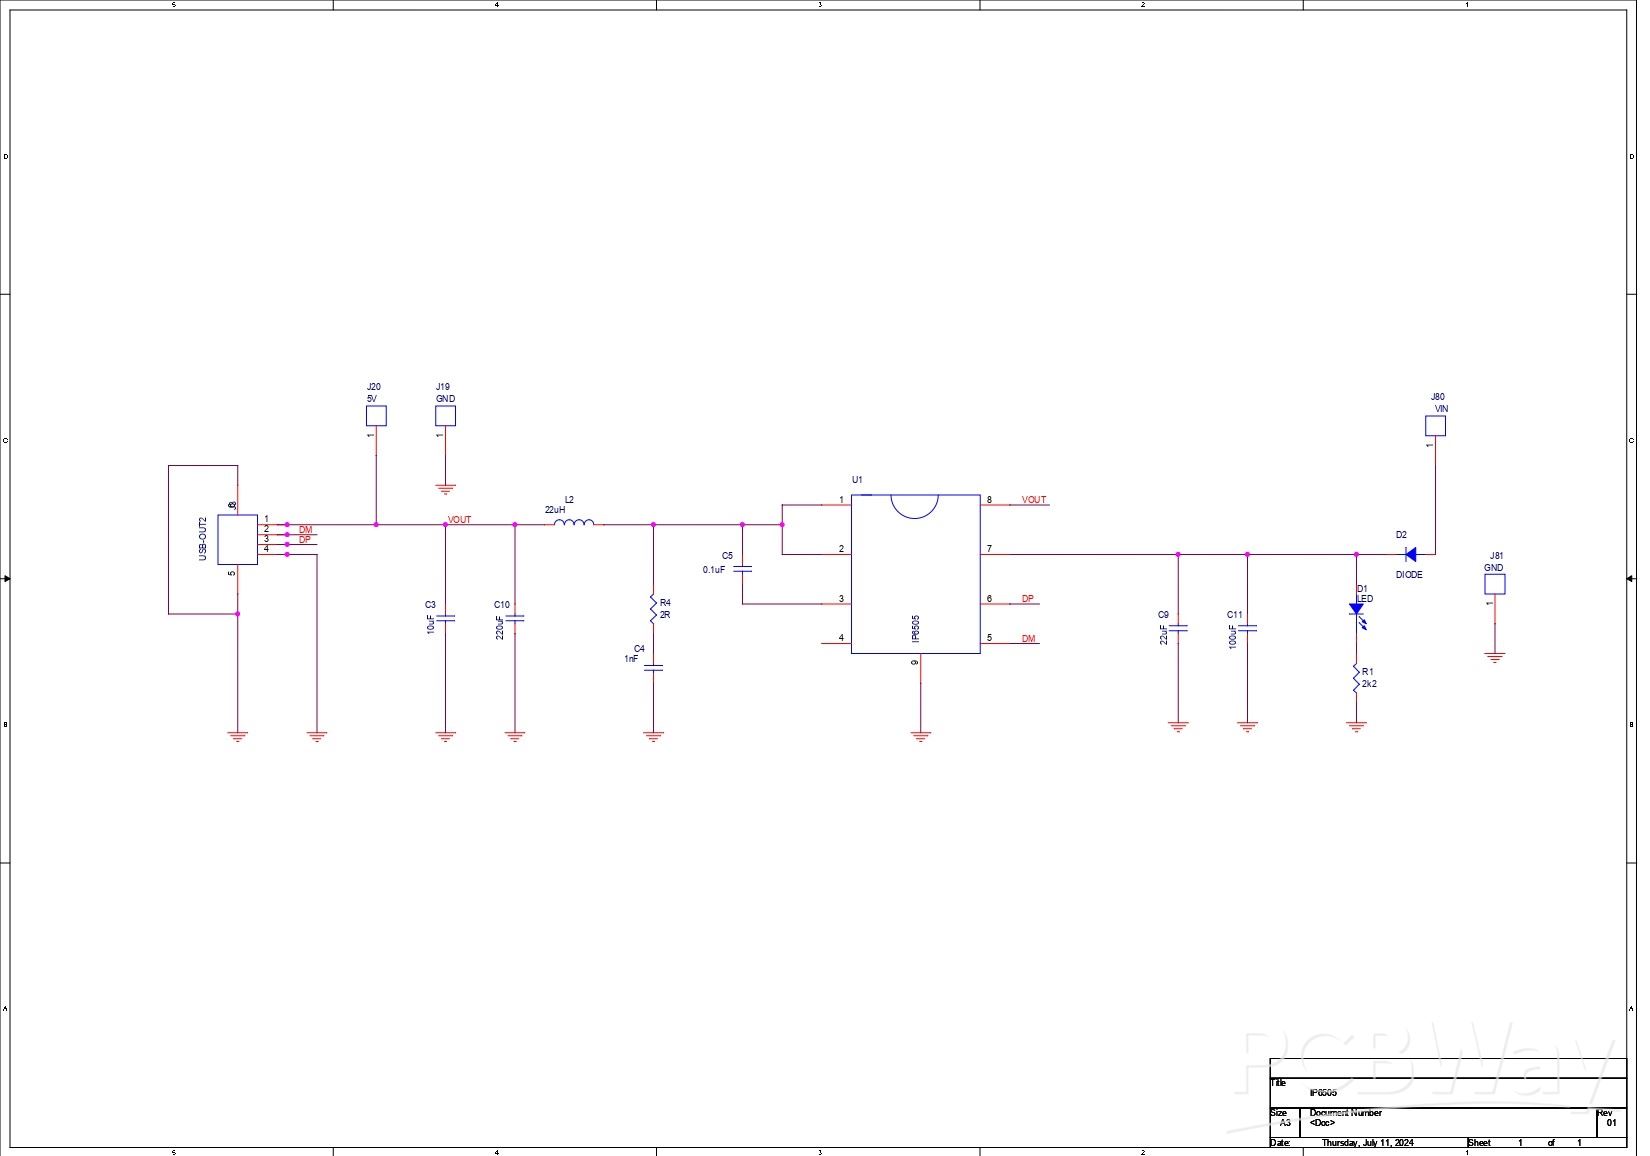
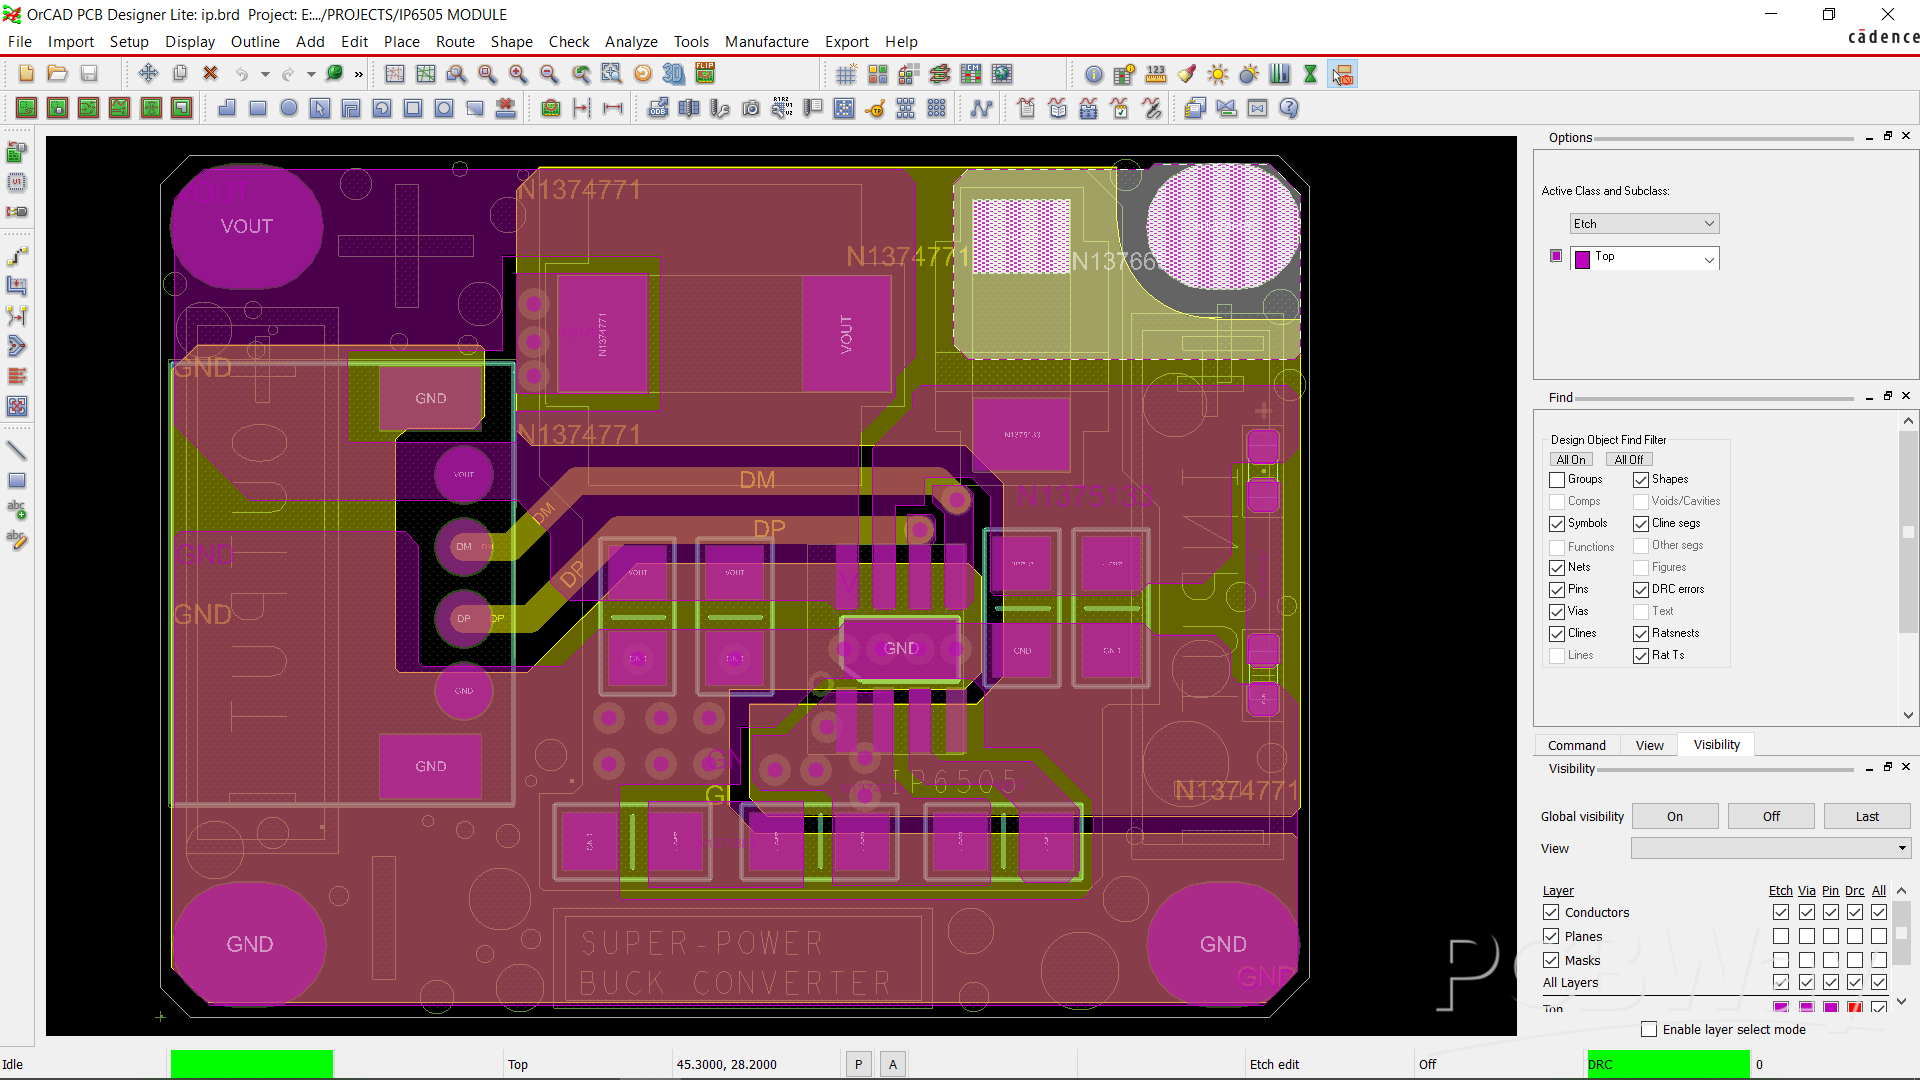
We created an initial layout using the IP6505 datasheet as a guide. It included a few resistors and capacitors linked to the IP6505 in the suggested setup.
In order to create an ALL-SURFACE-MOUNT board that can be utilized as a module in an upcoming project, we employed all SMD components in this case. To put it simply, the user can add this board as a surface-mount device to another PCB by utilizing SMD.
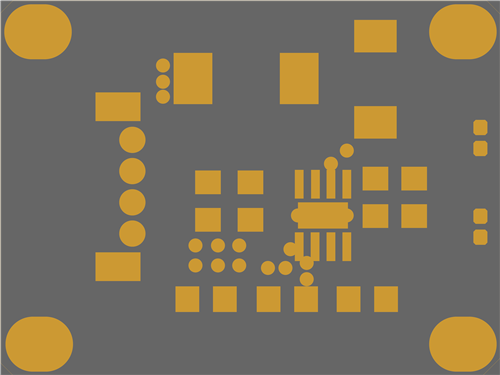
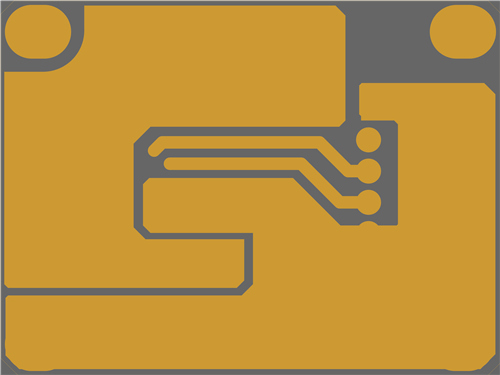
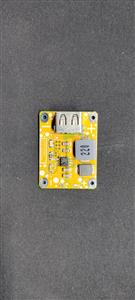
Following the creation of the board schematic, we moved on to the PCB design. This included creating a 40 mm by 30 mm board with input terminals on one side and USB on the other. According to the specification, the IP6505 is positioned in the center, and the input and output capacitors are positioned as close to the IP6505 as possible.
PCBWAY SERVICE
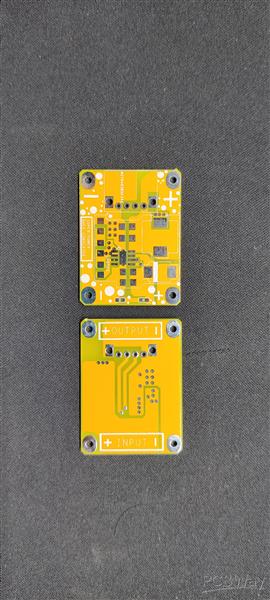
Following the completion of the board design, we ordered a yellow solder mask with white silkscreen and submitted the PCB's Gerber data on the PCBWAY quote page.
PCBs were received within a week, and the PCB quality was outstanding. Here, we added a few design elements on the board's silkscreen layer to increase the aesthetic appeal of the project. PCBWAY made the custom layer properly, which shows their great PCB manufacturing capabilities.
Over the past ten years, PCBWay has distinguished itself by providing outstanding PCB manufacturing and assembly services, becoming a trusted partner for countless engineers and designers worldwide.
Their commitment to quality and customer satisfaction has been unwavering, leading to significant growth and expansion.
You guys can check out PCBWAY If you want great PCB service at an affordable rate.
PCB ASSEMBLY PROCESS
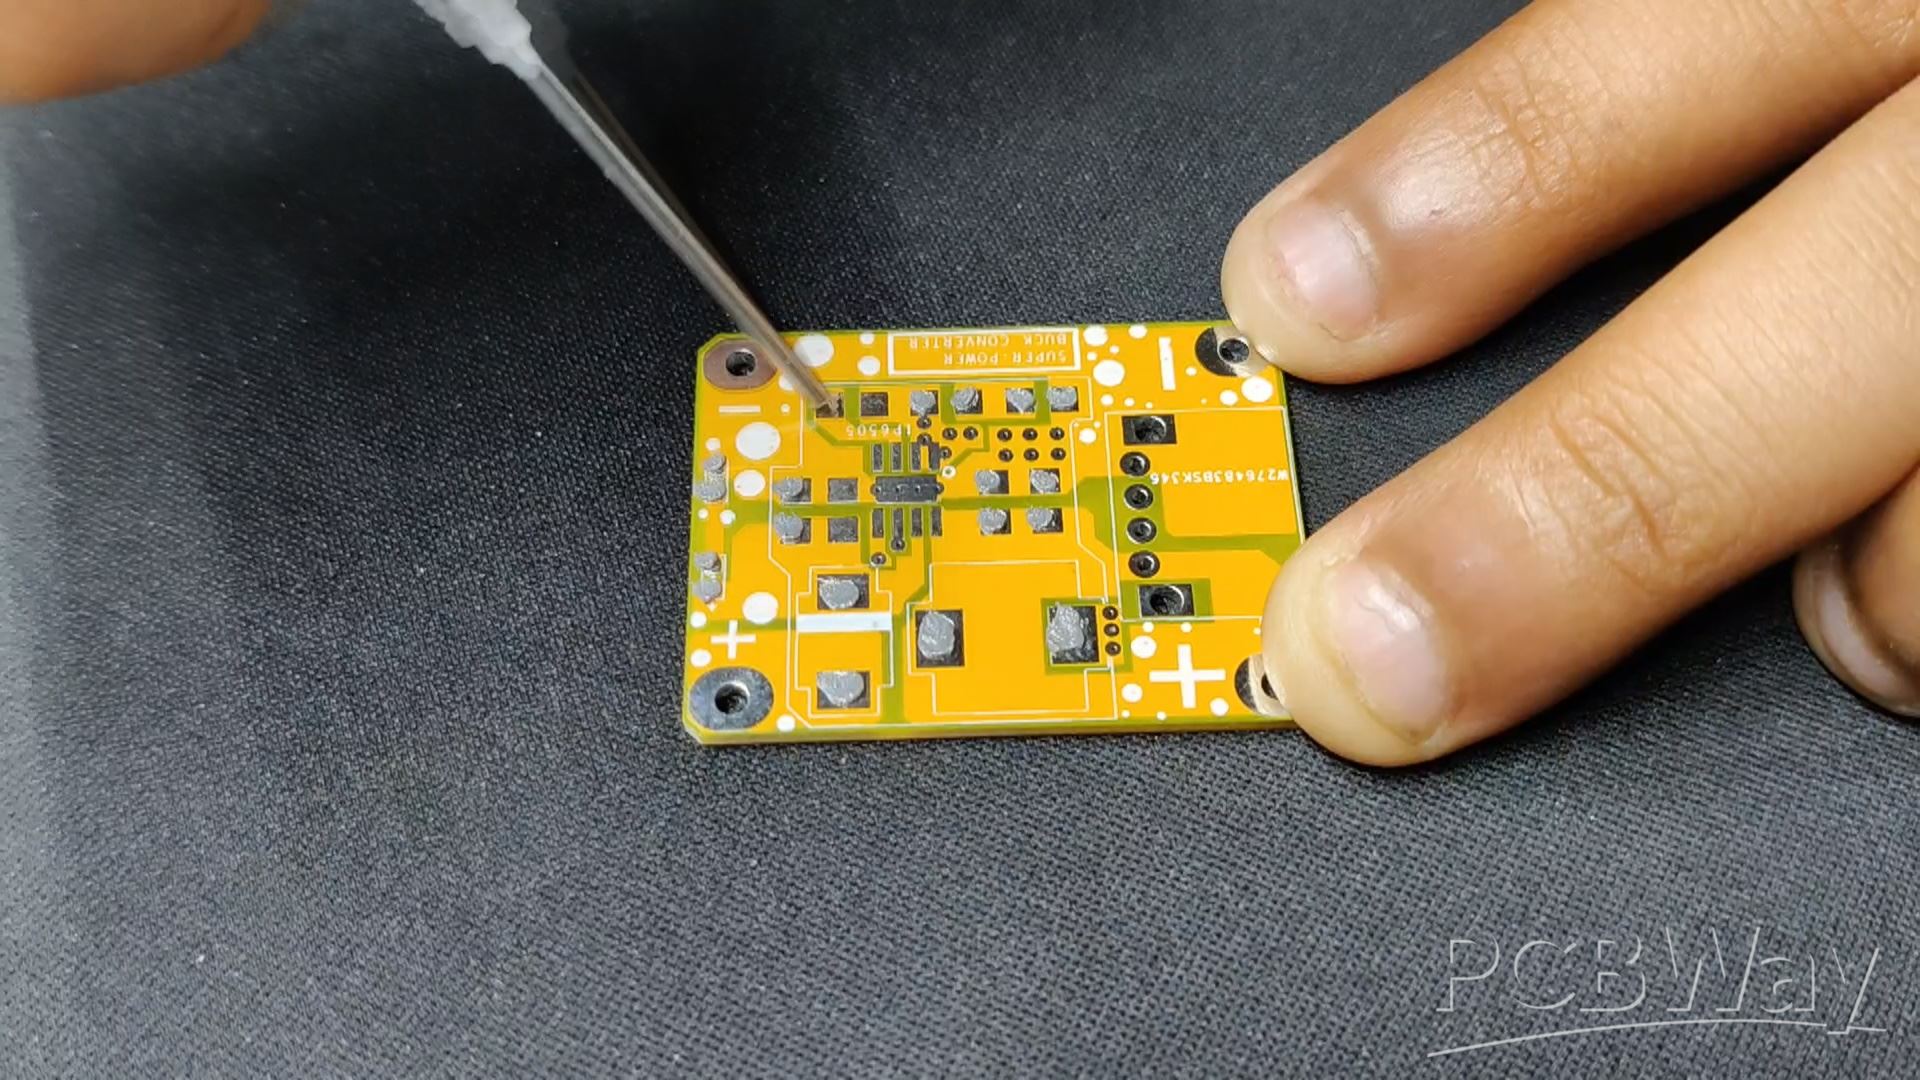

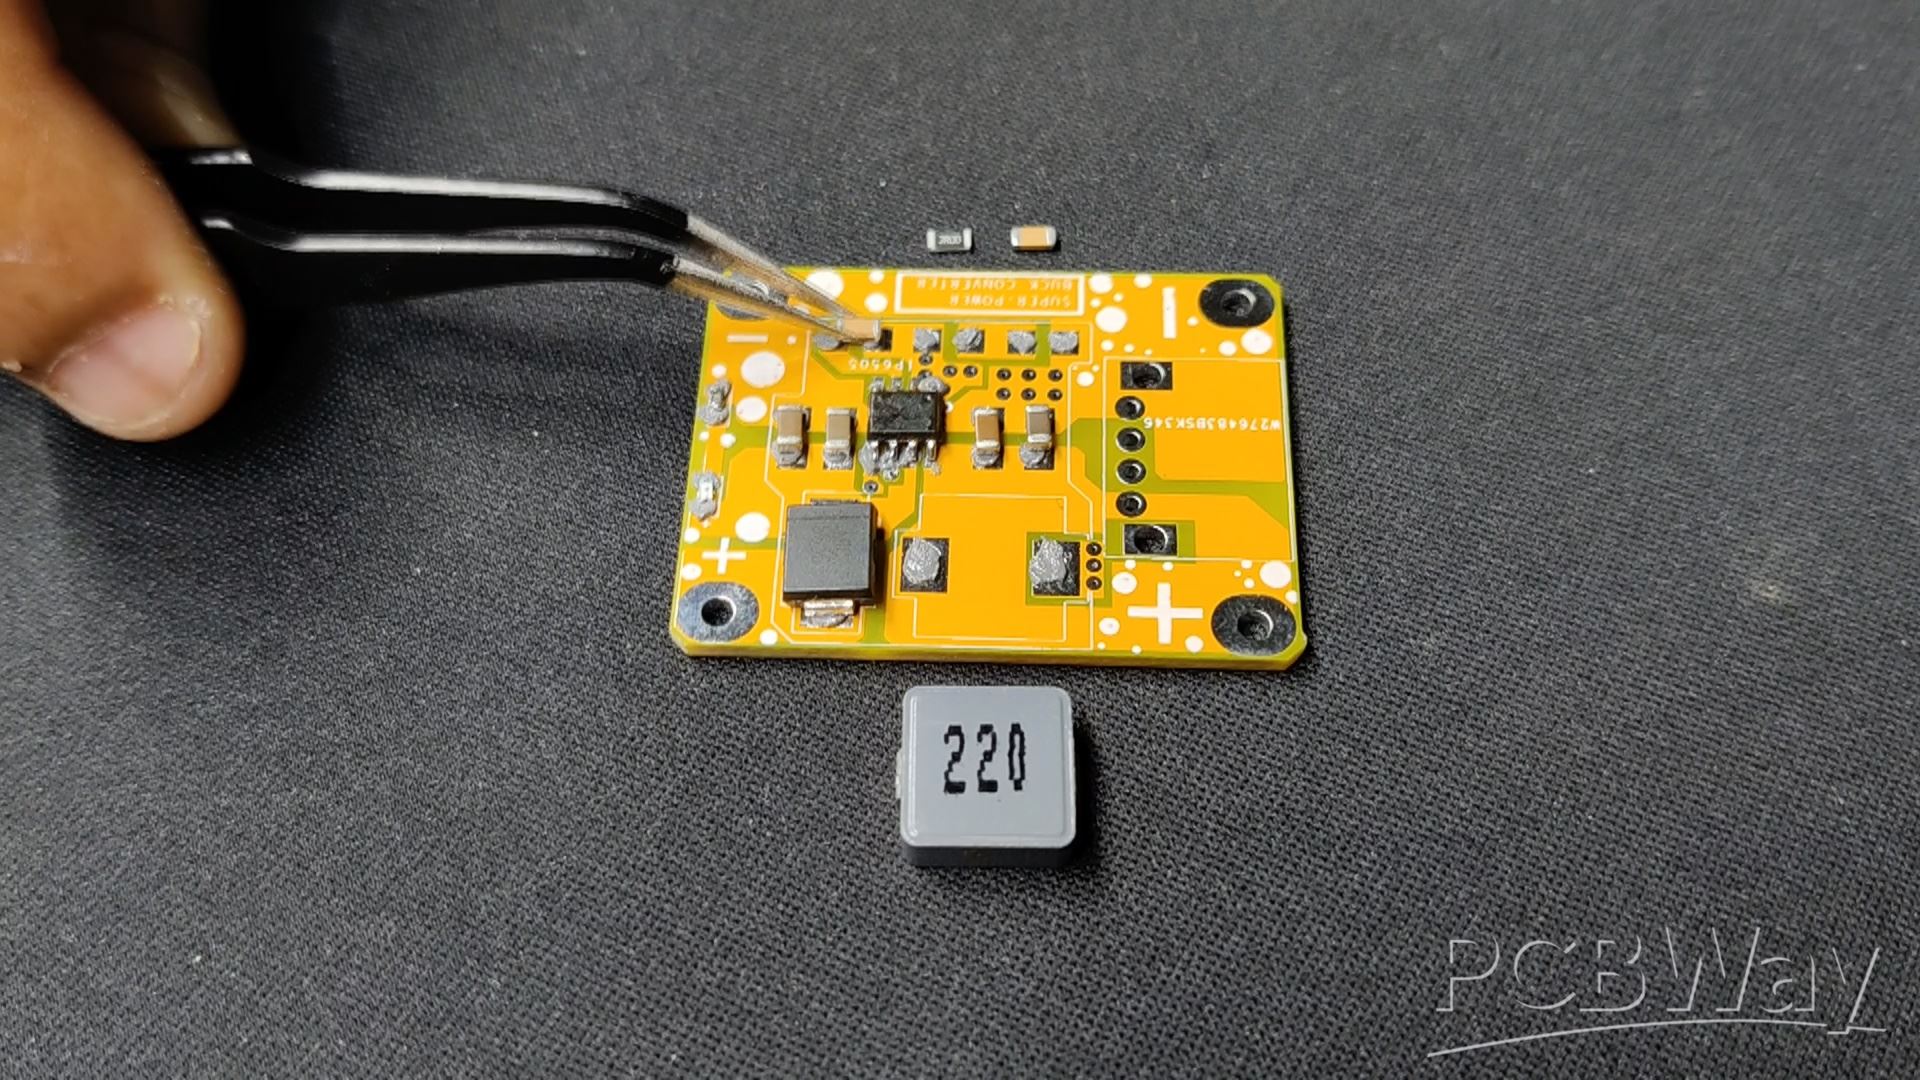
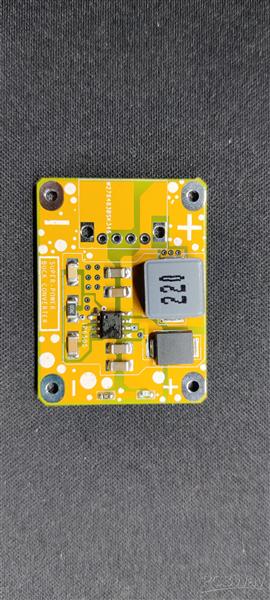
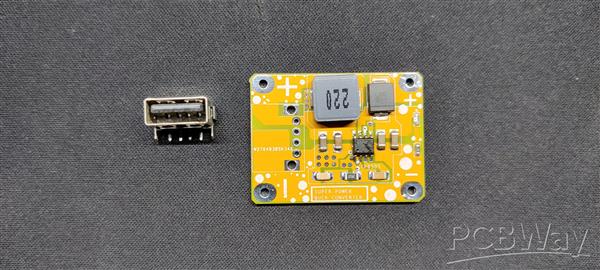
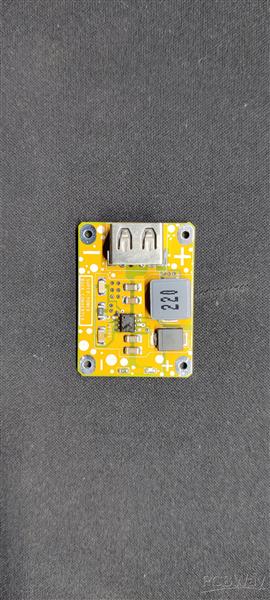
- Using a solder paste dispensing needle, we first add solder paste to each component pad, one by one. We're using standard 37/63 solder paste here.
- Next, we pick and place all the SMD components in their places on the PCB using an ESD tweezer.
- With extreme caution, we lifted the complete circuit board and placed it on the SMT hotplate, which increases the PCB's temperature to the point at which the solder paste melts and all of the components are connected to their pads.
- Next, we added the Through Hole USB Port in place and then soldered its pads from the bottom side of the circuit using a soldering iron.
- The circuit is now completed.
RESULT
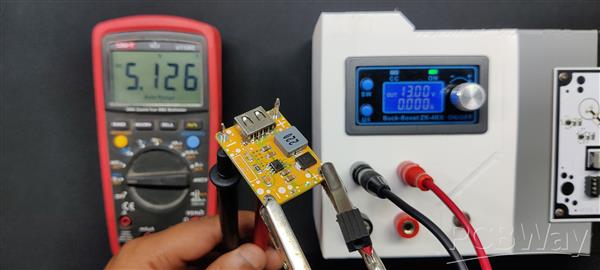
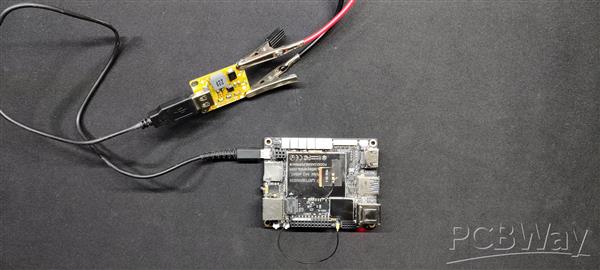
The result of the PCB Assembly process is this power module, which can provide a consistent output between 3 and 12 volts, depending on the source.
To Test this Board, we first connected it with our previous DIY Bench Power supply, which you can checkout from here-
https://www.hackster.io/Arnov_Sharma_makes/diy-bench-power-supply-6f32d3
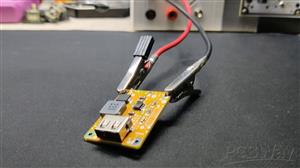
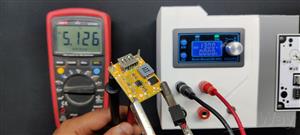
We gave the power module 13V by connecting the bench power supply's alligator clips to the module's input terminals. We connected our multimeter to the output side, and the result showed 5.1V, indicating that the setup was successful. When several PD-using devices are connected, the output voltage will vary.
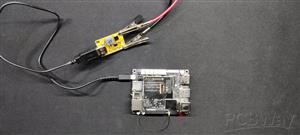
After that, we attached a LattePanda Version 1 to the power module's output via a USB cable, and the device powered up as anticipated.
CONCLUSION
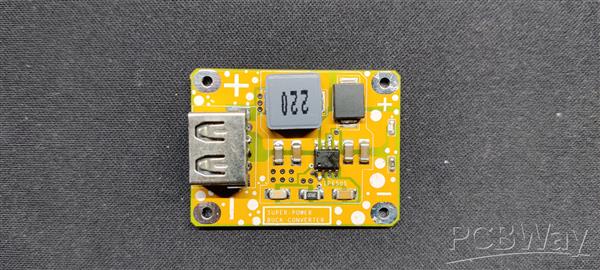
The power module is operating as intended. The primary goal of this project was to create a tiny power module that resembled the MH-KC-24 power module that I had previously used in another project.
https://www.hackster.io/Arnov_Sharma_makes/battery-box-version-1-274d45
Since this module was bulky and difficult to use while working on a small project, we made our own module with the same IC but a smaller form factor.
With Our Power module, we will be preparing a Lattepanda handheld device, which will be shared soon in a different article.
This project was a success and needs no further revisions.
In addition, we appreciate PCBWAY's support of this project. Visit them for a variety of PCB-related services, such as stencil and PCB assembly services, as well as 3D printing services.
Thanks for reaching this far, and I will be back with a new project pretty soon.
Peace.

Super Power Buck Converter
*PCBWay community is a sharing platform. We are not responsible for any design issues and parameter issues (board thickness, surface finish, etc.) you choose.

Raspberry Pi 5 7 Inch Touch Screen IPS 1024x600 HD LCD HDMI-compatible Display for RPI 4B 3B+ OPI 5 AIDA64 PC Secondary Screen(Without Speaker)
BUY NOW- Comments(0)
- Likes(3)
-
 Anthony Pedotto
Feb 22,2025
-
 Engineer
Nov 12,2024
-
 Engineer
Sep 09,2024
- 1 USER VOTES
- YOUR VOTE 0.00 0.00
- 1
- 2
- 3
- 4
- 5
- 6
- 7
- 8
- 9
- 10
- 1
- 2
- 3
- 4
- 5
- 6
- 7
- 8
- 9
- 10
- 1
- 2
- 3
- 4
- 5
- 6
- 7
- 8
- 9
- 10
- 1
- 2
- 3
- 4
- 5
- 6
- 7
- 8
- 9
- 10

-
6design
-
7usability
-
7creativity
-
7content
 More by Arnov Arnov sharma
-
 Pocket SNES
Greetings everyone, and welcome back! Today, I’ve got something fun and tiny to share—the Pocket SNE...
-
 Batocera Arcade Box
Greetings everyone and welcome back, Here's something. Fun and nostalgic. Right now, we are using ou...
-
 64x32 Matrix Panel Setup with PICO 2
Greetings everyone and welcome back.So here's something fun and useful: a Raspberry Pi Pico 2-powere...
-
 Portable Air Quality Meter
Hello everyone, and welcome back! Today, I have something incredibly useful for you—a Portable Air Q...
-
 WALKPi PCB Version
Greetings everyone and welcome back, This is the WalkPi, a homebrew audio player that plays music fr...
-
 Delete Button XL
Greetings everyone and welcome back, and here's something fun and useful.In essence, the Delete Butt...
-
 Arduino Retro Game Controller
Greetings everyone and welcome back. Here's something fun.The Arduino Retro Game Controller was buil...
-
 Super Power Buck Converter
Greetings everyone and welcome back!Here's something powerful, The SUPER POWER BUCK CONVERTER BOARD ...
-
 Pocket Temp Meter
Greetings and welcome back.So here's something portable and useful: the Pocket TEMP Meter project.As...
-
 Pico Powered DC Fan Driver
Hello everyone and welcome back.So here's something cool: a 5V to 12V DC motor driver based around a...
-
 Mini Solar Light Project with a Twist
Greetings.This is the Cube Light, a Small and compact cube-shaped emergency solar light that boasts ...
-
 PALPi V5 Handheld Retro Game Console
Hey, Guys what's up?So this is PALPi which is a Raspberry Pi Zero W Based Handheld Retro Game Consol...
-
 DIY Thermometer with TTGO T Display and DS18B20
Greetings.So this is the DIY Thermometer made entirely from scratch using a TTGO T display board and...
-
 Motion Trigger Circuit with and without Microcontroller
GreetingsHere's a tutorial on how to use an HC-SR505 PIR Module with and without a microcontroller t...
-
 Motor Driver Board Atmega328PU and HC01
Hey, what's up folks here's something super cool and useful if you're making a basic Robot Setup, A ...
-
 Power Block
Hey Everyone what's up!So this is Power block, a DIY UPS that can be used to power a bunch of 5V Ope...
-
 Goku PCB Badge V2
Hey everyone what's up!So here's something SUPER cool, A PCB Board themed after Goku from Dragon Bal...
-
 RGB Mixinator V2
Hey Everyone how you doin!So here's a fun little project that utilizes an Arduino Nano, THE MIXINATO...
-
ARPS-2 – Arduino-Compatible Robot Project Shield for Arduino UNO
112 0 0 -
A Compact Charging Breakout Board For Waveshare ESP32-C3
592 3 4 -
AI-driven LoRa & LLM-enabled Kiosk & Food Delivery System
582 2 0 -
-
-
-
ESP32-C3 BLE Keyboard - Battery Powered with USB-C Charging
793 0 1 -
-
mammoth-3D SLM Voron Toolhead – Manual Drill & Tap Edition
726 0 1 -
-
AEL-2011 Power Supply Module
1430 0 2


