


Sauce Bot - Open Sauce Robot
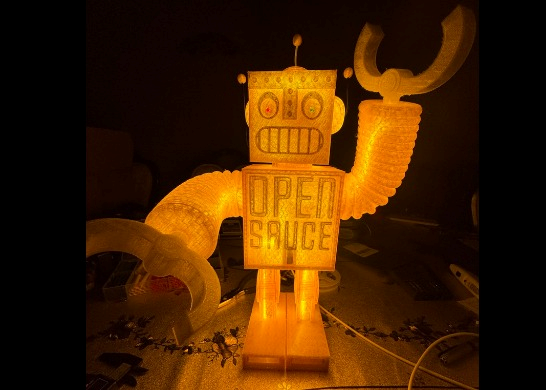
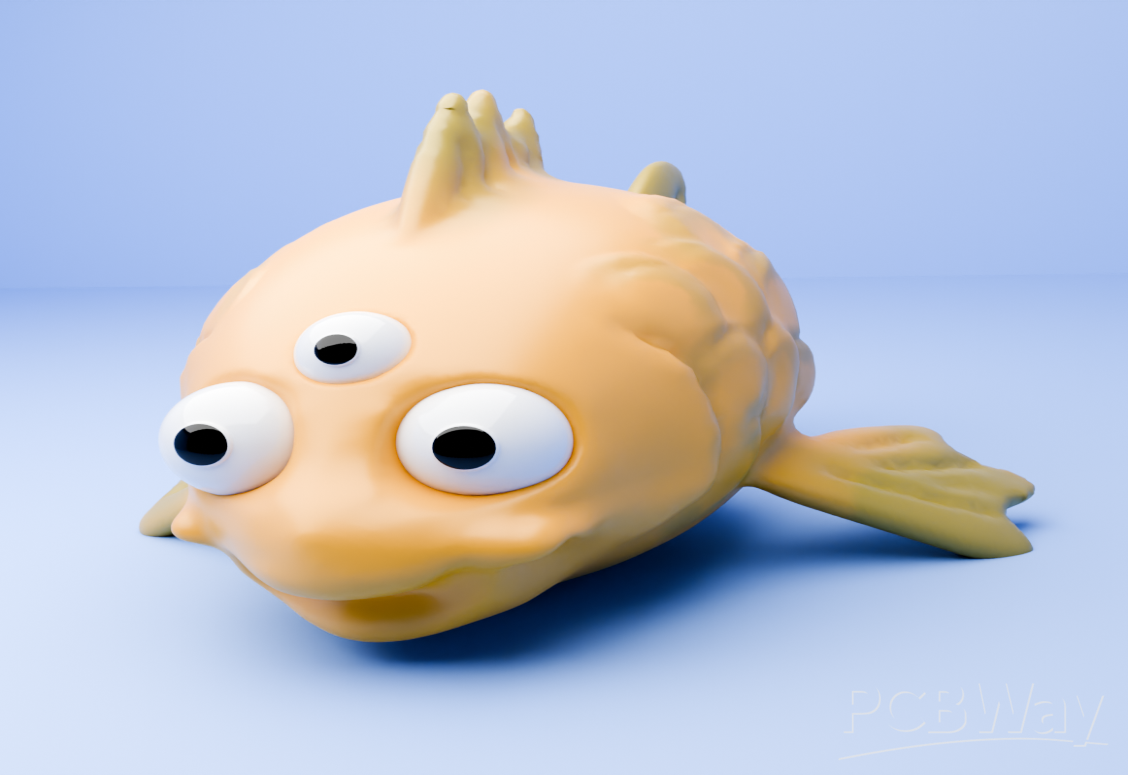
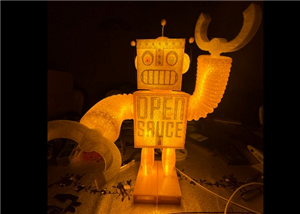
This is Sauce Bot V2. Sauce Bot V1 had a bunch of electronics but also a voltage multiplier to create arcs on the top antenna (40-60kV). In an attempt to make Sauce Bot more beginner-friendly (and safe), many of the electronics were taken out, and in it's place, some really cool LED's
A fun video on V1 Taser Sauce Bot will be released soon! Please stay tuned at: https://youtube.com/@petr01?si=7NPUWTtrk3wi3jbg
Enough about me, back to Sauce Bot
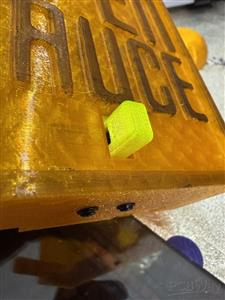
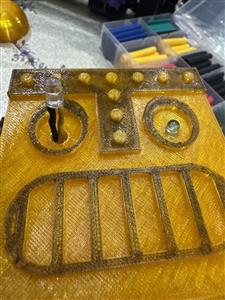
There are two versions of the front plate that you can print, one with a switch and without in case you don’t want to solder one it or even have LED’s in the first place.
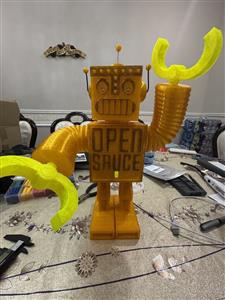
Im using some upcycled PETG orange and yellow filament
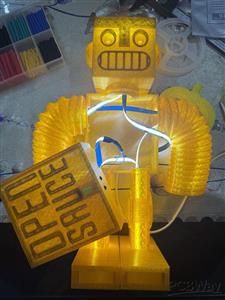
I am using this 6ft LED cable that fits just perfectly, its low voltage USB so you can even fit a battery pack to make it mobile: Aclorol USB COB LED Strip Lights... https://www.amazon.com/dp/B0D1FYV3LM?ref=ppx_pop_mob_ap_share
For the switch I am using the ss12f32 (note, they were a lot cheaper when i got them, feel free to adjust the switch profiles to your available size or email me and I can do it for you): https://ebay.us/m/3Gqzx2
You’ll also need 2.6x6x6mm screws or similar to assemble everything along with 18 AWG solid wire for the antennas. 2 LED’s for the eyes and a 100-500ohm resistor is cool too.
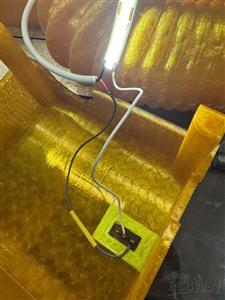
First is the LED strip, if you are using the switch, peel off the heat shrink and extend the red 5V wire to the center of the switch. Then connect either one of the free ends of the switch. Apply heat shrink or electrical tape to any free solder connections. You can now test the LED with the switch to make sure it works. You can then screw in the buttocks which should act as a lock to the cable, if it is still too loose apply electrical tape for a friction fit.
Play with the wires and feed them through the arms, legs, and head, I just rolled them through each limb from left leg, right leg, right arm, left arm, then head. Lead the end of the LED strip free to solder to the LED eyes.
Add the 18 gauge wires for the antennas, fish them to the exit if the head and twist them together so they support each other and don’t slip away. You can add the spheres to the tips of the antenna at anytime after this.
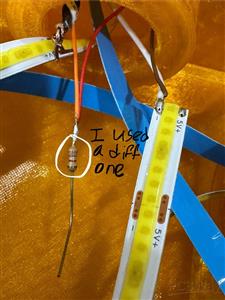
For the LED eyes, extend the leads and heatshrink/tape to prevent shorts, insert into Sauce Bot’s eyesockets. Fish out the wires and twist the cathode (-) wires together, then solder it to the ground at the end of the LED strip. Then twist the anodes (+) together and solder a 100-500ohm resistor to it. Apply heat shrink and then solder tbe other end of the resistor to the 5V line of the LED strip.
Pack everything nicely, put the front plate on, screw it together and behold THE SAUCE BOT
For any questions or models of V1 SauceBot with extreme electronics please email me at: petrtran01@gmail.com
Sauce Bot - Open Sauce Robot
*PCBWay community is a sharing platform. We are not responsible for any design issues and parameter issues (board thickness, surface finish, etc.) you choose.


Raspberry Pi 5 7 Inch Touch Screen IPS 1024x600 HD LCD HDMI-compatible Display for RPI 4B 3B+ OPI 5 AIDA64 PC Secondary Screen(Without Speaker)
BUY NOW


- Comments(3)
- Likes(2)
- 3 USER VOTES
- YOUR VOTE 0.00 0.00
-
10design
-
10usability
-
10creativity
-
10content

-
10design
-
10usability
-
10creativity
-
10content

-
10design
-
10usability
-
10creativity
-
10content
More by Peter Tran
-
 Useless Light Switch Plate
If you're to make one, mirror one of the switch flaps. Print the main body and the flaps vertically...
Useless Light Switch Plate
If you're to make one, mirror one of the switch flaps. Print the main body and the flaps vertically...
-
 Sauce Bot - Open Sauce Robot
This is Sauce Bot V2. Sauce Bot V1 had a bunch of electronics but also a voltage multiplier to creat...
Sauce Bot - Open Sauce Robot
This is Sauce Bot V2. Sauce Bot V1 had a bunch of electronics but also a voltage multiplier to creat...
-
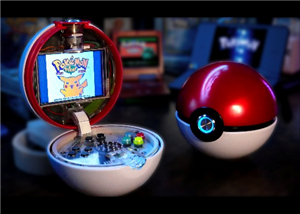
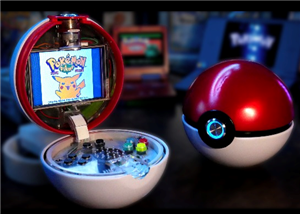 PokeBoy 3D Printed Parts
This page will allow you to download the STL files for the PokeBoy project. For more instructions, p...
PokeBoy 3D Printed Parts
This page will allow you to download the STL files for the PokeBoy project. For more instructions, p...
-
 PokeBoy PCB
This page will allow you to download the GBR files for the PokeBoy project. For more instructions, p...
PokeBoy PCB
This page will allow you to download the GBR files for the PokeBoy project. For more instructions, p...
-
Programmable Mist Maker - XIAO / QT PY Extension
171 0 0 -
RadioHAT - Raspberry Pi radio development platform
180 0 1 -
-
-
-
-
ARPS-2 – Arduino-Compatible Robot Project Shield for Arduino UNO
2766 0 5 -
A Compact Charging Breakout Board For Waveshare ESP32-C3
3273 3 8 -
AI-driven LoRa & LLM-enabled Kiosk & Food Delivery System
3528 2 2


