
|
|
Arduino Nano R3 |
x 1 | |
|
|
TM1637 - 4 digits, 7 segment display |
x 1 | |
|
|
Rotary potentiometer |
x 1 | |
|
|
Buzzer |
x 1 | |
|
|
Pushbutton |
x 1 |

|
Soldering Iron Kit |
|

|
arduino IDEArduino
|
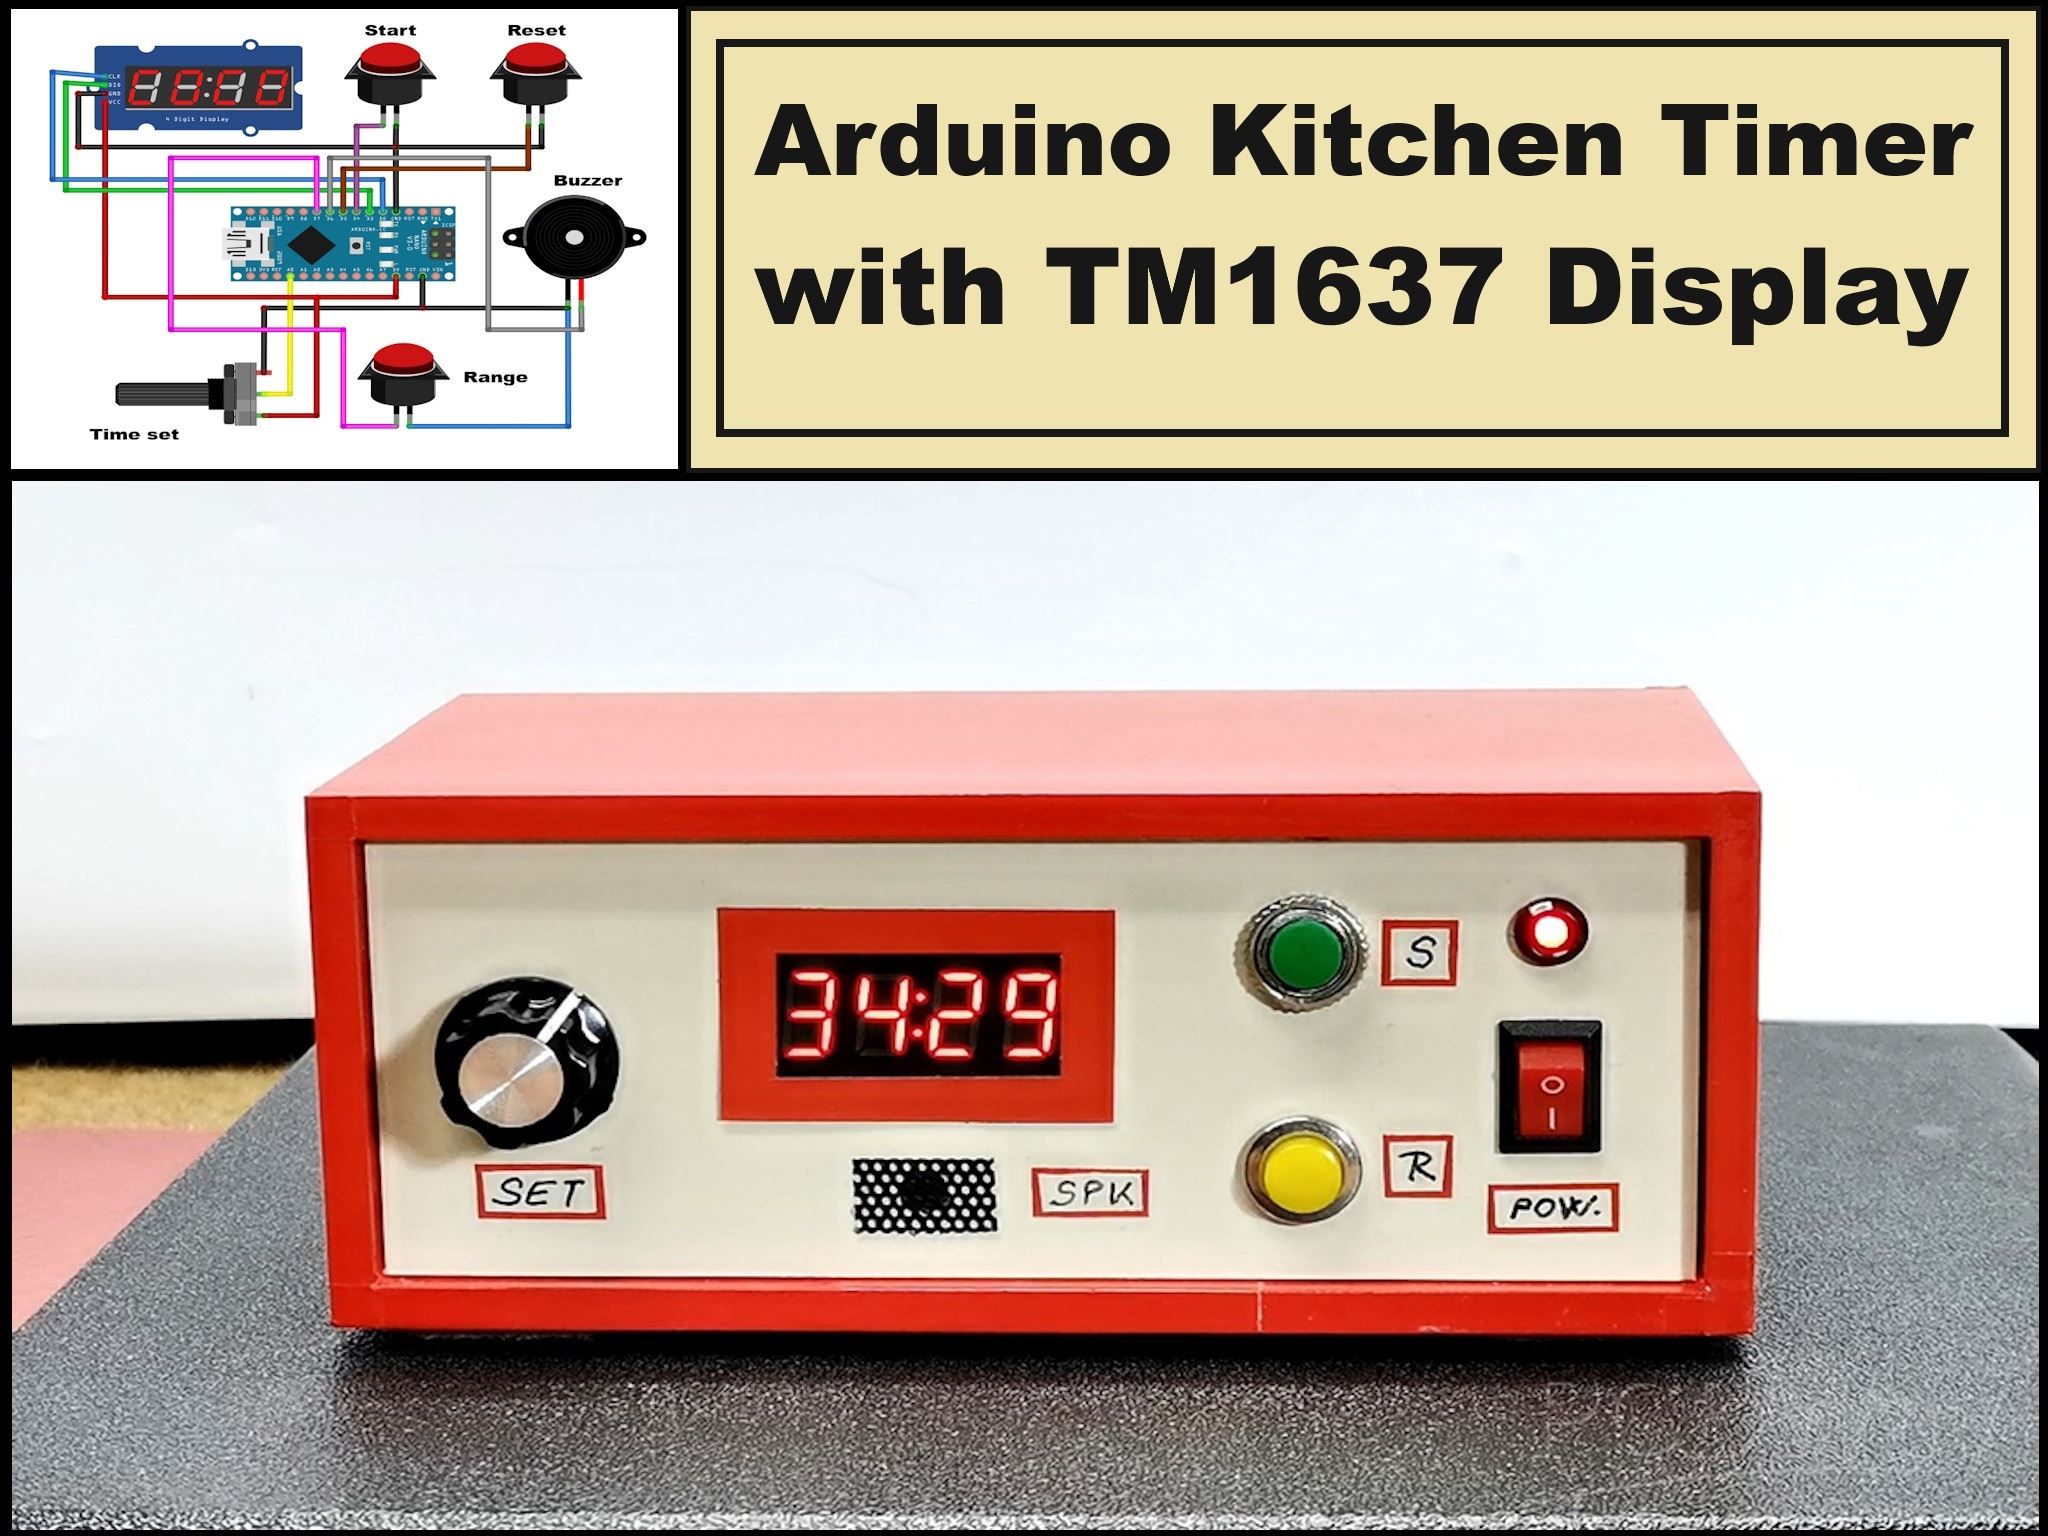
Simple & Versatile Arduino Kitchen Timer with TM1637 Display
A kitchen timer is a simple, user-friendly device that counts down a set time and alerts the user with an audible or visual signal when cooking or baking tasks are complete.
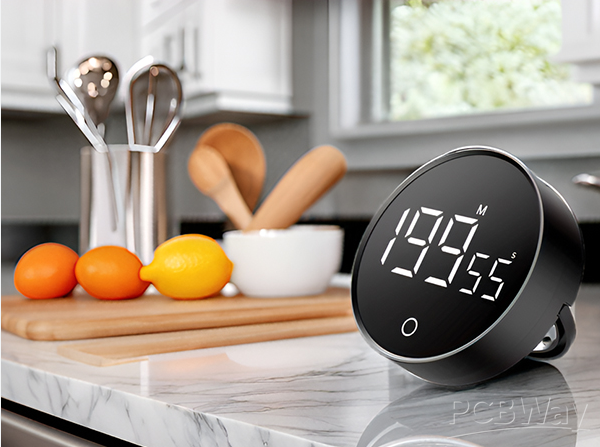
Most commercial kitchen timers are relatively complex to set up and operate, as more attention is paid to many unnecessary options and functions, while neglecting the simplicity of operation that should be a basic feature for a timer with this purpose.
In this project I will show you a very simple way to make a kitchen timer that is extremely easy to operate, yet has almost all the features of a modern commercial timer.
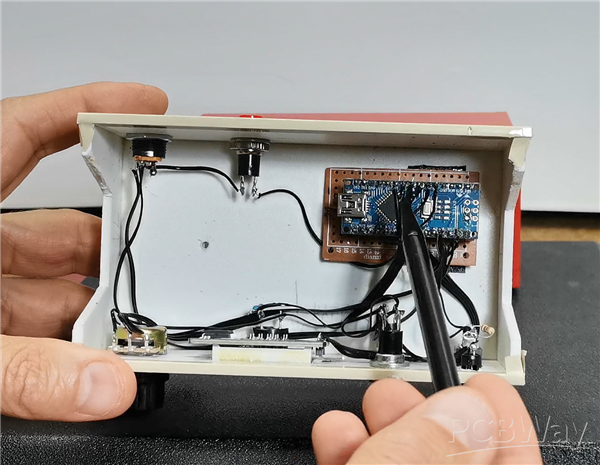
To make the device, you only need a few components:
- Arduino Nano microcontroller board
- TM1637 - 4 digits, 7 segment display
- 10K Potentiometer
- Three buttons
- and Buzzer
This project is sponsored by Altium 365. Altium 365 is a cloud-based platform designed for electronics design and engineering. It provides a suite of tools for PCB design tools, including Requipments management, Supply chain, Library managment, ECAD connectivity, Co-design and integration, and manufacturing portal.

First, I will explain how to operate the device and its functions and capabilities. For simplicity, the time is set with a simple potentiometer, in three ranges - 0 to 60 min, 0 to 30 min, and 0 to 10 min range. The green button starts the countdown, the yellow button resets the device at any time, and the red button selects the desired range.
When the device is turned on, the time appears on the screen, which is determined by the position of the potentiometer.

The default range when turned on is 60 min. Now simply and quickly set the desired time with the potentiometer, for example 7 min and press the start button. The timer starts counting down and the two dots in the middle of the display start flashing. If at any time during the process we press the reset button, the time returns to the original set state. The end of the set time is signaled by an intermittent tone of the buzzer, as well as alternating flashing of the numbers (in this case four zeros) on the display. This lasts until we press the reset button, after which the device is ready for operation again. Let's also see the function of the RANGE button.
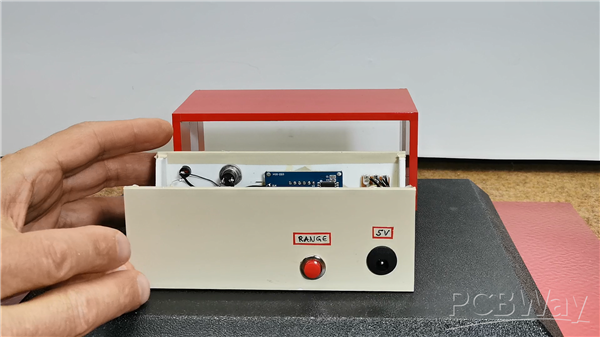
By pressing the button, the set range appears on the screen for two seconds and then the timer value in that range is displayed. With this option, we can set shorter intervals much more precisely and easily. As you can see, in the explanation, the resolution for setting this timer is currently 30 seconds, because for a kitchen timer that is quite enough. However, depending on the needs, it can be 10, 5 or even one second and is set in the code in the line:
#define QUANTIZE_INTERVAL 30 // (1 to 60 sec)
As for the code, I tried to make it as flexible and easy to modify as possible, so with minimal changes we can create a custom timer to suit our own requirements.
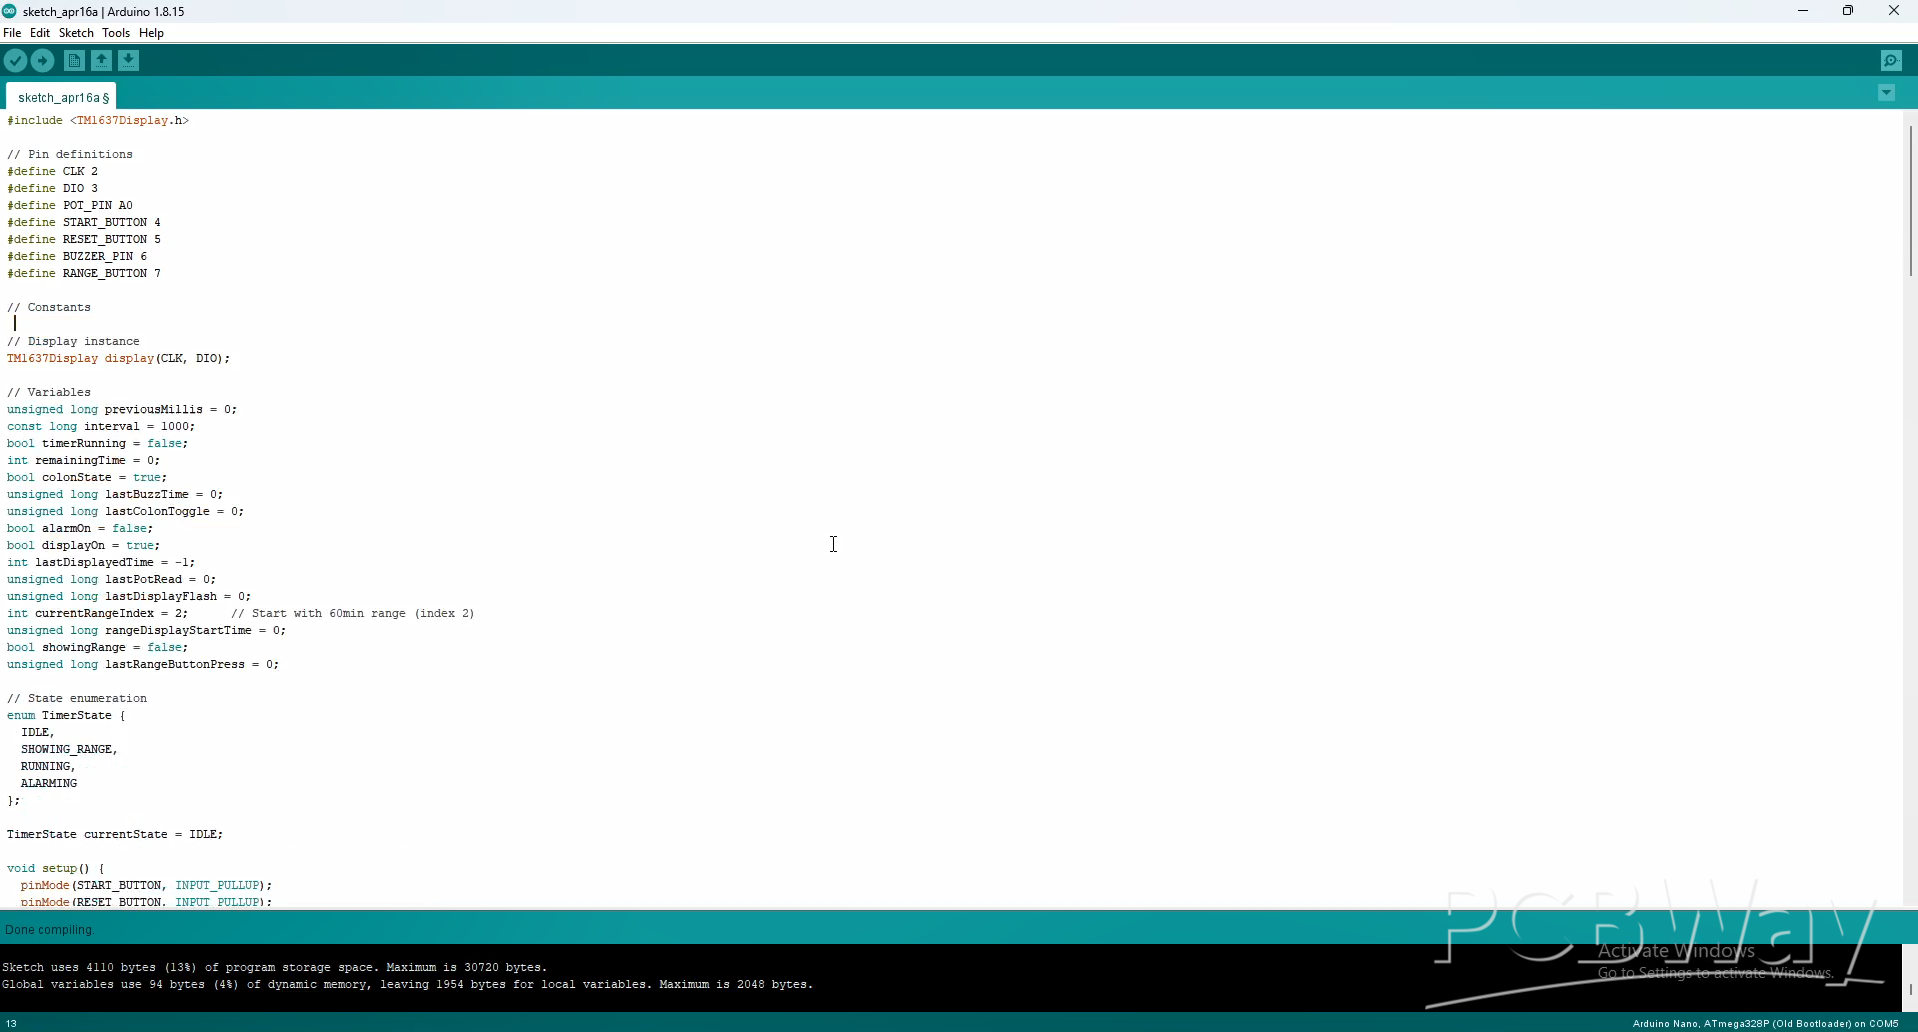
In short, as you can see, all the timer parameters can be changed. For example, the previously mentioned QUANTIZE_INTERVAL, POT_SMOOTHING, POT_READ_DELAY, Alarm Frequencies as well as ON/OF time, number and duration of timer ranges, and even the brightness of the display.
And finally a short conclusion. In summary, this Arduino project delivers a user-friendly, highly customizable kitchen timer with all essential features, proving that effective timekeeping doesn’t require unnecessary complexity.
//-----------------------------------------------------
// Kitchen Timer with TM1637 Display
// by: mircemk
// License: GNU GPl 3.0
// Created: April 2025
//-----------------------------------------------------


#include <TM1637Display.h>

// Pin definitions
#define CLK 2
#define DIO 3
#define POT_PIN A0
#define START_BUTTON 4
#define RESET_BUTTON 5
#define BUZZER_PIN 6
#define RANGE_BUTTON 7

// Constants
#define QUANTIZE_INTERVAL 30
#define POT_SMOOTHING 30
#define POT_READ_DELAY 50
#define ALARM_FREQ 500
#define ALARM_ON_TIME 200
#define ALARM_OFF_TIME 200
#define COLON_ON_TIME 500
#define COLON_OFF_TIME 500
#define RANGE_DISPLAY_TIME 1000
#define BUTTON_DEBOUNCE_TIME 300

// Timer ranges in seconds
const int TIMER_RANGES[] = {600, 1800, 3600};  // 10min, 30min, 60min
const int NUM_RANGES = 3;

// Display instance
TM1637Display display(CLK, DIO);

// Variables
unsigned long previousMillis = 0;
const long interval = 1000;
bool timerRunning = false;
int remainingTime = 0;
bool colonState = true;
unsigned long lastBuzzTime = 0;
unsigned long lastColonToggle = 0;
bool alarmOn = false;
bool displayOn = true;
int lastDisplayedTime = -1;
unsigned long lastPotRead = 0;
unsigned long lastDisplayFlash = 0;
int currentRangeIndex = 2;      // Start with 60min range (index 2)
unsigned long rangeDisplayStartTime = 0;
bool showingRange = false;
unsigned long lastRangeButtonPress = 0;

// State enumeration
enum TimerState {
  IDLE,
  SHOWING_RANGE,
  RUNNING,
  ALARMING
};

TimerState currentState = IDLE;

void setup() {
  pinMode(START_BUTTON, INPUT_PULLUP);
  pinMode(RESET_BUTTON, INPUT_PULLUP);
  pinMode(RANGE_BUTTON, INPUT_PULLUP);
  pinMode(BUZZER_PIN, OUTPUT);

  display.setBrightness(0x0a);
  updateDisplay(quantizeTime(readSmoothedPot()));
}

void loop() {
  unsigned long currentMillis = millis();

  switch(currentState) {
    case SHOWING_RANGE:
      // Stay in range display mode until time elapsed
      if (currentMillis - rangeDisplayStartTime >= RANGE_DISPLAY_TIME) {
        currentState = IDLE;
        lastDisplayedTime = -1;  // Force pot reading update
      } else {
        // Keep showing range
        displayRange(TIMER_RANGES[currentRangeIndex]);
        return;  // Skip all other processing while showing range
      }
      break;

    case IDLE:
      // Handle range button
      if (digitalRead(RANGE_BUTTON) == LOW) {
        if (currentMillis - lastRangeButtonPress >= BUTTON_DEBOUNCE_TIME) {
          currentRangeIndex = (currentRangeIndex + 1) % NUM_RANGES;
          rangeDisplayStartTime = currentMillis;
          lastRangeButtonPress = currentMillis;
          currentState = SHOWING_RANGE;
          displayRange(TIMER_RANGES[currentRangeIndex]);
          return;  // Exit loop immediately after changing to range display
        }
      }

      // Handle potentiometer input
      if (currentMillis - lastPotRead > POT_READ_DELAY) {
        lastPotRead = currentMillis;
        int potTime = quantizeTime(readSmoothedPot());
        if (potTime != lastDisplayedTime) {
          colonState = true;
          updateDisplay(potTime);
          lastDisplayedTime = potTime;
        }
      }

      // Handle start button
      if (digitalRead(START_BUTTON) == LOW) {
        delay(50);
        if (digitalRead(START_BUTTON) == LOW) {
          remainingTime = quantizeTime(readSmoothedPot());
          currentState = RUNNING;
          previousMillis = currentMillis;
          lastDisplayedTime = -1;
          colonState = true;
          lastColonToggle = currentMillis;
        }
      }
      break;

    case RUNNING:
      // Handle colon blinking
      if (colonState && (currentMillis - lastColonToggle >= COLON_ON_TIME)) {
        colonState = false;
        lastColonToggle = currentMillis;
        updateDisplay(remainingTime);
      }
      else if (!colonState && (currentMillis - lastColonToggle >= COLON_OFF_TIME)) {
        colonState = true;
        lastColonToggle = currentMillis;
        updateDisplay(remainingTime);
      }

      // Update timer
      if (currentMillis - previousMillis >= interval) {
        previousMillis = currentMillis;
        if (remainingTime > 0) {
          remainingTime--;
          updateDisplay(remainingTime);
        }
        if (remainingTime == 0) {
          currentState = ALARMING;
        }
      }

      // Check reset button
      if (digitalRead(RESET_BUTTON) == LOW) {
        delay(50);
        if (digitalRead(RESET_BUTTON) == LOW) {
          resetTimer();
        }
      }
      break;

    case ALARMING:
      handleAlarm();
      if (digitalRead(RESET_BUTTON) == LOW) {
        delay(50);
        if (digitalRead(RESET_BUTTON) == LOW) {
          resetTimer();
        }
      }
      break;
  }
}

void displayRange(int rangeInSeconds) {
  int minutes = rangeInSeconds / 60;
  uint8_t segments[4];

  segments[0] = display.encodeDigit(minutes / 10);
  segments[1] = display.encodeDigit(minutes % 10) | 0x80;  // Force colon on
  segments[2] = display.encodeDigit(0);
  segments[3] = display.encodeDigit(0);

  display.setSegments(segments);
}

int readSmoothedPot() {
  long total = 0;
  for (int i = 0; i < POT_SMOOTHING; i++) {
    total += analogRead(POT_PIN);
    delay(1);
  }
  int average = total / POT_SMOOTHING;
  return map(average, 0, 1023, 0, TIMER_RANGES[currentRangeIndex]);
}

int quantizeTime(int seconds) {
  int quantized = (seconds / QUANTIZE_INTERVAL) * QUANTIZE_INTERVAL;
  return constrain(quantized, 0, TIMER_RANGES[currentRangeIndex]);
}

void updateDisplay(int timeInSeconds) {
  if (currentState == ALARMING && !displayOn) {
    display.clear();
    return;
  }

  int minutes = timeInSeconds / 60;
  int seconds = timeInSeconds % 60;

  uint8_t segments[4];

  segments[0] = display.encodeDigit(minutes / 10);
  segments[1] = display.encodeDigit(minutes % 10);
  segments[2] = display.encodeDigit(seconds / 10);
  segments[3] = display.encodeDigit(seconds % 10);

  if (colonState) {
    segments[1] |= 0x80;
  }

  display.setSegments(segments);
  lastDisplayedTime = timeInSeconds;
}

void handleAlarm() {
  unsigned long currentMillis = millis();

  // Handle display flashing
  if (currentMillis - lastDisplayFlash >= 500) {
    lastDisplayFlash = currentMillis;
    displayOn = !displayOn;
    updateDisplay(0);
  }

  // Handle intermittent alarm sound
  if (currentMillis - lastBuzzTime >= (alarmOn ? ALARM_ON_TIME : ALARM_OFF_TIME)) {
    lastBuzzTime = currentMillis;
    alarmOn = !alarmOn;

    if (alarmOn) {
      tone(BUZZER_PIN, ALARM_FREQ);
    } else {
      noTone(BUZZER_PIN);
    }
  }
}

void resetTimer() {
  currentState = IDLE;
  timerRunning = false;
  noTone(BUZZER_PIN);
  alarmOn = false;
  displayOn = true;
  colonState = true;
  lastDisplayedTime = -1;
  updateDisplay(quantizeTime(readSmoothedPot()));
}

Simple & Versatile Arduino Kitchen Timer with TM1637 Display









Raspberry Pi 5 7 Inch Touch Screen IPS 1024x600 HD LCD HDMI-compatible Display for RPI 4B 3B+ OPI 5 AIDA64 PC Secondary Screen(Without Speaker)
BUY NOW


- Comments(0)
- Likes(0)
More by Mirko Pavleski
-
 Arduino 3D Printed self Balancing Cube
Self-balancing devices are electronic devices that use sensors and motors to keep themselves balanc...
Arduino 3D Printed self Balancing Cube
Self-balancing devices are electronic devices that use sensors and motors to keep themselves balanc...
-
 Elecrow All-in-One Arduino Starter Kit Review - 20 Projects & 16 Modules
This time I will describe a simple and practical way to enter the world of microcontrollers, specif...
Elecrow All-in-One Arduino Starter Kit Review - 20 Projects & 16 Modules
This time I will describe a simple and practical way to enter the world of microcontrollers, specif...
-
 ESP32-C3 Color Detector with TCS34725, Real-Time RGB Detection & Web Interface
Color detection is a fundamental task in many embedded systems – from industrial sorting machines t...
ESP32-C3 Color Detector with TCS34725, Real-Time RGB Detection & Web Interface
Color detection is a fundamental task in many embedded systems – from industrial sorting machines t...
-
 DIY ESP32 Telegram Flood Protection System - Smart Home Automation
Recently I had an unpleasant experience in my home, specifically my ground floor was flooded as a r...
DIY ESP32 Telegram Flood Protection System - Smart Home Automation
Recently I had an unpleasant experience in my home, specifically my ground floor was flooded as a r...
-
 Real-Time Air Traffic Radar using ESP32 + ADS-B Data
ADS-B, which stands for Automatic Dependent Surveillance-Broadcast, is the modern standard for trac...
Real-Time Air Traffic Radar using ESP32 + ADS-B Data
ADS-B, which stands for Automatic Dependent Surveillance-Broadcast, is the modern standard for trac...
-
 DIY Green Laser Night Sky Object Finder - Find Stars & Galaxies Instantly with great accuracy
As an amateur astronomer, especially at the beginning, the most difficult part of observing the nig...
DIY Green Laser Night Sky Object Finder - Find Stars & Galaxies Instantly with great accuracy
As an amateur astronomer, especially at the beginning, the most difficult part of observing the nig...
-
 DIY Avionics Simulator with ESP32 - Artificial Horizon, Compass & Altimeter
The inspiration for this project comes from classical aircraft cockpit instruments used for navigat...
DIY Avionics Simulator with ESP32 - Artificial Horizon, Compass & Altimeter
The inspiration for this project comes from classical aircraft cockpit instruments used for navigat...
-
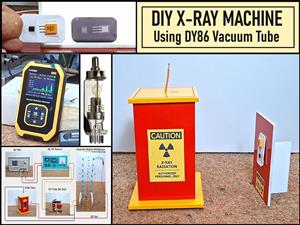 DIY Miniature X-Ray Machine using a TV Vacuum Tube DY86
An X-ray machine (or radiograph) is a quick, painless medical test that produces images of the struc...
DIY Miniature X-Ray Machine using a TV Vacuum Tube DY86
An X-ray machine (or radiograph) is a quick, painless medical test that produces images of the struc...
-
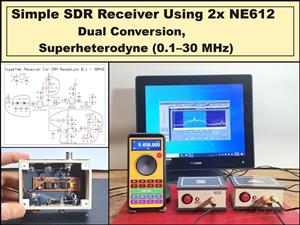 Simple SDR Receiver Using 2x NE612 - Dual Conversion, Superheterodyne (0.1–30 MHz)
SDR (Software Defined Radio) is a radio system in which most of the functions of a classic radio (f...
Simple SDR Receiver Using 2x NE612 - Dual Conversion, Superheterodyne (0.1–30 MHz)
SDR (Software Defined Radio) is a radio system in which most of the functions of a classic radio (f...
-
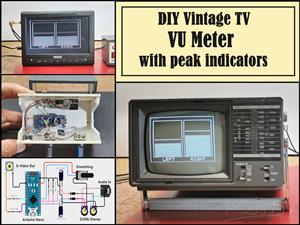 DIY Vintage TV VU Meter with peak indicators
Some time ago in one of my projects I presented you a way to turn a black and white old mini TV int...
DIY Vintage TV VU Meter with peak indicators
Some time ago in one of my projects I presented you a way to turn a black and white old mini TV int...
-
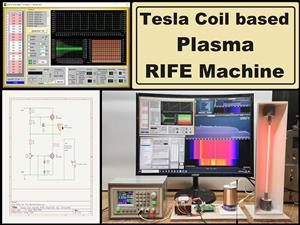 DIY Tesla Coil based Plasma Rife Machine
In several of my previous videos, I presented you with different ways to make a Rife Machine, from ...
DIY Tesla Coil based Plasma Rife Machine
In several of my previous videos, I presented you with different ways to make a Rife Machine, from ...
-
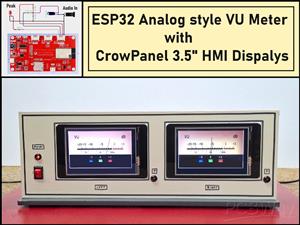 ESP32 Analog VU Meter – Smooth Needle, Real Audio Response (DIY Build)
In several of my previous videos I have shown you how to make analog VU meters emulated on differen...
ESP32 Analog VU Meter – Smooth Needle, Real Audio Response (DIY Build)
In several of my previous videos I have shown you how to make analog VU meters emulated on differen...
-
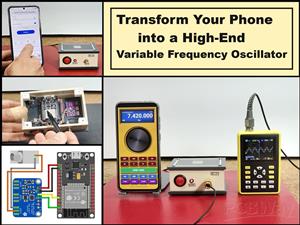 The Ultimate Smartphone VFO ESP32 & Si5351 Wireless Control
Variable frequency oscillators (VFOs) are commonly used in radio transmitters and receivers, especi...
The Ultimate Smartphone VFO ESP32 & Si5351 Wireless Control
Variable frequency oscillators (VFOs) are commonly used in radio transmitters and receivers, especi...
-
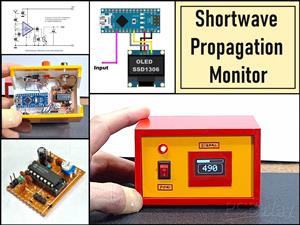 DIY Shortwave Propagation Monitor - Measure Ionosphere Conditions
Shortwave Propagation is the way radio waves in the 3 to 30 MHz range travel from point A to point ...
DIY Shortwave Propagation Monitor - Measure Ionosphere Conditions
Shortwave Propagation is the way radio waves in the 3 to 30 MHz range travel from point A to point ...
-
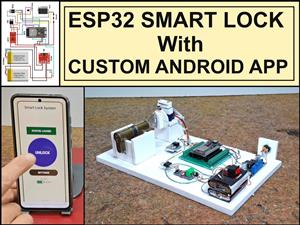 Professional grade Smart Lock with ESP32, BLE and Android App Control
An electronic codelock is a security device that grants access using a numerical sequence—a PIN cod...
Professional grade Smart Lock with ESP32, BLE and Android App Control
An electronic codelock is a security device that grants access using a numerical sequence—a PIN cod...
-
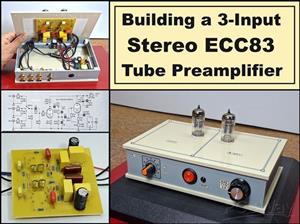 Building a 3-Input Stereo ECC83 (12AX7) Tube Preamp
Some time ago I presented you a project for a 3W stereo tube amplifier with a GU32 output vacuum t...
Building a 3-Input Stereo ECC83 (12AX7) Tube Preamp
Some time ago I presented you a project for a 3W stereo tube amplifier with a GU32 output vacuum t...
-
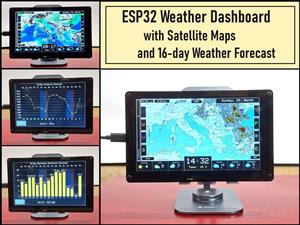 ESP32 Weather Dashboard with Satellite Maps and 16-day Weather Forecast
As you can see from my previous videos, besides Electronics, my fields of experimentation and proje...
ESP32 Weather Dashboard with Satellite Maps and 16-day Weather Forecast
As you can see from my previous videos, besides Electronics, my fields of experimentation and proje...
-
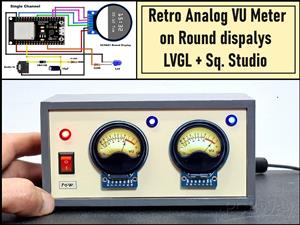 Retro Analog VU Meter on Round dispalys (ESP32 and GC9A01)
Recently, in one of my previous videos I presented you a Retro VU Meter project on round displays ...
Retro Analog VU Meter on Round dispalys (ESP32 and GC9A01)
Recently, in one of my previous videos I presented you a Retro VU Meter project on round displays ...
-
Programmable Mist Maker - XIAO / QT PY Extension
1062 2 1 -
RadioHAT - Raspberry Pi radio development platform
874 0 2 -
-
-
-
-
ARPS-2 – Arduino-Compatible Robot Project Shield for Arduino UNO
3327 0 6 -
A Compact Charging Breakout Board For Waveshare ESP32-C3
3934 3 8 -
AI-driven LoRa & LLM-enabled Kiosk & Food Delivery System
4323 2 2