


|
|
Arduino Nano R3 |
x 1 | |
|
|
128x64 LCD with ST7565 driver chip |
x 1 | |
|
|
ps/2 keyboard female connector |
x 1 | |
|
|
LEDGeneric
|
x 1 | |
|
|
Buzzer |
x 1 |

|
arduino IDEArduino
|
|

|
Soldering Iron Kit |
How to make Arduino Morse Code Generator
Morse code is a method used in telecommunication to encode text characters as standardized sequences of two different signal durations, called dots and dashes.

Morse code is named after Samuel Morse, one of the early developers of the system adopted for electrical telegraphy. HAM Operators typically use a telegraph key or paddle to manually input Morse code, which is then transmitted via radio waves.
In one of my previous videos I described a device that automatically decodes Morse code characters into letters, whereby we can follow this type of communication without knowing the Morse code. In order to be able to communicate completely in this way, we also need a device that will convert plain text into a Morse code signal, which is compatible with the radio transmitter. Exactly such a device is described in the project that follows.
The text is entered through a standard ps/2 keyboard, and a 5V relay module is placed at the D7 output, through whose contacts the generated morse signal is sent to the transceiver. The relay contacts behave identically to the telegraph key.

There is also a small piezo buzzer for audio presentation. Specifically, in this case, instead of a relay, I put an LED that visually presents the signs. The typed text is displayed on the LCD display.
The device is really simple to make and consists of only a few components:
- Arduino Nano mikrocontroller board
- LCD Dispaly 128x64 dots with ST7565 driver chip
- ps/2 keyboard female connector
- Led (or 5V relay board
- and small Buzzer

And now let's see how the device works in real conditions.
The text that we type on the keyboard appears on the display. At the same time, we can edit or correct it, and then by pressing Enter, a Morse code is generated from that text, which we simultaneously hear on the buzzer. While the signal is being sent, we can enter new text. The transmission speed can be changed from 1-30 words per minute, and that speed can be changed using the PgDn and PgUp keys.

The device is built into the corresponding housing made of PVC material, and covered with self-adhesive colored wallpaper.
And finally a short conclusion. learning to transmit Morse code with a manual key, and decode it, seems to be an anachronism in the age of computers. In this and the previous project, I presented you a very simple and easy way to enter the world of DX communications without learning Morse code, which requires a lot of time, skill and effort.


/* Arduino morse Encoder
 *
 *PS2Keyboard library example
  PS2Keyboard now requries both pins specified for begin()
  keyboard.begin(data_pin, irq_pin);

  Valid irq pins:
     Arduino Uno:  2, 3
     Arduino Due:  All pins, except 13 (LED)
     Arduino Mega: 2, 3, 18, 19, 20, 21
     Teensy 3.0:   All pins, except 13 (LED)
     Teensy 2.0:   5, 6, 7, 8
     Teensy 1.0:   0, 1, 2, 3, 4, 6, 7, 16
     Teensy++ 2.0: 0, 1, 2, 3, 18, 19, 36, 37
     Teensy++ 1.0: 0, 1, 2, 3, 18, 19, 36, 37
     Sanguino:     2, 10, 11

  for more information you can read the original wiki in arduino.cc
  at http://www.arduino.cc/playground/Main/PS2Keyboard
  or http://www.pjrc.com/teensy/td_libs_PS2Keyboard.html

  Like the Original library and example this is under LGPL license.

  Modified by Cuninganreset@gmail.com on 2010-03-22
  Modified by Paul Stoffregen <paul@pjrc.com> June 2010
*/

#include <PS2Keyboard.h>
#include <U8g2lib.h>
#include "Lewis.h"
#include <TimerOne.h>


U8G2_ST7565_ERC12864_1_4W_SW_SPI u8g2 ( U8G2_R0, /* scl=*/  13 , /* si=*/  11 , /* cs=*/  10 , /* rs=*/  9 , /* rse=*/  8 ) ;

const int DataPin = 3;
const int IRQpin =  2;

char* znak;
char* wiersz[10];                                 //char workline*
char* wiersz1[10];                                //top line char*
int wiersz_M[10];                                 //workline in ASCII code
int wiersz_M1[10];                                //top line in ASCII code
byte k;
int d, e, i;                                      //helper variables
byte isnm = 7;                                    //number of words per minute
char isnm_str[2];
byte kursor;
const byte index_key = 48;                        //number of characters in the array
const char* KeyChar[index_key] = {
"a","b","c","d","e","f","g","h","i","j","k","l","m","n","o","p","q","r","s",
"t","u","v","w","x","y","z","0","1","2","3","4","5","6","7","8","9"," ",
"!","(",")","+",",","-",".","/","=","?","_"};
const int ASCII[index_key] = {
 97, 98, 99,100,101,102,103,104,105,106,107,108,109,110,111,112,113,114,115,
116,117,118,119,120,121,122, 48, 49, 50, 51, 52, 53, 54, 55, 56, 57, 32,
 33, 40, 41, 43, 44, 45, 46, 47, 61, 63, 95};

PS2Keyboard keyboard;
Lewis Morse;


void setup() {
  delay(1000);
  keyboard.begin(DataPin, IRQpin);
  Serial.begin(9600);
 // u8g2.begin ();
 // u8g2.setContrast(20);
  //Morse.begin(rx_pin, tx_pin, words_per_minute, use_interrupts)

  Morse.begin(7,7, isnm, true);
  u8g2.begin ();
  u8g2.setContrast(40);
  //use the TimerOne library for a 100Hz timer interrupt
  Timer1.initialize(1000);
  Timer1.attachInterrupt(MorseISR);
}

void loop() {
  PS2();                                           //reading characters from the keyboard
  if (znak == "enter" ) { Send_Morse();}           //sending the line to broadcast
   Display(); //display the line
  Display();                                       //display the line
}

void PS2() {
  if (keyboard.available()) {
    // read the next key
    char c = keyboard.read();
    d = int(c);
    // check for some of the special keys
    if (c == PS2_ENTER) {
      znak ="enter";
//    } else if (c == PS2_TAB) {
//      Serial.print("[Tab]");
//    } else if (c == PS2_ESC) {
//      Serial.print("[ESC]");
    } else if (c == PS2_PAGEDOWN) {
      isnm--;
      if (isnm < 1 ) {isnm = 1;}

      Morse.begin(7,7, isnm, true);
    } else if (c == PS2_PAGEUP) {
      isnm++;
      if (isnm > 30) {isnm = 30;}
     Morse.begin(7,7, isnm, true);

  //  } else if (c == PS2_LEFTARROW) {
  //    Serial.print("[Left]");
  //  } else if (c == PS2_RIGHTARROW) {
  //    Serial.print("[Right]");
  //  } else if (c == PS2_UPARROW) {
  //    Serial.print("[Up]");
  //  } else if (c == PS2_DOWNARROW) {
  //    Serial.print("[Down]");
    } else if (c == PS2_DELETE) {
      znak = "back";
      i--;
      znak = " ";
      wiersz[i] = znak;
      wiersz_M[i] = d;
    } else {
      // otherwise substitute a regular letter
      getKeyChar();                           //converting char to char*
      wiersz[i] = znak;
      wiersz_M[i] = d;
      if (i > 9) {i = -1;}
      if (znak == "enter"){i = -1;}
      if (znak != "back" && znak != "enter") {i++;}     //increase character counter
    }
  }
}

void Display() {                              //display data on the LCD
  kursor++;
  if (kursor >20){ kursor = 0;}
  sprintf(isnm_str,"%d", isnm);               //converting a number to a string
  u8g2.firstPage();
  do {
    u8g2.setFont(u8g2_font_10x20_tr);
    u8g2.drawStr(0, 15, "Morse");
    u8g2.drawStr(75, 15, isnm_str);
    u8g2.drawStr(98, 15, "w/m");
    for (k = 0; k < 10; k++){
       u8g2.drawStr(k*10, 40, wiersz1[k] );
       u8g2.drawStr(k*10, 60, wiersz[k] );
    }
    if (kursor<15){u8g2.drawStr(i*10, 60, "_" );}     //display the cursor
    if (kursor>5){u8g2.drawStr(i*10, 60, " " );}      //cursor blinking
  } while ( u8g2.nextPage() );
}

void Send_Morse(){
  znak = " ";
  for (int k = 0; k < 10; k++) {
     wiersz1[k] = " ";                        //cash
     wiersz1[k] = wiersz[k];                  //rewriting characters from the working line to the top
     wiersz[k] = " ";                         //delete work line
     wiersz_M1[k] = 32;                       //delete ASCII top line
     wiersz_M1[k] = wiersz_M[k];              //rewrite ASCII from the working line to the top line
     wiersz_M[k] = 32;                        //delete ASCII worklineroboczego
  }
  for (int k = 1; k < 10; k++){
     e = wiersz_M1[k];
     Morse.write(e);                          //morse the contents of the top line
  }
  i = 0;
}

void MorseISR(){
  Morse.timerISR();                           //function triggered by interrupts (keyboard)
}

void getKeyChar() {                           //converting a key code into a letter and an ASCII code
  for (k = 0; k <= index_key; k++){
     if (ASCII[k] == d) { znak = KeyChar[k];} //convert key code to letter
  }
  k = 0;
}
How to make Arduino Morse Code Generator









Raspberry Pi 5 7 Inch Touch Screen IPS 1024x600 HD LCD HDMI-compatible Display for RPI 4B 3B+ OPI 5 AIDA64 PC Secondary Screen(Without Speaker)
BUY NOW


- Comments(0)
- Likes(1)
More by Mirko Pavleski
-
 Arduino 3D Printed self Balancing Cube
Self-balancing devices are electronic devices that use sensors and motors to keep themselves balanc...
Arduino 3D Printed self Balancing Cube
Self-balancing devices are electronic devices that use sensors and motors to keep themselves balanc...
-
 Building a Mini Fostex Horn Speaker with a 2-Inch Full-Range Driver
A back-loaded horn speaker is a loudspeaker design that channels the rear sound wave of a driver th...
Building a Mini Fostex Horn Speaker with a 2-Inch Full-Range Driver
A back-loaded horn speaker is a loudspeaker design that channels the rear sound wave of a driver th...
-
 ESP32 Moon Lamp That Shows the Real Moon Phase on Crowpanel Round Dispaly
Recently on the Hackaday portal I came across a very interesting project called Moon Display by aut...
ESP32 Moon Lamp That Shows the Real Moon Phase on Crowpanel Round Dispaly
Recently on the Hackaday portal I came across a very interesting project called Moon Display by aut...
-
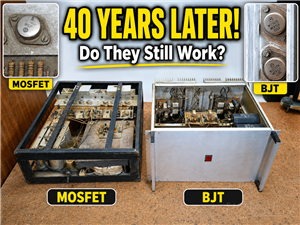 40-Year-Old DIY Power Amplifiers – Do They Still Work - 500W MOSFET & Transistor Amps
This time I want to describe my two DIY super powerful audio amplifiers that I made about 40 years ...
40-Year-Old DIY Power Amplifiers – Do They Still Work - 500W MOSFET & Transistor Amps
This time I want to describe my two DIY super powerful audio amplifiers that I made about 40 years ...
-
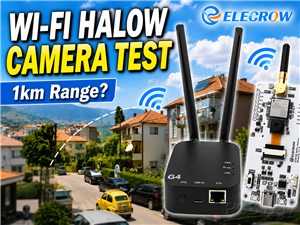 Wi-Fi HaLow Explained! Long-Range Camera Test up to 300m (ESP32 + ThinkNode G4 from ELECROW)
I recently needed to install a security camera at a relatively large distance from my home, more pre...
Wi-Fi HaLow Explained! Long-Range Camera Test up to 300m (ESP32 + ThinkNode G4 from ELECROW)
I recently needed to install a security camera at a relatively large distance from my home, more pre...
-
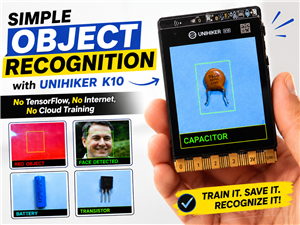 Simple Object Recognition with the UNIHIKER K10 – No TensorFlow, No Internet, No Cloud AI
Object recognition has become one of the most popular applications of artificial intelligence and em...
Simple Object Recognition with the UNIHIKER K10 – No TensorFlow, No Internet, No Cloud AI
Object recognition has become one of the most popular applications of artificial intelligence and em...
-
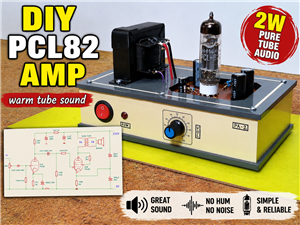 DIY PCL82 Tube Amplifier, Single-Ended Amp with Amazing Sound
The idea for this project came from a local electronics magazine called EMITER, issue 12/13 from 20...
DIY PCL82 Tube Amplifier, Single-Ended Amp with Amazing Sound
The idea for this project came from a local electronics magazine called EMITER, issue 12/13 from 20...
-
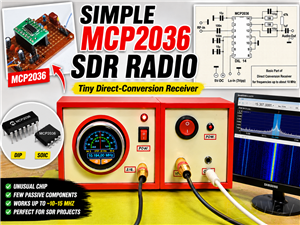 Simple MCP2036 SDR Radio - The Most Unusual Software Defined Radio
SDR (Software Defined Radio) is a radio communication system where many of the key electronic compo...
Simple MCP2036 SDR Radio - The Most Unusual Software Defined Radio
SDR (Software Defined Radio) is a radio communication system where many of the key electronic compo...
-
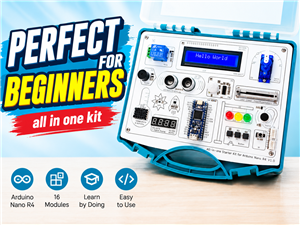 Elecrow All-in-One Arduino Starter Kit Review - 20 Projects & 16 Modules
This time I will describe a simple and practical way to enter the world of microcontrollers, specif...
Elecrow All-in-One Arduino Starter Kit Review - 20 Projects & 16 Modules
This time I will describe a simple and practical way to enter the world of microcontrollers, specif...
-
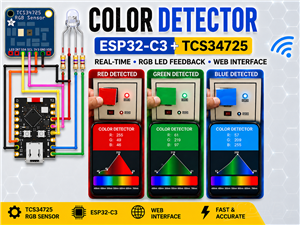 ESP32-C3 Color Detector with TCS34725, Real-Time RGB Detection & Web Interface
Color detection is a fundamental task in many embedded systems – from industrial sorting machines t...
ESP32-C3 Color Detector with TCS34725, Real-Time RGB Detection & Web Interface
Color detection is a fundamental task in many embedded systems – from industrial sorting machines t...
-
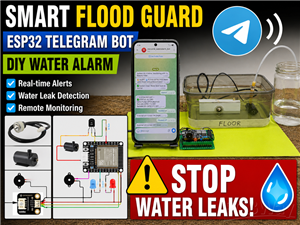 DIY ESP32 Telegram Flood Protection System - Smart Home Automation
Recently I had an unpleasant experience in my home, specifically my ground floor was flooded as a r...
DIY ESP32 Telegram Flood Protection System - Smart Home Automation
Recently I had an unpleasant experience in my home, specifically my ground floor was flooded as a r...
-
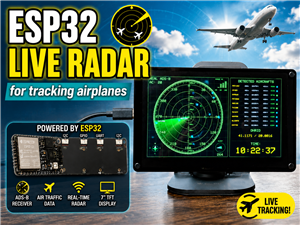 Real-Time Air Traffic Radar using ESP32 + ADS-B Data
ADS-B, which stands for Automatic Dependent Surveillance-Broadcast, is the modern standard for trac...
Real-Time Air Traffic Radar using ESP32 + ADS-B Data
ADS-B, which stands for Automatic Dependent Surveillance-Broadcast, is the modern standard for trac...
-
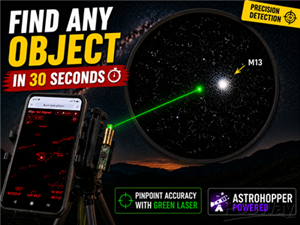 DIY Green Laser Night Sky Object Finder - Find Stars & Galaxies Instantly with great accuracy
As an amateur astronomer, especially at the beginning, the most difficult part of observing the nig...
DIY Green Laser Night Sky Object Finder - Find Stars & Galaxies Instantly with great accuracy
As an amateur astronomer, especially at the beginning, the most difficult part of observing the nig...
-
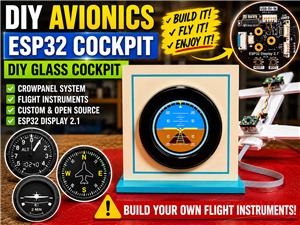 DIY Avionics Simulator with ESP32 - Artificial Horizon, Compass & Altimeter
The inspiration for this project comes from classical aircraft cockpit instruments used for navigat...
DIY Avionics Simulator with ESP32 - Artificial Horizon, Compass & Altimeter
The inspiration for this project comes from classical aircraft cockpit instruments used for navigat...
-
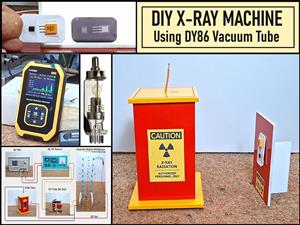 DIY Miniature X-Ray Machine using a TV Vacuum Tube DY86
An X-ray machine (or radiograph) is a quick, painless medical test that produces images of the struc...
DIY Miniature X-Ray Machine using a TV Vacuum Tube DY86
An X-ray machine (or radiograph) is a quick, painless medical test that produces images of the struc...
-
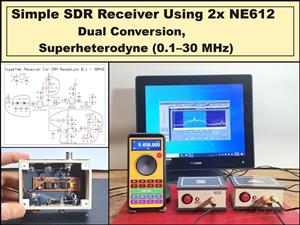 Simple SDR Receiver Using 2x NE612 - Dual Conversion, Superheterodyne (0.1–30 MHz)
SDR (Software Defined Radio) is a radio system in which most of the functions of a classic radio (f...
Simple SDR Receiver Using 2x NE612 - Dual Conversion, Superheterodyne (0.1–30 MHz)
SDR (Software Defined Radio) is a radio system in which most of the functions of a classic radio (f...
-
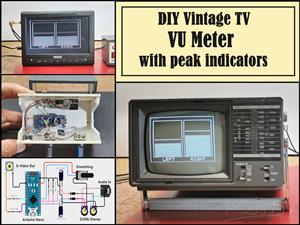 DIY Vintage TV VU Meter with peak indicators
Some time ago in one of my projects I presented you a way to turn a black and white old mini TV int...
DIY Vintage TV VU Meter with peak indicators
Some time ago in one of my projects I presented you a way to turn a black and white old mini TV int...
-
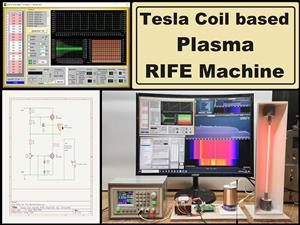 DIY Tesla Coil based Plasma Rife Machine
In several of my previous videos, I presented you with different ways to make a Rife Machine, from ...
DIY Tesla Coil based Plasma Rife Machine
In several of my previous videos, I presented you with different ways to make a Rife Machine, from ...
-
Programmable Mist Maker - XIAO / QT PY Extension
2056 2 2 -
RadioHAT - Raspberry Pi radio development platform
1752 0 4 -
-
-
-
ARPS-2 – Arduino-Compatible Robot Project Shield for Arduino UNO
3980 0 6 -
A Compact Charging Breakout Board For Waveshare ESP32-C3
4714 3 8 -
AI-driven LoRa & LLM-enabled Kiosk & Food Delivery System
5520 2 2 -





















