


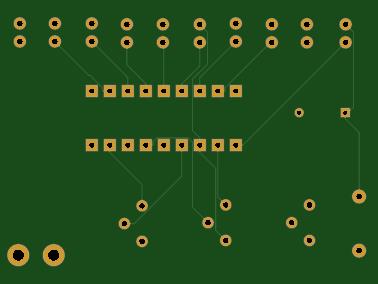
Battery Level Indicator/Alarm
In this project learn how to make an LED battery level indicator using an LM3914 and some LEDs. The device will also feature a buzzer to alert you when your battery's voltage is too low and needs charging.
Each LED represents 10% and when the battery voltage falls below 40% the buzzer will sound alerting you to charge the battery.
To set the 100% voltage adjust the 10k potentiometer connected to pin 5 so that the 100% LED turns on at the voltage at which the battery will be 100% charged. I would suggest connecting a adjustable power supply to the circuit to set these values. For example you want to use the circuit with a 12V battery set your power supply to 12V
Once the 100% voltage has been set the power supply to 10% of the voltage you set in the first step and adjust the 200k potentiometer until the 10% LED lights up. Once this is done you have successfully set up the device and can now connect your battery.
You can adjust the brightness of the LEDs by turning the 10k potentiometer connected to pin 6 and 7 until the LEDs are at a suitable brightness.
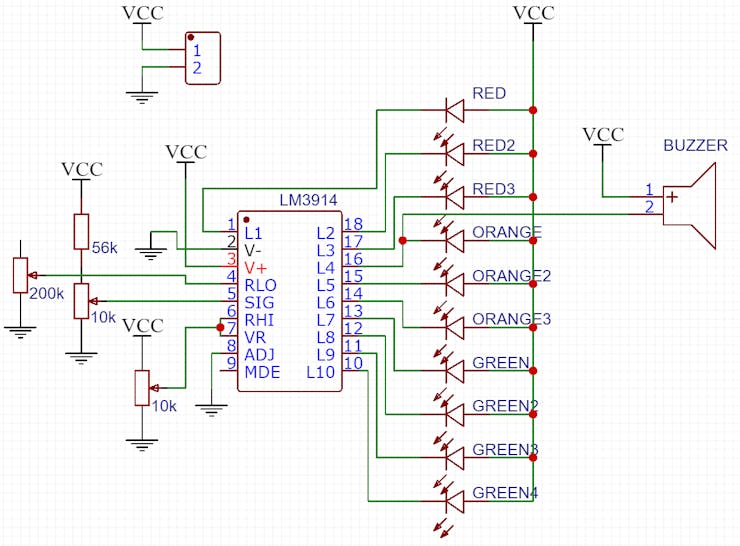
Schematic
If you would like you could build the circuit on a PCB. I have designed a PCB for you so that the circuit is easy to build and easy to connect to the battery using the screw terminals. I have attached the Gerber files for you to use.
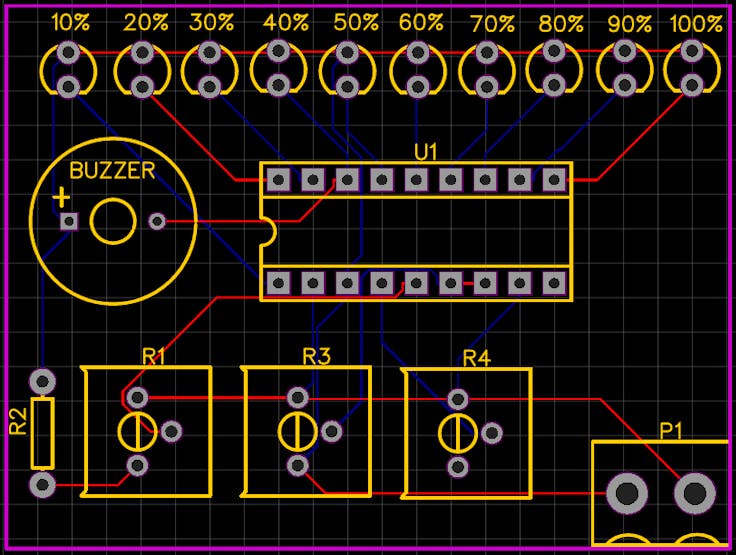
PCB
Website
Check out more of my other projects on my website.
Battery Level Indicator/Alarm
Project images are for reference only. Actual production is based on the manufacturing files on the project page.
Please review the designer's notes (e.g., PCB thickness) and select the appropriate options.
PCBWay is not responsible
for issues caused by unsuitable parameter selections.
For more important ordering information, please refer to
Read More









Raspberry Pi 5 7 Inch Touch Screen IPS 1024x600 HD LCD HDMI-compatible Display for RPI 4B 3B+ OPI 5 AIDA64 PC Secondary Screen(Without Speaker)
BUY NOW


- Comments(1)
- Likes(4)
- 1 USER VOTES
- YOUR VOTE 0.00 0.00

-
4design
-
4usability
-
4creativity
-
5content
More by . .
-
 Logic gate learning kit
The ProjectIn this project you will learn how to build your own logic gate learning kit and learn al...
Logic gate learning kit
The ProjectIn this project you will learn how to build your own logic gate learning kit and learn al...
-
 Battery Level Indicator/Alarm
In this project learn how to make an LED battery level indicator using an LM3914 and some LEDs. The ...
Battery Level Indicator/Alarm
In this project learn how to make an LED battery level indicator using an LM3914 and some LEDs. The ...
-
 DIY Power Bank
In this project I will show you how to build a simple DIY battery bank that can charge USB devices.T...
DIY Power Bank
In this project I will show you how to build a simple DIY battery bank that can charge USB devices.T...
-
 ohmega bauble
bauble with LEDs that can be programed to display different patterns
ohmega bauble
bauble with LEDs that can be programed to display different patterns
-
 100 QFP to DIP
 100 adapter
100 QFP to DIP
100 QFP to DIP 100 adapter
-
Programmable Mist Maker - XIAO / QT PY Extension
2085 2 2 -
RadioHAT - Raspberry Pi radio development platform
1775 0 4 -
-
-
-
ARPS-2 – Arduino-Compatible Robot Project Shield for Arduino UNO
3998 0 6 -
A Compact Charging Breakout Board For Waveshare ESP32-C3
4731 3 8 -
AI-driven LoRa & LLM-enabled Kiosk & Food Delivery System
5542 2 2 -





















