


|
|
Arduino_UNO_R3 |
x 1 | |
|
|
DHT11AOSONG
|
x 1 | |
|
|
DHT22 Temperature-Humidity SensorWaveshare(微雪电子)
|
x 1 | |
|
|
Resistance 10 Kohm |
x 1 | |
|
|
Connection wires |
x 1 | |
|
|
Generic BreadboardVarious
|
x 1 |

|
arduino IDEArduino
|
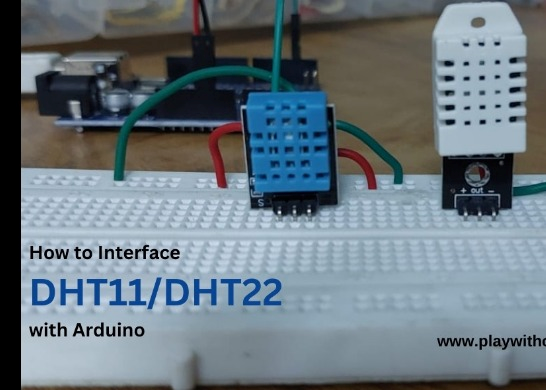
DHT11 and DHT22 Sensors with Arduino Uno
Temperature and humidity monitoring plays a crucial role in various applications, from smart home climate control to agricultural automation. The DHT11 and DHT22 sensors are among the most widely used temperature and humidity sensors due to their ease of integration, affordability, and accurate readings. These sensors provide a simple yet effective way to collect environmental data for IoT, weather stations, and other DIY electronics projects.
Overview of DHT11 and DHT22 Sensors
DHT11 and DHT22 belong to the DHTxx series of sensors, which measure both temperature and humidity using a combination of a humidity-sensing element and an NTC thermistor. Though they share a similar appearance and functionality, there are significant differences in their accuracy, range, and performance.
DHT11: A basic and cost-effective sensor that is suitable for general-purpose applications where high precision is not a requirement.
DHT22: A more advanced sensor with higher accuracy and a wider measurement range, making it suitable for professional and industrial applications.
Specifications Comparison
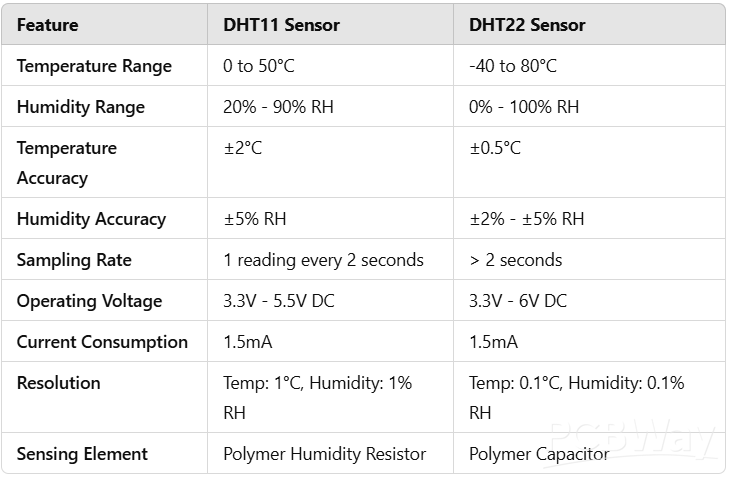
DHT11 vs. DHT22: Key Differences
While both sensors perform similar functions, their key differences lie in accuracy, range, and response time:
DHT22 is more precise and can measure extreme temperatures, making it ideal for weather stations and climate-sensitive applications.
DHT11 is a budget-friendly option suitable for applications that do not require extreme accuracy.
Interchangeability: The sensors can be swapped based on project needs without major hardware modifications.
Working Principle of DHT11 and DHT22 Sensors
These sensors operate based on two fundamental sensing components:
1. Humidity Measurement
Both sensors use a humidity-sensing component, typically a polymer capacitor, which consists of two electrodes separated by a moisture-absorbing substrate. When ambient humidity changes, the electrical capacitance of the polymer changes, altering the resistance between the electrodes. This change in resistance is converted into a digital signal by the sensor’s internal microcontroller.
2. Temperature Measurement
Temperature sensing is achieved using an NTC (Negative Temperature Coefficient) thermistor. The thermistor's resistance decreases as temperature increases, and this resistance variation is processed by the internal microcontroller to determine the ambient temperature.
NTC Thermistor Characteristic Curve: The resistance-to-temperature relationship follows an exponential pattern, meaning small temperature changes cause noticeable resistance shifts.
3. Data Processing and Communication
The internal 8-bit microcontroller in both sensors processes the analog signals from the humidity and temperature sensing elements. It then converts this data into a digital signal and transmits it to the microcontroller (such as Arduino) using a one-wire communication protocol.
Communication Protocol: Aosong One-Wire Protocol
DHT11 and DHT22 sensors communicate with microcontrollers using the Aosong One-Wire Protocol, a simplified data transmission method requiring only a single data pin. The transmission occurs in the following sequence:
Start Signal: The microcontroller pulls the data line low for at least 18ms.
Response Signal: The sensor pulls the line low for 80µs and then high for another 80µs.
Data Transmission: The sensor sends 40 bits of data—16 bits for humidity, 16 bits for temperature, and 8 bits for a checksum.
Checksum Validation: The microcontroller verifies the data integrity using the checksum.
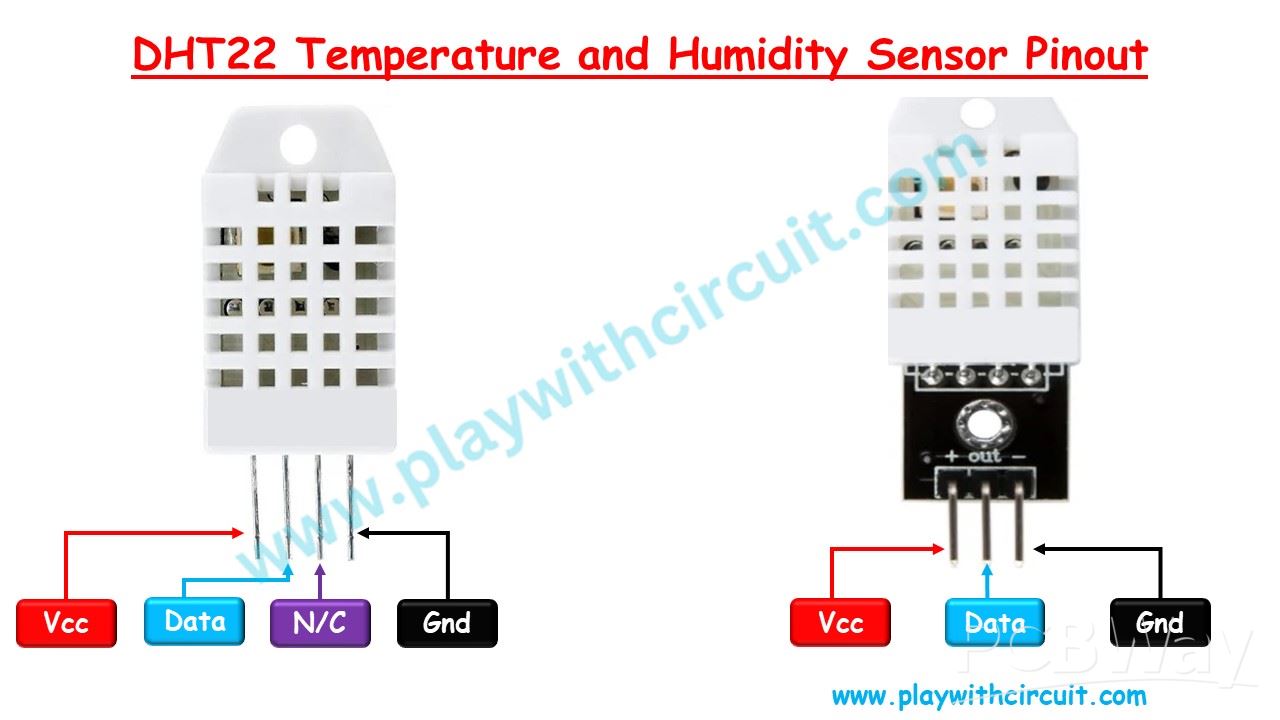
Pinout
The pin configuration of both sensors is similar:
VCC- Power supply (3.3V to 5.5V for DHT11, 3.3V to 6V for DHT22)
Data- One-wire communication pin to transmit sensor readings
N/C- Not connected
GND- Ground connection

Interfacing DHT11 Sensor to an Arduino
DHT11 and DHT22 Sensors with Arduino Uno


Raspberry Pi 5 7 Inch Touch Screen IPS 1024x600 HD LCD HDMI-compatible Display for RPI 4B 3B+ OPI 5 AIDA64 PC Secondary Screen(Without Speaker)
BUY NOW

- Comments(0)
- Likes(0)
More by Rachana Jain
-
 GPS Tracker using Heltec WiFi LoRa 32 V4 and REYAX RYS352A GNSS Module
This browser-based GPS tracker combines the Heltec WiFi LoRa 32 V4 development board with the REYAX ...
GPS Tracker using Heltec WiFi LoRa 32 V4 and REYAX RYS352A GNSS Module
This browser-based GPS tracker combines the Heltec WiFi LoRa 32 V4 development board with the REYAX ...
-
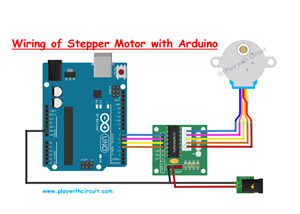 Arduino Stepper Motor Control Using 28BYJ-48 and ULN2003 Driver
This project demonstrates how to control the popular 28BYJ-48 5V stepper motor using an Arduino Uno ...
Arduino Stepper Motor Control Using 28BYJ-48 and ULN2003 Driver
This project demonstrates how to control the popular 28BYJ-48 5V stepper motor using an Arduino Uno ...
-
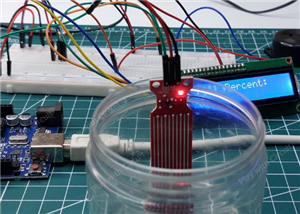 Arduino Water Level Indicator Using Water Level Sensor
Monitoring water levels in tanks is important for preventing overflow and reducing water wastage. In...
Arduino Water Level Indicator Using Water Level Sensor
Monitoring water levels in tanks is important for preventing overflow and reducing water wastage. In...
-
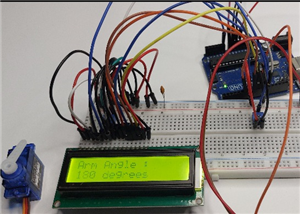 Arduino Servo Motor Control
Precise motion control is at the heart of many modern electronics projects—from robotic arms to came...
Arduino Servo Motor Control
Precise motion control is at the heart of many modern electronics projects—from robotic arms to came...
-
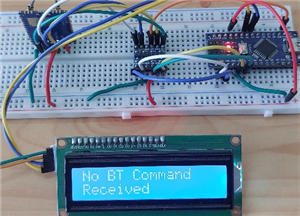 Build a Long-Range Wireless Appliance Control System
Controlling electrical devices over long distances is often challenging, especially when internet co...
Build a Long-Range Wireless Appliance Control System
Controlling electrical devices over long distances is often challenging, especially when internet co...
-
 DHT11 and DHT22 Sensors with Arduino Uno
Temperature and humidity monitoring plays a crucial role in various applications, from smart home cl...
DHT11 and DHT22 Sensors with Arduino Uno
Temperature and humidity monitoring plays a crucial role in various applications, from smart home cl...
-
 Line Follower Robot using Arduino
A Line Follower Robot (LFR) is an autonomous robot that follows a predefined path, typically a black...
Line Follower Robot using Arduino
A Line Follower Robot (LFR) is an autonomous robot that follows a predefined path, typically a black...
-
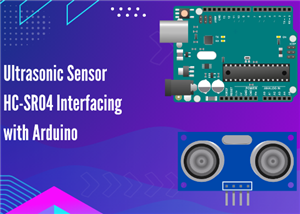 Ultrasonic Sensor HC-SR04 Interfacing with Arduino
The HC-SR04 Ultrasonic Sensor is a widely used and easy-to-implement sensor for distance measurement...
Ultrasonic Sensor HC-SR04 Interfacing with Arduino
The HC-SR04 Ultrasonic Sensor is a widely used and easy-to-implement sensor for distance measurement...
-
 Interfacing IR Sensor Module with Arduino Nano
In this project, we will learn how to interface an Infrared (IR) sensor module with an Arduino Nano....
Interfacing IR Sensor Module with Arduino Nano
In this project, we will learn how to interface an Infrared (IR) sensor module with an Arduino Nano....
-
Programmable Mist Maker - XIAO / QT PY Extension
1066 2 1 -
RadioHAT - Raspberry Pi radio development platform
877 0 2 -
-
-
-
-
ARPS-2 – Arduino-Compatible Robot Project Shield for Arduino UNO
3330 0 6 -
A Compact Charging Breakout Board For Waveshare ESP32-C3
3938 3 8 -
AI-driven LoRa & LLM-enabled Kiosk & Food Delivery System
4326 2 2


