


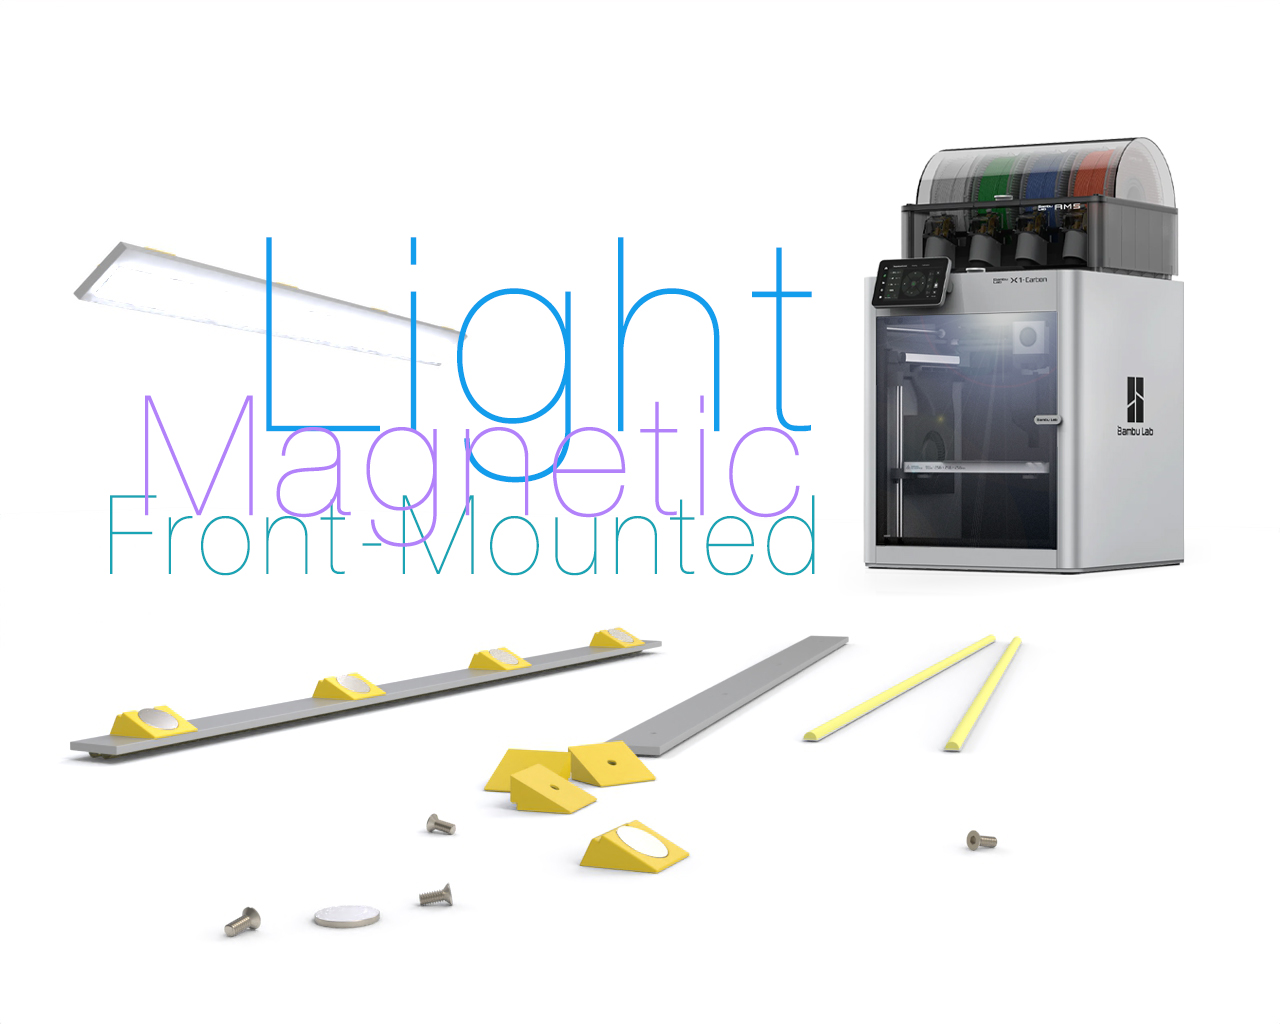
Magnetic Front-Mounted Light
Magnetic Front-Mounted Light for Bambu Lab X1C,P1S
When this wonderful printer arrived, I immediately started exploring its features, print quality, and more. It turned out to be flawless, and in my opinion, there’s almost nothing to criticize. Maybe I haven’t worked with it enough yet, but so far, I’ve found no obvious flaws except for one: the lighting.
Some might ask, why bother looking inside when it prints so well? Here’s a simple example. Everyone, including you and me, has imperfect spools of filament, not just ideal ones. For instance, filament thickness can vary from 0.69 to 1.85 mm over several meters. Or, the color of the filament can fade due to high temperatures, becoming less vibrant. These are just two examples.
The LIDAR works great, but it calibrates based on the filament section used for the flow test. Subsequent layers of filament may end up too thin or too thick. That’s why it’s important to visually monitor the printing process, especially when using lower-quality filament.
The Lighting Issue
The printer’s side lighting is well-designed and provides a clear view of the layer placement. However, overall illumination is insufficient. A brighter, more uniform light is needed.
I considered buying a ready-made light. It’s inexpensive but uses a simple LED strip, causing each diode to create its own beam, resulting in multiple shadows. Therefore, the lighting must include a diffuser for uniform illumination. This not only makes it easier to observe but also enhances the quality of time-lapse recordings.
So, I decided to make a simple yet effective light for this printer and would like to share the process.
Materials and Technical Details
Key Components:
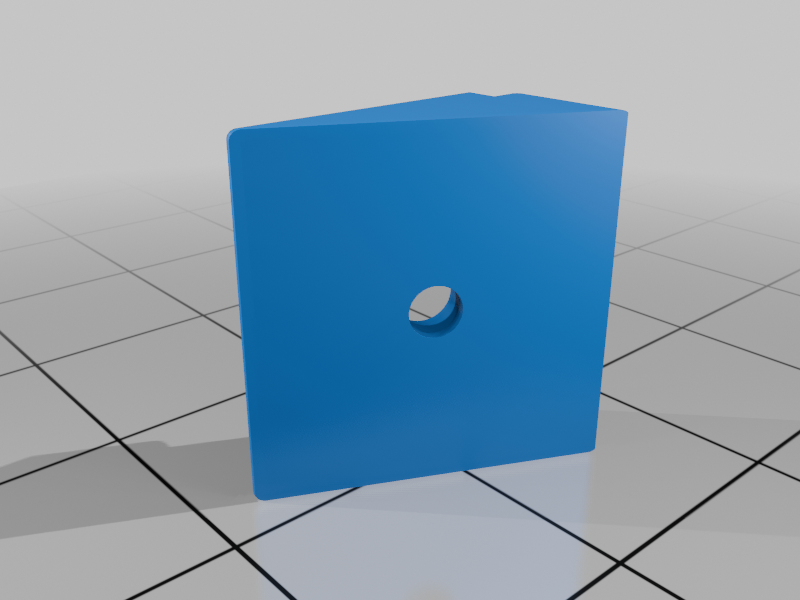
- 4 plastic brackets (structural parts for the light)
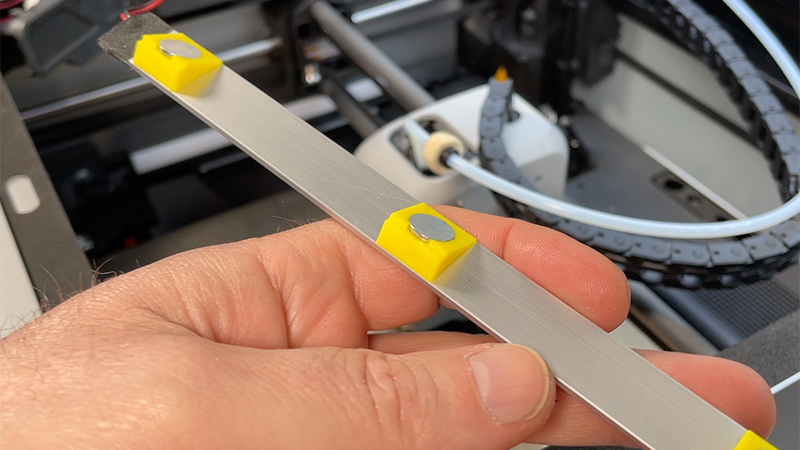
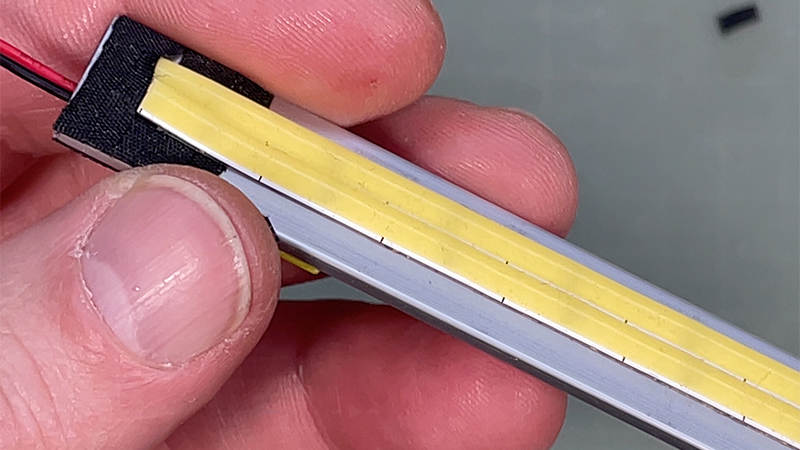
- Anodized aluminum bar (2 cm wide, 1.5 mm thick)
- 10 mm diameter, 1 mm thick magnets
- Insert nut sleeves (M2, 3 mm diameter, 2 mm height)
- Countersunk screws (M2, 4 mm length; 3 mm will also work)
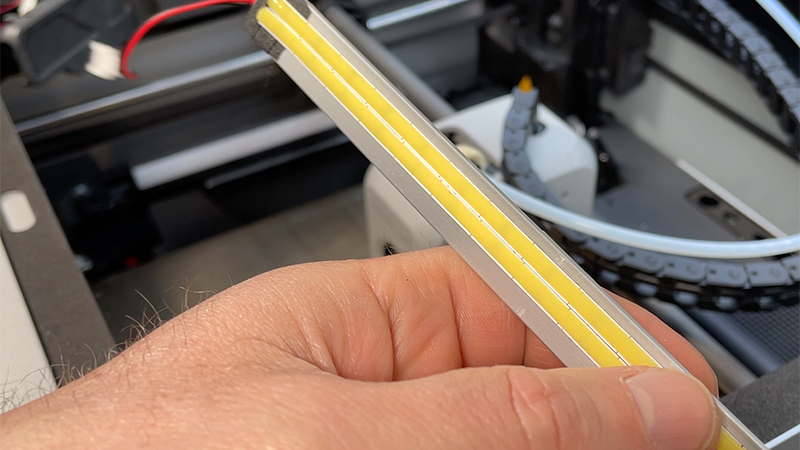
- Chip-on-board LED strip with compound coating (2 pieces, 64 mm each)
Dimensions and Installation:
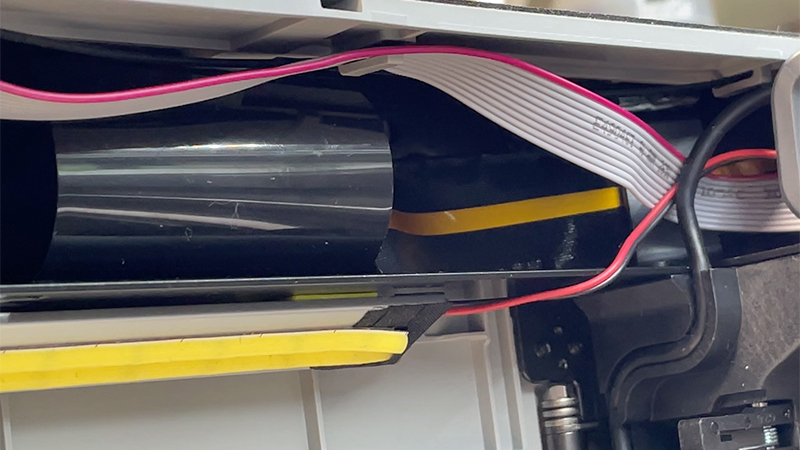
The aluminum bar is 273 mm long. Why this length? I didn’t want to measure inside the printer, so I based it on the length of a commercially available light. I compared the parameters of available models, selected an optimal option, and decided to make my version.
After installation, the result was excellent. I was very pleased with the even and convenient lighting.
Power Supply:
- The LED strip consumes 440 mA.
- The printer’s technical documentation doesn’t specify the maximum load for its board, but based on my estimates, it can handle up to 1.5 A.
- The P1S model includes a USB port for lighting, rated for up to 1.5 A.
Important Note:
When building and connecting DIY solutions, you assume full responsibility. Replacing the printer’s board will cost €168. If you lack experience with electronics, it’s better not to take the risk.
Additional Materials:
- 5V LED strip with a color temperature of 6500K
- Connectors (I used small Molex connectors, but others can work too)
- Wires, a soldering iron, super glue for magnets
- Electrical tape and other small tools
Bonus: A Simple Life Hack — Protecting the Glass from Tube Friction
The Problem
During operation, the filament tube can rub against the printer’s glass, eventually damaging its surface. Additionally, filament vapors form a dense residue on the glass, which is difficult to remove. These contaminants can fall onto the print surface, compromising the quality of your parts.
The Solution
To prevent this:
- Take a polishing felt disc for a Dremel or similar rotary tool.
- Use a 4 mm punch and hammer to make a hole in the felt.
- Install 4 rubber O-rings (3.5-4 mm inner diameter) on the sides to secure the felt.
- Identify where the tube contacts the glass and place the felt disc at that spot.
Now the glass will stay clean, and the tube won’t collect residue to drop onto your prints.
If you’d like to replicate this design yourself—go for it! In my video, I show all the materials and the assembly process in detail. There’s also a link to purchase a ready-made light if you prefer not to build your own.
Conclusion
Adding a front-mounted magnetic light for the Bambu Lab X1C is a valuable modification that improves print monitoring and enhances the overall user experience. A DIY light offers better illumination without having to modify the printer’s internals. Additionally, the glass protection hack helps keep the workspace clean and tidy.
The model in 3MF format can be downloaded via this link .
See the video for details:

If you liked this thing - let me know by putting like!
Parts links below:
- COB LED Strip 4mm DC 5V
- Aluminum Flat Bar
- Magnet D2,4,5,6,8,10mm X 1,2,3mm
- Head Flat Screw M2 M2.5 M3 M4 M5 M6
- Inserts Nut M2-2.5
- Flexible Silicone Wire 30/28/26/24/22/20/18 AWG
- Connector MX2.0 2.0mm
- Wool Felt Polishing Buffing
- BIGTREETECH Panda Lux LED Light Bar
- eSUN eABS+HS
Links to used tools:
My favorites:

Thank you for every tip or donation,
it means great recognition for me and helps a lot to keep going!

BTC:bc1qplpzq36ghw84hty4nn2zzu4ps4sdh4th0v93j8
ETH:0xc766ebbeAa76aaf629788c8F99C33A8d80d48977
My some other things:


Magnetic Front-Mounted Light
Project images are for reference only. Actual production is based on the manufacturing files on the project page.
Please review the designer's notes (e.g., PCB thickness) and select the appropriate options.
PCBWay is not responsible
for issues caused by unsuitable parameter selections.
For more important ordering information, please refer to
Read More


Raspberry Pi 5 7 Inch Touch Screen IPS 1024x600 HD LCD HDMI-compatible Display for RPI 4B 3B+ OPI 5 AIDA64 PC Secondary Screen(Without Speaker)
BUY NOW

- Comments(0)
- Likes(0)
More by Valera Perinski
-
 UltraMini Type-C Charger
This is one of the smallest charging boards for Li-Ion and Li-Po batteries. It’s designed for ultra-...
UltraMini Type-C Charger
This is one of the smallest charging boards for Li-Ion and Li-Po batteries. It’s designed for ultra-...
-
 Blade Honing Guide
For those who work with handheld cutting tools, it's no secret how important it is...
Blade Honing Guide
Blade Honing GuideFor those who work with handheld cutting tools, it's no secret how important it is...
-
 Quick-Change Tool Post Adapter for Mini Lathe + Cassette box
Today's latest modification to my deskto...
Quick-Change Tool Post Adapter for Mini Lathe + Cassette box
Quick-Change Tool Post Adapter for Mini Lathe + Cassette boxToday's latest modification to my deskto...
-
 Tiered Storage Box
"A world without a box is chaos!"(Rudolf Schmantz *) I have long contemplated desi...
Tiered Storage Box
Tiered Storage Box"A world without a box is chaos!"(Rudolf Schmantz *) I have long contemplated desi...
-
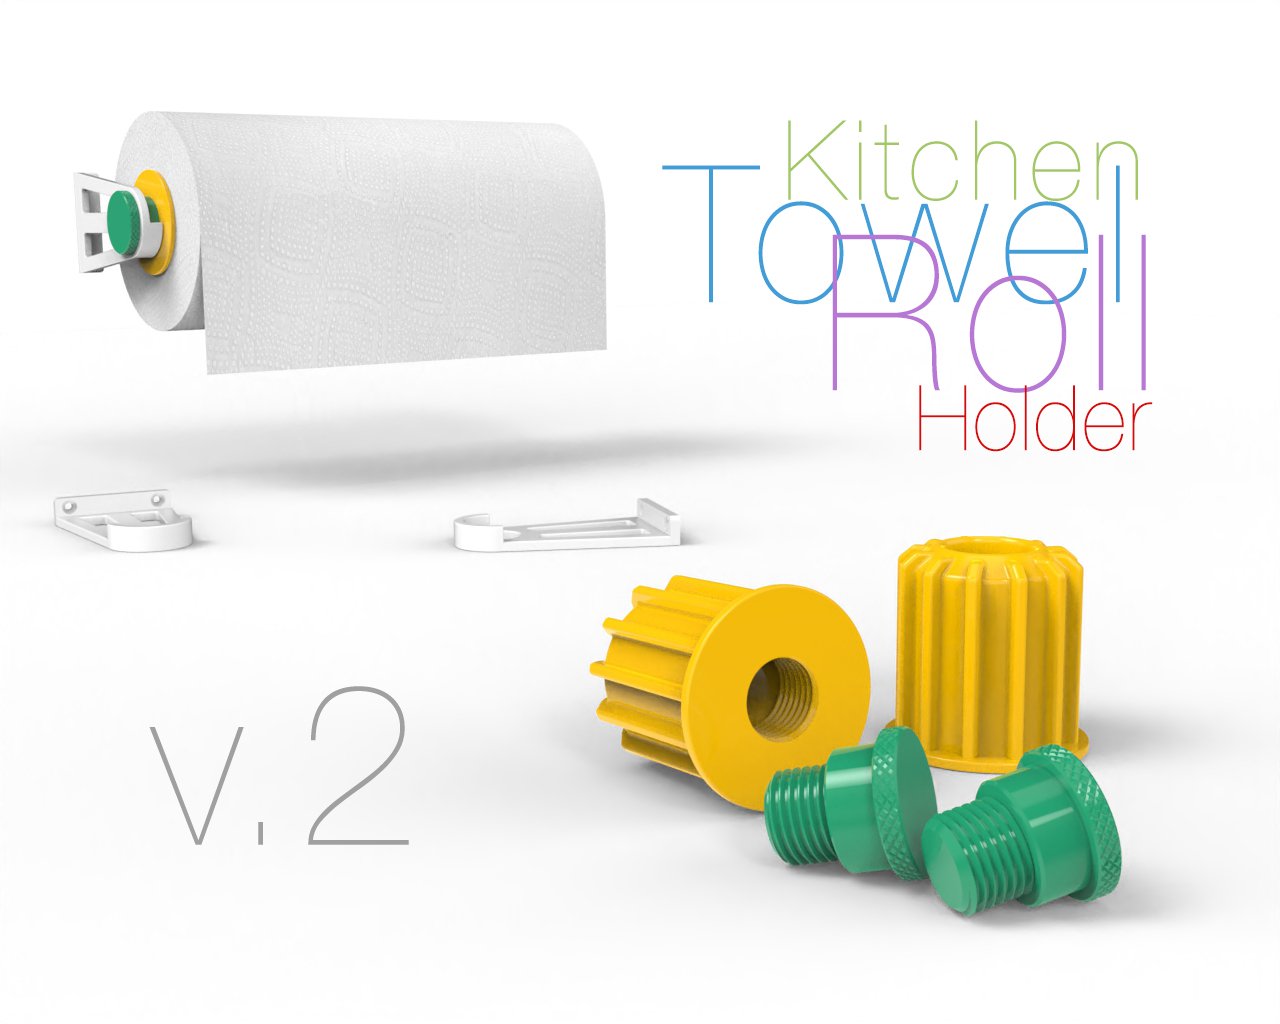 Kitchen Towel Roll Holder Version 2
From the moment I created and published the model for the kitchen...
Kitchen Towel Roll Holder Version 2
Kitchen Towel Roll Holder Version 2From the moment I created and published the model for the kitchen...
-
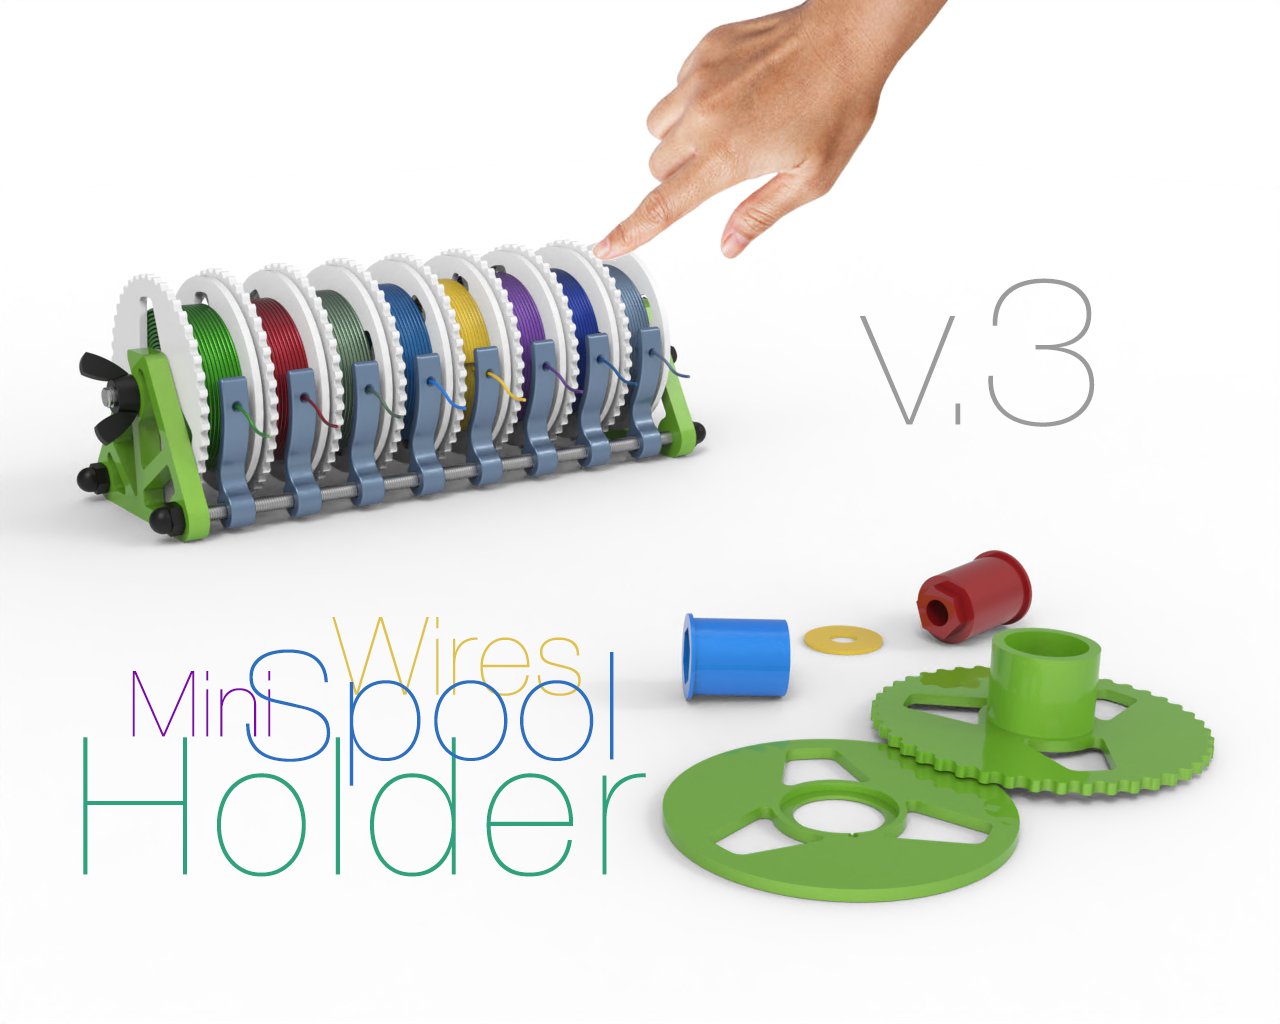 Wires Spool Holder v.3
Every electronics enthusiast knows the importance of good wires when assemblin...
Wires Spool Holder v.3
Wires Spool Holder v.3Every electronics enthusiast knows the importance of good wires when assemblin...
-
 Pantograph Lift Desk
: The Perfect Tool for Precision WorkThe Pantograph Lift Desk is a unique mechan...
Pantograph Lift Desk
Pantograph Lift Desk: The Perfect Tool for Precision WorkThe Pantograph Lift Desk is a unique mechan...
-
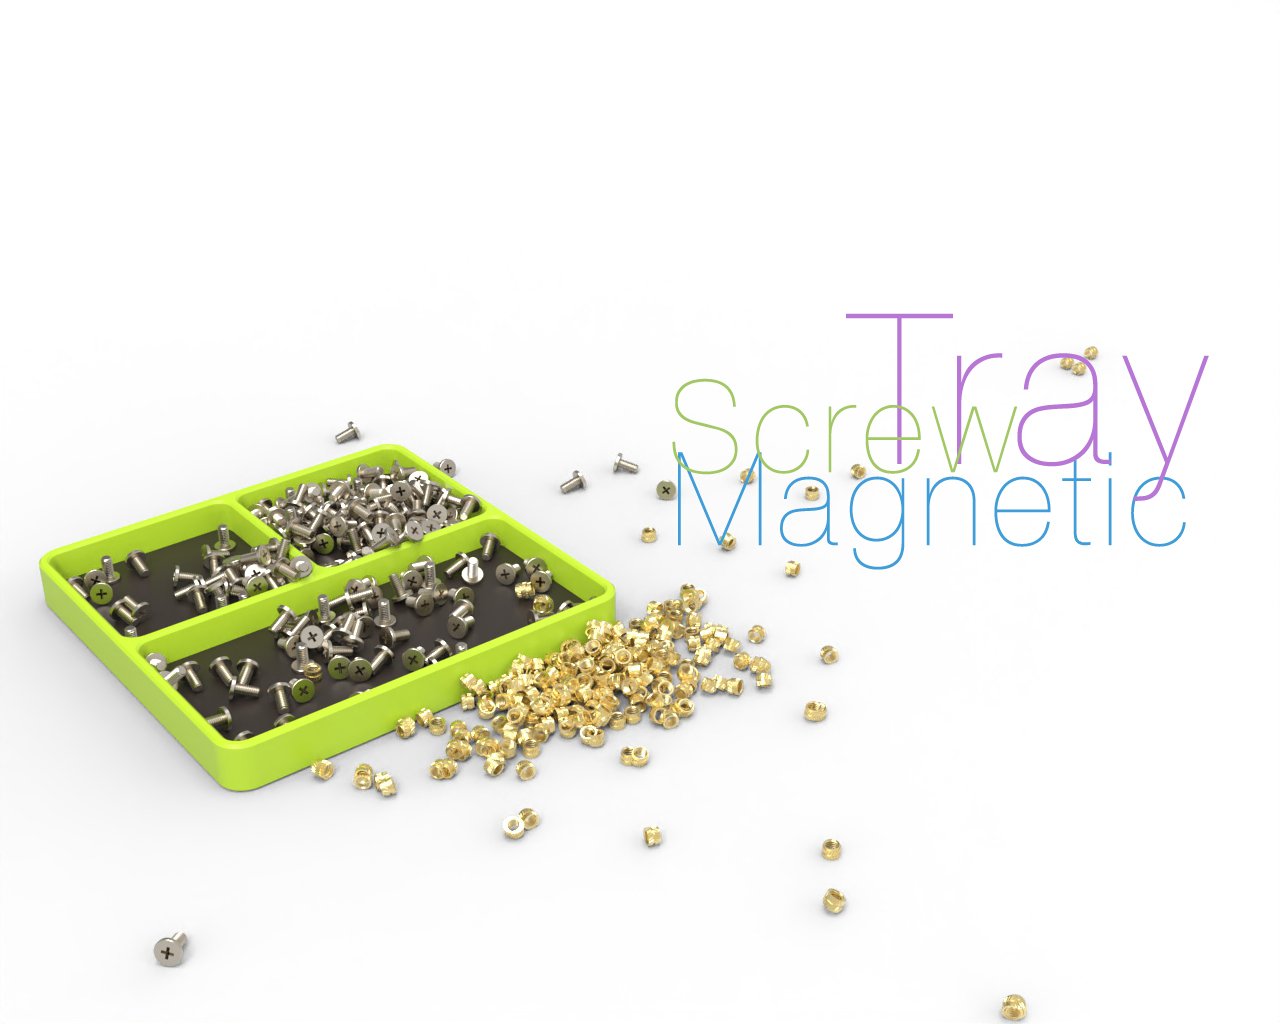 Magnetic Screw Tray
Yesterday, while searching for parts for one of my projects on Aliexpress, I came...
Magnetic Screw Tray
Magnetic Screw TrayYesterday, while searching for parts for one of my projects on Aliexpress, I came...
-
 Vacuum Pump for Filament Storage
Recently, I upgraded all my filament storage bags to use vacuum stor...
Vacuum Pump for Filament Storage
Vacuum Pump for Filament StorageRecently, I upgraded all my filament storage bags to use vacuum stor...
-
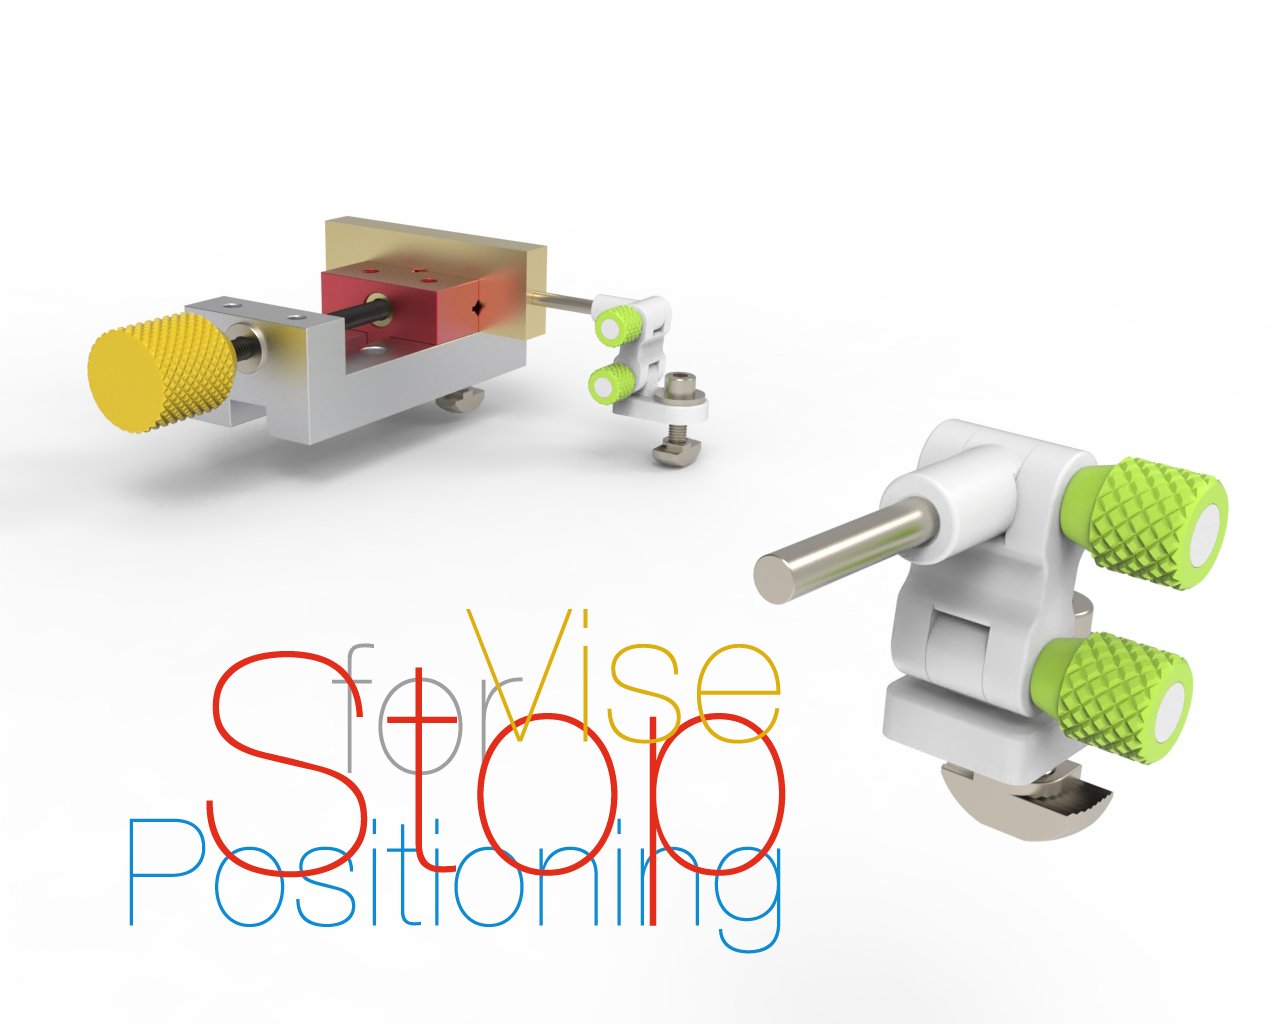 Positioning stop for vise
Positioning Stop for Vise – 3D Printing Saves the DayIn precision machining, especially when w...
Positioning stop for vise
Positioning Stop for Vise – 3D Printing Saves the DayIn precision machining, especially when w...
-
 Luer Lock Lubricator
Luer Lock Accessories for Lubrication and Maintenance of 3D PrintersIn this publication, I paid more...
Luer Lock Lubricator
Luer Lock Accessories for Lubrication and Maintenance of 3D PrintersIn this publication, I paid more...
-
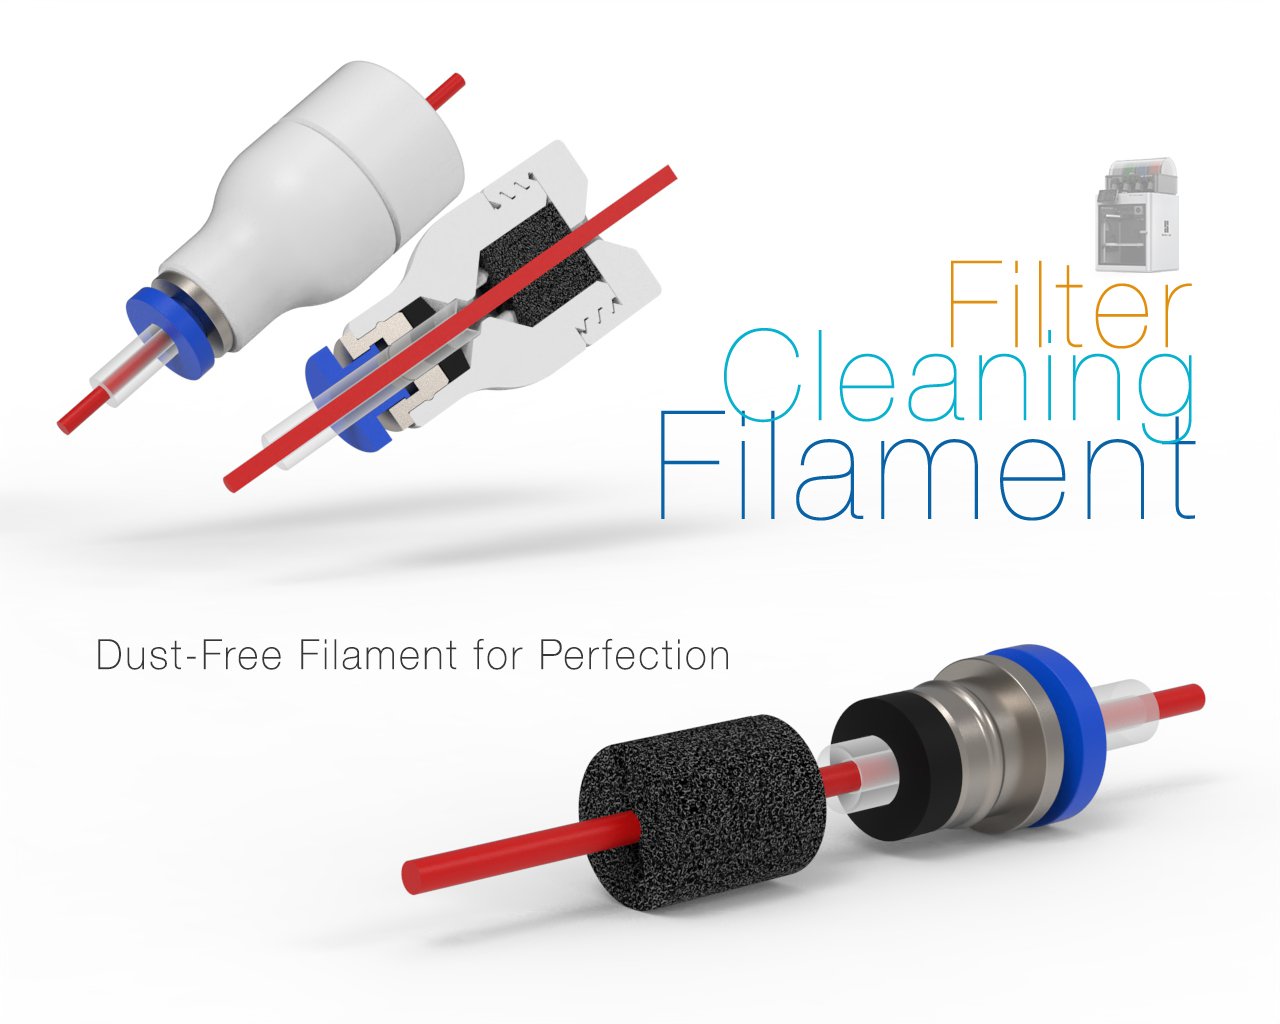 Filament Cleaning Filter
The cleanliness of filament is one of the key factors for successful 3D prin...
Filament Cleaning Filter
Filament Cleaning FilterThe cleanliness of filament is one of the key factors for successful 3D prin...
-
 Magnetic Front-Mounted Light
 for Bambu Lab X1C,P1SWhen this wonderful printer arrived, I immediately...
Magnetic Front-Mounted Light
Magnetic Front-Mounted Light for Bambu Lab X1C,P1SWhen this wonderful printer arrived, I immediately...
-
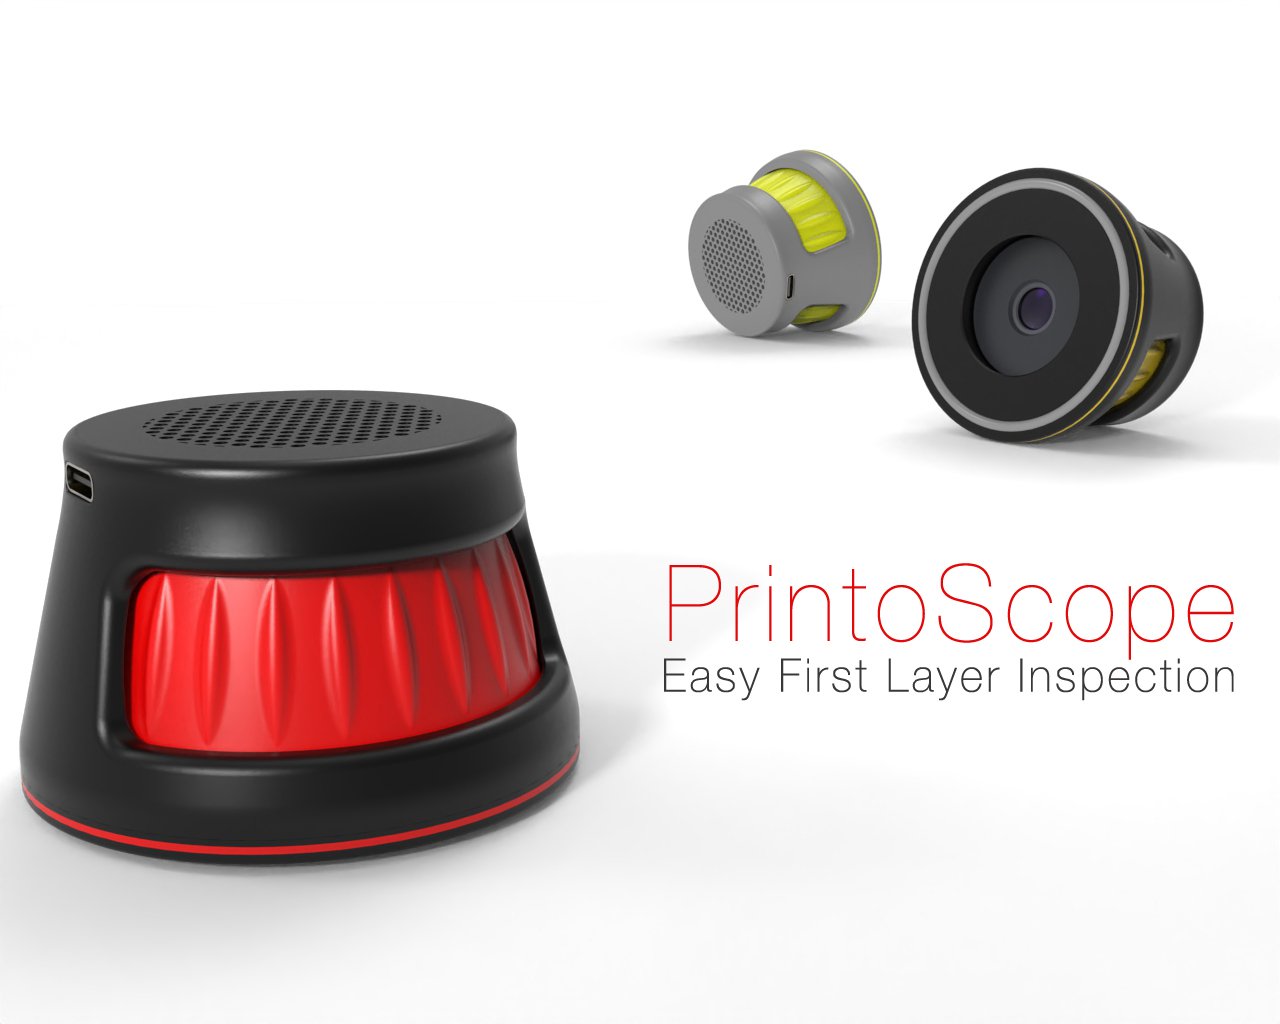 PrintoScope
: A Tool for Precise Tuning and Analysis of 3D PrintingPrintoScopeis designed not only to...
PrintoScope
PrintoScope: A Tool for Precise Tuning and Analysis of 3D PrintingPrintoScopeis designed not only to...
-
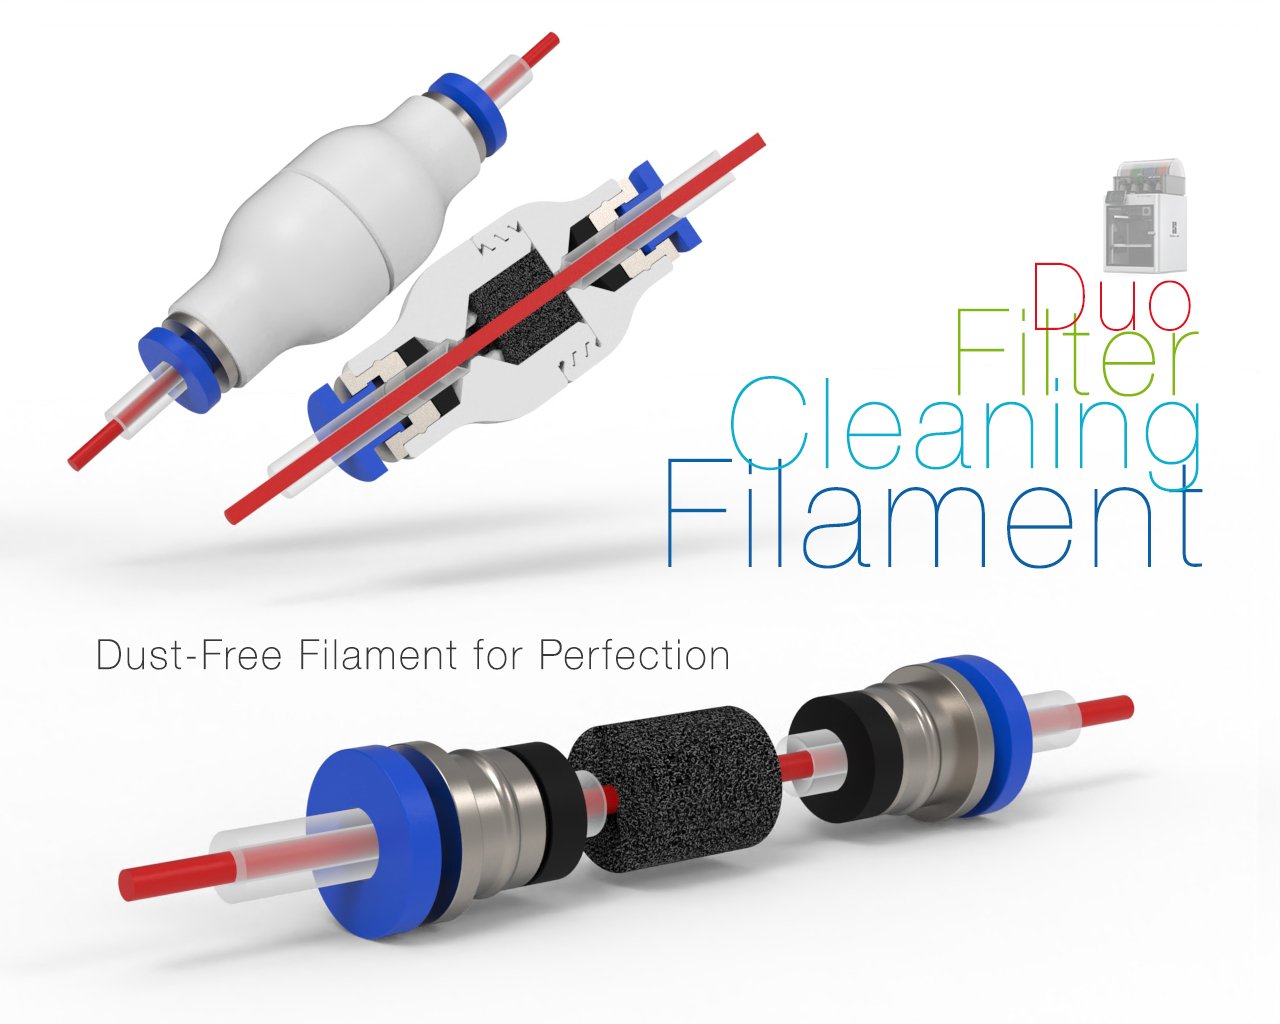 Filament Cleaning Filter Duo
This filament cleaning filter is a new iteration of the Filament Cleanin...
Filament Cleaning Filter Duo
Filament Cleaning Filter DuoThis filament cleaning filter is a new iteration of the Filament Cleanin...
-
 Alcohol Dispenser
It may seem like an insignificant and barely noticeable tool on the table, but an a...
Alcohol Dispenser
Alcohol DispenserIt may seem like an insignificant and barely noticeable tool on the table, but an a...
-
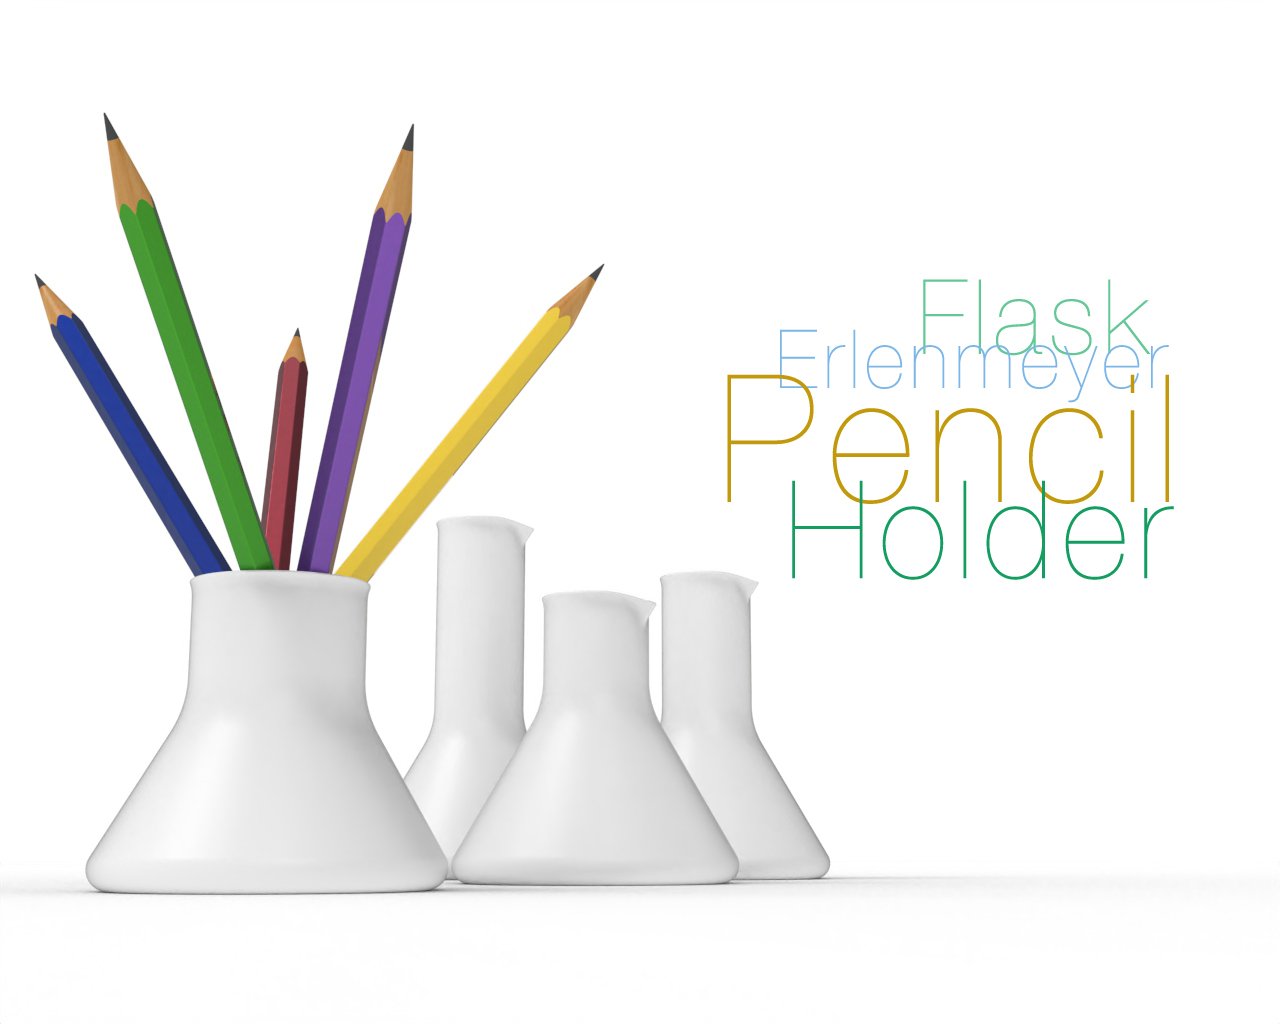 Erlenmeyer Flask Pencil Holder
Pencil Holder in the Shape of an Erlenmeyer FlaskI have an unusual fondness for certain technical it...
Erlenmeyer Flask Pencil Holder
Pencil Holder in the Shape of an Erlenmeyer FlaskI have an unusual fondness for certain technical it...
-
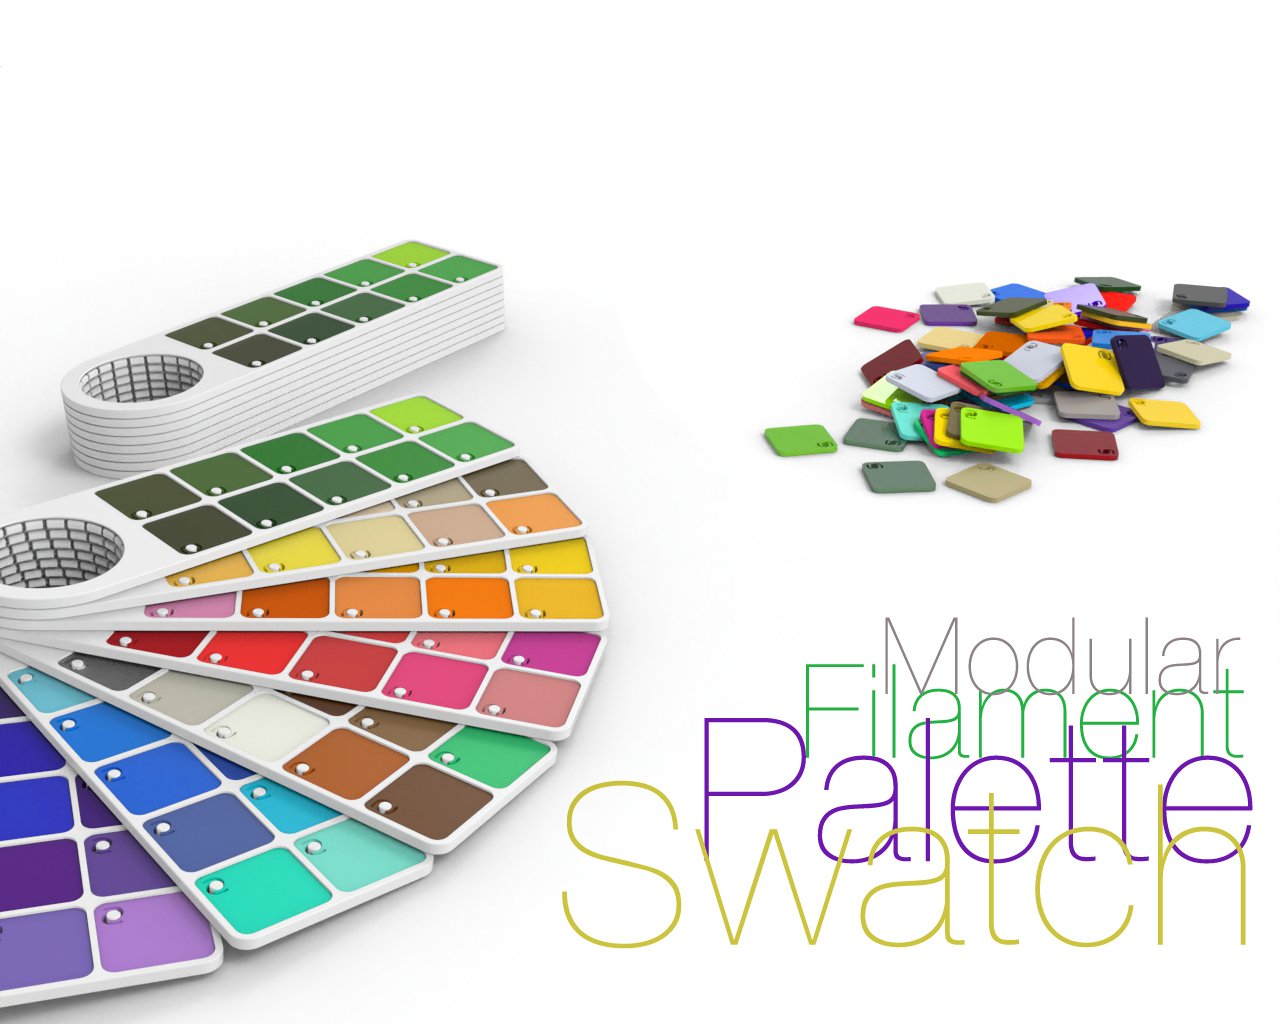 Modular Filament Swatch Palette.
Modular Filament Swatch PaletteColor matters everywhere — in design, manufacturing, printing, ...
Modular Filament Swatch Palette.
Modular Filament Swatch PaletteColor matters everywhere — in design, manufacturing, printing, ...
-
Programmable Mist Maker - XIAO / QT PY Extension
1074 2 1 -
RadioHAT - Raspberry Pi radio development platform
891 0 2 -
-
-
-
-
ARPS-2 – Arduino-Compatible Robot Project Shield for Arduino UNO
3334 0 6 -
A Compact Charging Breakout Board For Waveshare ESP32-C3
3945 3 8 -
AI-driven LoRa & LLM-enabled Kiosk & Food Delivery System
4335 2 2


