


Nixie bargraph thermometer with Arduino
Besides the well known numerical nixie tubes, other types of neon filled tubes were also used in the past for specific applications. For linear gauge displays, neon filled bargraph tubes were used. The most prevalent types of these tubes are the Russian IN-9 and IN-13 linear indicators. These tubes are technically not nixie tubes as they do not show digits but they were used during the same time period and they share the same warm vintage look.
Most of the "nixie" thermometer kits on the market are based on the IN-13 bargraph tube. Compared to the IN-13 tube, the IN-9 is quite unpopular as many people run into problems when they try to use them in their projects. An IN-9 tube consists of a nickel plated anode mesh and cathode of molybdenum wire. Due to the use of molybdenum, the ignition voltage of the neon gas mixture in the tube remains quite low (< 140 V). At the bottom the molybdenum wire is coated with zirconium which has an even lower ignition voltage. As a result the bargraph column tends to start at the bottom.
Opposed to the IN-9 tube, the IN-13 tube uses an auxiliary cathode to make sure the glow starts at the bottom. As IN-13 tube stocks become more and more depleted we had no other option than to use the IN-9 tube.
The two main problems with this tube are the bargraph display not starting at the bottom (column breaks) and cathode poisoning where the bargraph display cannot reach the end of the tube. The cathode poisoning problem can in most cases be solved by a burn-in procedure where the tube is subjected to overcurrent until the glow reaches the end of the tube. The other issue is a lot more trickier...
Originally, IN-9 tubes were used for indicating mains voltages and currents or similar voltages and were often driven with half-wave rectified current instead of DC. There was a discussion about this on the NeoNixie newsgroup and there was even a schematic posted by user "Start End". The trick is to switch the tube on and off around 50 - 100 times per second. We did a lot of tests with this setup and it works remarkably well. The only drawback is that the linearity is not very good, but that can easily be corrected in software.
The complete thermometer circuit consists of a 5 V to 150 V "voltage doubler" step-up converter, an IN-9 tube driver based on a low voltage rail-to-rail opamp, two RGB leds and an Arduino Nano. We did choose a very cheap Chinese Arduino Nano clone. As such, there are no SMD parts to solder and for the price of the Arduino Nano we couldn't even supply a partially pre-assembled PCB with a microcontroller and a USB to serial converter IC.
The Arduino Nano switches the IN-9 tube on and off around 75 times a second, so the display does not show any flickering. To prevent cathode poisoning of the IN-9 tube, a sweep animation is displayed at an adjustable interval. The temperature sensor is a DS18B20. As the total power consumption is less than 1 W, the thermometer can even be powered via a standard USB port on a computer.
Nixie bargraph thermometer with Arduino
Project images are for reference only. Actual production is based on the manufacturing files on the project page.
Please review the designer's notes (e.g., PCB thickness) and select the appropriate options.
PCBWay is not responsible
for issues caused by unsuitable parameter selections.
For more important ordering information, please refer to
Read More


Raspberry Pi 5 7 Inch Touch Screen IPS 1024x600 HD LCD HDMI-compatible Display for RPI 4B 3B+ OPI 5 AIDA64 PC Secondary Screen(Without Speaker)
BUY NOW

- Comments(3)
- Likes(5)
More by John Sparrow
-
 Nixie bargraph thermometer with Arduino
Besides the well known numerical nixie tubes, other types of neon filled tubes were also used in the...
Nixie bargraph thermometer with Arduino
Besides the well known numerical nixie tubes, other types of neon filled tubes were also used in the...
-
 Сirklotron with germanium transistors Darlington output.
Forum:https://www.diyaudio.com/forums/solid-...
Сirklotron with germanium transistors Darlington output.
Сirklotron with germanium transistors Darlington output.Forum:https://www.diyaudio.com/forums/solid-...
-
 Speaker Turn-On Delay and DC Protector
Speaker protection with galvanic isolation from the amplifier.
Speaker Turn-On Delay and DC Protector
Speaker protection with galvanic isolation from the amplifier.
-
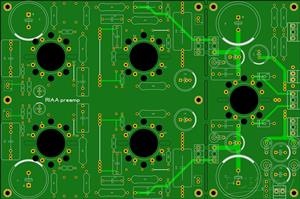
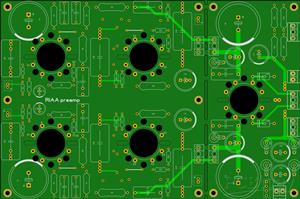
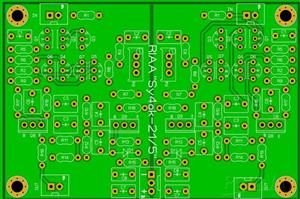 RIAA-MM preamplifier Su4ok-XXI/5
An improved version of the RIAA MM preamplifier by Kyiv engineer Sukhov. The main disadvantage of th...
RIAA-MM preamplifier Su4ok-XXI/5
An improved version of the RIAA MM preamplifier by Kyiv engineer Sukhov. The main disadvantage of th...
-
 FM stereodecoder for Radiotehnika T101 tuners
.When replacing the stereo decoder, all tuner functions...
FM stereodecoder for Radiotehnika T101 tuners
FM stereodecoder for Radiotehnika T101 tuners.When replacing the stereo decoder, all tuner functions...
-
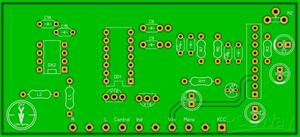
 Amplifier "YES Просто"
Forum thread:https://forum.vegalab.ru/showthread.php?t=98541
Amplifier "YES Просто"
Amplifier "YES Просто"Forum thread:https://forum.vegalab.ru/showthread.php?t=98541
-
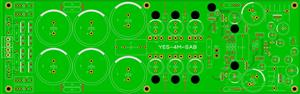 YES-4M-SAB amplifier
Forum thread:https://forum.vegalab.ru/showthread.php?t=81794
YES-4M-SAB amplifier
Forum thread:https://forum.vegalab.ru/showthread.php?t=81794
-
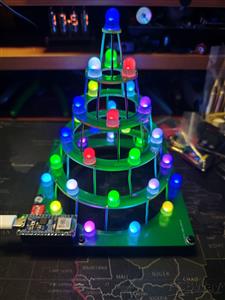 Christmas tree
Circular Christmas tree 2023(C) Elektor
Christmas tree
Circular Christmas tree 2023(C) Elektor
-
 Delay Power On
Device for delaying the supply of anode voltage in tube power amplifiers. The delay time is adjustab...
Delay Power On
Device for delaying the supply of anode voltage in tube power amplifiers. The delay time is adjustab...
-
 MM RIAA preamp 6Ж38П - 6Н6П
RIAA preamp 6Ж38П - 6Н6ПAlmost universal printed circuit board on which you can collect RIAA preamp.
MM RIAA preamp 6Ж38П - 6Н6П
RIAA preamp 6Ж38П - 6Н6ПAlmost universal printed circuit board on which you can collect RIAA preamp.
-
 MM RIAA preamp EF86 - ECC88
RIAA preamp EF86 - ECC88Almost universal printed circuit board on which you can collect RIAA preamp.
MM RIAA preamp EF86 - ECC88
RIAA preamp EF86 - ECC88Almost universal printed circuit board on which you can collect RIAA preamp.
-
 "The End Millennium" clone amplifier
Amplifier Millennium v4
"The End Millennium" clone amplifier
Amplifier Millennium v4
-
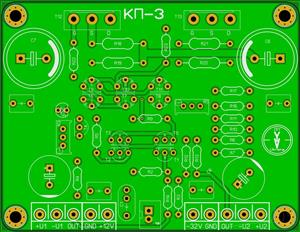 JFET Circlotrons without NFB KP-3
Power supply: https://www.pcbway.com/project/shareproject/Power_sup...
JFET Circlotrons without NFB KP-3
JFET Circlotrons without NFB KP-3Power supply: https://www.pcbway.com/project/shareproject/Power_sup...
-
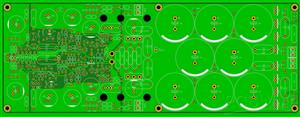
 Power supply for JFET Circlotrons without NFB KP-3
Stabelized power supply for JFET Circlotrons without NFB KP-3
Power supply for JFET Circlotrons without NFB KP-3
Stabelized power supply for JFET Circlotrons without NFB KP-3
-
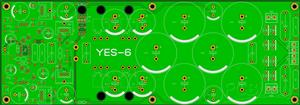 Amplifier "Yes-6"
Audio amplifier "Yes-6".https://forum.vegalab.ru/showthread.php?t=90816
Amplifier "Yes-6"
Audio amplifier "Yes-6".https://forum.vegalab.ru/showthread.php?t=90816
-
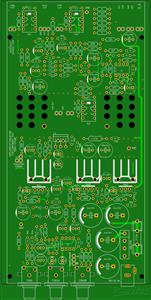
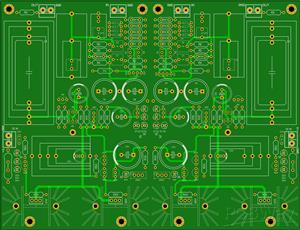
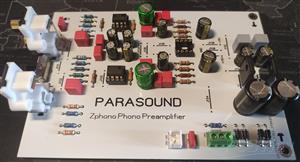 RIAA MM/MC preamplifier Parasound Zphono
RIAA preamplifier Parasound Zphono
RIAA MM/MC preamplifier Parasound Zphono
RIAA preamplifier Parasound Zphono
-
 Loudspeaker Testing Jiq
Features and Specifications- Measures loudspeaker driver frequency and phase responses- Measures lou...
Loudspeaker Testing Jiq
Features and Specifications- Measures loudspeaker driver frequency and phase responses- Measures lou...
-
 Salas folded simplistic phono
https://www.diyaudio.com/community/threads/simplistic-njfet-riaa.129126...
Salas folded simplistic phono
Salas folded simplistic phonohttps://www.diyaudio.com/community/threads/simplistic-njfet-riaa.129126...
-
Programmable Mist Maker - XIAO / QT PY Extension
1084 2 1 -
RadioHAT - Raspberry Pi radio development platform
904 0 2 -
-
-
-
-
ARPS-2 – Arduino-Compatible Robot Project Shield for Arduino UNO
3341 0 6 -
A Compact Charging Breakout Board For Waveshare ESP32-C3
3955 3 8 -
AI-driven LoRa & LLM-enabled Kiosk & Food Delivery System
4342 2 2


