




|
Arduino Leonardo with Headers |
x 1 | |
|
|
B2B-XH-A |
x 11 | |
|
|
B5B-XH-A |
x 1 |
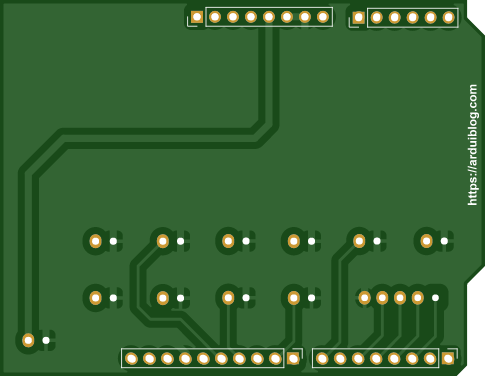
Arcade Shield V1
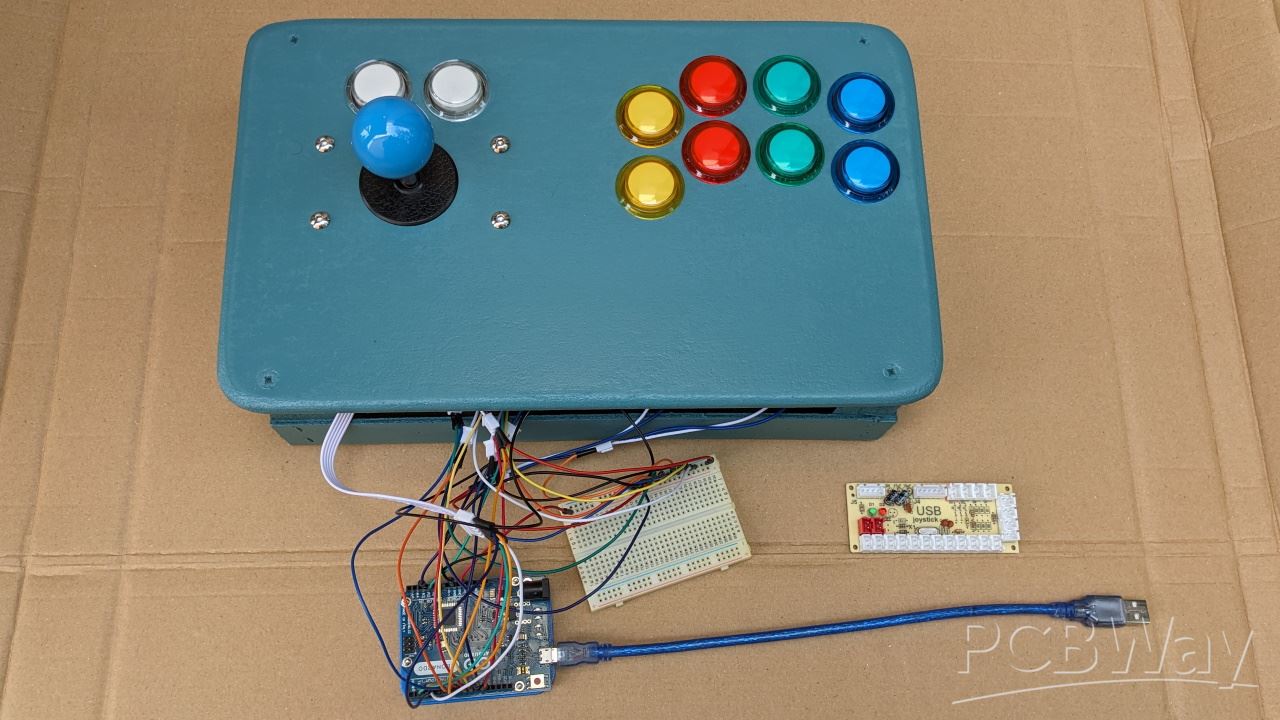
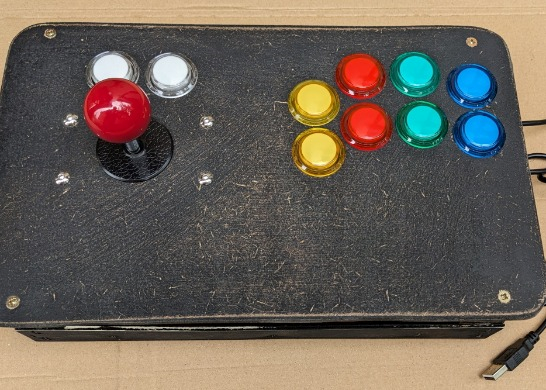
Replace the card supplied in the Arcade Kit
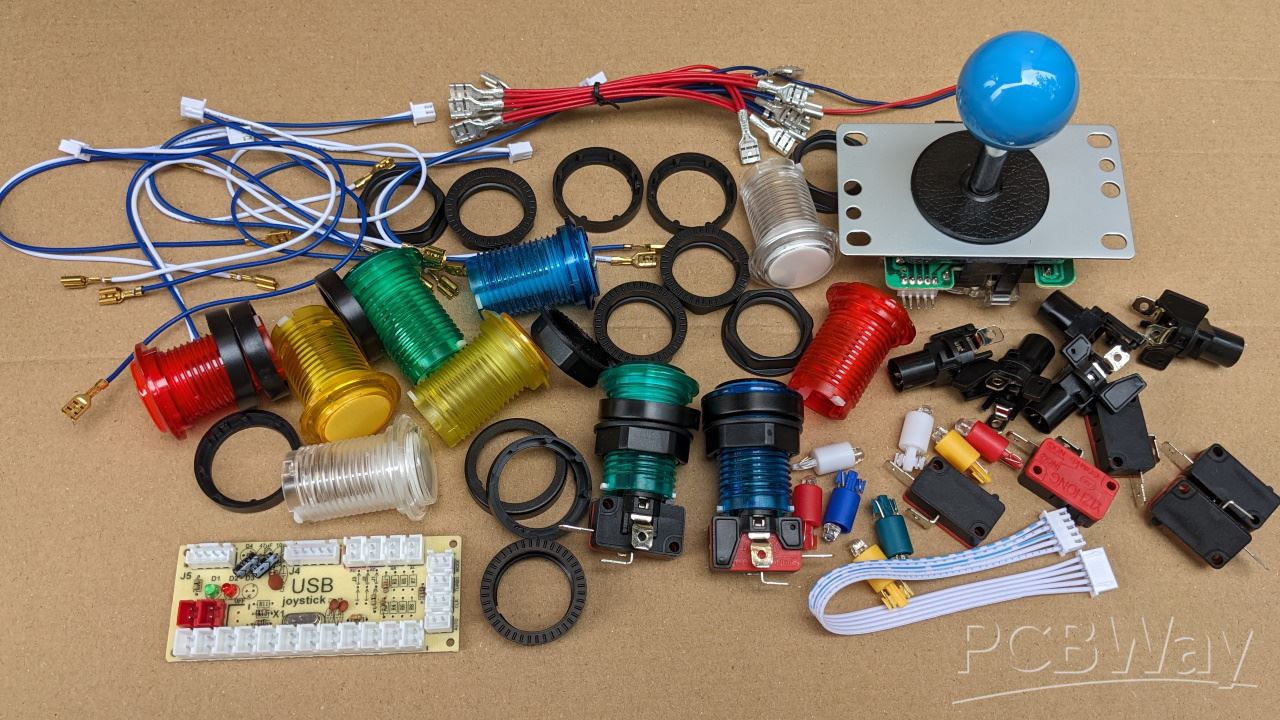
With an Arduino Leonardo.
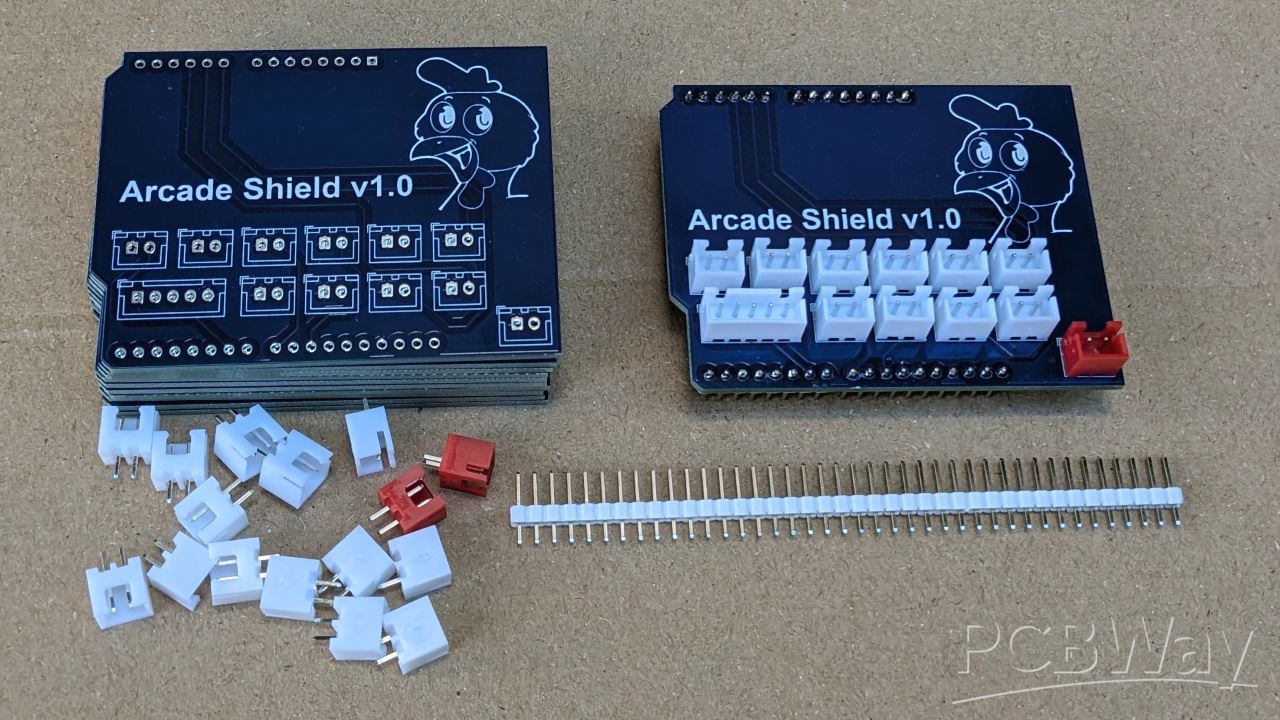
More information on my blog and on Youtube.
// Arcade_Shield_v1

#include <Joystick.h>

Joystick_ Joystick(JOYSTICK_DEFAULT_REPORT_ID,JOYSTICK_TYPE_GAMEPAD,
  10, 0,                  // Button Count, Hat Switch Count
  true, true, false,     // X and Y, but no Z Axis
  false, false, false,   // No Rx, Ry, or Rz
  false, false,          // No rudder or throttle
  false, false, false);  // No accelerator, brake, or steering

void setup() {
  // Initialize Button Pins
  pinMode(2, INPUT_PULLUP);
  pinMode(3, INPUT_PULLUP);
  pinMode(4, INPUT_PULLUP);
  pinMode(5, INPUT_PULLUP);
  pinMode(6, INPUT_PULLUP);
  pinMode(7, INPUT_PULLUP);
  pinMode(8, INPUT_PULLUP);
  pinMode(9, INPUT_PULLUP);
  pinMode(10, INPUT_PULLUP);
  pinMode(11, INPUT_PULLUP);
  pinMode(12, INPUT_PULLUP);
  // D18 pour l'Arduino Leonardo et D14 pour l'Arduino Uno
  pinMode(18, INPUT_PULLUP);
  // D19 pour l'Arduino Leonardo et D15 pour l'Arduino Uno
  pinMode(19, INPUT_PULLUP);
  // D20 pour l'Arduino Leonardo et D16 pour l'Arduino Uno
  pinMode(20, INPUT_PULLUP);

  // Si bouton Start appuyé au démarrage, pause de 30 secondes
  if (digitalRead(6) == 0) {
    delay(30000);
  }

  // Initialize Joystick Library
  Joystick.begin();
  Joystick.setXAxisRange(-1, 1);
  Joystick.setYAxisRange(-1, 1);
}

// Last state of the buttons
int lastButtonState[14] = {0,0,0,0,0,0,0,0,0,0,0,0,0,0};

// Leonardo
int buttonMap[14] = {2,3,4,5,6,7,8,9,10,11,12,18,19,20};
// Uno
// int buttonMap[14] = {2,3,4,5,6,7,8,9,10,11,12,14,15,16};

// ButtonMap = 0, Pin 2 = UP
// ButtonMap = 1, Pin 3 = RIGHT
// ButtonMap = 2, Pin 4 = DOWN
// ButtonMap = 3, Pin 5 = LEFT

// ButtonMap = 4, Pin 6 = Start
// ButtonMap = 5, Pin 7 = Select
// ButtonMap = 6, Pin 8 = Button 1
// ButtonMap = 7, Pin 9 = Button 2
// ButtonMap = 8, Pin 10 = Button 3
// ButtonMap = 9, Pin 11 = Button 4
// ButtonMap = 10, Pin 12 = Button 5
// ButtonMap = 11, Pin A0 (18 ou 14) = Button 6
// ButtonMap = 12, Pin A1 (19 ou 15) = Button 7
// ButtonMap = 13, Pin A2 (20 ou 16) = Button 8


void loop() {

  // Read pin values
  for (int index = 0; index < 14; index++)
  {
    int currentButtonState = !digitalRead(buttonMap[index]);
    if (currentButtonState != lastButtonState[index])
    {
      switch (index) {
        case 0: // UP
          if (currentButtonState == 1) {
            Joystick.setYAxis(-1);
          } else {
            Joystick.setYAxis(0);
          }
          break;
        case 1: // RIGHT
          if (currentButtonState == 1) {
            Joystick.setXAxis(1);
          } else {
            Joystick.setXAxis(0);
          }
          break;
        case 2: // DOWN
          if (currentButtonState == 1) {
            Joystick.setYAxis(1);
          } else {
            Joystick.setYAxis(0);
          }
          break;
        case 3: // LEFT
          if (currentButtonState == 1) {
            Joystick.setXAxis(-1);
          } else {
            Joystick.setXAxis(0);
          }
          break;
        case 4: // Start Button
          Joystick.setButton(0, currentButtonState);
          break;
        case 5: // Select Button
          Joystick.setButton(1, currentButtonState);
          break;
        case 6: // Button 1
          Joystick.setButton(2, currentButtonState);
          break;
        case 7: // Button 2
          Joystick.setButton(3, currentButtonState);
          break;
        case 8: // Button 3
          Joystick.setButton(4, currentButtonState);
          break;
        case 9: // Button 4
          Joystick.setButton(5, currentButtonState);
          break;
        case 10: // Button 5
          Joystick.setButton(6, currentButtonState);
          break;
        case 11: // Button 6
          Joystick.setButton(7, currentButtonState);
          break;
        case 12: // Button 7
          Joystick.setButton(8, currentButtonState);
          break;
        case 13: // Button 8
          Joystick.setButton(9, currentButtonState);
          break;
      }
      lastButtonState[index] = currentButtonState;
    }
  }
  delay(10);
}
Arcade Shield V1
Project images are for reference only. Actual production is based on the manufacturing files on the project page.
Please review the designer's notes (e.g., PCB thickness) and select the appropriate options.
PCBWay is not responsible
for issues caused by unsuitable parameter selections.
For more important ordering information, please refer to
Read More









Raspberry Pi 5 7 Inch Touch Screen IPS 1024x600 HD LCD HDMI-compatible Display for RPI 4B 3B+ OPI 5 AIDA64 PC Secondary Screen(Without Speaker)
BUY NOW


- Comments(0)
- Likes(1)
 More by Arduiblog
-
 Goodies arduiblog.com for Maker Faire Paris 2026
Solder the battery holder and fuse to the back of the board and place the flashing LEDs in the chick...
Goodies arduiblog.com for Maker Faire Paris 2026
Solder the battery holder and fuse to the back of the board and place the flashing LEDs in the chick...
-
 Arcade Shield V2.1
Buttons flash when pressed. And when the controller is plugged in, it can be animated.Simply connect...
Arcade Shield V2.1
Buttons flash when pressed. And when the controller is plugged in, it can be animated.Simply connect...
-
 Arcade Shield V1
Replace the card supplied in the Arcade KitWith an Arduino Leonardo.More information on my blog and ...
Arcade Shield V1
Replace the card supplied in the Arcade KitWith an Arduino Leonardo.More information on my blog and ...
-
Programmable Mist Maker - XIAO / QT PY Extension
2184 2 2 -
RadioHAT - Raspberry Pi radio development platform
1871 0 4 -
-
-
-
ARPS-2 – Arduino-Compatible Robot Project Shield for Arduino UNO
4063 0 6 -
A Compact Charging Breakout Board For Waveshare ESP32-C3
4817 3 8 -
AI-driven LoRa & LLM-enabled Kiosk & Food Delivery System
5621 2 2 -





















