






|
KiCad 9.0 |
|

|
arduino IDEArduino
|
|

|
Solder Wire, Lead Free |
Batman Gaming Controller
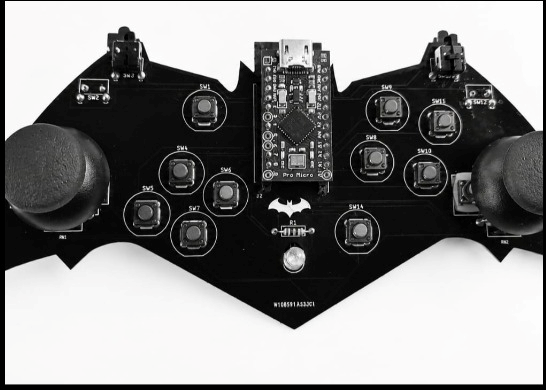
I built this Batman-themed gaming controller as a fun engineering project to combine my love for both electronics and gaming. Instead of buying a regular Xbox controller, I wanted to design and build one completely from scratch, with a custom PCB shaped like the Batman logo.
The controller is built around an Arduino Pro Micro, which has native USB support and uses the XInput library to communicate with the PC as a standard Xbox 360 controller. This means it works directly with PC games without needing any special drivers.
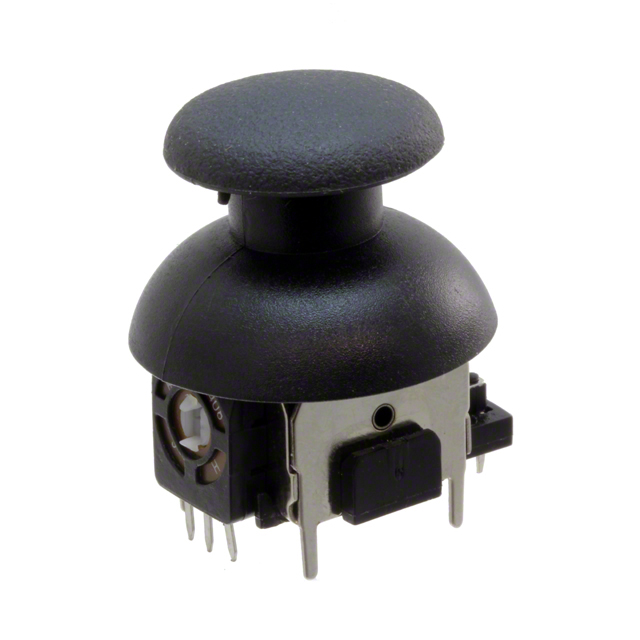
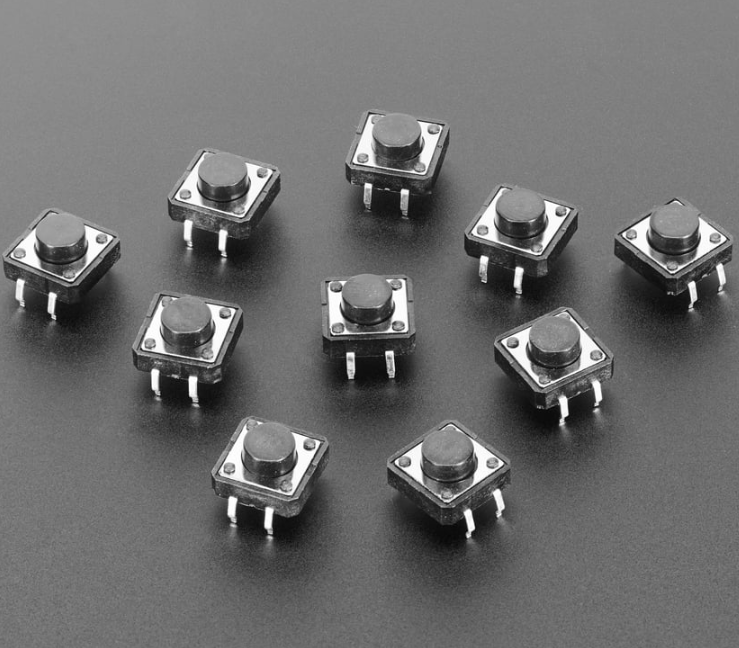
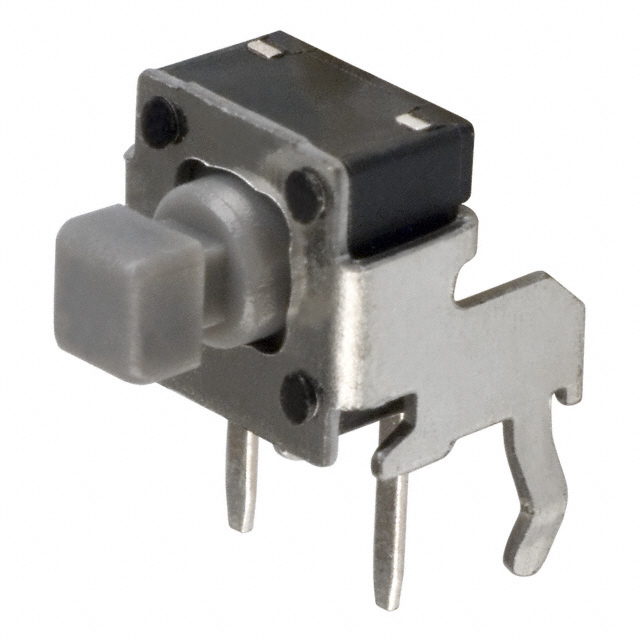
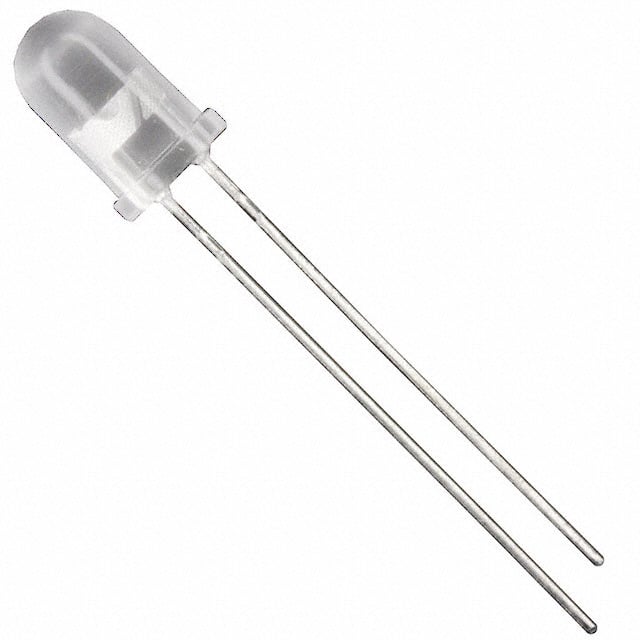
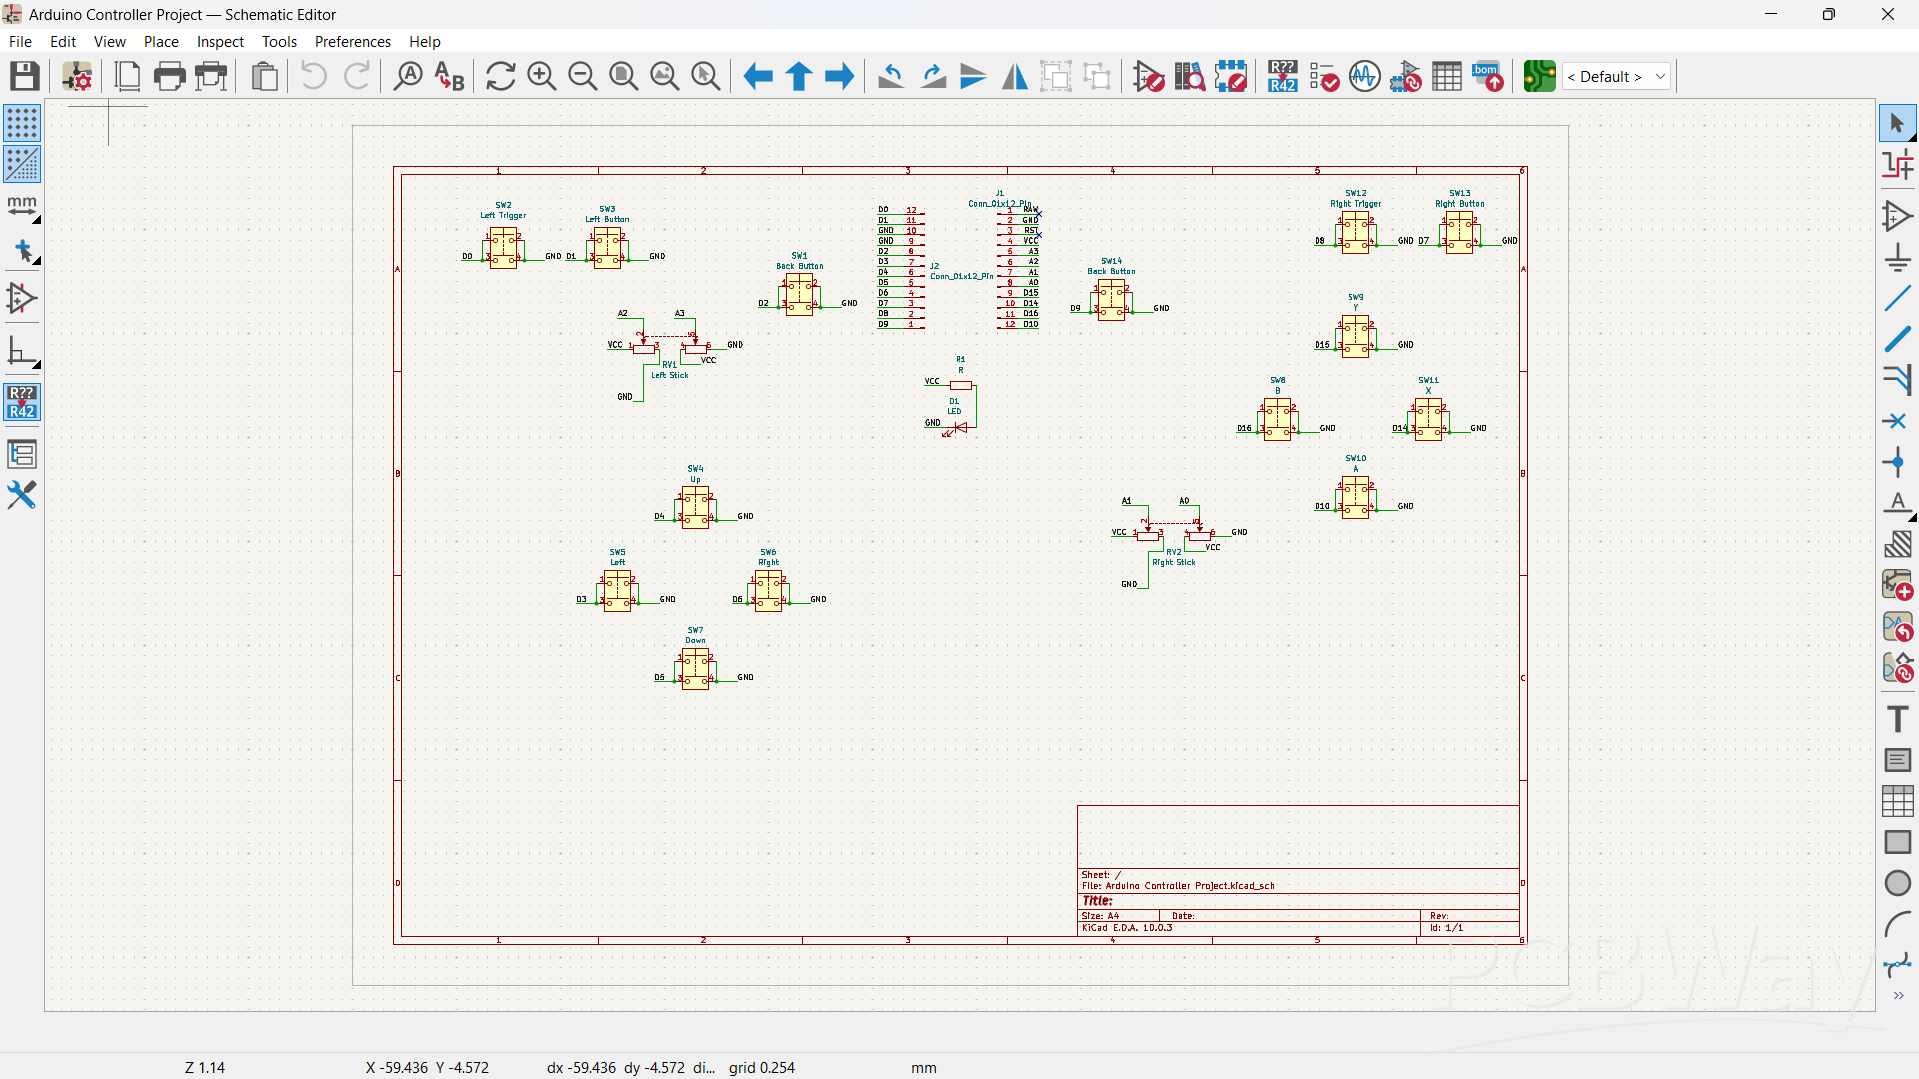
The board features dual analog joysticks for movement and camera control, fourteen tactile push buttons mapped to the A, B, X, Y, Start, Back, LB, RB buttons, D-Pad directions, and analog triggers using digital switches. A single LED with a 10kΩ resistor lights up near the Batman logo as a power indicator when the controller is connected.
The biggest challenge was correctly mapping each analog joystick axis and button to match standard Xbox controller behavior, since the wiring orientation on a custom PCB doesn't automatically match software expectations. This required careful testing using tools like the Arduino Serial Monitor and an online gamepad tester to verify every direction and button before the controller worked perfectly in real gameplay.
The PCB itself was manufactured by PCBWay, with the Batman bat-wing shape cut directly into the board outline, making it both a functional and visually striking design.
This project taught me a lot about embedded systems, USB HID communication, and the value of building something myself rather than buying it off the shelf.
#include <XInput.h>

void setup() {
  XInput.setAutoSend(false);
  XInput.setJoystickRange(0, 1023);
  XInput.begin();

  pinMode(0, INPUT_PULLUP);
  pinMode(1, INPUT_PULLUP);
  pinMode(2, INPUT_PULLUP);
  pinMode(3, INPUT_PULLUP);
  pinMode(4, INPUT_PULLUP);
  pinMode(5, INPUT_PULLUP);
  pinMode(6, INPUT_PULLUP);
  pinMode(7, INPUT_PULLUP);
  pinMode(8, INPUT_PULLUP);
  pinMode(9, INPUT_PULLUP);
  pinMode(10, INPUT_PULLUP);
  pinMode(14, INPUT_PULLUP);
  pinMode(15, INPUT_PULLUP);
  pinMode(16, INPUT_PULLUP);

  Serial.begin(9600);
}

int applyDeadzone(int value, int deadzone) {
  int centered = value - 512;
  if (abs(centered) < deadzone) return 512;
  return value;
}

void loop() {
  XInput.setTrigger(TRIGGER_LEFT, digitalRead(0) * -255 + 255);
  XInput.setButton(BUTTON_LB, !digitalRead(1));
  XInput.setButton(BUTTON_BACK, !digitalRead(2));
  XInput.setDpad(!digitalRead(4), !digitalRead(5), !digitalRead(3), !digitalRead(6));
  XInput.setTrigger(TRIGGER_RIGHT, digitalRead(7) * -255 + 255);
  XInput.setButton(BUTTON_RB, !digitalRead(8));
  XInput.setButton(BUTTON_B, !digitalRead(14));
  XInput.setButton(BUTTON_A, !digitalRead(10));
  XInput.setButton(BUTTON_Y, !digitalRead(15));
  XInput.setButton(BUTTON_START, !digitalRead(9));
  XInput.setButton(BUTTON_X, !digitalRead(16));

  // LEFT joystick
  int leftXAxis  = applyDeadzone(1023 - analogRead(A2), 50);
  int leftYAxis  = applyDeadzone(1023 - analogRead(A3), 50);
  XInput.setJoystick(JOY_LEFT, leftXAxis, leftYAxis);

  // RIGHT joystick
  int rightXAxis = applyDeadzone(1023 - analogRead(A1), 50);
  int rightYAxis = applyDeadzone(1023 - analogRead(A0), 50);
  XInput.setJoystick(JOY_RIGHT, rightXAxis, rightYAxis);

  XInput.send();
}
Batman Gaming Controller
Project images are for reference only. Actual production is based on the manufacturing files on the project page.
Please review the designer's notes (e.g., PCB thickness) and select the appropriate options.
PCBWay is not responsible
for issues caused by unsuitable parameter selections.
For more important ordering information, please refer to
Read More









Raspberry Pi 5 7 Inch Touch Screen IPS 1024x600 HD LCD HDMI-compatible Display for RPI 4B 3B+ OPI 5 AIDA64 PC Secondary Screen(Without Speaker)
BUY NOW


- Comments(0)
- Likes(1)
More by Immanuel Raj
-
Programmable Mist Maker - XIAO / QT PY Extension
2186 2 2 -
RadioHAT - Raspberry Pi radio development platform
1873 0 4 -
-
-
-
ARPS-2 – Arduino-Compatible Robot Project Shield for Arduino UNO
4065 0 6 -
A Compact Charging Breakout Board For Waveshare ESP32-C3
4819 3 8 -
AI-driven LoRa & LLM-enabled Kiosk & Food Delivery System
5621 2 2 -





















