


|
KiCad 9.0 |
|

|
Visual StudioMicrosoft
|
|

|
PlatformIOPlatformIO Labs
|
|

|
Fusion 360Autodesk
|
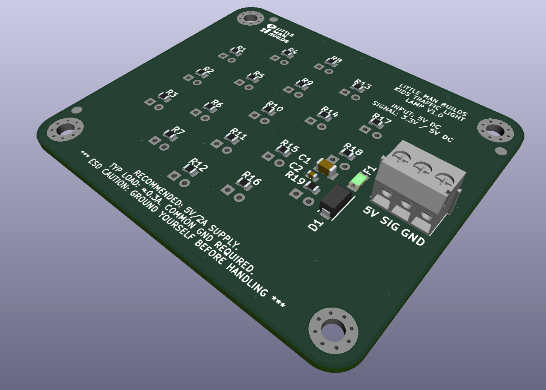
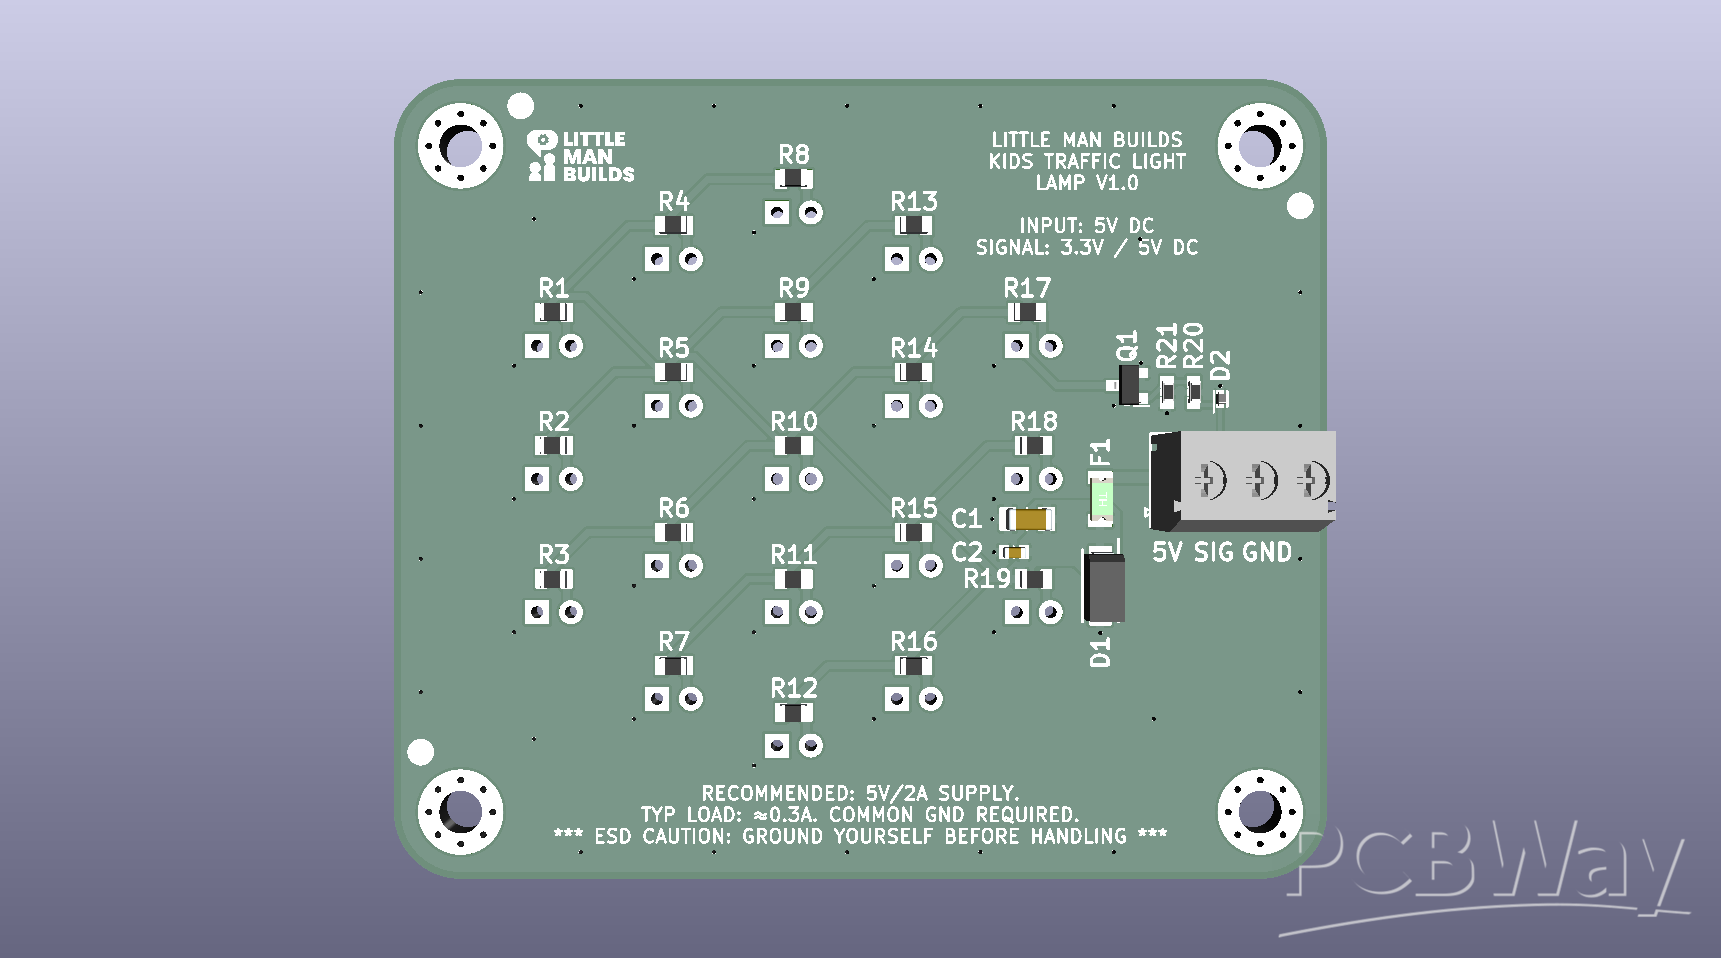
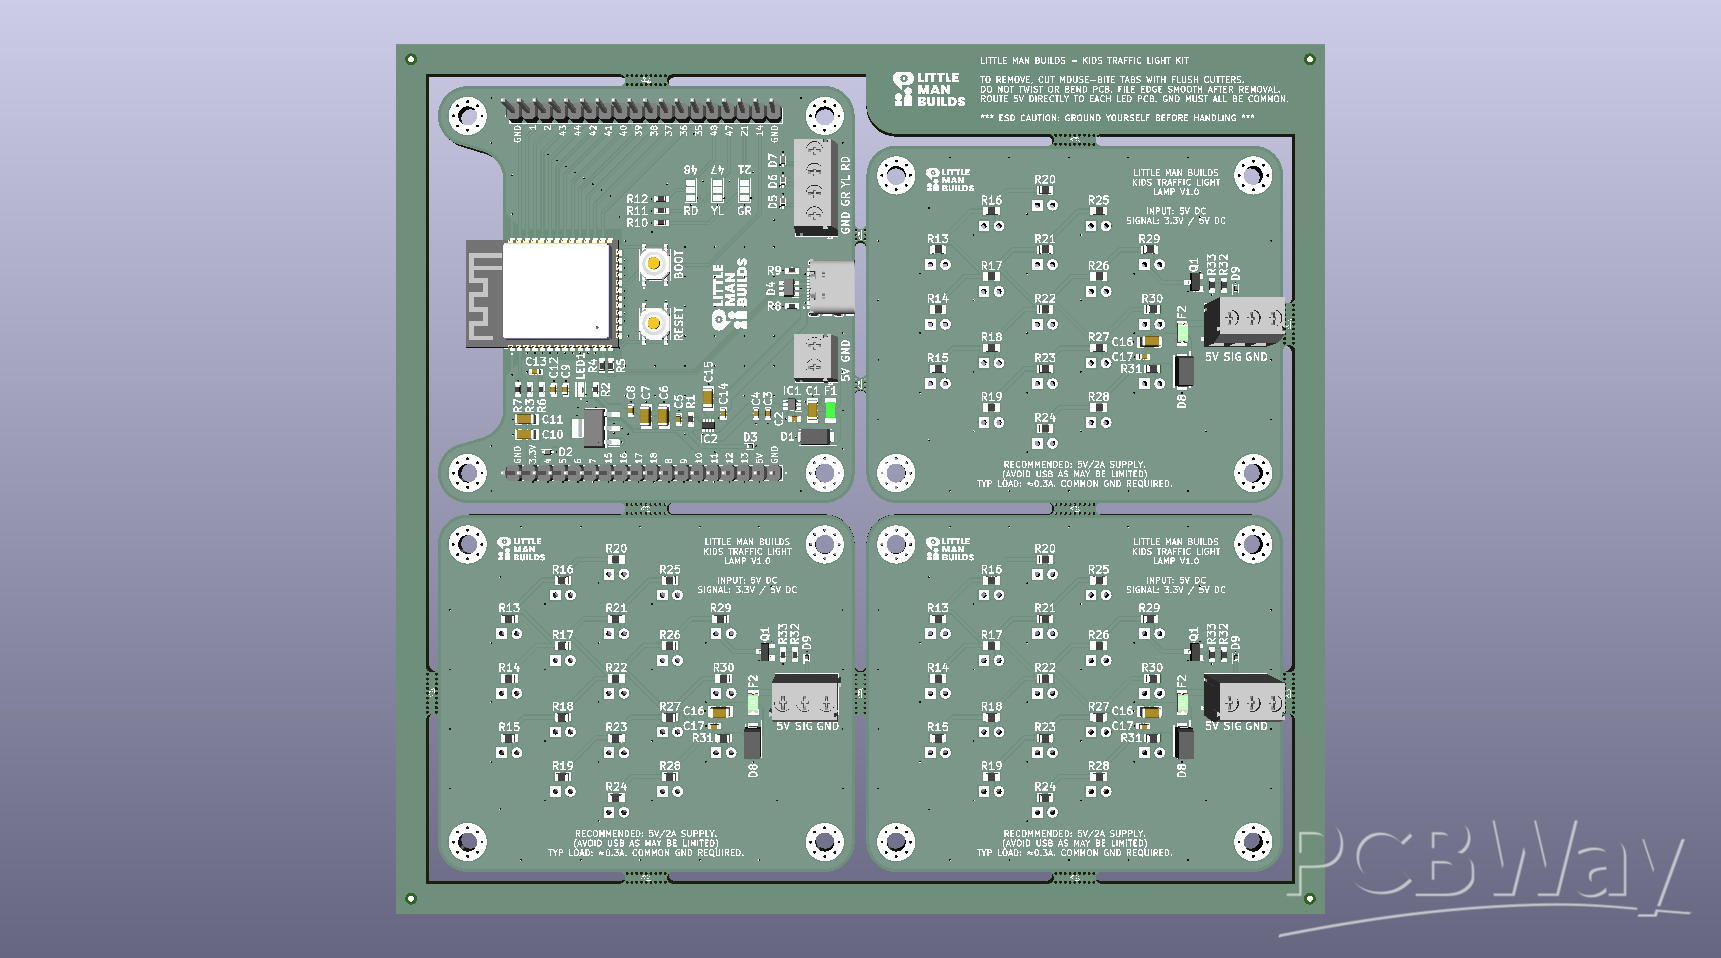
Little Man Builds – Traffic Light Lamp Boards
This is the lamp-board-only version of the Little Man Builds Kids Traffic Light STEM Kit.
In plain English: these are the red, yellow, and green LED boards without forcing you to build the full reference controller, firmware, wiring setup, or traffic light body. Sometimes you want the whole project. Sometimes you just want the lights. This is the “just the lights” version.
Important: looking for the full kit?
This PCBWay project is for the traffic light lamp boards only. If you want the complete reference build with ESP32-S3 electronics, firmware, wiring, documentation, and optional mechanical parts, there is a separate PCBWay shared project called: Little Man Builds – Kids Traffic Light STEM Kit.
That full version is better if you want the complete build path. This lamp-board version is better if you already have your own controller board, classroom electronics setup, Arduino, ESP32, Raspberry Pi Pico, breadboard experiment, or suspicious pile of microcontrollers that you keep calling “organized.”
What these boards are for
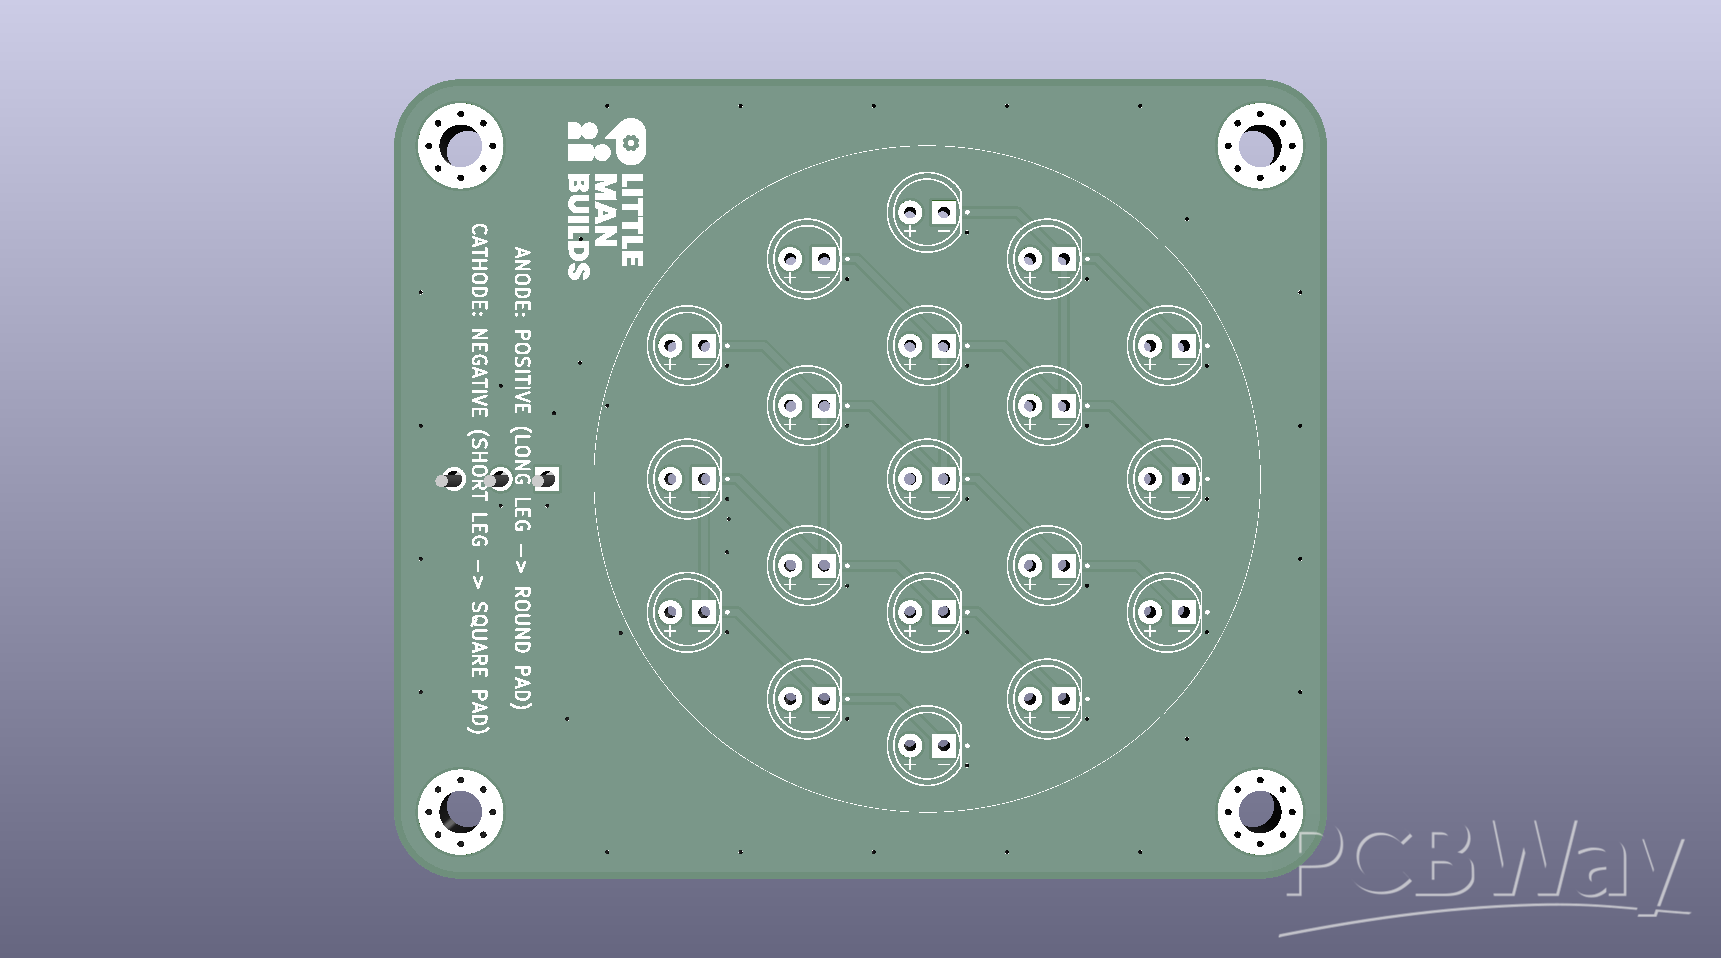
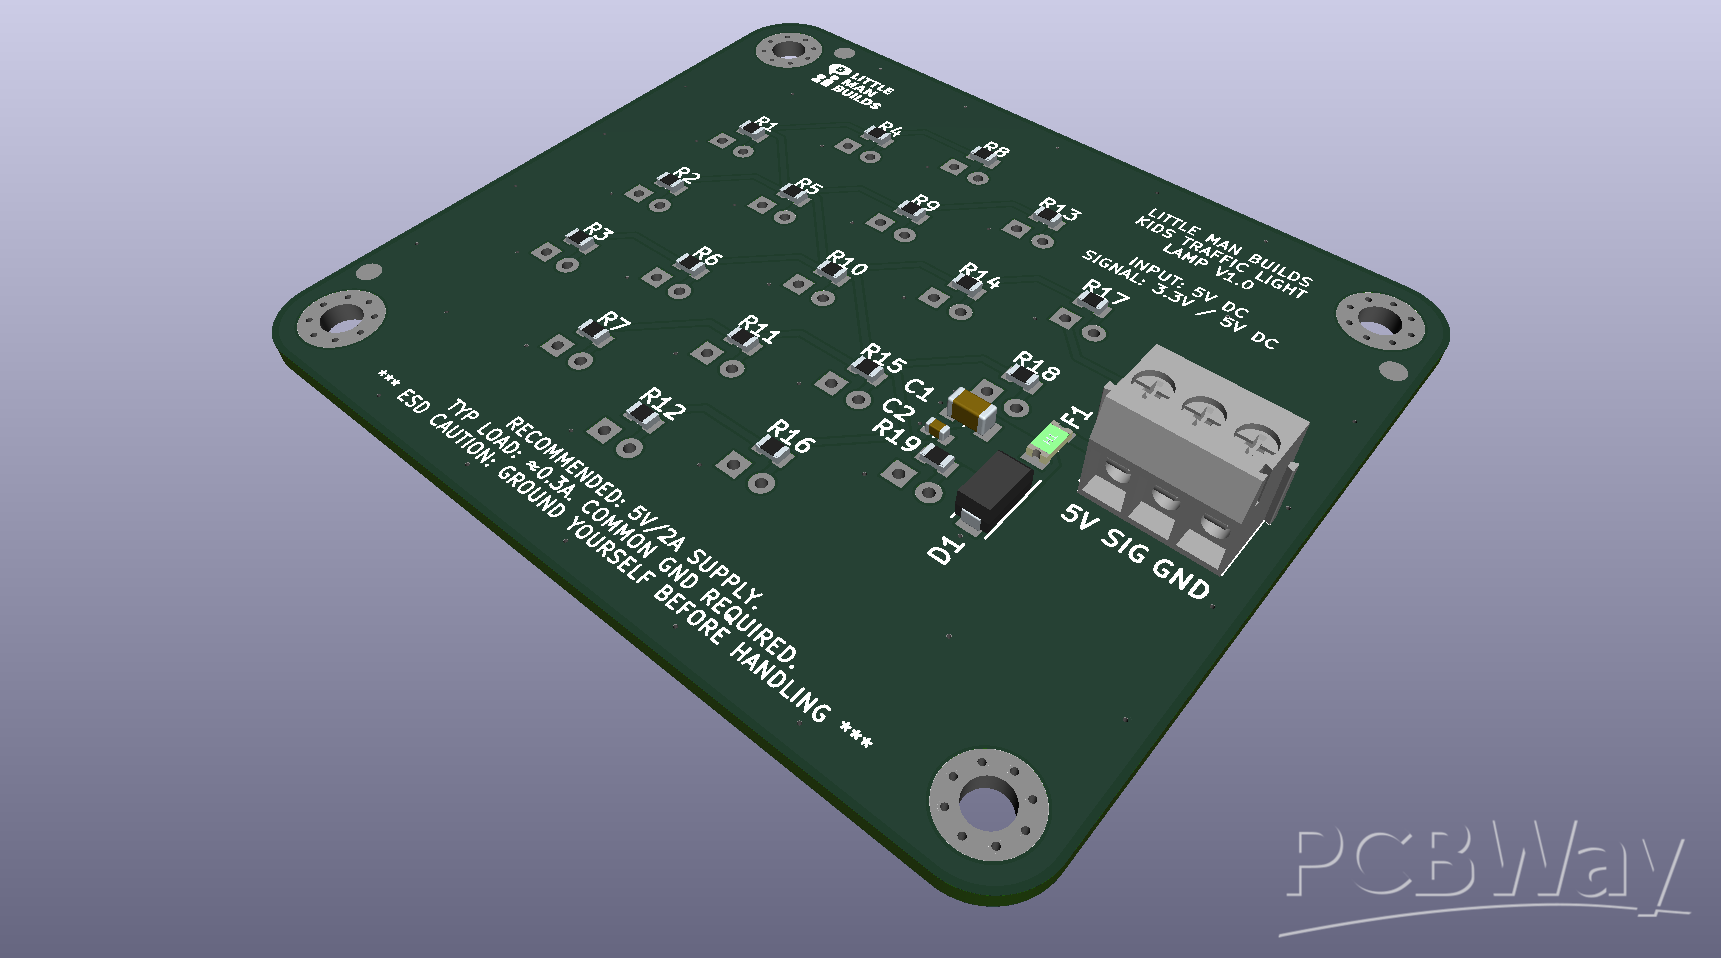
These boards are designed to provide a clean, repeatable traffic light output stage for beginner electronics and STEM projects.
Use them with your own controller to create:
• Classroom traffic light demos
• Beginner soldering projects
• Arduino or ESP32 output exercises
• Raspberry Pi Pico experiments
• Toy road systems
• Model railway signals
• Interactive STEM builds
• Anything else that needs red, yellow, and green lights and a small amount of dignity
They are simple on purpose. A traffic light is easy to understand, easy to test, and very satisfying when it works. It also gives beginners a practical reason to learn about LEDs, polarity, wiring, soldering, and basic output control.
Why separate lamp boards?
The full Kids Traffic Light Kit includes a more complete reference electronics and firmware path. But not everyone needs that. Some builders already have a microcontroller. Some teachers want a simple output board for students. Some makers want to integrate the lights into their own project. And some people just want the traffic light part without accidentally adopting an entire electronics ecosystem before lunch.
So this version keeps the project modular. Use the lamp boards by themselves, or combine them with the full Little Man Builds reference kit.
What you can learn
Depending on how you use them, these boards can help beginners explore:
• LED polarity
• Soldering and assembly
• Wiring checks
• Microcontroller outputs
• Simple traffic light timing logic
• KiCad PCB design
• PCB manufacturing files
• The ancient debugging ritual of turning the connector around and pretending that was definitely step one
The boards are simple enough for a beginner project, but still part of a proper open-source hardware workflow with KiCad design files and manufacturing outputs.
Repository structure
The full GitHub repository includes the design files, documentation, firmware, and build resources for the complete Kids Traffic Light project.
The project is organized into:
• 01_Electronics — KiCad projects, schematics, PCB files, BOMs, and manufacturing exports
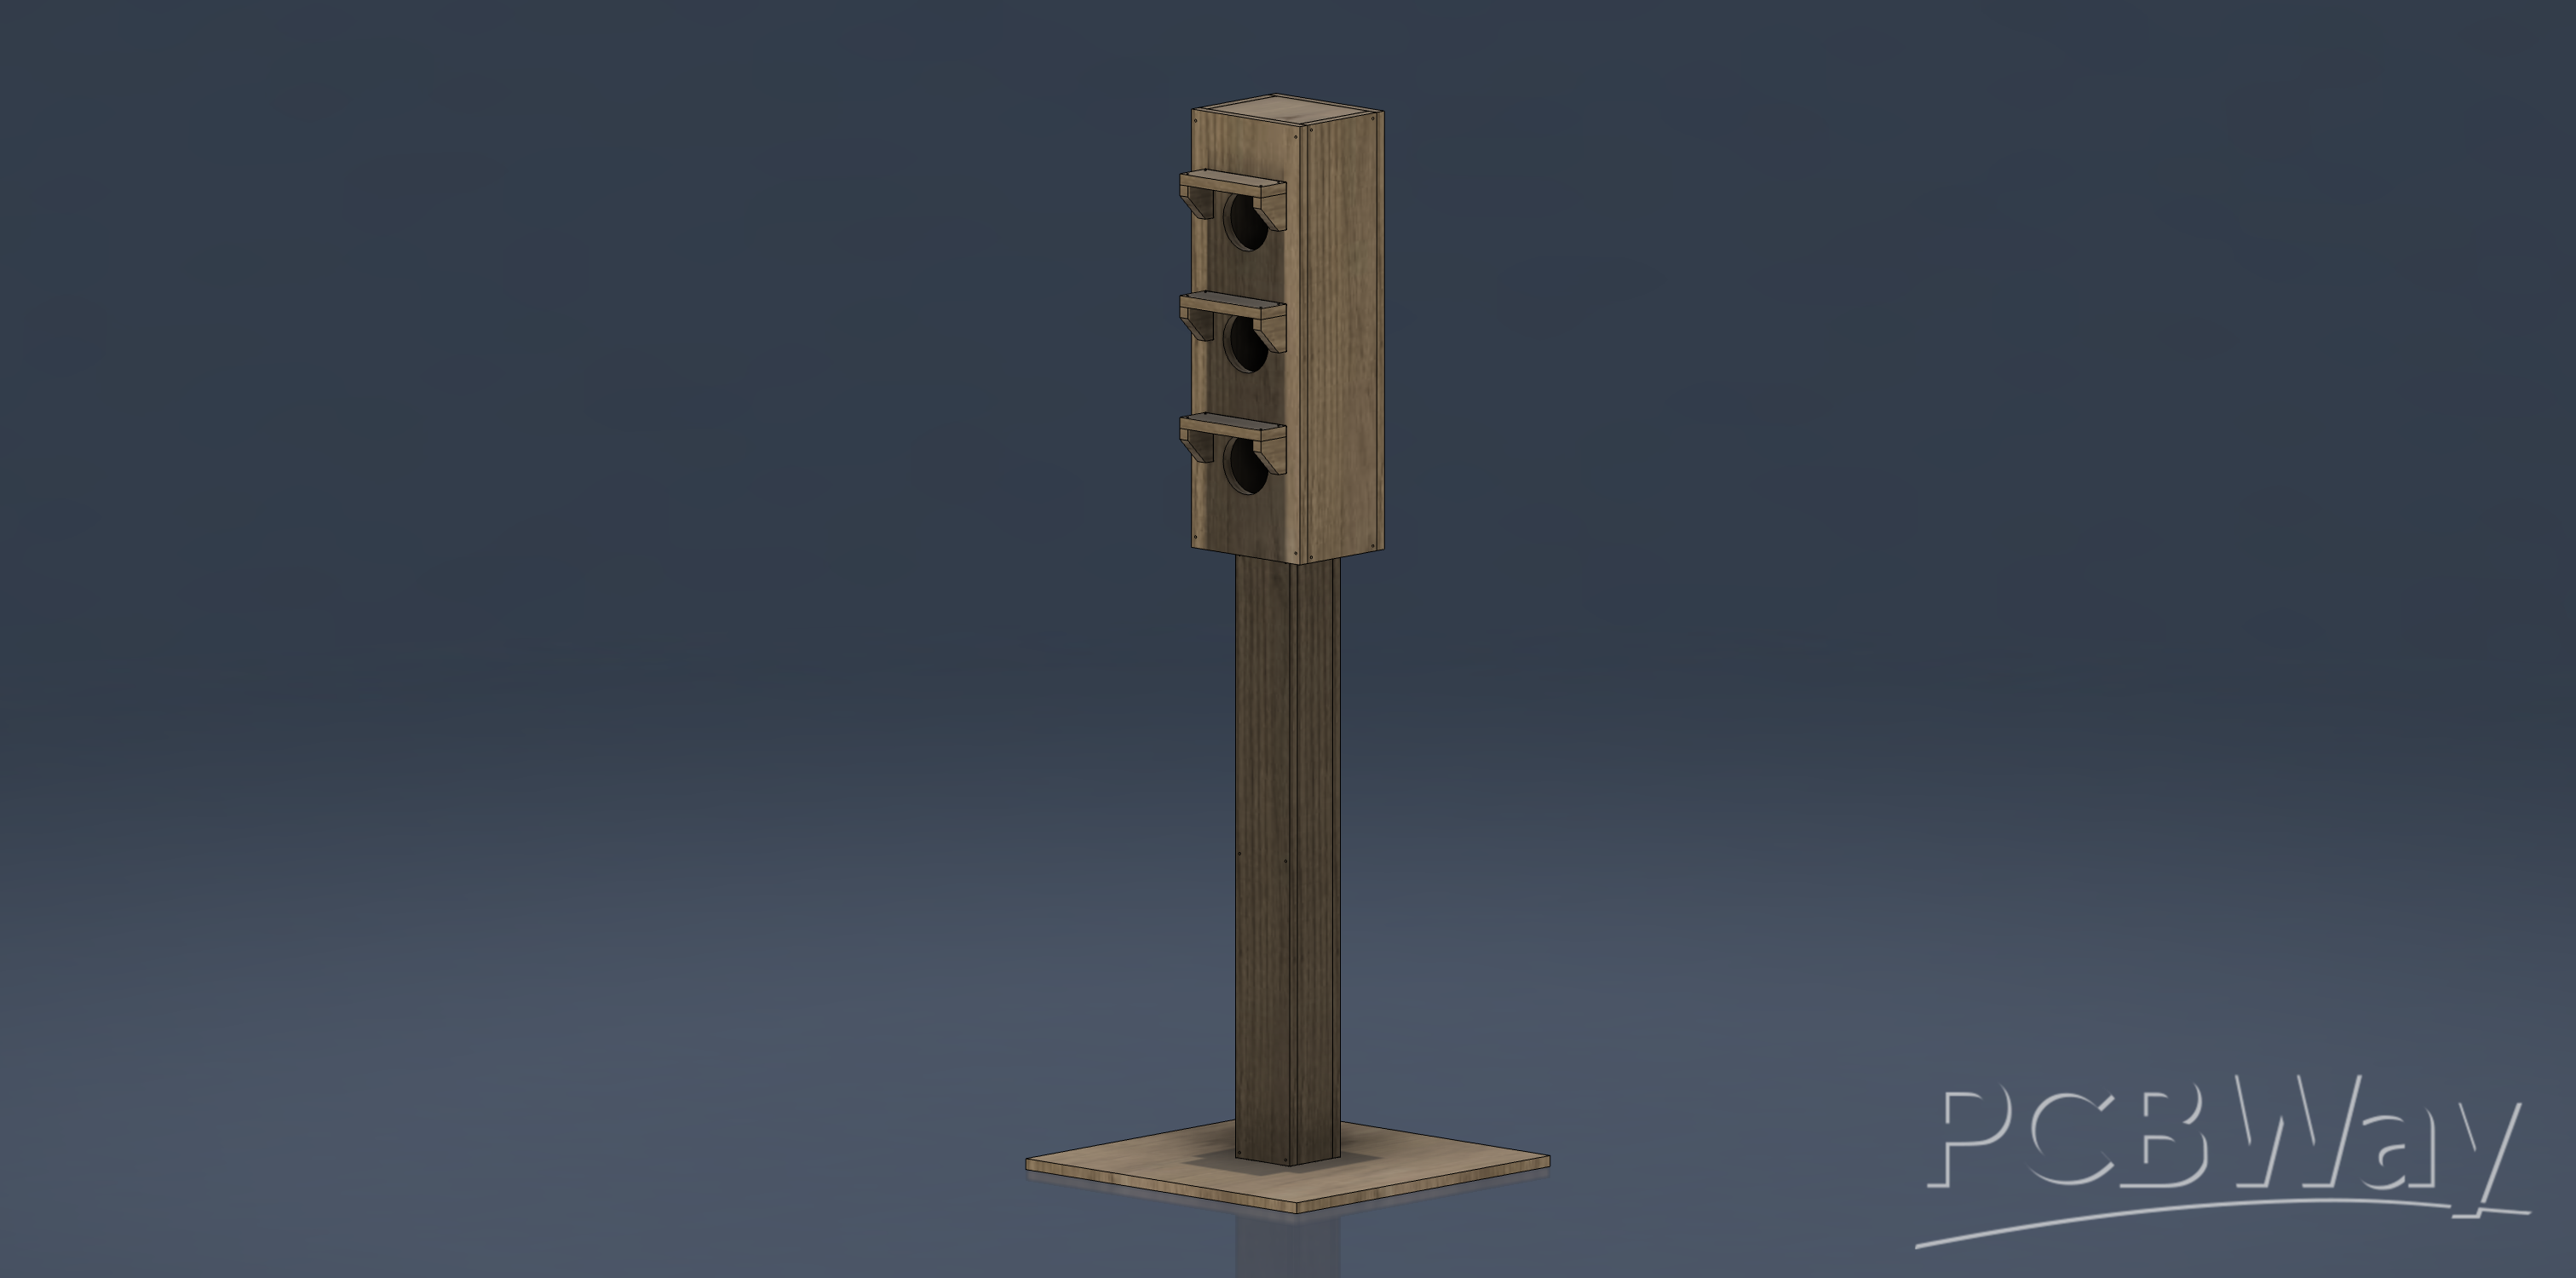
• 02_Mechanical — CAD, DXF, STEP, layout, and mechanical build information for the full project
• 03_Firmware — ESP32 / PlatformIO firmware for the full reference kit
• 04_Guides — build guide, shopping guide, and LED resistor notes
For this PCBWay project, the most relevant section is 01_Electronics, because this shared project focuses on the lamp boards.
Manufacturing and assembly
This project is intended to support simple PCB manufacturing and hands-on assembly. You can:
• Order the lamp boards only
• Solder them yourself
• Use them with your own controller
• Combine them with the full Little Man Builds reference project
• Modify the KiCad files for your own version
The aim is to keep the boards approachable, useful, and easy to reuse.
License note
PCBWay’s license dropdown does not currently include the exact hardware license used by the GitHub repository, so this PCBWay page uses TAPR Open Hardware License as the closest available open-hardware option in the form.
The official project licensing is defined in the GitHub repository:
• The hardware design is licensed under CERN-OHL-S-2.0.
• The firmware/software is licensed under the MIT License.
In normal maker English: you can study it, build it, modify it, manufacture it, and improve it. For the hardware design, the GitHub repository license is the source of truth. If you remix the hardware, please keep the open-hardware spirit alive and share your changes properly.
Basically: build cool stuff, just do not quietly turn the open-source bit into a locked box with better branding.
Safety and responsibility
This is an open-source maker project, not a certified children’s product, toy, or commercial safety device. If children are involved, adults should handle soldering, wiring, tools, power checks, and final inspection.
Before powering anything:
• Check the voltage
• Check the polarity
• Check the connector pinouts
• Inspect the solder joints
• Use suitable current limiting and output drivers for your controller
• Do not connect mains voltage
• Do not leave powered maker projects unattended
Build cool things. Try not to make the magic smoke part of the lesson plan.
Who this is for
This project is for:
• Parents and kids building something together
• Schools, STEM clubs, and makerspaces
• Beginners learning LEDs and soldering
• Makers who want reusable traffic light output boards
• Anyone who thinks red, yellow, and green LEDs deserve their own tiny stage
If you build this
If you make one, modify one, break one, fix one, or somehow turn it into something I did not expect, I would love to see it.
Feel free to reach out on any of the below platforms:
• GitHub: https://github.com/littlemanbuilds/Kids_Traffic_Light
• YouTube: https://www.youtube.com/@MoreLittleManBuilds
• YouTube: https://www.youtube.com/@LittleManBuildsOfficial
• Discord: https://discord.gg/9xtMYyYeCT
The best support is simple: build something, improve something, and share what you learned.
Build deliberately.
/Darren
Little Man Builds – Traffic Light Lamp Boards
Project images are for reference only. Actual production is based on the manufacturing files on the project page.
Please review the designer's notes (e.g., PCB thickness) and select the appropriate options.
PCBWay is not responsible
for issues caused by unsuitable parameter selections.
For more important ordering information, please refer to
Read More


Raspberry Pi 5 7 Inch Touch Screen IPS 1024x600 HD LCD HDMI-compatible Display for RPI 4B 3B+ OPI 5 AIDA64 PC Secondary Screen(Without Speaker)
BUY NOW


- Comments(0)
- Likes(1)
More by Darren Osborne
-
 Little Man Builds – Kids Traffic Light STEM Kit
This is the Little Man Builds Kids Traffic Light STEM Kit: an open-source KiCad project for building...
Little Man Builds – Kids Traffic Light STEM Kit
This is the Little Man Builds Kids Traffic Light STEM Kit: an open-source KiCad project for building...
-
 Little Man Builds – Traffic Light Lamp Boards
This is the lamp-board-only version of the Little Man Builds Kids Traffic Light STEM Kit.In plain En...
Little Man Builds – Traffic Light Lamp Boards
This is the lamp-board-only version of the Little Man Builds Kids Traffic Light STEM Kit.In plain En...
-
Programmable Mist Maker - XIAO / QT PY Extension
984 2 0 -
RadioHAT - Raspberry Pi radio development platform
793 0 2 -
-
-
-
-
ARPS-2 – Arduino-Compatible Robot Project Shield for Arduino UNO
3254 0 6 -
A Compact Charging Breakout Board For Waveshare ESP32-C3
3877 3 8 -
AI-driven LoRa & LLM-enabled Kiosk & Food Delivery System
4248 2 2


