sigma cooling
LattePanda Sigma Cooling Repair & Mod (Noctua 92mm Top-Down)
https://github.com/chlebekzszynka/homelab/tree/main/hardware/lattepanda-sigma-cooling
⚠️ Diagnosis & Early Warning Signs
Don't wait for the rattle. Before my stock fan completely failed with mechanical noise, I experienced "silent overheating."
Running Tdarr health checks (video transcoding) on Manjaro Linux pushed the CPU to 100°C instantly.
There was no audible indication that the fan was failing initially. The RPMs dropped, or the bearing friction increased, but it wasn't screaming yet.
Lesson Learned: On the LattePanda Sigma, if you see thermal throttling (100°C) during typical workloads, treat it as an immediate warning of turbine failure, even if the fan seems to be spinning quietly.
The Problem
The stock active cooling fan is a blower-style turbine. Finding an original replacement part is extremely difficult. With the failing stock fan:
Idle temps: ~69°C
Load temps: 100°C (Severe Throttling)
The Solution
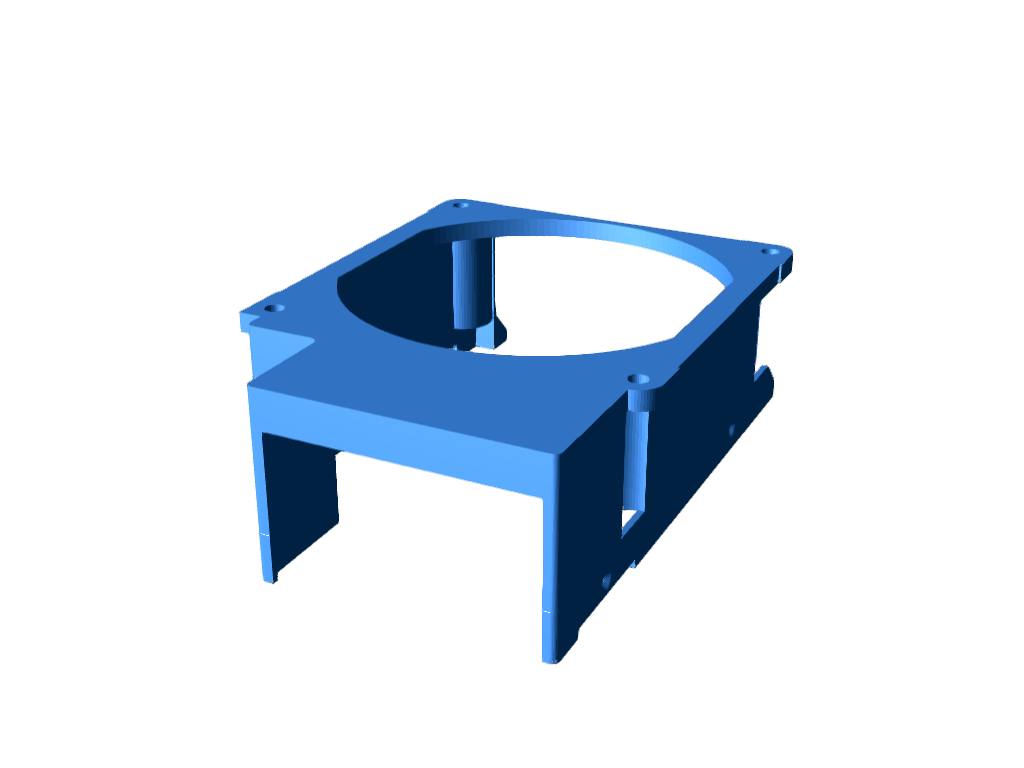
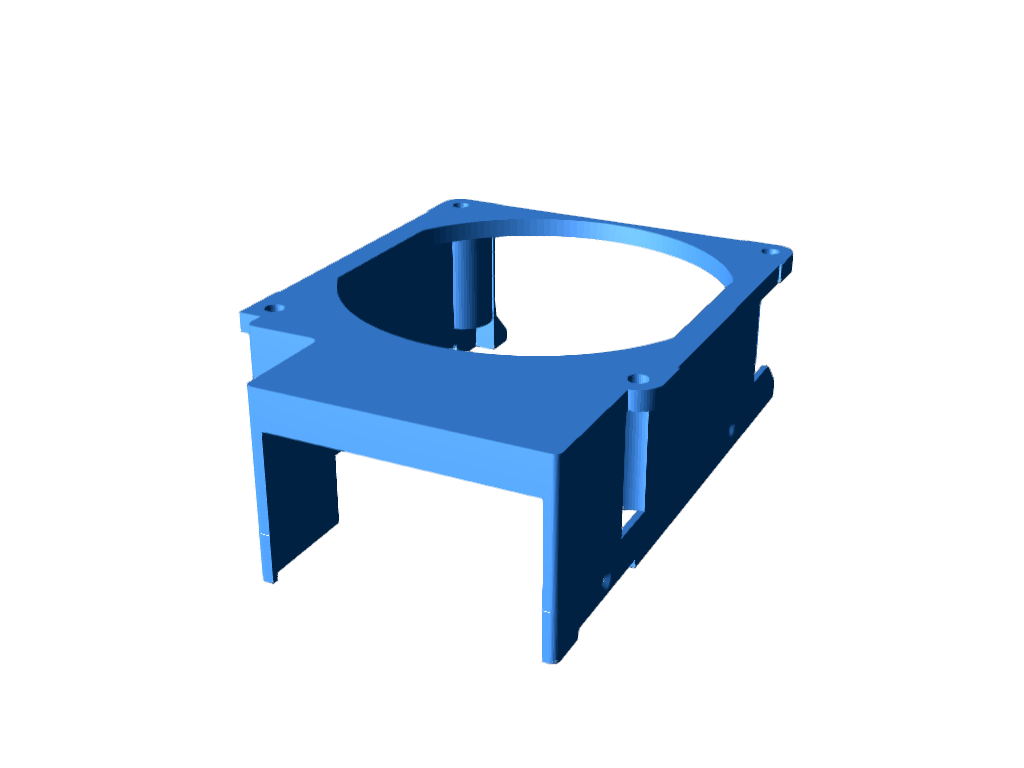
I engineered a repair using a standard Noctua NF-A9x14 PWM (92mm) fan and a custom 3D-printed bracket. This "Top-Down" design cools the CPU heatsink directly. Note on NVMe Temps: Even though the NVMe drives are located on the bottom of the board (away from the fan), their temperatures dropped significantly. This is because the "Top-Down" cooling drastically lowers the overall PCB temperature, preventing heat soak from the CPU to the drives.
Real-World Results:
MetricBroken Stock FanNoctua Repair ModImprovementIdle Temp~69°C~55°C-14°CStress Test (Max)100°C (Throttled)93°C (@ 41W Power)Stable PerformanceNVMe SSD TempN/A (Overheated)~35°C-25°C (via reduced PCB heat soak)NoiseSilent Failure -> RattlingSilent OperationN/A
Hardware Required
Fan: Noctua NF-A9x14 PWM (12V version - crucial!).
3D Printed Bracket: STL file included.
Connectors: 3M Scotchlok UY/UR connectors (no soldering required) OR soldering iron.
Note: The Sigma uses a tiny 1.27mm proprietary connector. You must cut the connector off the old broken fan and splice it to the Noctua wires.
⚙️ BIOS Settings (The "Silent" Curve)
To maintain silence while ensuring safety, use these settings in Advanced -> Thermal Configuration -> Smart Fan Control:
Fan start temperature limit: 45
Fan full speed temperature limit: 80
Fan start PWM: 80
PWM SLOPE SETTING: 4 PWM
📸 Wiring Guide
Pinout mapping (Verify with your specific fan version):
Black (Sigma) -> Black (Noctua) [GND]
Red (Sigma) -> Yellow (Noctua) [12V] Check voltage!
Blue (Sigma) -> Blue (Noctua) [PWM]
Yellow (Sigma) -> Green (Noctua) [Tach]
sigma cooling
*PCBWay community is a sharing platform. We are not responsible for any design issues and parameter issues (board thickness, surface finish, etc.) you choose.








Raspberry Pi 5 7 Inch Touch Screen IPS 1024x600 HD LCD HDMI-compatible Display for RPI 4B 3B+ OPI 5 AIDA64 PC Secondary Screen(Without Speaker)
BUY NOW


- Comments(0)
- Likes(0)
 More by Engineer
-
Programmable Mist Maker - XIAO / QT PY Extension
620 1 0 -
RadioHAT - Raspberry Pi radio development platform
489 0 1 -
-
-
-
-
ARPS-2 – Arduino-Compatible Robot Project Shield for Arduino UNO
3004 0 6 -
A Compact Charging Breakout Board For Waveshare ESP32-C3
3608 3 8 -
AI-driven LoRa & LLM-enabled Kiosk & Food Delivery System
3866 2 2