Note: The content and the pictures in this article are contributed by the author--Vincent Kok
Using gesture recognition with the in-built light sensor, the Wio Terminal will be able to recognize the rock, paper and scissor gesture and display the corresponding image on the screen.
In this detailed tutorial, we will cover the following:
· Create and select models
· Data Acquisition (rock, paper, scissors)
· Training and Deployment
· Programming & Model Usage
SS's graphical programming platform, Codecraft has made it so easy for everyone to get started creating their TinyML projects! The TinyML engine is powered by Edge Impulse! Even better is that it will automatically convert the blocks-based coding into text-based coding (C++) for you to expand your projects ideas! It's incredible awesome! You should check it out!
Let’s begin our project with creating an AI model!
1.0 Create and select models
Go to https://ide.tinkergen.com/. Select "(for TinyML) Wio Terminal".

Create the "Gesture Recognition (Built-in Light Sensor)" model
1. Click on "Model Creation" on the embedded machine learning box on the middle left.
2. Then select the "Gesture Recognition (Built-in Light Sensor)" as shown below.
3. Enter the name for the model according to the requirements.
4. Click Ok and the window will automatically switch to the "Data Acquisition" interface.

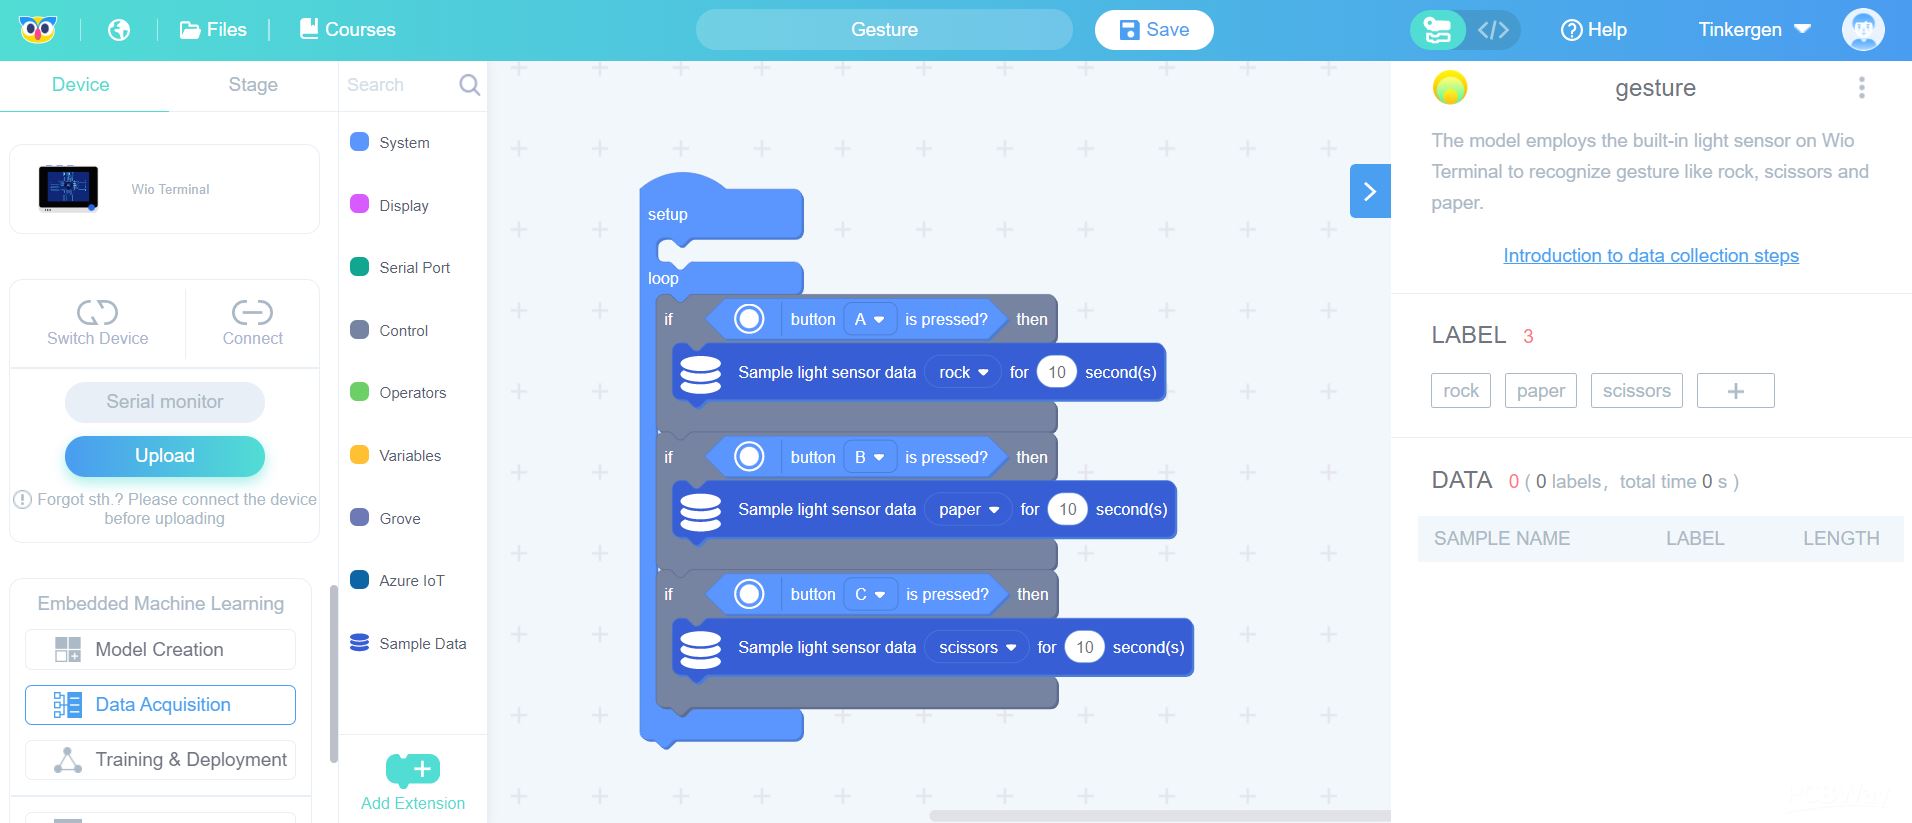
2.0 Data Acquisition (on-board)
Default Labels
There are 3 default labels (rock, paper, scissors) that are automatically created for you. You can use it without any changes unless you want to have different names for your labels or add additional labels such as "idle" label for when there is no gesture presented.

Connect Wio Terminal and Upload Data Acquisition Program
1. Connect Wio Terminal to laptop using the USB-C Cable.
2. Click on the Upload button, and this action will upload the default data acquisition program. Typically, it takes around 10 seconds to upload. Once successfully uploaded, a pop-up window will appear to indicate “Upload successfully”.
3. Click “Roger” to close the window and return to the data acquisition interface.
4. Note: You need to download “Codecraft Assistant” to be able to Connect and upload code on Codecraft online IDE.
Data Acquisition
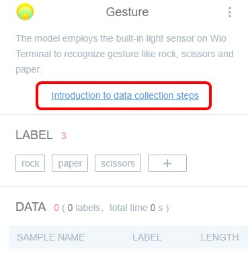
In the upper right hyperlink, you will find a step-by-step introduction to data acquisition.
Follow the instructions to collect data.
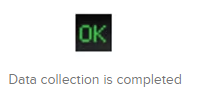
Wio Terminal will be displaying below information during the data collection process.
Start and end collecting data according to the Wio Terminal screen:

3.0 Training and Deployment
Click on “Training & Deployment”, and you will be seeing the model training interface as shown below.
Select neural network and parameters
Select the suitable neural network size: small, medium and large
Set parameters:
· number of training cycles (positive integer),
· learning rate (number from 0 to 1)
· minimum confidence rating (number from 0 to 1)
The interface provides default parameter values.
In this case we are using medium. It will take quite a long time. Be patient!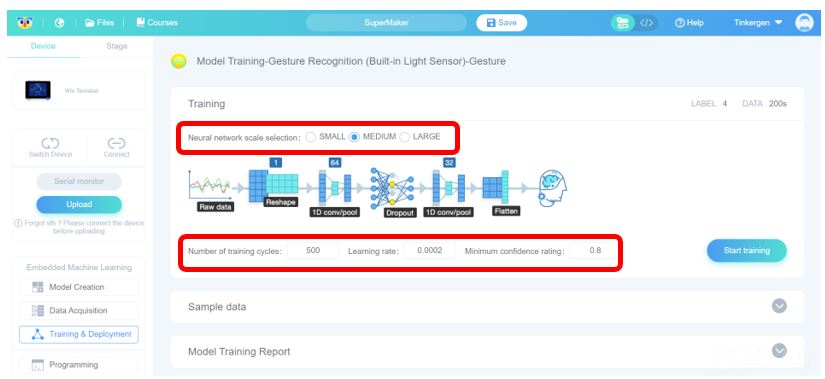
Start training the model
When you click “Start training”, the windows will display “Loading..”! Wait for the training to be done!

After loading, you can see "TrainModel Job Completed" in the "Log", and "Model Training Report" tab will be appeared on the interface.
Observe the model performance to select the ideal model
In the “Model Training Report” window, you can observe the training result including the accuracy, loss and performance of the model.
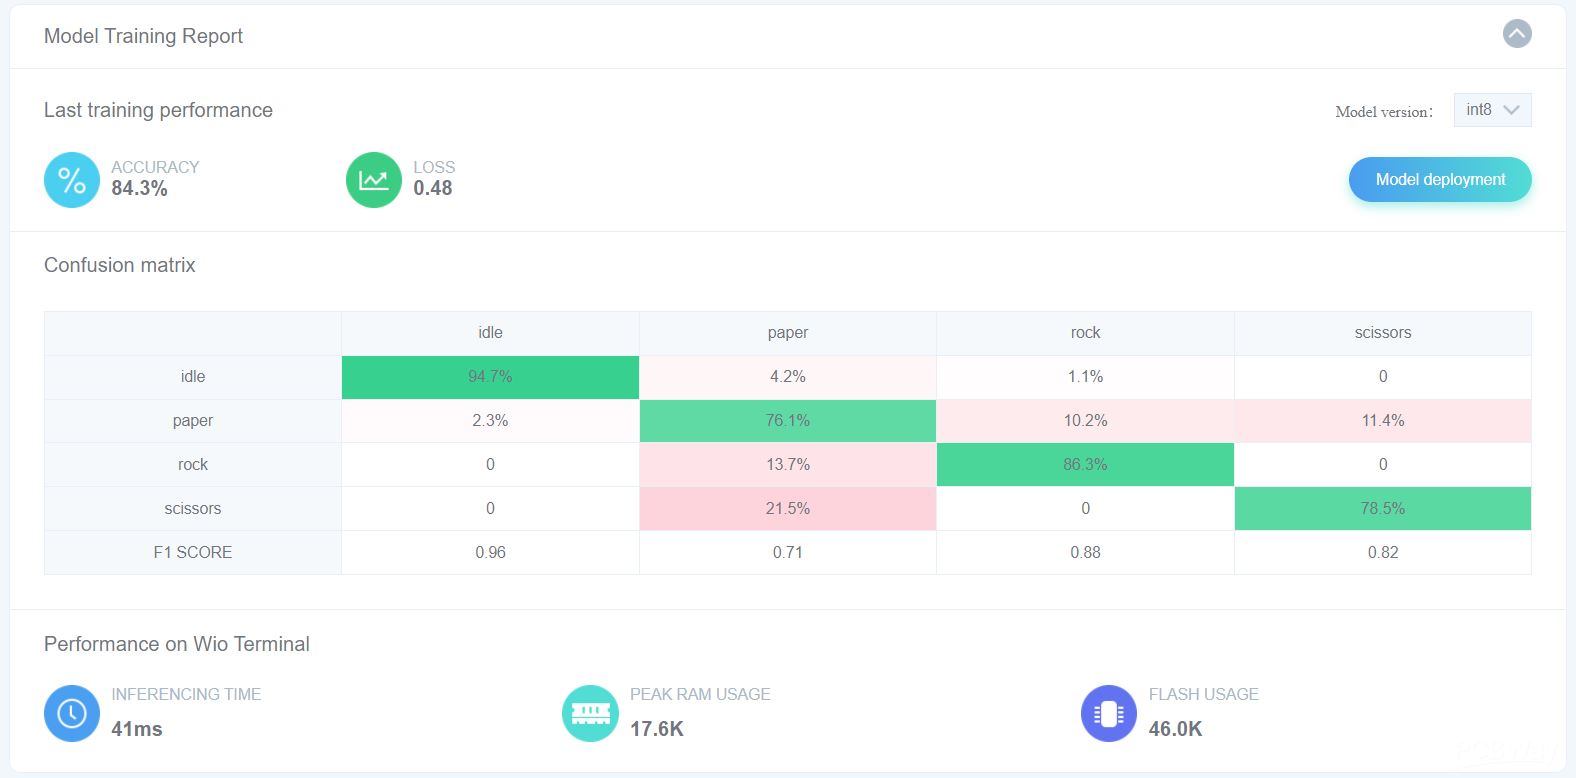
Model Training Report (for my case, not bad huh?)
Deploy the ideal model
In the “Model Training Report” window, click on “Model Deployment”

Once the deployment is completed, click “Ok” to go the “Programming” windows which is the last step before we deploy the model to the Wio Terminal.

4.0 Programming & Model Usage
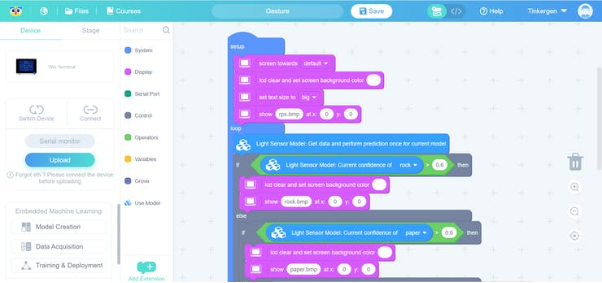
Write the program for using the model
I have created the below sample program to display the rock or paper or scissors image on the Wio Terminal screen when the result of the prediction is rock or paper or scissors respectively!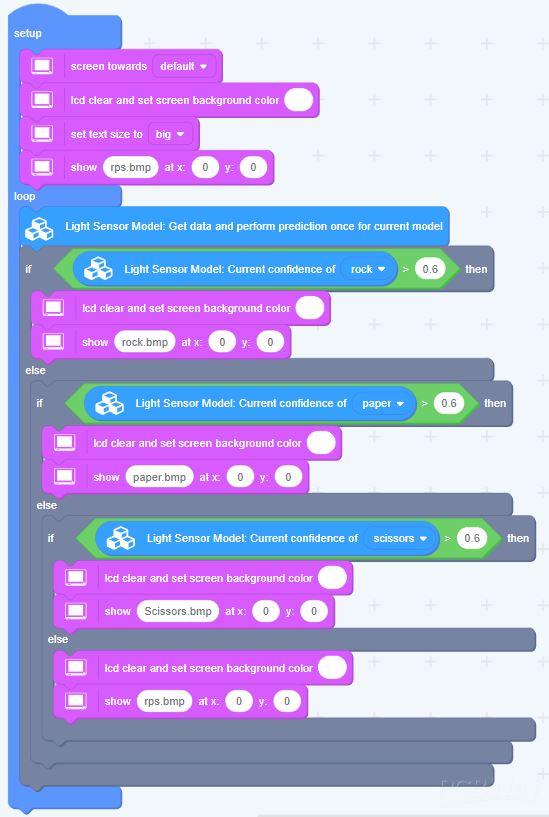
Check out Seeed Studio guide on how to display custom images on the Wio Terminal:
· Wio Terminal Classroom #4 | Displaying Images and Simple UI
· Wio Terminal LCD Loading Images

rps.bmp

rock.bmp

paper.bmp

scissors.bmp
Note: The show "image.bmp" block on Codecraft is corresponding to 8 bit of the bmp image. So when you are converting it, do take note that to convert it to 8-bit colour convert bmp image. (Two options: Enter 1 for 8-bit colour convert; Enter 2 for 16-bit colour convert).

Based on the Wio Terminal LCD Loading Images tutorial on Seeed wiki, it's obvious that the image file need to be converted to 8 bit.
Upload the program to Wio Terminal
Click the “Upload” button. You will see the “Just chill while it is uploading” window.
The first upload time usually longer, and it increases with the complexity of the model.
The uploading time for smaller models takes about 4 minutes or even longer (depending on the performance of your laptop).
Once done uploaded, the “Upload successfully” window will be shown.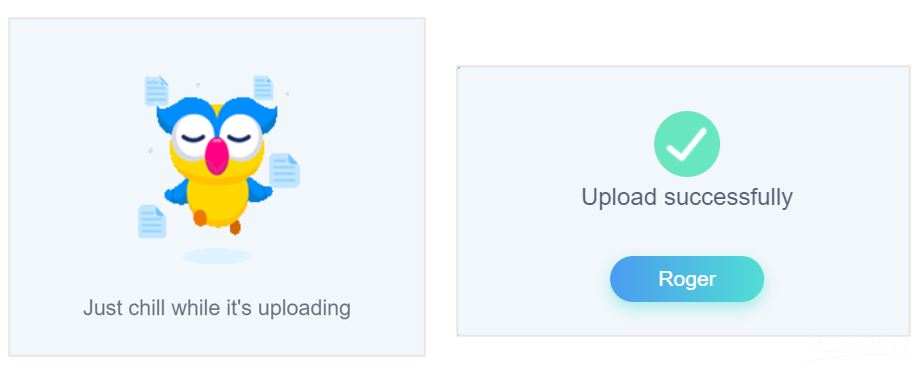
Testing
Make a gesture “scissors” to see if Wio Terminal's screen can shows scissors image. Try other gestures and see if the Wio Terminal can recognize your gestures and shows the corresponding image on the screen.
Congratulations! You have completed your TinyML model!
Check out the video to see the project in action: https://youtu.be/FLeLpB3nfSU
Thank you.
Sample Code hosted on GitHub: https://github.com/VincentK16/gesturetinyml


