



|
KiCADKicad
|
|
|
Fusion 360Autodesk
|
|

|
VS Code |
velune - the keyboard
abhay_keyboard – An Open-Source Mechanical Keyboard
Introduction
Mechanical keyboards have become increasingly popular among enthusiasts, but many projects rely heavily on existing designs or development boards with minimal customization. I wanted to challenge myself by designing a keyboard completely from scratch; from the electrical schematic and PCB layout to the 3D-printed enclosure and firmware.
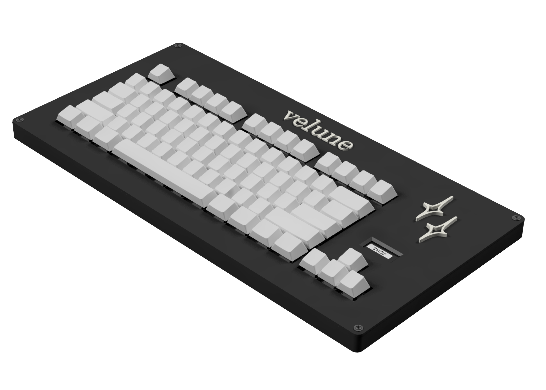
The result is abhay_keyboard, a fully custom 78-key low-profile mechanical keyboard built around the Raspberry Pi Pico RP2040. The project combines PCB design, embedded systems, CAD, and manufacturing into a single open-source hardware project that anyone can build, modify, and learn from.
Project Goals:
Before beginning the design, I established a few goals:
- Design the PCB entirely in KiCad
- Create a clean and reliable keyboard matrix
- Add per-key RGB lighting
- Include an OLED display for system information
- Design a custom 3D-printable enclosure
- Keep the project completely open source
- Make the keyboard easy for others to reproduce
Rather than creating a one-off prototype, I wanted the final result to be something that could realistically be manufactured and assembled by other makers.
Hardware Design
The keyboard is powered by a Raspberry Pi Pico RP2040, chosen for its excellent performance, USB support, and strong community ecosystem.
The PCB contains:
78 low-profile mechanical switches
78 SK6812 MINI-E addressable RGB LEDs
Individual switch diodes for reliable matrix scanning
74AHCT125 bus buffer for stable LED communication
SSD1306 128×32 OLED display
GPIO headers for the RP2040
Stabilizers for larger keys
Every component was selected to balance performance, cost, and ease of assembly.
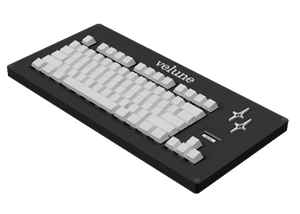
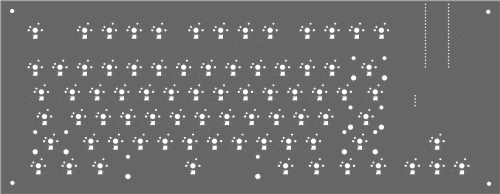
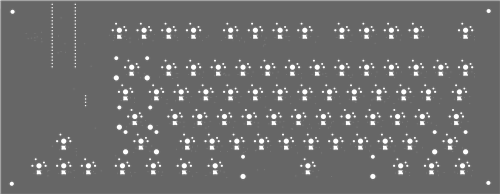
Insert PCB render or assembled PCB photo here.
PCB Design in KiCad
The entire schematic and PCB were designed using KiCad.
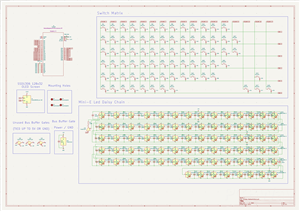
The process started with creating the keyboard matrix and connecting every switch through individual diodes to eliminate ghosting during multiple key presses. After completing the schematic, I designed the PCB layout with careful attention to routing, component placement, and manufacturing constraints.
Routing a keyboard with nearly eighty switches, RGB LEDs, and supporting circuitry required careful planning to keep traces organized while maintaining a compact layout.
After completing the routing, I performed design rule checks, generated manufacturing files, and prepared the board for fabrication.
Insert schematic screenshot here.
RGB Lighting
Each key includes an individually addressable SK6812 MINI-E RGB LED, allowing every key to display its own color and lighting effects.
To improve signal reliability across the long LED chain, the design includes a 74AHCT125 bus buffer, helping maintain clean data transmission throughout the keyboard.
The result is bright, uniform per-key RGB lighting without requiring additional controllers.
OLED Display
The keyboard includes a compact 128×32 SSD1306 OLED display connected over I²C.
The display provides useful information while adding a polished appearance to the keyboard. It also serves as an additional interface that can be customized through firmware.
Enclosure Design
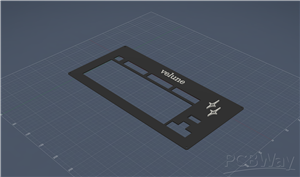
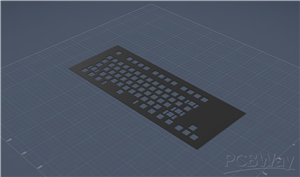
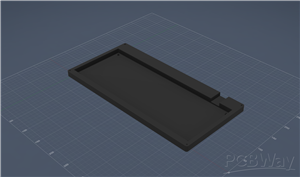
The enclosure was modeled specifically for this PCB rather than adapting an existing case.
Using CAD software, I designed a two-piece enclosure that securely holds the PCB while maintaining a clean, minimalist appearance. Heat-set inserts and machine screws allow the keyboard to be assembled repeatedly without damaging the printed parts.
After several iterations, the enclosure fit the PCB accurately and provided enough clearance for all components.
Assembly
Assembly begins by soldering the surface-mount components, followed by the RP2040 headers, switches, RGB LEDs, OLED display, and remaining hardware.
After installing the PCB into the enclosure, the keyboard is completed by attaching the keycaps and stabilizers before flashing the firmware.
Final Result
The completed keyboard demonstrates how modern open-source tools make it possible for individual makers to design professional hardware from scratch.
This project combines electrical engineering, PCB design, embedded programming, and mechanical design into a single product that is both functional and educational. Every stage from the first schematic to the finished keyboard, was designed with learning, manufacturability, and open-source collaboration in mind.
I hope this project inspires other students and makers to begin designing their own custom hardware instead of relying solely on existing designs.
velune - the keyboard
Project images are for reference only. Actual production is based on the manufacturing files on the project page.
Please review the designer's notes (e.g., PCB thickness) and select the appropriate options.
PCBWay is not responsible
for issues caused by unsuitable parameter selections.
For more important ordering information, please refer to
Read More









Raspberry Pi 5 7 Inch Touch Screen IPS 1024x600 HD LCD HDMI-compatible Display for RPI 4B 3B+ OPI 5 AIDA64 PC Secondary Screen(Without Speaker)
BUY NOW


- Comments(0)
- Likes(0)
 More by Abhay
-
Programmable Mist Maker - XIAO / QT PY Extension
2218 2 2 -
RadioHAT - Raspberry Pi radio development platform
1908 0 4 -
-
-
-
ARPS-2 – Arduino-Compatible Robot Project Shield for Arduino UNO
4086 0 6 -
A Compact Charging Breakout Board For Waveshare ESP32-C3
4846 3 8 -
AI-driven LoRa & LLM-enabled Kiosk & Food Delivery System
5642 2 2 -





















