


Neo- 1lb (454g) Combat Robot
Hello, my name is Matei Sipoteanu. I'm a 15 year old student in the New England area and the builder of Neo, a 1 pound (454 gram) combat robot. This robot was inspired by an assortment of other successful combat robots such as Mega Catnip which is a super destructive battlebot that was my main inspiration for the dual disk weapon configuration that I chose. I was also inspired by robots such as the 1 pound Hotline and the 3 pound robots Lynx and Sir Slicy for the design of my combat robot.
Why did I choose to make a battlebot?
I have always been a big fan of battlebots and have constantly seen clips of NHRL (the National Havoc Robotics League) on Youtube. After learning and improving my skills in CAD, I decided to give designing a battlebot a try. I spent around one month designing this battlebot, researching the small details that make some of the best battlebots across all of the different weight categories as good as they are. I think that this hobby is a great way to learn the engineering principles. Designing, prototyping and experimenting to find what works and how to improve in the future.
Key design elements and the choices behind them
Firstly, I decided to go with a dual disk, weapon configuration as it was a good middle ground between the large hitting area of an eggbeater/beater bar and the localized impact force of a vertical disk spinner. The big constraint with eggbeater lies in the high cost of fabricating the weapon. Making eggbeater weapons is very expensive and requires the use of a complex manufacturing process that is extremely expensive compared to simply cutting the weapon out of a metal plate. However, rather than a vertical spinner that only has a singular relatively thin disk as a hitting area (the area that the opponent is able to be hit by the weapon disk), a beater bar is able to have a large hitting area on the front of the bot, increasing the likelihood of a damaging hit. A dual spinner is able to carry over the easier and less expensive manufacturing process that comes with eggbeaters while still having a larger hitting area on the front of the bot.
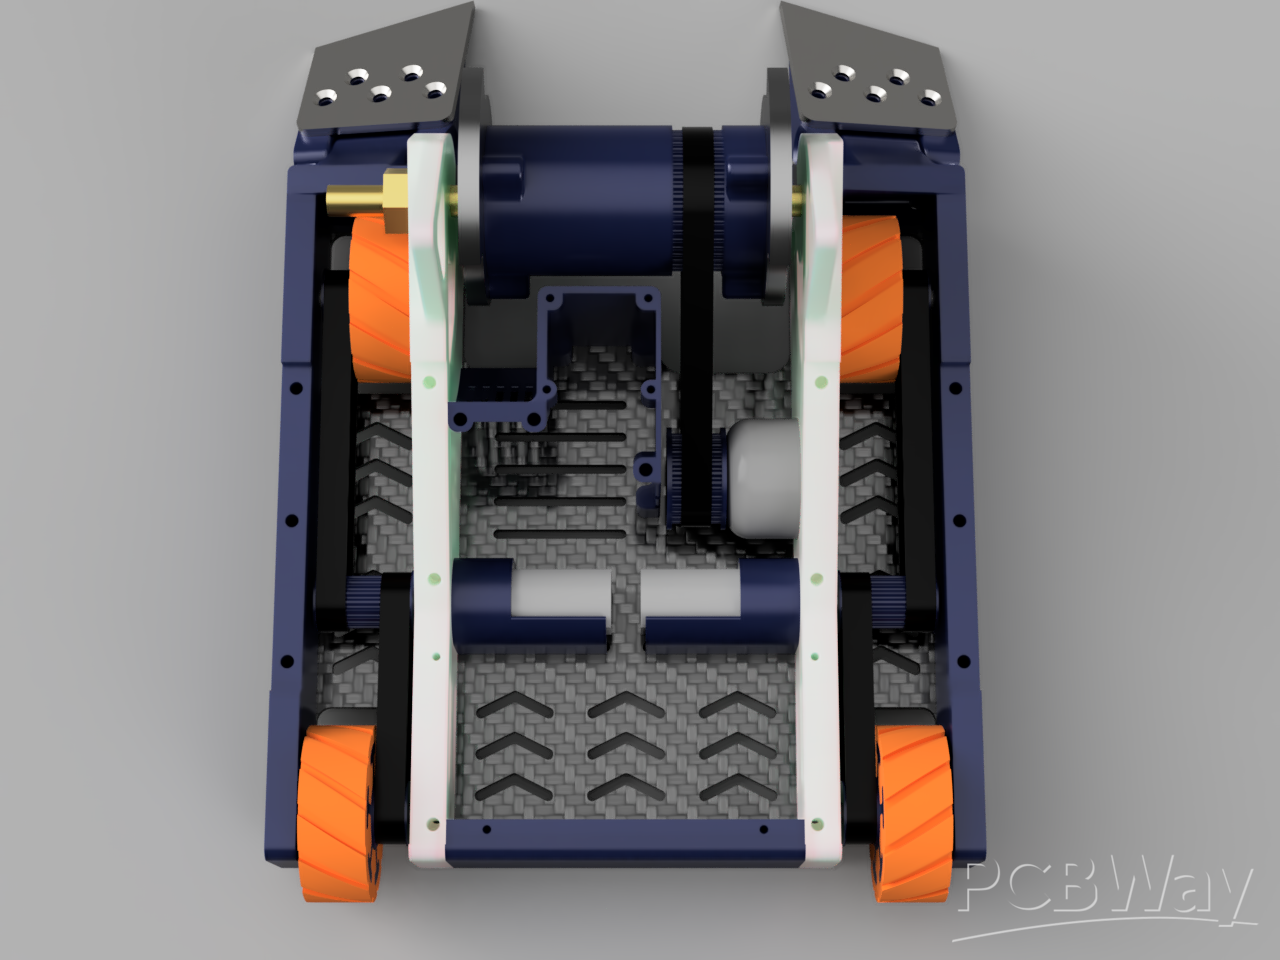
The structural core of the battlebot are the two 7mm thick UHMW rails. I decided to use UHMW as the material for the main weapon rails due to its high impact resistance and low weight. These rails have been revised multiple times to end up with this final version. Pocketing has been used to make the rails lighter by removing unnecessary weight.
Another important design element incorporated into this battlebot is the carbon fiber plates. Rather than simply having carbon fiber plates on the combat robot, I was able to strategically remove areas of the carbon fiber to allow for better airflow within the battlebot, reducing the risk of overheating and the many issues that come with it. I also incorporated the use of an easily removable battery cover to allow for faster battery changes and easier charging.
Many of the armor pieces for the battlebot are made of nylon. While many other battlebots have armor that is made from TPU, choosing this material due to its being very soft and flexible, allowing TPU to easily absorb large impacts. However, TPU has its downsides, it is an extremely dense FDM filament (1.28 g per cubic cm) and means that TPU armor is often made thin or with low infill to stay under the weight limit, leading to weaker armor. However, I chose nylon due to its many small benefits over TPU. Nylon has a much lower density and can be made almost as flexible and impact resistant as TPU by boiling the 3d prints. This is experimental and I may experiment with using both nylon and TPU where needed.
Due to the weight saved across the UHMW weapon rails, carbon fiber plates, and use of nylon armor, I was able to plan the combat robot to use a 4 cell LiPo battery rather than a conventional 3 cell LiPo battery. A 4 cell, or 4s, battery is able to output 14.8 volts of power while a 3s battery is only able to output 11.1 volts. This extra voltage from a more powerful battery also means that the combat robot will be able to drive faster and for the weapon to spin faster and spin up to maximum speed faster, allowing me to always get the first hit in a fight and allowing the weapon to store more kinetic energy in the weapon.
This battlebot also uses a double drive belt system for extreme redundancy. Rather than other battlebots that have a motor driving the back wheels and a belt connecting the back wheels to the front wheels to power them, my battlebot designs plan to use motors that are located in the center of the chassis with belts then powering the front and back wheels through a pulley system. While this is more mechanically complex, it solves a big issue with attaching the drive motor directly to the rear wheels. The back of the battlebot is often the most unprotected spot, and the rear wheels are often left semi exposed to allow for inverted driving. This makes the wheels an obvious weak spot if the opponent is able to get behind the battlebot, and attaching two expensive and fragile components directly to the most unprotected parts of your robot is a disaster waiting to happen. Furthermore, if the back wheel is destroyed, the front wheel will also become immobile as the wheels are directly connected through the belt that connects them. Placing the drive motors in the center of the chassis, where they are more protected makes the drive train more redundant, as even if the back wheel is destroyed, the back and front wheels are not linked and the robot will still be able to drive by using the front wheels.
Finally, this battlebot is able to fight in two front end configurations. The battlebot is able to use a large grade 5 titanium wedge to fight horizontal spinners or switch to using forks designed to get below an opponent and expose their unprotected underside to my weapon.
How Could PCBWay help with this project?
While my high school does have a CNC machine, it is only able to cut plastic and soft metals such as aluminum. I will be using this machine to fabricate my UHMW weapon rails, however parts such as the carbon fiber plates, S7 steel main weapons, or titanium wedge and front forks are unable to be fabricated by myself. PCBWay would be a tremendous help with a sponsorship to help me reliably fabricate these parts.
Thank you for your time,
Matei Sipoteanu
Renderings
Drive View

Electronics Area Top Down View
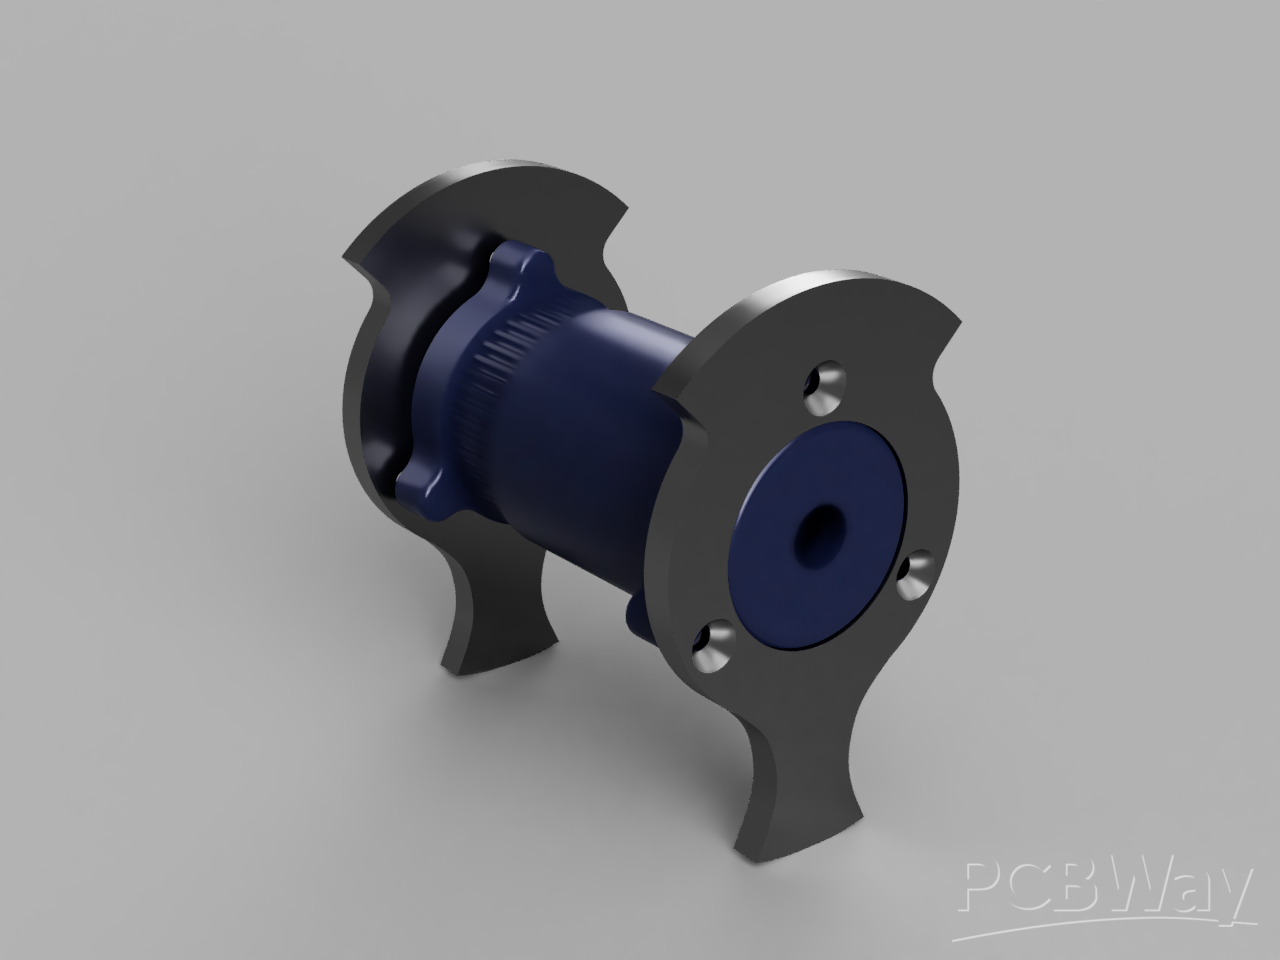
Weapon Assembly
- Comments(1)
- Likes(0)


